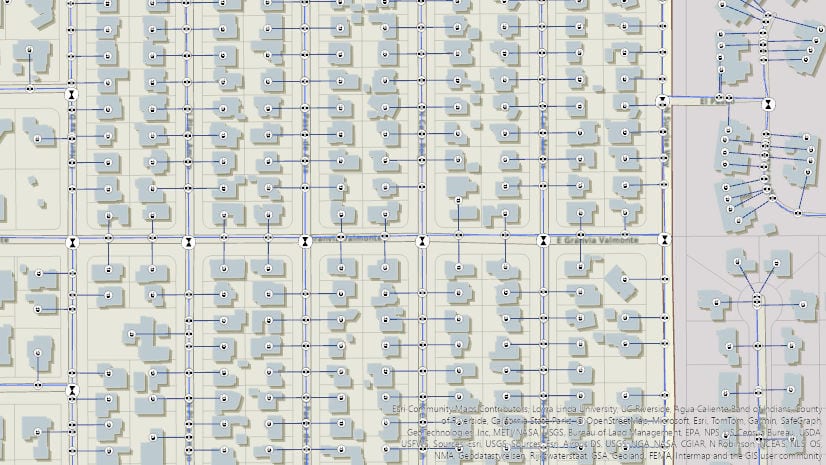
Most client-applications that interact with ArcGIS Enterprise access data using a web map. A web map contains a collection of layers from one or more services overlaid on a thematically appropriate basemap. The feature service itself provides access to the data, but all the symbology, labeling, etc are defined in the web map. This approach makes it easier for administrators to manage larger deployments, since they only need to maintain a relatively small number of services while also allowing end-users to have the flexibility to create and style their own maps.
Migrating to the utility network requires making schema changes that must be reflected in your maps. You will need to create new maps that use the new layers in your utility network feature service but retain as much of your original symbology, labeling, etc as possible. There are different ways to handle these changes, depending on what approach you used to migrate your data. You can find articles discussing these differences in the related articles section of this blog post.
Once you have a map that is ready to be shared, you must ensure it is pointed at your utility network service. The video below shows you how you can confirm that the map you have created is pointed at your utility network service, and how to update any layers that are still pointing at local data sources.
If you want to know more about the best practices for creating your own maps for utility network data, check out the Configure a map for ArcGIS Utility Network tutorial. It shows you many tips and tricks while also demonstrating the importance of using subtype group layers, a feature new to ArcGIS Pro that is essential to creating performant maps for datasets like the utility network.
Once you’ve created your map you have several different ways you can share it with others in your organization. If you want to share the map with desktop users, you will save the map file locally then share it with your Portal. This approach allows users to add the map to any existing project as a linked map, which allows them to receive notifications when the map has been updated on your Portal. You can see a video of this below.
If you want to share the map with web and mobile users, you will need to share it as a web map. When you publish a web map that contains a utility network, it is important to remember that users are only able to run traces that have trace configurations that are included in that web map. If you want users of that map to be able to trace you must include a named trace configuration with the map. In the video below you will see how to create a named trace configuration, include it in a map, and share that web map with users of your organization.
Another important consideration is how best to maintain maps that are shared on your portal. When you make changes to a map on your Portal you want to ensure that you are updating the existing map and not creating new copies of it, this will ensure that any users or applications relying on that map will be able to access the latest version of the map. The way you do this is different, depending on whether you are updating a map file for use with ArcGIS Pro or a web map. For desktop maps you simply save a new map file and overwrite the existing map file. When doing this you should consider maintaining a change log for the Portal item about the changes made. The next time a user who uses that map opens their project they will be notified that there is a newer version of the map available. You can see a video of this below:
For updating web maps, you want to make sure you add the web map from Portal to your project, so it is added as a linked web map. Once you’ve done this you are free to make whatever changes you want to the map, if they are supported by the clients using the web map. Once you are done making your changes you click the Update Web Map button to update the web map on your portal. If you are making significant changes, consider adding notes to the Portal item describing the changes being made. You can see a video of this process below:
Now that you know how to share and update web maps for your data you are well equipped to respond to any schema or symbology changes that arise during your project. Don’t forget that you can have many maps that reference a single service, don’t be afraid to create different web maps for different departments in your organization.
Conclusion
Now that you’ve learned how to share utility network content to your ArcGIS Enterprise site, you should consider how best to curate it.
- How will you use groups in your organization to provide access to content?
- What folders will you use to organize content for each group?
- What purpose-built maps do you need to create to support different workflows in your organization?
These are all important questions to consider, and the answers to them will be unique to each organization. However, if you want to see how others have tackled these challenges, or if you have your own questions, I strongly recommend you ask others on the ArcGIS Utility Network community site. The ArcGIS Utility Network community page is visited by tens of thousands of users every year, many of whom have been through this same process, and who take an active role in supporting the community through post and comments.


Commenting is not enabled for this article.