Introduction
Site Scan for ArcGIS is a part of Esri’s ArcGIS ecosystem. This means that you can leverage data created in Site Scan across the world’s most powerful location analytics SaaS, PaaS, and on-prem systems that collectively make up ArcGIS. Timely access to data products derived from drone mapping such as orthomosaics, 3D meshes, and point clouds is invaluable to organizations in many industries.
Today, users can publish from Site Scan to ArcGIS Online, ArcGIS Enterprise, and ArcGIS Enterprise behind a firewall. Having this data accessible in your ArcGIS environment enables further analysis, sharing and collaboration with stakeholders, and even engagement with the community.
Benefits to publishing Site Scan data to ArcGIS
Site Scan data can be used or ingested into a variety of Esri applications built on top of ArcGIS Online or ArcGIS Enterprise for internal or external use. You can combine imagery with your existing GIS data, overlay it with data from the ArcGIS Living Atlas, and present it in web applications. Here are a few ways unifying your drone data with ArcGIS can help organizations address common challenges:
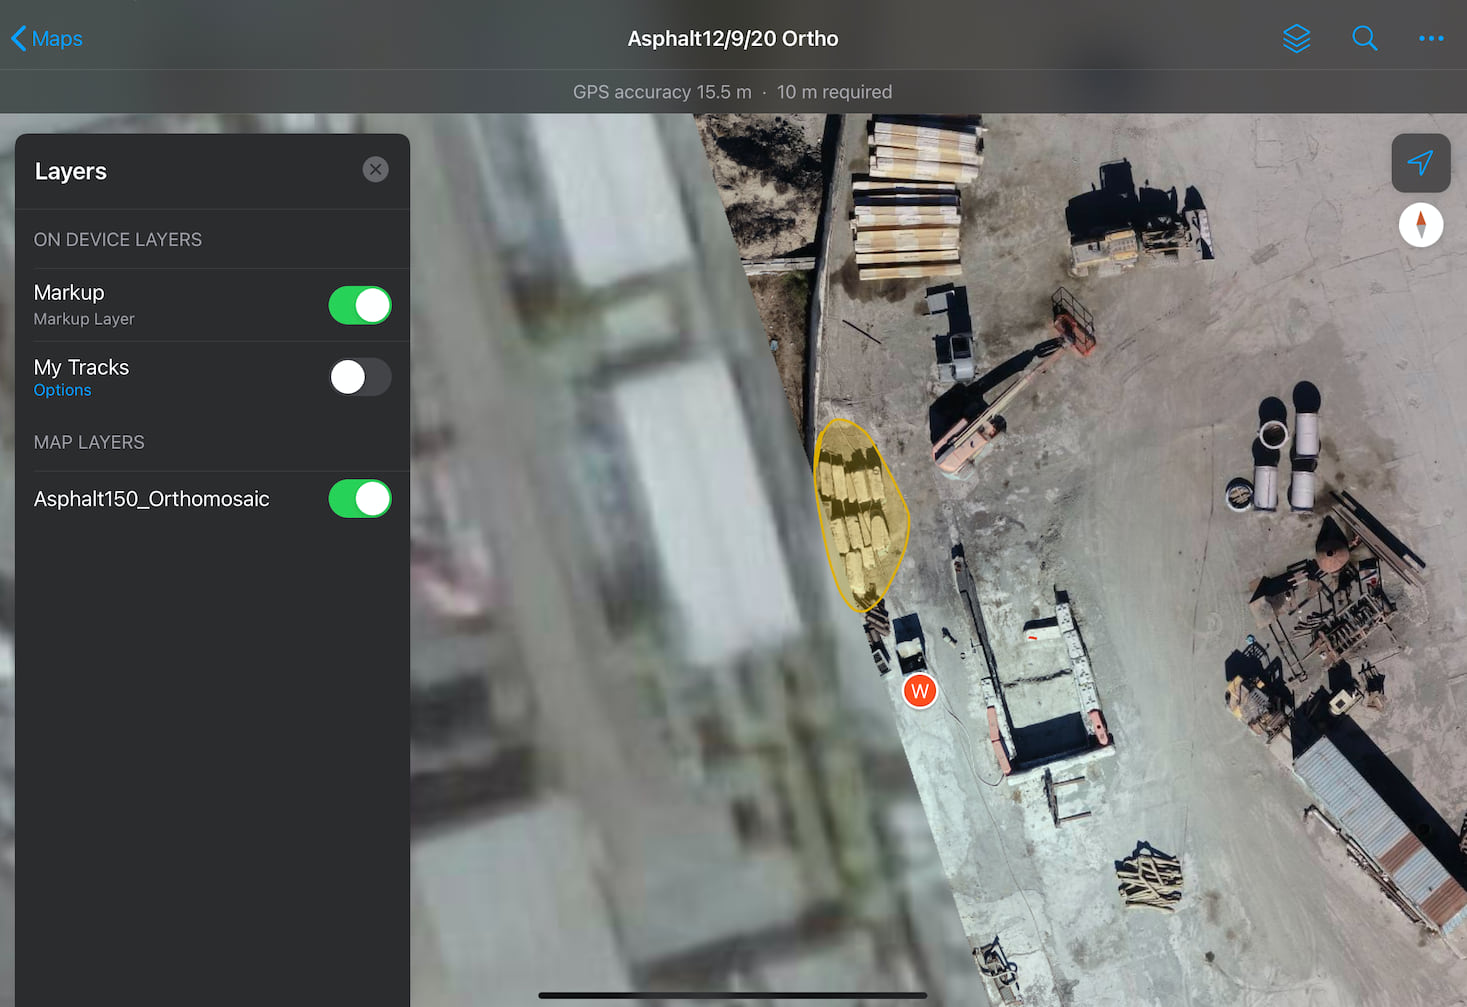
- Use high resolution orthomosaics as basemap overlays for data collection and markup in ArcGIS Field Maps
- Compare time-based imagery through a configurable application using ArcGIS Web AppBuilder
- Analyze line-of-sight or viewshed using a 3D point cloud hosted scene layer in ArcGIS Pro
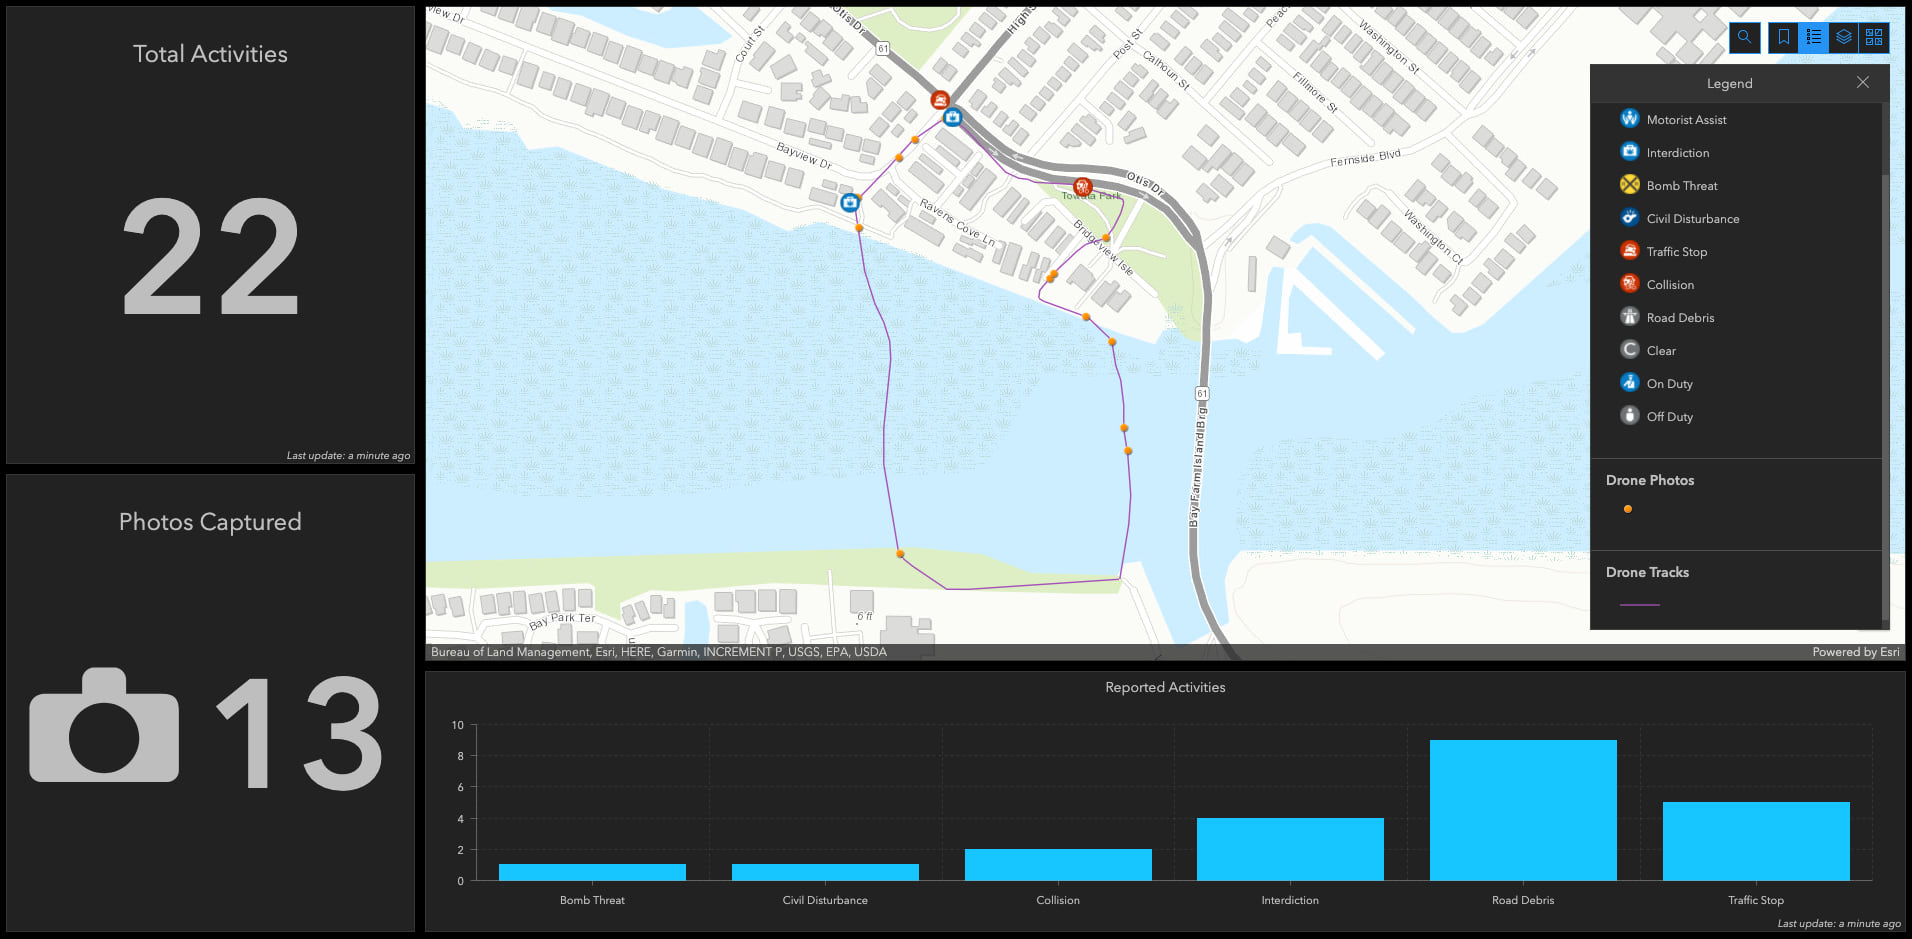
- Enhance public transparency in local government by sharing drone photo locations on an ArcGIS Dashboard
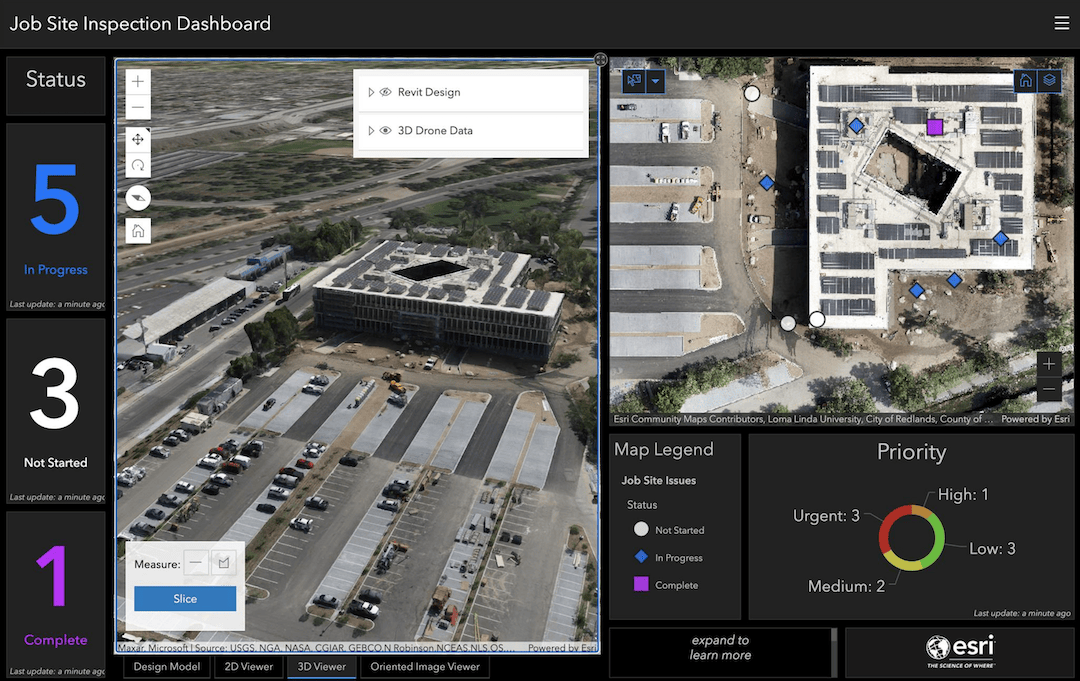
- Engage with the public around progress of a construction project using ArcGIS Hub
- Overlay drone imagery on wildfire extent data from the ArcGIS Living Atlas
- Amplify organizations’ existing vector and raster GIS data with new context from drone-captured imagery in web maps and applications
- Gather imagery data to maintain organizations’ authoritative GIS system of record
Types of data that can be published from Site Scan to ArcGIS
Site Scan offers publishing a variety of data to ArcGIS:
- Orthomosaic
- DSM/DTM Elevation
- DSM/DTM Hillshade
- Point Cloud Scene Layer
- Integrated Mesh Scene Layer
- Processing Report
- Image Locations Feature Service
- Ground Control Points Feature Service
When publishing data to your organization, you have the option to specify which folder or groups to share with. This reduces the hassle of rearranging your data afterwards and ensures the people and teams who require access to published datasets are getting what they need.
Getting Started
It only takes a few clicks to bring your data into ArcGIS Online or ArcGIS Enterprise. Follow these steps to start taking advantage of the numerous other tools ArcGIS has to offer.
* To register your Site Scan for ArcGIS and ArcGIS Enterprise Portal, please contact your Customer Success Manager or Esri Technical Support.
* If publishing to ArcGIS Enterprise behind a firewall, reference this guide for additional setup instructions.
- In Site Scan, navigate to a mission that contains imagery data such as an orthomosaic, point cloud, or 3D mesh.
- In the bottom left, click the “Share to ArcGIS Online” icon (this also applies to ArcGIS Enterprise).

3. Sign in using your ArcGIS Online or ArcGIS Enterprise credentials.
4. Add a name and select the data product(s) of your choosing.
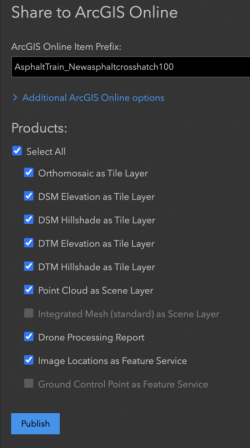
5. If desired, expand the “Additional ArcGIS Online options” to specify folders, groups, tags, and descriptions for the data products.
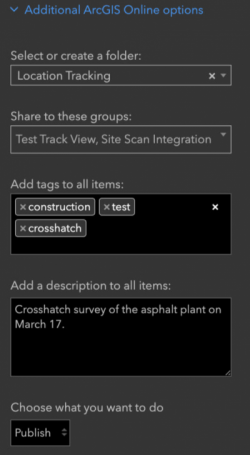
6. Click Publish
* Note: Publishing can take up to an hour.
7. If desired, view the status of the published job under “Check Status”

8. After the job is complete, log into your ArcGIS organization. Your data products are ready to be analyzed, distributed, and consumed in your GIS applications.
* Tip: Unless you publish data to a specific group(s) with custom sharing settings, published data is private by default. To share with members of your organization or the public, the sharing settings of the new ArcGIS data layer(s) must be modified accordingly. To learn more about sharing in ArcGIS, see documentation for sharing items in ArcGIS Online and ArcGIS Enterprise Portal.

Article Discussion: