Interactive digital maps have made data visualization far more robust and engaging for users. Yet, many aspects of professional map design taken for granted on the paper medium are still missing in most web-based designs. One such feature is: the ability of mapmakers to control the geography of a map.
Great news! ArcGIS for Microsoft 365 now offers you maximum control over your map extents.
Read on to learn how to communicate more clearly using three ArcGIS for Microsoft 365 features:
- Lock Map Extent
- Set Home Extent
- Bookmarks
The walkthroughs below illustrate using using these apps in ArcGIS for MS Excel and MS SharePoint specifically. However, the lock extent features can also be found in ArcGIS for Power BI – please see the ArcGIS for Power BI documentation for details.
You are managing a nationwide project where stakeholders need to view data in context, such as across the entire contiguous United States. There’s absolutely no need for zooming in on points of interest as understanding the pattern of how the data is distributed across the United States is important. Everything necessary to interpret the map is visible when the map opens.
ArcGIS for Microsoft 365 now allows you to lock your map at this viewpoint, to prevent users from exploring irrelevant areas. In other words, you can now design your map like a single-scale paper map: no zooming, no panning.
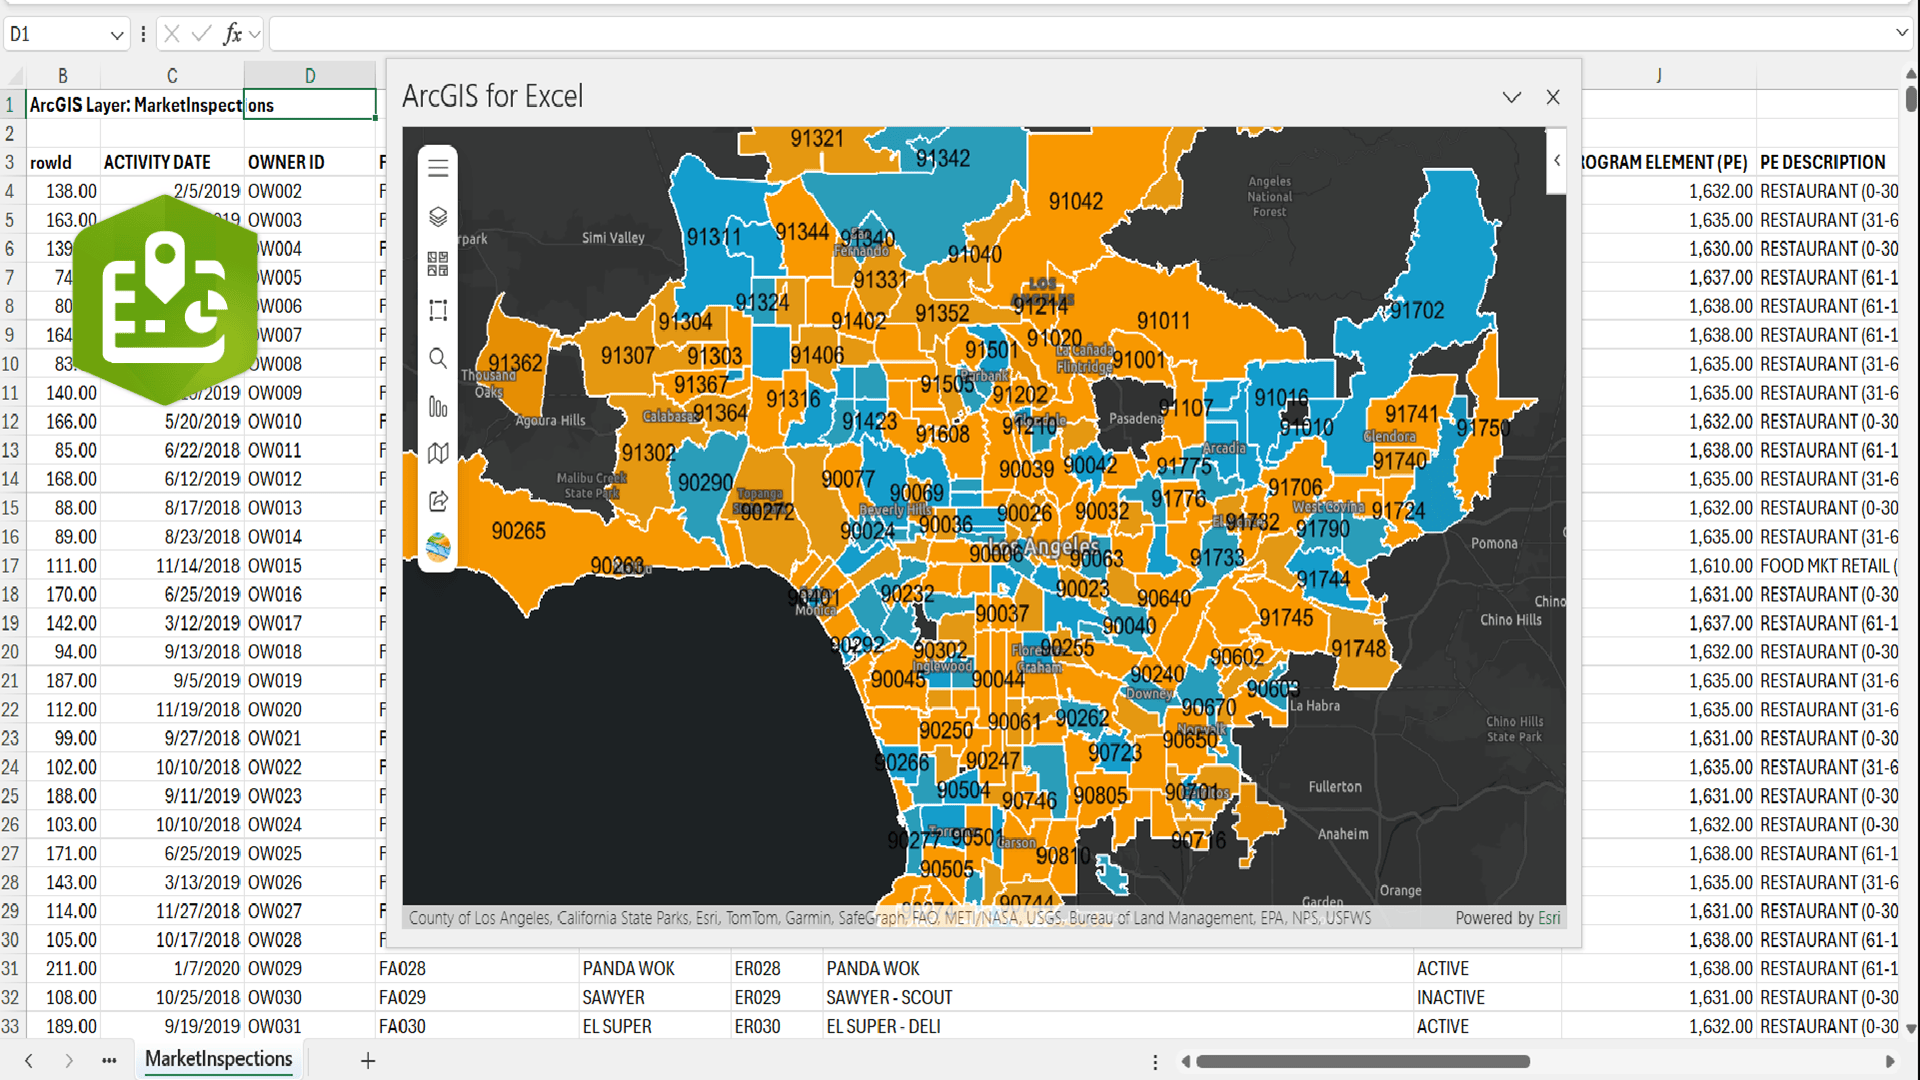
Follow these steps in ArcGIS for Excel (or similar in ArcGIS for SharePoint) after loading a map to start using the feature:
1. Pan and zoom to the area of focus
You should set up your geographic extent just right. In most circumstances, this means having your mapped features take up as much screen real estate as possible. Obviously, make sure your data fits in the window, because once you lock the geographic area users will not be able to pan or zoom.
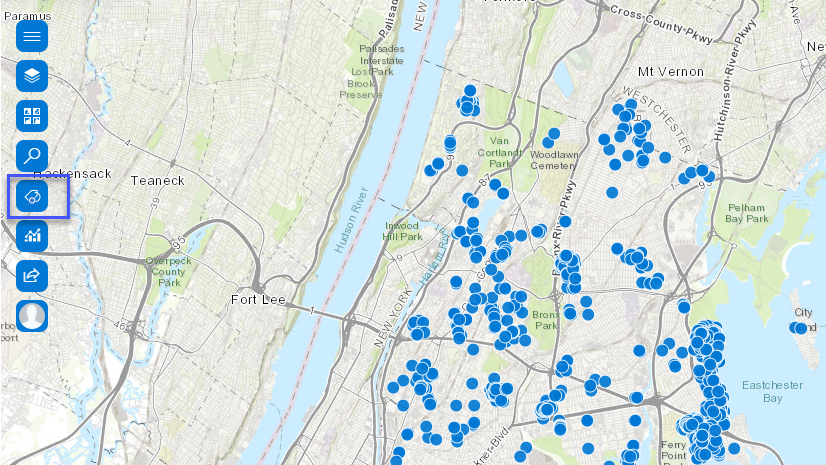
2. Navigation tools
Expand the map tools menu and select Navigation tools. The Map extent tab is open by default.

3. Lock map extent
Once Navigation tools is open, you will see Lock map extent as the second option on the Map extent tab. Click on the Lock map extent unlocked icon. It turns to a lock icon. Congratulations! Your map is now locked. If you try to zoom or pan the map, nothing will happen.

4. Unlock map extent
If you decide you would like to reposition the extent or change the zoom, or if you redesign the map so that it needs to allow for map navigation, simply click the lock icon again and it will unlock your map. Have no fear: unlike with print maps, map locking is always reversible in ArcGIS for MS365!
Home is where you say it is
Sometimes you don’t want to lock a map. Interactivity is often beneficial and an asset in map design. Home buttons, icons on the map that take people back to an original extent and zoom scale, can help solve for this.

Unfortunately, using a default home button can also accidentally confuse the user. For example, if you are interested in highlighting professional soccer clubs in Germany, but your dataset is for all professional clubs throughout Europe. The default behavior of the Home (Default extent) button is to zoom to a dataset’s full extent. But do you really want someone who has zoomed in on Braunschweig to click the Home button and be shown a map stretching from Reykjavik to Vladivostok? (Hint: the answer is no.)
ArcGIS for MS 365 has added a new tool to solve for this dilemma – the Set home extent tool.
You can now set a default home button extent instead of using the default. In this case, you can zoom to and center your map view over Germany and set the home button to always zoom back to this map extent. It overrides the default, full-data extent behavior. Now, whenever a user taps on the home button, they will be shown all of Germany – not all of Europe.
Here’s how you can do this in ArcGIS for Excel or ArcGIS for SharePoint after you have loaded a spatial dataset.
1. Pan and zoom to the area of focus
You should set up your geographic extent to the optimal area to return to whenever someone selects the Home icon – for example over a particular county in Iowa, e.g., Madison County, instead of zooming out to show all the counties in a dataset called ‘Iowa counties’.
2. Navigation tools
Expand the map tools menu and select Navigation tools.
3. Set home extent
Once Navigation tools is open, you will see the Set map extent tool as the first option. Click on the Home icon. Your home button will now automatically take you to the current map extent, no matter the size of your screen.

Check out the feature right now. Zoom and pan on the map. Then click the home button. You’ll be taken back to where you just were.
4. Remove custom Home extent
If you decide you would like to go back to the default extent – that automatically readjusts your map to the full geographic extent of your datasets, simply click on the X icon next to the Home icon in the Navigation tools pane.

5. Create new Home extent
You can create and recreate as many Home extents as you want until you get it just right. However, you can only ever have one Home extent at a time – or the original Default extent.
But don’t worry. If you want to use many different extents in a single map project, we’ve got you covered in the next section.
Create bookmarks to travel between geographic areas
Remember detail maps? They were large-scale insets on small-scale maps that allowed users to see details about important places on static maps showing a large contextual area, e.g., urban areas. Due to the interactivity of maps today, they are easy to forget. You can zoom and pan to the area of interest quite quickly.
Let’s say you design maps for a company with operations in 17 cities across the United States. You can set the home extent to show all the cities with your data at a small scale. But your users will then need to pan and zoom into each individual city as they move between them. This is neither an efficient nor fun user experience. (Most of us have experience map vertigo – becoming geographically disoriented while panning and zooming at large scales.)
We have you covered – ArcGIS for Microsoft 365 now has bookmarks. In addition to your home extent zoom, you can create pre-set zoom and extent levels and save them for quick retrieval by your users.
In the above case, you could now create a unique bookmark for each city, so your users can quickly switch map views, from city to city, without needing to navigate across the US via mouse. Each bookmark zooms to a preset extent centered on the urban area of interest.
Creating bookmarks is as quick and easy as using the other two geographic extent features.
1. Pan and zoom to the area of focus
Set up your geographic extent over the detailed area you want to bookmark. In this example, I am zooming to the Minneapolis-St. Paul metropolitan area.
2. Click on the Bookmark map icon
Simply click on the Bookmark icon once you’ve zoomed to where you want to create a bookmark to make a bookmark instantly. The Navigation tools will open to the Bookmark pane, and you can enter a name for your bookmark there.

3. Optionally: select Navigation tools
To find your bookmarks, you start by opening Navigation tools (found in the upper-lefthand side of the map pane).
4. Select Bookmarks
In the Navigation tools pane, you will see two panels at the top. The first one you are familiar with, as it contains the Lock map extent and Home extent tools. Click on the Bookmarks pane.
5. Select New bookmark button
You will see all bookmarks you have created here. You can also create new bookmarks from right inside the panel by clicking the New bookmark button. Enter a name that will make sense to your end map user.

6. Add, sort, and update multiple bookmarks
You can add as many bookmarks as you like to your map. You can also sort bookmarks by dragging and dropping them in a new order. Multiselect more than one bookmark at a time by holding down the ‘Ctrl’ button (‘Command’ button on MacOS) before dragging and dropping them in an order that makes sense for your users.

You can also quickly update a bookmark. Simply realign the map window at the appropriate zoom level and click the Update button next to the desired bookmark in the menu. This way you can change bookmarks as you add new data or to suit user needs.

7. Customize and delete bookmarks
By default, the base map you were using gets used when creating a thumbnail image for your bookmarks. If you add data later or change the basemap, or simply want to upload your own thumbnail image to brand or standardize the thumbnail experience, simply click on the thumbnail image. You will be prompted to provide a URL to the image you prefer.

Sometimes you want to get rid of bookmarks. Not a problem, you can click the Delete icon next to any bookmark to remove it. Or if you have a lot of deleting to do, multiselect many bookmarks and click Delete at the top just under the Bookmark title to remove many at once.

Start controlling your map’s geography with ArcGIS for Microsoft 365
These new features in ArcGIS for Microsoft 365 bring back three largely absent, but not forgotten, benefits of print maps for visual communication. Lock Extent, Set Home Extent, and Bookmarks offer you, the mapmaker, control over how users read, use, and the geographic context in which they can interpret your visualization.
Start experimenting with them today to keep map users on task, allow for more efficient map navigation, and take control over the geography in your maps. Happy mapping!

Commenting is not enabled for this article.