Swipe to view relationships between layers with the new Swipe widget, available in version 4.13 of the ArcGIS API for JavaScript. The Swipe widget is a useful tool for comparing layers or seeing what is underneath a layer.
The Swipe widget can be initialized in just a few quick steps so that you can start comparing layers in your web apps. You have a few options when adding a Swipe widget to your MapView. These include which direction you would like it to move (horizontal or vertical), the position you would like it to start in the view, and of course what layers you would like to compare. You can also change the visual aspects of the Swipe widget’s display through the visibleElements property.
Now, let’s look at three scenarios for how to use the Swipe widget.
Swipe to reveal an underlying layer
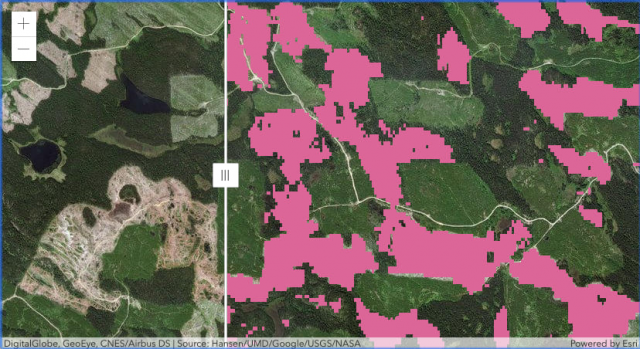
Let’s see how you can use the Swipe widget to see what’s underneath a layer by examining deforestation in North America. We’ll add the Tree Cover Loss ImageryLayer to the trailingLayers property and leave the leadingLayers property unset. This will allow us to see the underlying satellite basemap below the tree loss.
var swipe = new Swipe({
  view: view,
  trailingLayers: [treeLoss],
  direction: "horizontal", // swipe widget will move left and right
  position: 30 // position set to a third of the view (30%)
});
view.ui.add(swipe);
The resulting application will look like this, where we can swipe to see satellite imagery underneath the areas affected by tree loss.

Swipe to compare layers
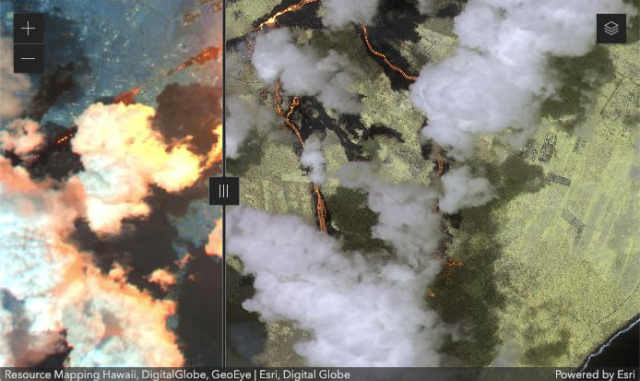
The most common use case for the Swipe widget is to compare two (or more) layers. This can be useful to view before and after imagery from a natural disaster, see urban development over time, or view similarities and differences between datasets in the same area. To create a comparison between layers, we add layers to both the leadingLayers and the trailingLayers properties. When the direction property is set to “horizontal”, the leadingLayers will appear on the left of the Swipe divider, and the trailingLayers will be on the right. A beautiful, seamless comparison awaits.
var swipe = new Swipe({
  view: view,
  leadingLayers: [infrared],
  trailingLayers: [nearInfrared],
  direction: "horizontal" // swipe widget will move left and right
});
view.ui.add(swipe);

Swiping programmatically
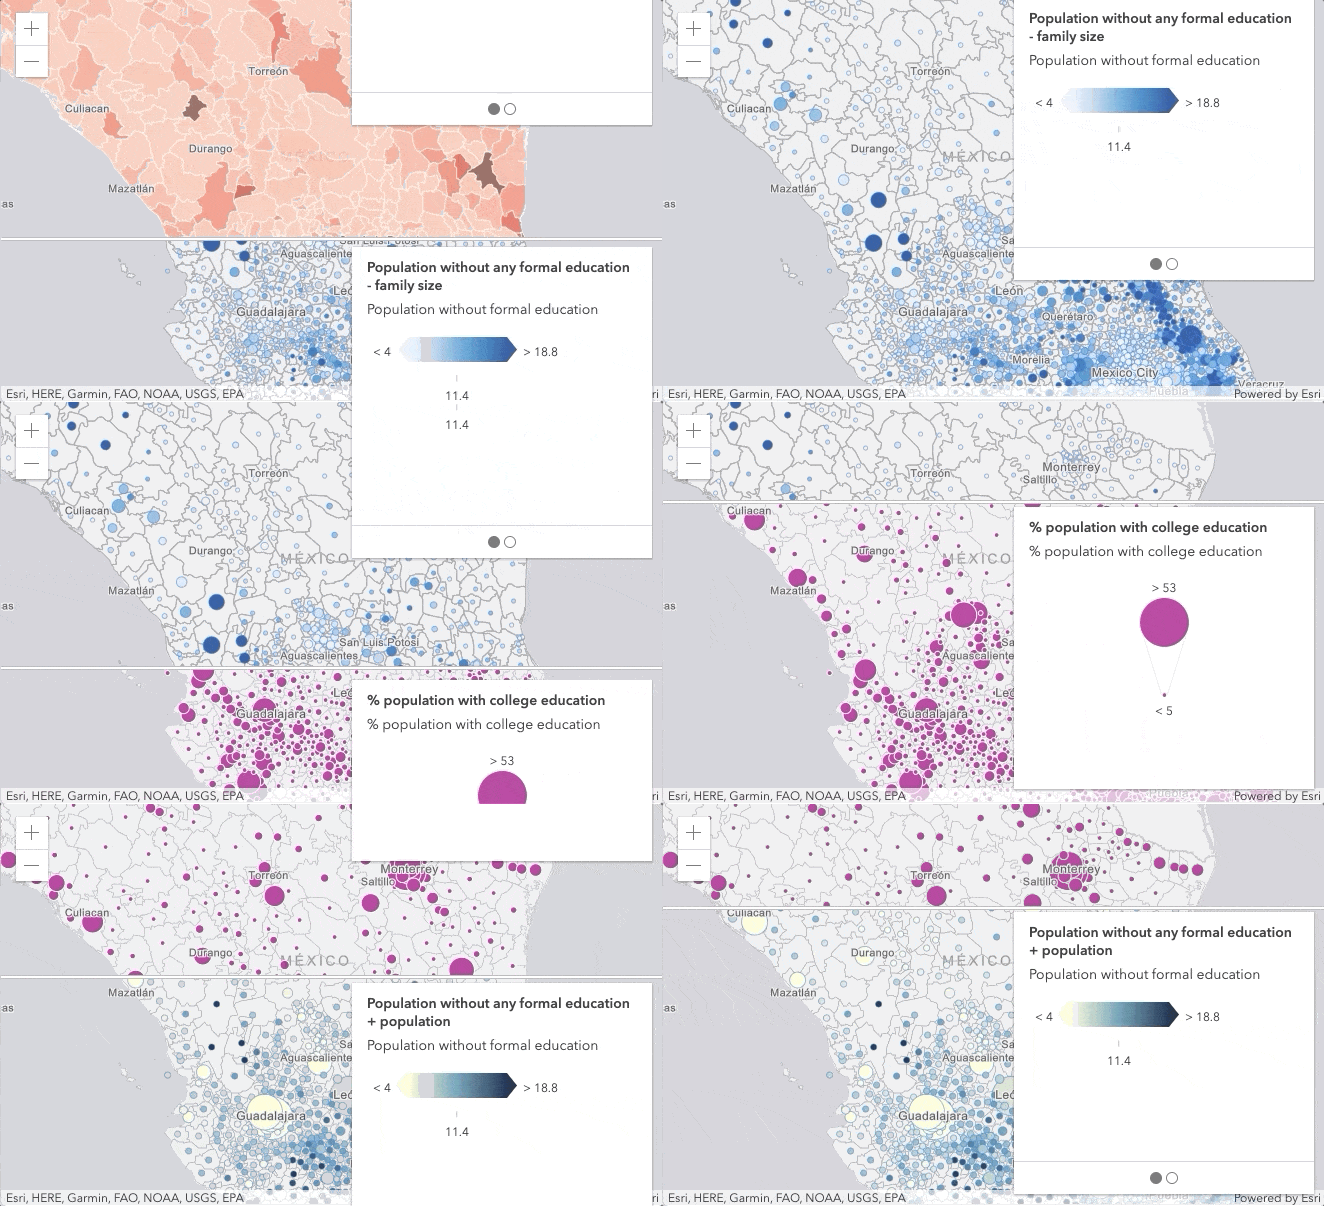
Instead of dragging or using the arrow keys to move the Swipe widget back and forth, you have the option to control the swipe widget programmatically using the position property. To show how this can be done, we created an application that programmatically swipes through layers of a Webmap whenever the user scrolls.
Multiple Swipe widgets are used in this application. For each layer of the Webmap, a swipe widget is created and the layer is added to the Swipe widget’s trailingLayers property.
// create a swipe widget for each layer
swipes = layers.map(function(layer) {
   return new Swipe({
      view: view,
      disabled: true,
      position: 100, // start at bottom of the view
      direction: "vertical", // will move up/down
      trailingLayers: [layer],
      visibleElements: {
         handle: false, // swipe widget handle won't be shown
         divider: true
      }
   });
});
When the user scrolls through the app and the position of the Swipe widget reaches either the top or bottom of the view, the leadingLayers and trailingLayers update.
if (position < 0 && swipe.trailingLayers.length) {
   swipe.leadingLayers.addMany(swipe.trailingLayers);
   swipe.trailingLayers.removeAll();
} else if (position >= 0 && swipe.leadingLayers.length) {
   swipe.trailingLayers.addMany(swipe.leadingLayers);
   swipe.leadingLayers.removeAll();
}
Click the following GIF to see this application in action.

Start Swiping!
Hopefully this helped you better understand how to use the Swipe widget. Now, it’s time for you to start swiping! We cannot wait to see the awesome applications that you will create.
The Swipe widget is the new and improved version of LayerSwipe in 3.x.


Article Discussion: