Updated December 2021
The new Instant App, Nearby (introduced with the October 2019 update of ArcGIS Online), discovers what’s nearby and reveals the directions to get there. Community members can explore neighborhood resources; for example, they can find the closest library or identify all available medical facilities within a specified distance. And…what’s more, the app can generate directions. Viewers can select a location on-screen or enter an address, and then get results for a given radius or map extent. To expand the exploration, all that’s needed is a simple adjustment to the search radius or pan the map. Nearby automatically responds to a variety of screen sizes and includes directions for different modes, such as driving or walking. This blog walks you through the configuration of the Nearby app so you can help viewers better explore their desired locations.
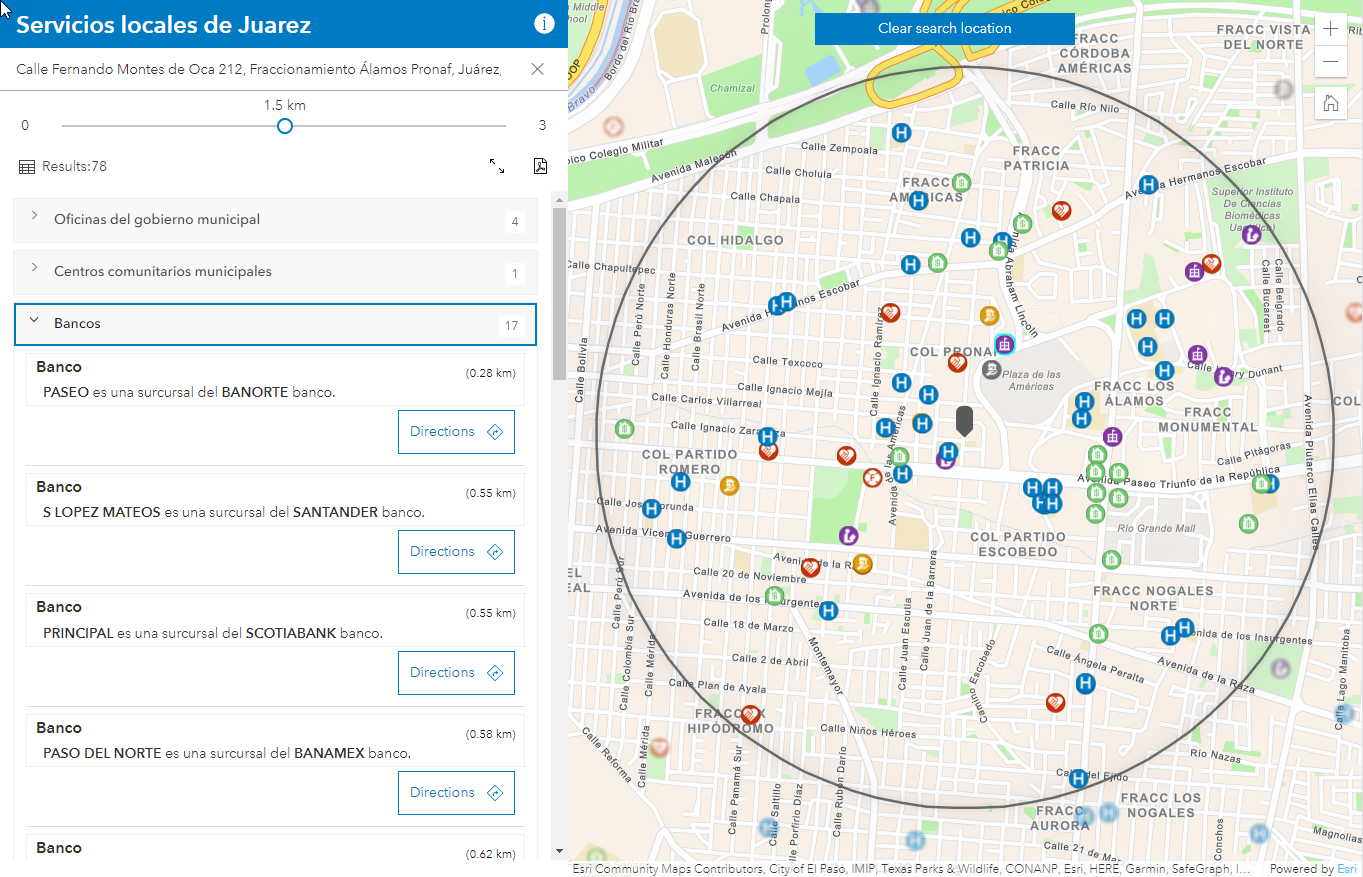
How does Nearby work?
The Nearby app requires users to input a location through one of three options:
- Clicking the map
- Entering an address into the search bar
- Using their current location with the geolocation option
Once selected, the user specifies a search distance and a minimum and maximum search radius (the app also includes the option to search the map extent). The app reveals all results within the default search radius. Viewers then have the option to adjust the search radius using a slider to explore results within different distances. Grouping results into a layer further expands a viewer’s ability to review results for specific features of interest.
Now let’s look at how to configure Nearby!
Create your map
Nearby includes features that intersect the search radius around either point, line or polygon features. In the following example, multiple layers have been used to show community resources in Juarez, Mexico.
Take time to configure the pop-up information. Like the Zone Lookup app, the pop-up drives results. Configure your pop-up to display relevant information in an easy-to-understand way. Nearby offers a configuration option to reveal the pop-up title as a label for map features as you mouse over the results portion in the app.
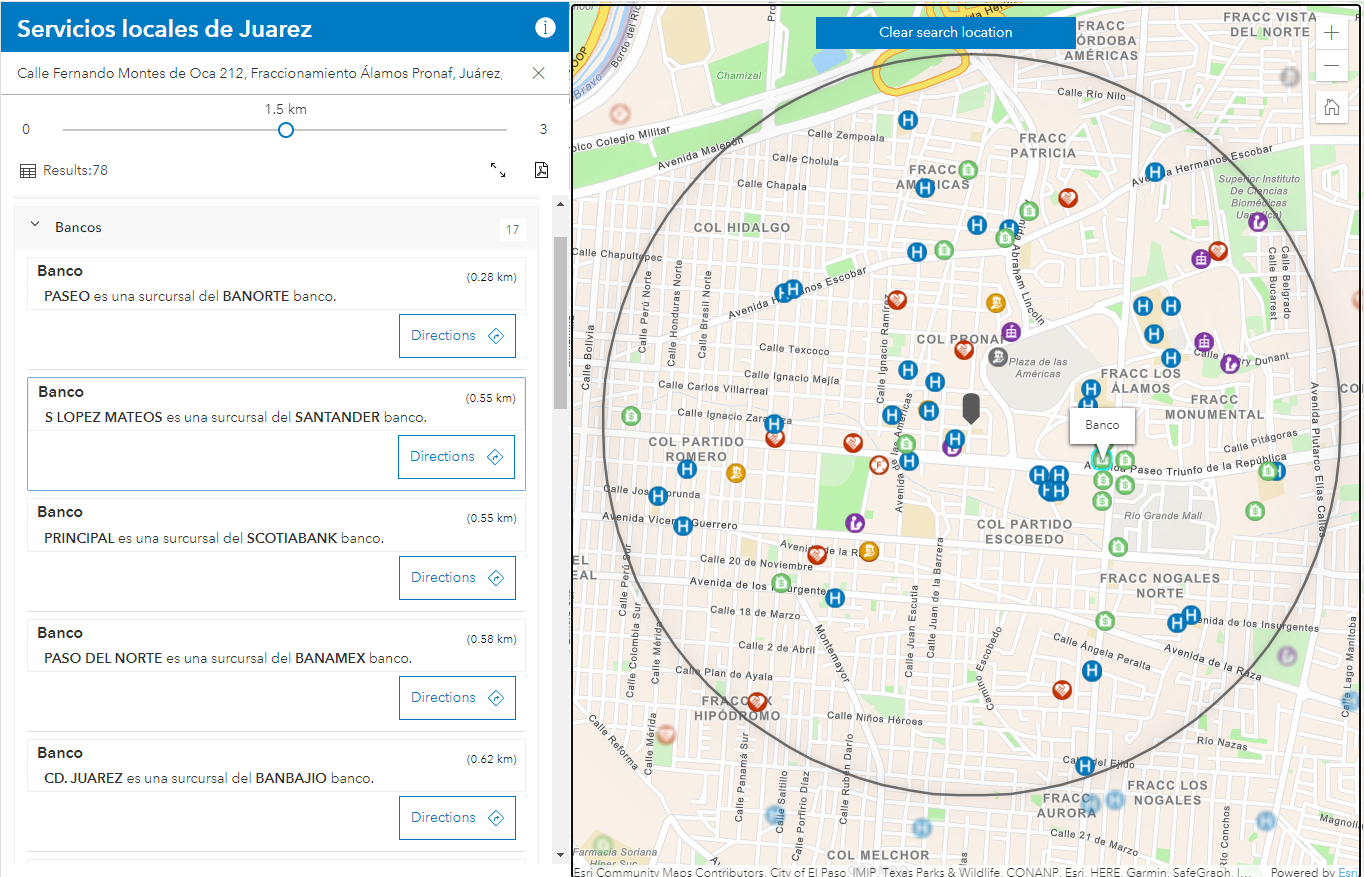
Choose an appropriate basemap that complements your symbology. Be sure to test at different scales. Set your map extent to determine a starting point. When the app searches an address, it zooms to the searched area, changing the scale to show only the searched area.
Publish your map to an Instant App
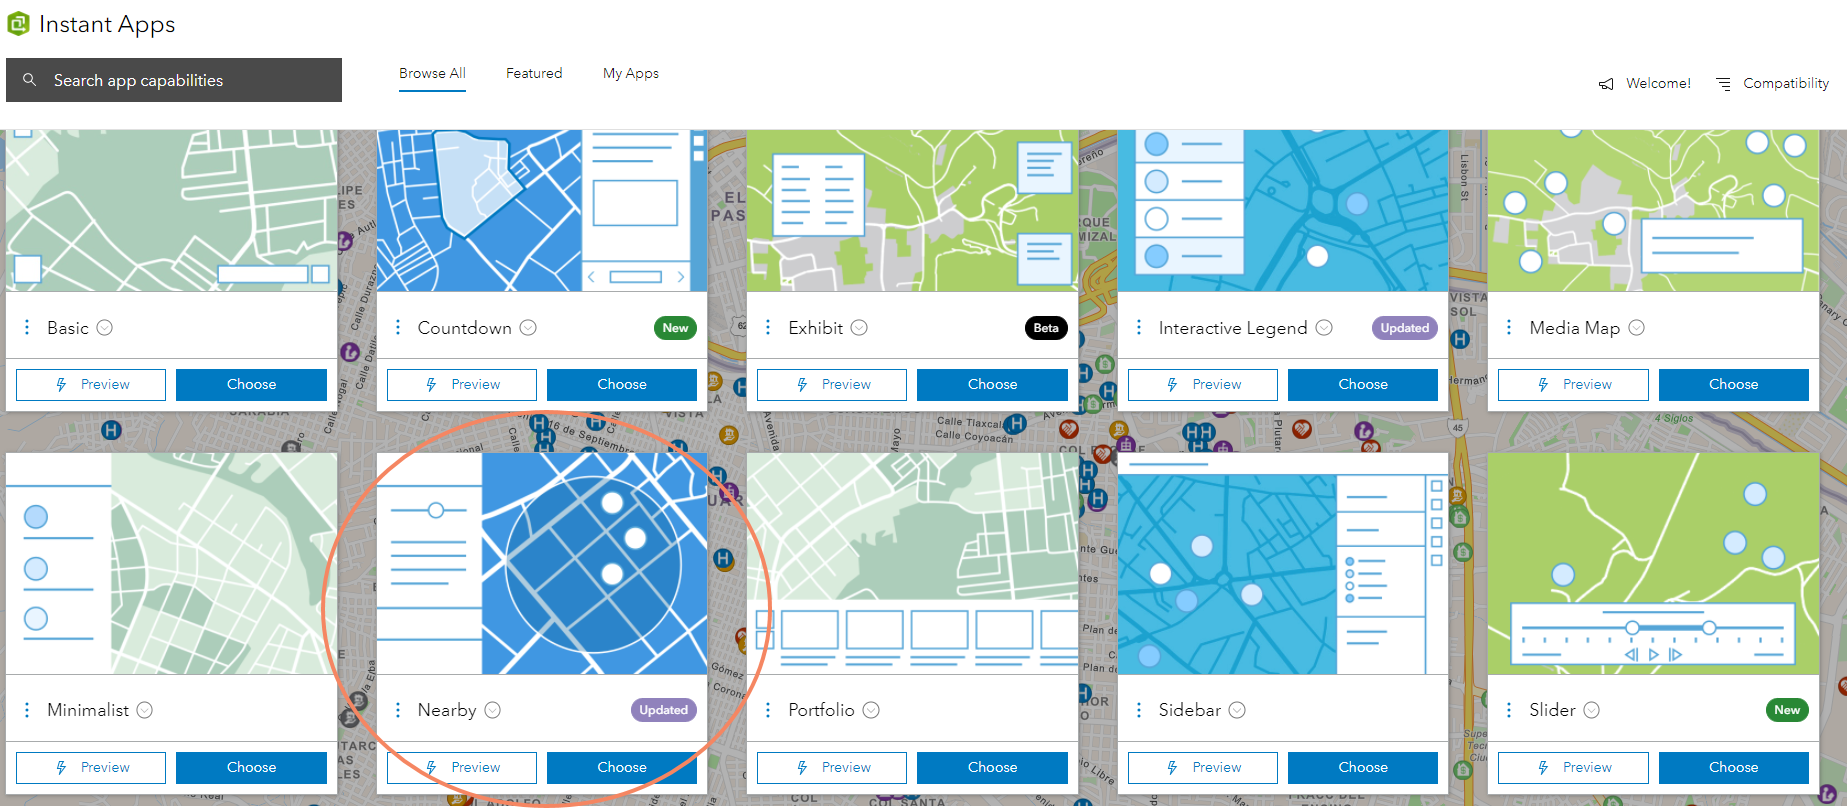
Once you create the map and save it, click the Create App button in Map Viewer and select Instant Apps. Select Nearby as your app.
Configure the app
Configure your app with the available options, as follows:
- Step 2 – About
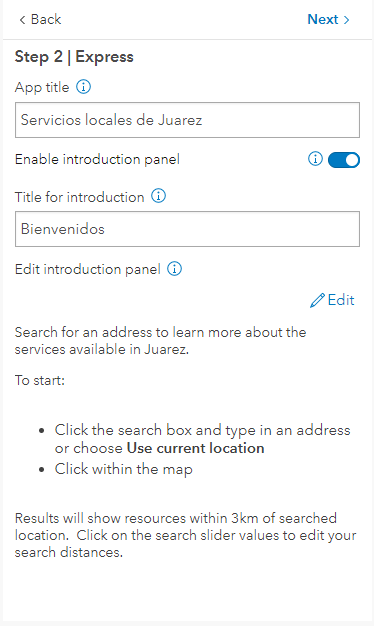
In the About section you have the option to update your app title and customize your title and welcome text. Edit the Introduction Panel title and details to introduce the app to your users and include any needed instructions.
- Step 3 – Nearby
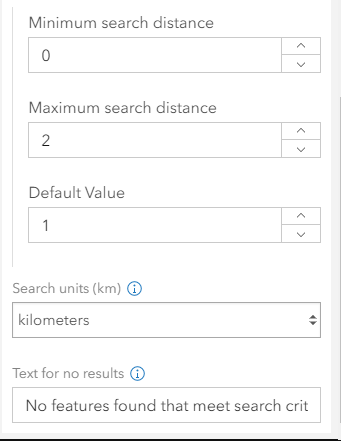
Use this setting to configure all settings related to the nearby functionality of the app. Define if the app will use a search radius to return results or search based on the map extent. Define layers to be returned in the results and defining search slider and search dialog options. By default, all layers are returned in the results. However, you can refine the list by checking on specific layers. You can choose to add Directions to each result as well. The slider settings define the minimum, maximum and default search distance in the slider. These settings correlate to the search slider in the application.
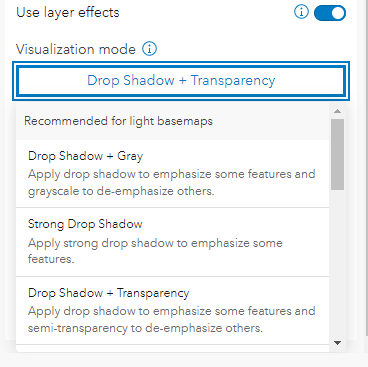
Enable layer effects to differentiate between features included and excluded in the results. Choose from a list of options of prepared layer effects.
Finally, configure a message to indicate when the app returns no results, so users know no results meet the search criteria.
- Step 4 – Interactivity
The Interactivity options include settings related to exploring and analyzing your map. In express mode of the app, that is related to search configuration.
- Step 5 – Theme & Layout
Choose between a light or dark theme, with the option to enabled shared theme if your organization has created one.
For a complete list of all app options, turn off express mode.

Explore more options:
- Enable a filter to refine search results based on layer and field information.
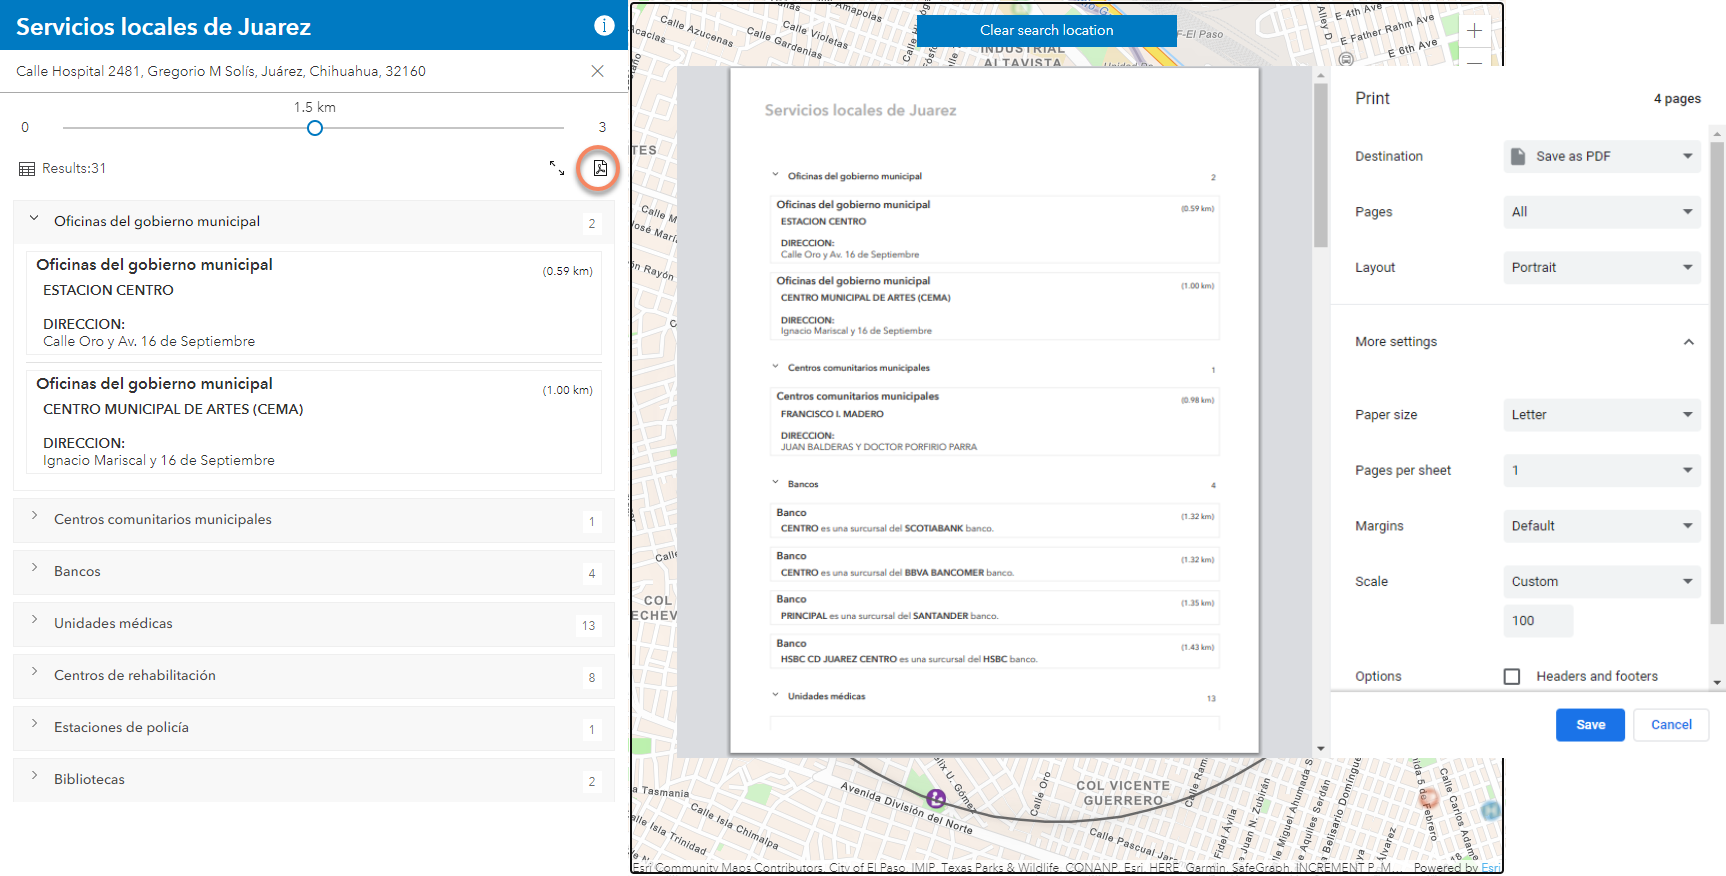
- Customize the results panel by adding additional tools for apps users. Export to PDF will enable app users to export the results to a PDF.
- Include related records in the search results.
- Enable app users to share individual results through a link. This provides app users to share a link directly to the selected result.
Tip: These capabilities are available in the Nearby section of the full setup or Search the bolded text mentioned above to locate while configuring the app.

Test and share your app
Once you like your app configuration, publish it and test it. If you’ve enabled directions, you can easily test your proxy settings by either using your app in an incognito window or once you’ve logged out of your window. Once testing is complete, share your app with your audience!

Commenting is not enabled for this article.