The only reason for time is so that everything doesn't happen at once.
Time is a human construct that we invented to keep track of when things happen, such as an earthquake or a home purchase or when the last train leaves the station.
Yes, we made it up, but for a good reason. Knowing when something happened can be just as important as where it happened, and we needed a way to capture it. The good news is that ArcGIS Pro allows you to pan and zoom through time, effectively giving you the power of time-travel.
Time-aware content
Before you can travel through time, though, you need to have time-aware content in your map.
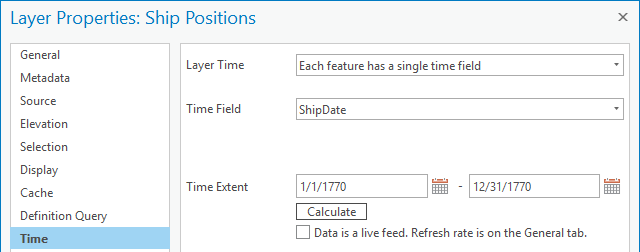
In ArcGIS Pro, you define this at the layer-level. Each layer in the map can have its own definition of which fields describe the instant (or duration) of time that a feature is valid. For events, such as an earthquake, this is usually modeled as a single field value for each feature. For durations, such as a power outage caused by an earthquake, this is modeled using two fields – one for the start of the power outage and one for when it ended. Each layer in your map defines its own time zone, so data from around the world can be used in the same map.

Tip: It is strongly recommended you use a dedicated Date field to store your dates and times (rather than a formatted text field). This ensures well-defined date values in your database and gives you access to additional options, such as the Calendar control for editing.
Then, you just define and update the time extent of your map.
As soon as the map has a time-aware layer, an onscreen time slider control appears. A contextual Time tab is also added to the ribbon, exposing the time properties of the map. Once time is enabled, the map filters which time-aware features are displayed.

Use the time slider
The time slider allows you to zoom and pan the map’s time extent to see more or fewer features, just like zooming and panning the map’s spatial extent.
Time travel is easy – just grab and drag the controls on the time slider to change the map’s temporal extent and see different features. You can also grab the dark-blue middle section of the time extent controls and move the whole extent forward and backward in time. To set an exact time extent, enter the values on the ribbon.

One common interaction method for the time slider is to define a fixed time span – such as a day or a week or a year – and use that duration to “step” forward and backward in time. That way you are guaranteed to see all your data, in order and with equal time slices. For example, if I set both the Span and the Step Interval values on the Time tab to “7 days”, clicking the Step button moves the map’s display through consecutive weeks.

Some other simple interaction tips for the time slider include:
- Use the Time Snapping option on the Time ribbon to snap to human-friendly values, such as hours or days.
- Use the Lock toggle button on either the Start or End control to see cumulative time – such as all content after midday on June 10th
- Set the map’s temporal Full Extent based on a particular layer by selecting it from the drop-down list on the Time ribbon
Advanced options with time
Once you’ve mastered the basics of time travel in ArcGIS Pro, feel free to experiment with more advanced ways of working with time. Here are some examples.
First, step through the unique time steps stored within the data itself. This is great for irregularly captured content, such as earthquakes or a mosaic dataset of aerial imagery, where up to 1,000 unique time stops can be stored with the time slider. Clicking the Step button moves you to the next moment where content exists. Learn more about irregular time-steps.

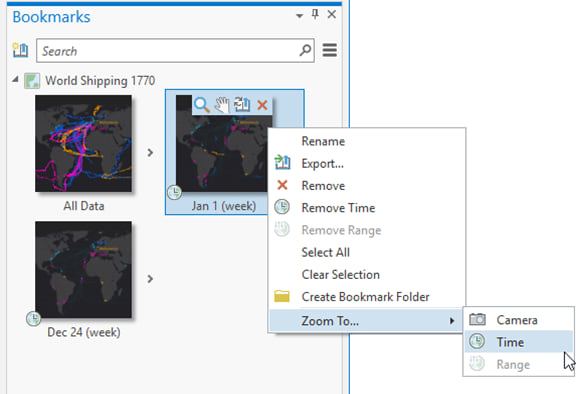
Next, store an interesting time-extent as a bookmark so you can easily get back to it again. All bookmarks created in a time-aware map capture the current time-extent. You can use these bookmarks to navigate in space and time, or you can use the right-click context menu to access just the temporal component. Time-aware bookmarks are shown with an overlaid clock icon in the lower left corner. Learn more about time-aware bookmarks.

Thirdly, you can move the time slider into “live” mode, in which the system clock of your computer effectively moves the time slider for you. This is critical when you have live-feed time-aware data in the map and you want the time slider to keep up with the current time. This option is only available when at least one of your time-aware layers is marked as being a live-feed. Learn more about live-time mode.
Export time content to a video
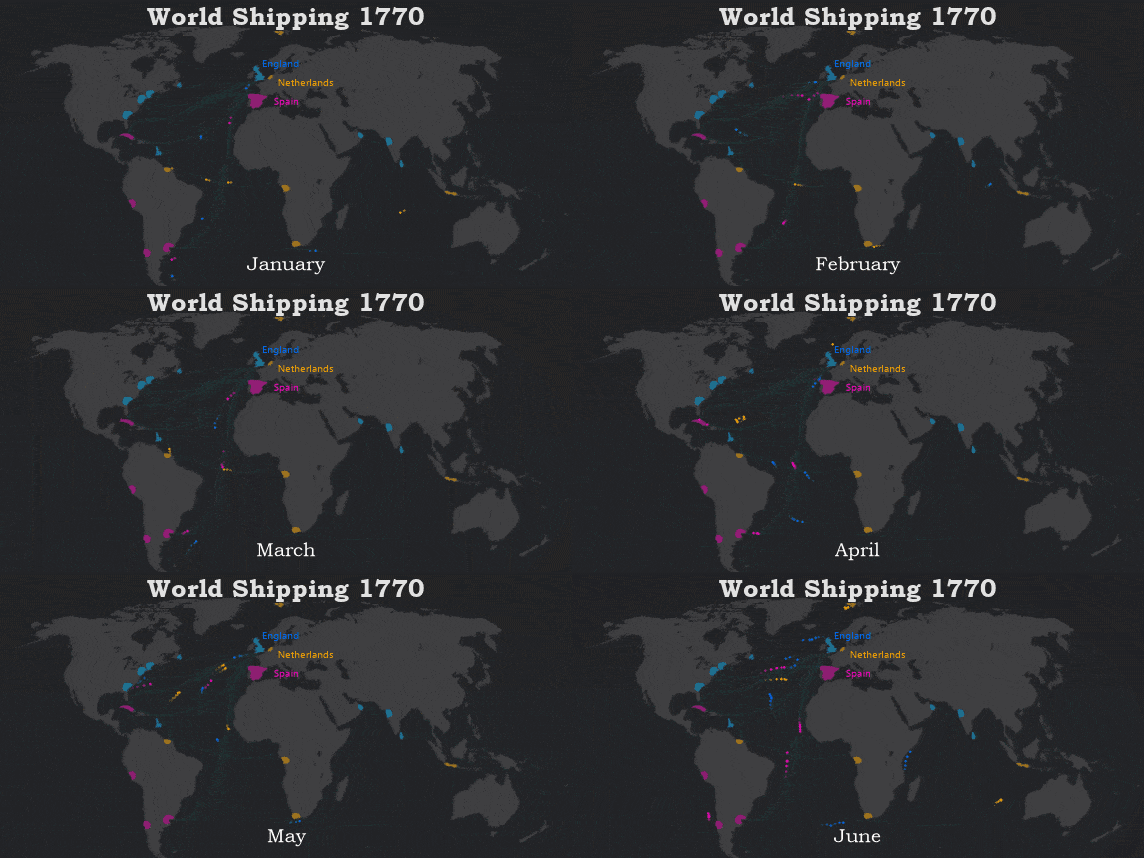
A video is uniquely suited to capturing time-aware information in an easily distributable form, especially with people outside of the GIS world. For example, you can show 10 decades of population growth in one minute, or 6 months of shipping data in 6 seconds.

You author videos in ArcGIS Pro using the animation framework. This requires you to capture the state of the map in a series of keyframes, define the duration of the video, and then let the application interpolate between the known states to generate a video file. For example, if map time is 2.00 PM at Keyframe-1 and 3.00 PM at Keyframe-2, the map time for the video frame generated halfway between them will be 2.30 PM. Keyframes store many map and layer properties, including the map’s temporal and spatial extent.
There are two general workflows for creating time-aware animations.
[1] Explicitly set the time for each keyframe
- This is the simplest option to export a specific time duration window, such as a month or a year, moving through the map’s time extent.
- You create one keyframe with the time slider set to the start time, move the time slider to the maximum time, and create a second keyframe at the end time.
[2] Import the time slider steps (as currently defined for the time slider)
- This option is useful if you’re happy with how you’ve defined the time slider’s time-step behavior, such as with irregular time-stepping, and you would like it exported to a video.
- You create all the keyframes in one step by expanding the Import drop-down gallery on the Animation tab on the ribbon and selecting the Time Slider Steps option.

Seeing the map’s time embedded in the video is critical for users to understand what data is currently being shown. You use dynamic overlay text to do this. Add a time-aware text element to your animation by selecting keyframes in the Timeline pane and clicking the Map Time item in the Overlay drop-down gallery on the Animation ribbon. You format the time text using special tags, such as only showing the date’s month component. Learn more about dynamic overlay text.
Summary
ArcGIS Pro supports the interactive navigation through time using the time slider control. This gives you filtered access to your data when time is just as important as space. You can then share what you learn about your content by creating a video file that includes your journey through space and time.
I hope this helps get you started on your time-traveling adventures!
-Nathan.
Wait, you want to learn more about using time and GIS? Here are some links you may like:

Article Discussion: