Problem: The area you are mapping has some fabulous feature or texture that is visible on the imagery basemap. You want to use it in your map, but you want more control over its appearance. Perhaps you are going for a more artistic effect. But because the imagery basemap is a dynamic and tiled raster layer that’s made up of many different images, it cannot be manipulated directly.
Solution 1: Instead of using the basemap, you can find other imagery of the same place and edit its appearance in a photo editing program before adding it to your map. This lesson will teach you how to find and download Imagery from the Landsat satellites.
Solution 2: Or, you can read this article to find out how to extract static images from the basemap itself, then manipulate their appearance however you like, and slap them back into your map for a sweet custom-cartography look.
Note: If the basemap you want to customize is vector, this is even easier. The answer to your problem is the ArcGIS Vector Tile Style Editor. There you can customize vector basemaps to your heart’s content. This blog is instead about raster basemaps like Imagery or Terrain.
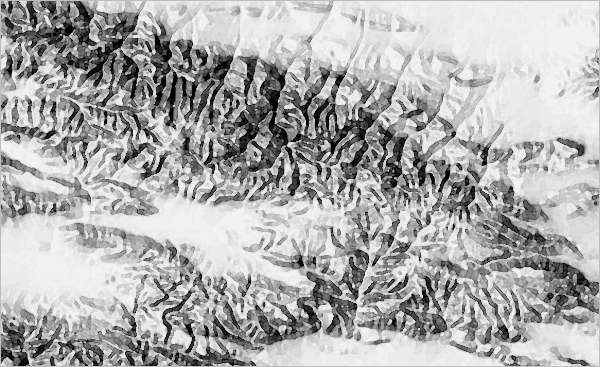
I recently made a black and white map with a lot of texture. There were mountains:
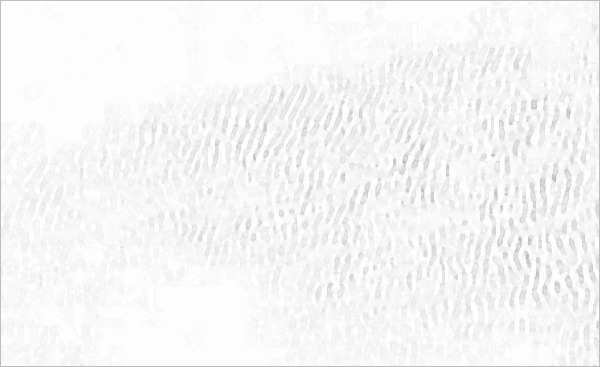
There were sand dunes:
And there was vegetation:
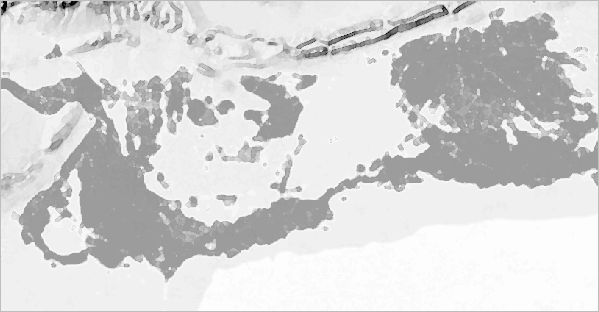
All of these I derived from the Esri Imagery and Terrain basemaps and put a little spin on them so they would fit together aesthetically with one another, and with the rest of the map. Here’s how:
Vegetation
Zoom to the area you want to map.
I was mapping the Taklamakan Desert is in the far west of China, just north of the Tibetan Plateau. It’s an enormous bowl of sand, surrounded by high mountains and ringed by strips of green oases where the rivers from those mountains meet the dunes.
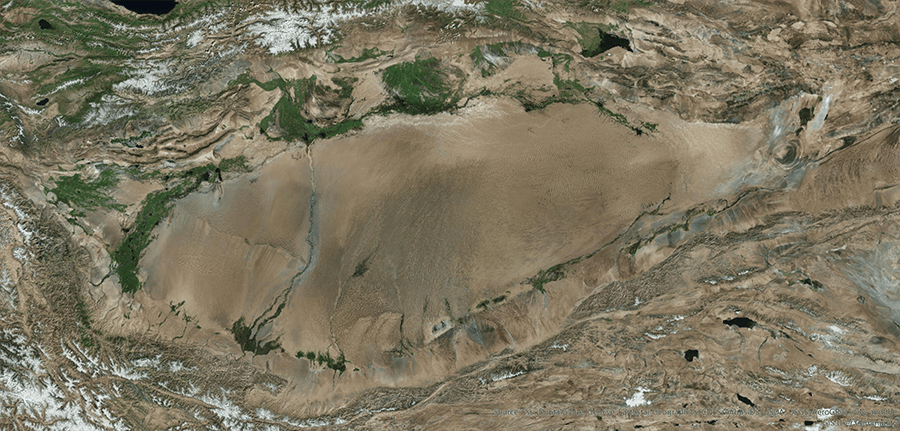
I wasn’t satisfied with the vegetation data I was able to find for download, so I was tempted to just digitize (trace) the green bits on my basemap. But digitizing is a lot of work, and in this context, it was really not worth it. It would be much better to extract the green pixels from the imagery.
I wanted to extract the green parts, but only the green parts that are in the desert, not the green parts in the mountains. So first I made a mask:
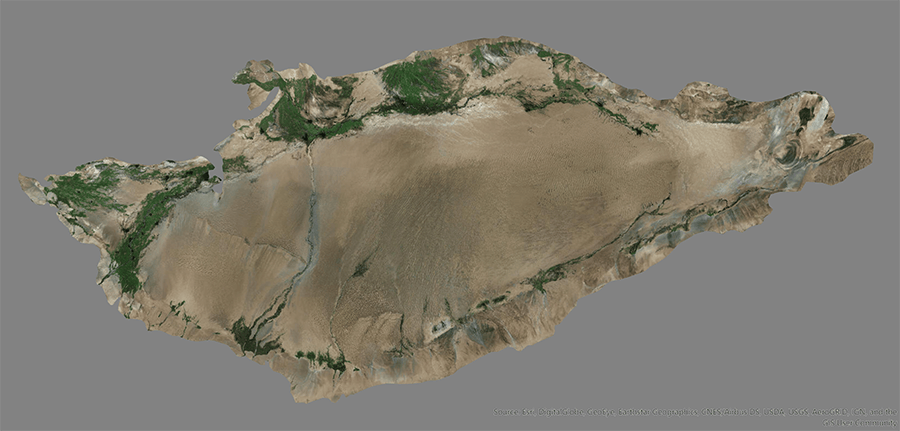
Next, I exported an image of my map.
On the ribbon, on the Share tab, click Export Map.
For Save as type, choose PNG(*.png) and set a high resolution, like 600 DPI.
Make sure you check the Create a World File box. This part is necessary to ensure that you can bring the image back into your map and have it align properly.

Two files are created: a .png image file and a .pgw text file. The .pgw – or world file – contains coordinate and scale information that positions the accompanying image on the earth. If you open it in a text editor, you’ll see that it is very simple – only six numbers.
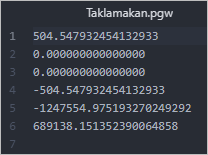
The .png and .pgw have to have the same name in order for them to work together.
Make a copy of the .png file for backup.
Open the original .png file (not the copy) in Photoshop or another photo editing program. These instructions will assume you are using Photoshop.
From the Select menu, choose Color Range. Click on a green area.
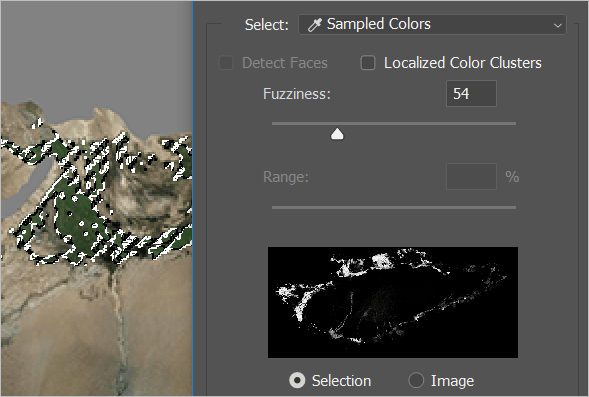
From the Select menu, choose Inverse, and press Backspace or Delete on the keyboard to eliminate all non-green parts of the image.
Next, apply whatever adjustments and filters you like. I ended up relying heavily on the watercolor filter for this map.
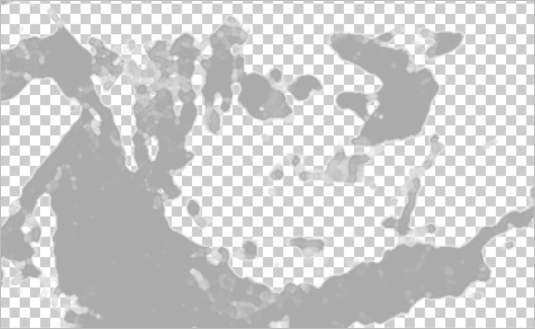
The background of this image is transparent. Unless you are sure that the image will be the very bottom layer of your map, you’ll want to keep the transparency.
Save the .png file. Do not change its name.
Back in ArcGIS Pro, on the ribbon, on the Map tab, choose Add Data and browse to the .png file you just edited. Chances are it will not look like it did in Photoshop.
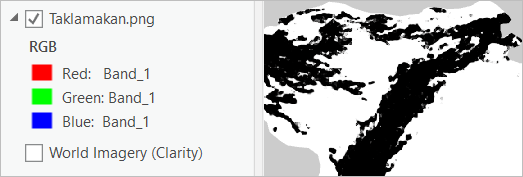
On the ribbon, on the Appearance tab, play with the Enhancement and Transparency controls until you like what you see.

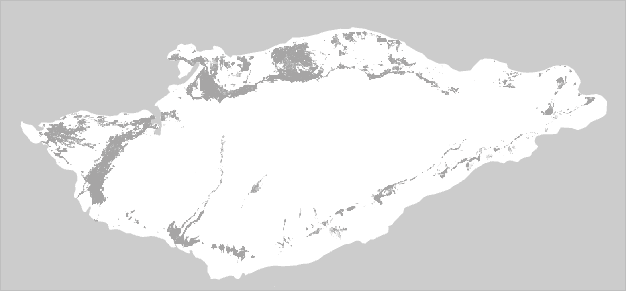
Now I have a layer representing vegetation in the Taklamakan Desert, which looks somewhat watery and natural, and is easier to read than the full imagery basemap.
Mountains
Next, I wanted mountains. I was almost satisfied with just using the Terrain basemap with the labels turned off.
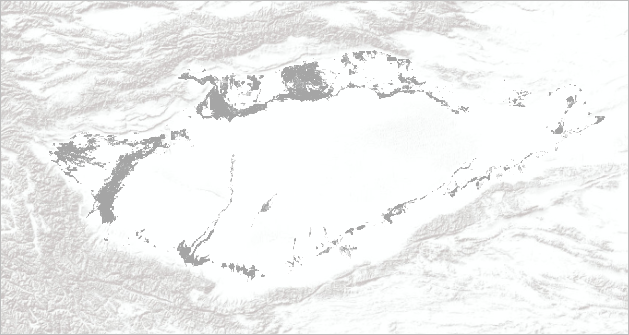
But it wasn’t quite what I was looking for.
Unlike the vegetation layer, I exported the mountains from a layout, rather than a map.
There’s a problem with this: a layout export does not come with a world file.
But there’s also a benefit: exporting from the map only takes the middle of your map view, and sometimes it’s not big enough to cover the entire area that you need, at the level of detail that you need it at.This concept is easier to explain with a different map. Let’s say I want this particular strip of imagery:
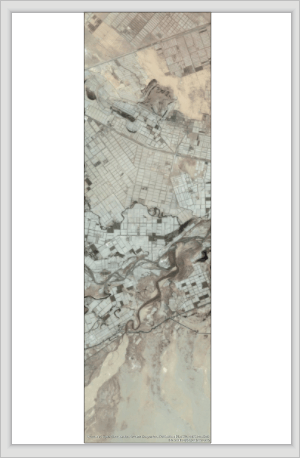
I can get it on a layout, by adjusting my scale and map size. But on the map view, I can’t, because once I zoom out far enough to see the entire strip, the basemap switches to a different level of detail.
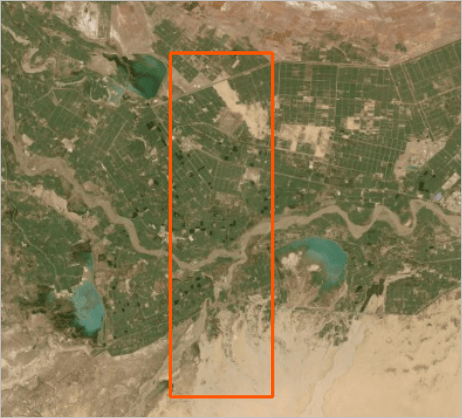
If you don’t already have a layout for your map, you’ll need to make one at this point.
When you’re ready, make a bookmark. If you lose your position later, you’ll need this bookmark in order to properly align your edited image with the map.
Turn off all layers except for the one(s) you want to export. In my case, this was the Terrain basemap layer.
On the ribbon, on the Share tab, click Export Layout.
I opened my exported Terrain layer in Photoshop and pumped up the levels and contrast before applying the watercolor filter. I actually did this twice – one version emphasized the mountains, and the other was edited to emphasize the sand dunes.
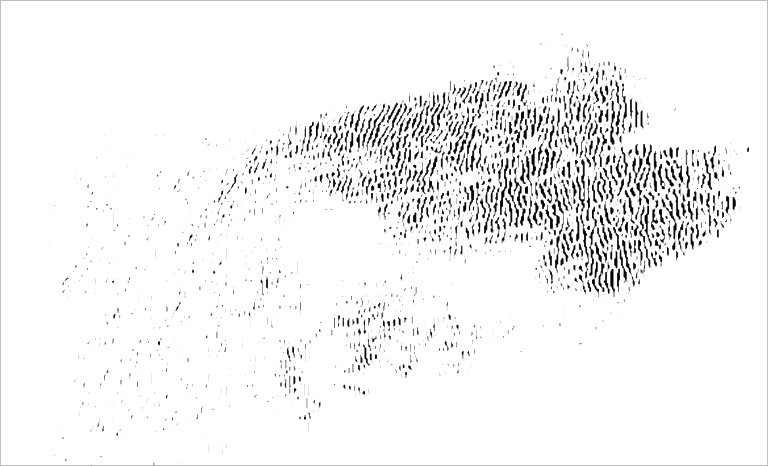
Later, I combined the two into one image.
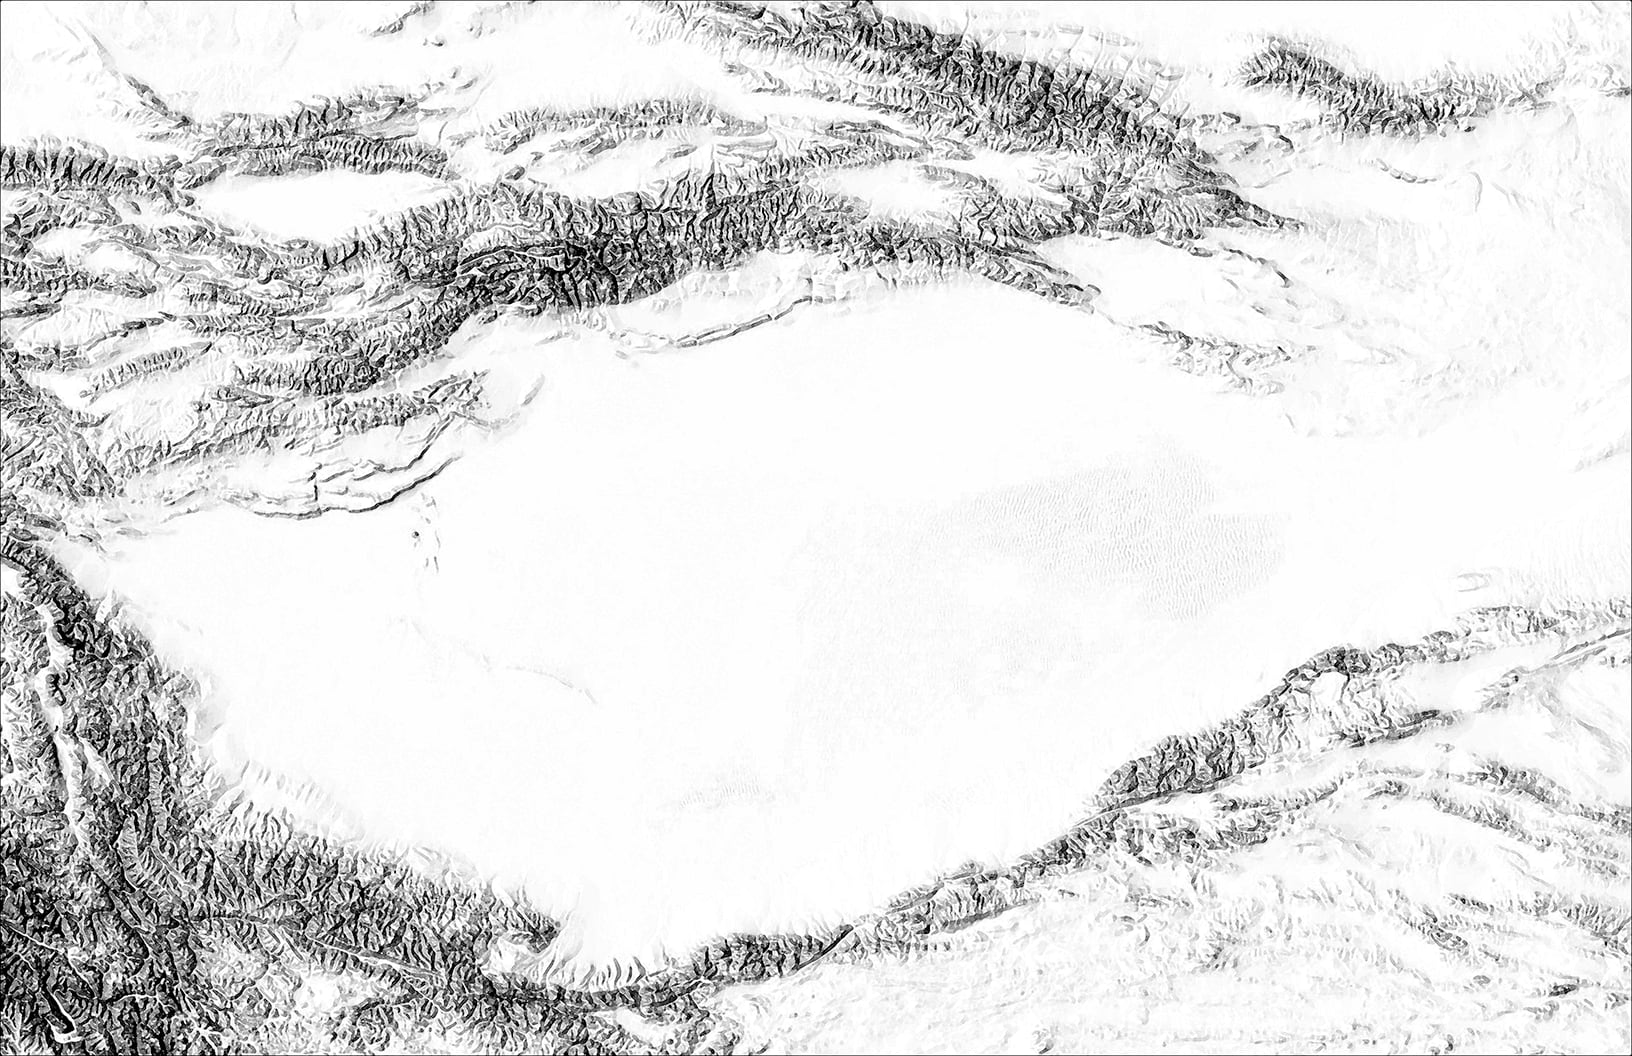
Once you’re satisfied with the image, you can add it back into the layout of your map.
Remember: if you exported from the map, add it back to a map. If you exported from a layout, add it back to the layout.
On your layout, turn all the layers back on.
On the ribbon, on the Insert tab, Click Picture.

Browse to and select your image, and drag from one corner of your map to the opposite.
To make sure it is properly aligned, double click Picture in the layout’s Contents pane.
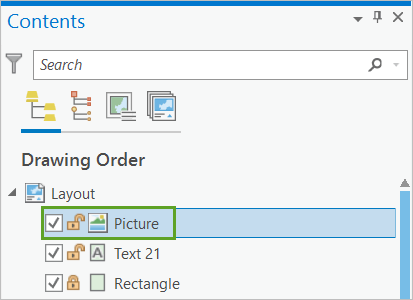
This will launch the Format Picture pane.
Click the Placement tab and make sure the size of the picture is the same as the size of your layout.
Set the Position to 0,0 of the lower left corner.
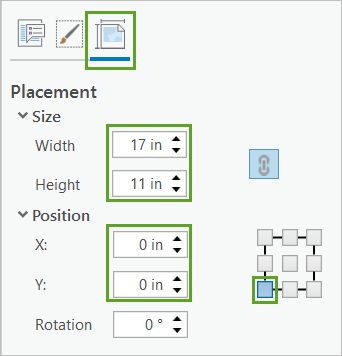
Finally, in the Contents pane, drag the picture to the very bottom of the list of layers.
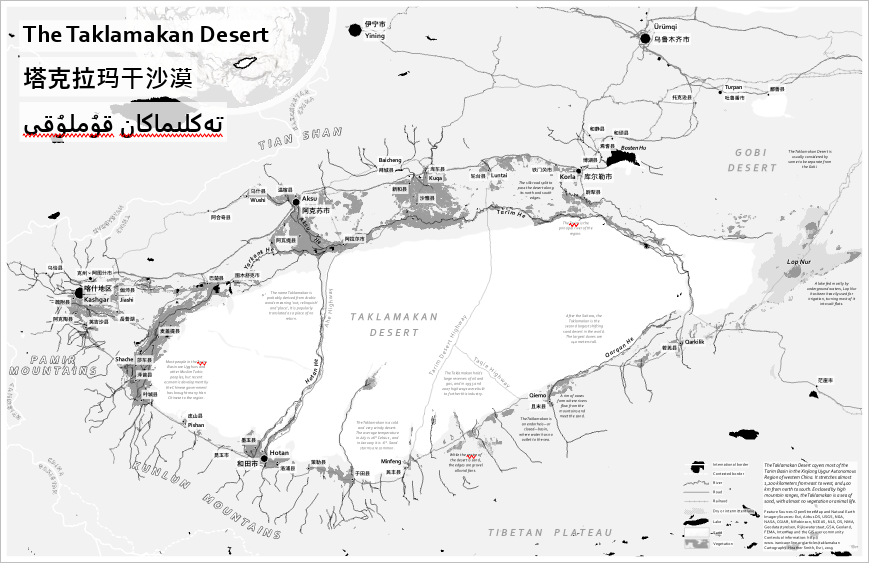
Here is my map without the textural layers:
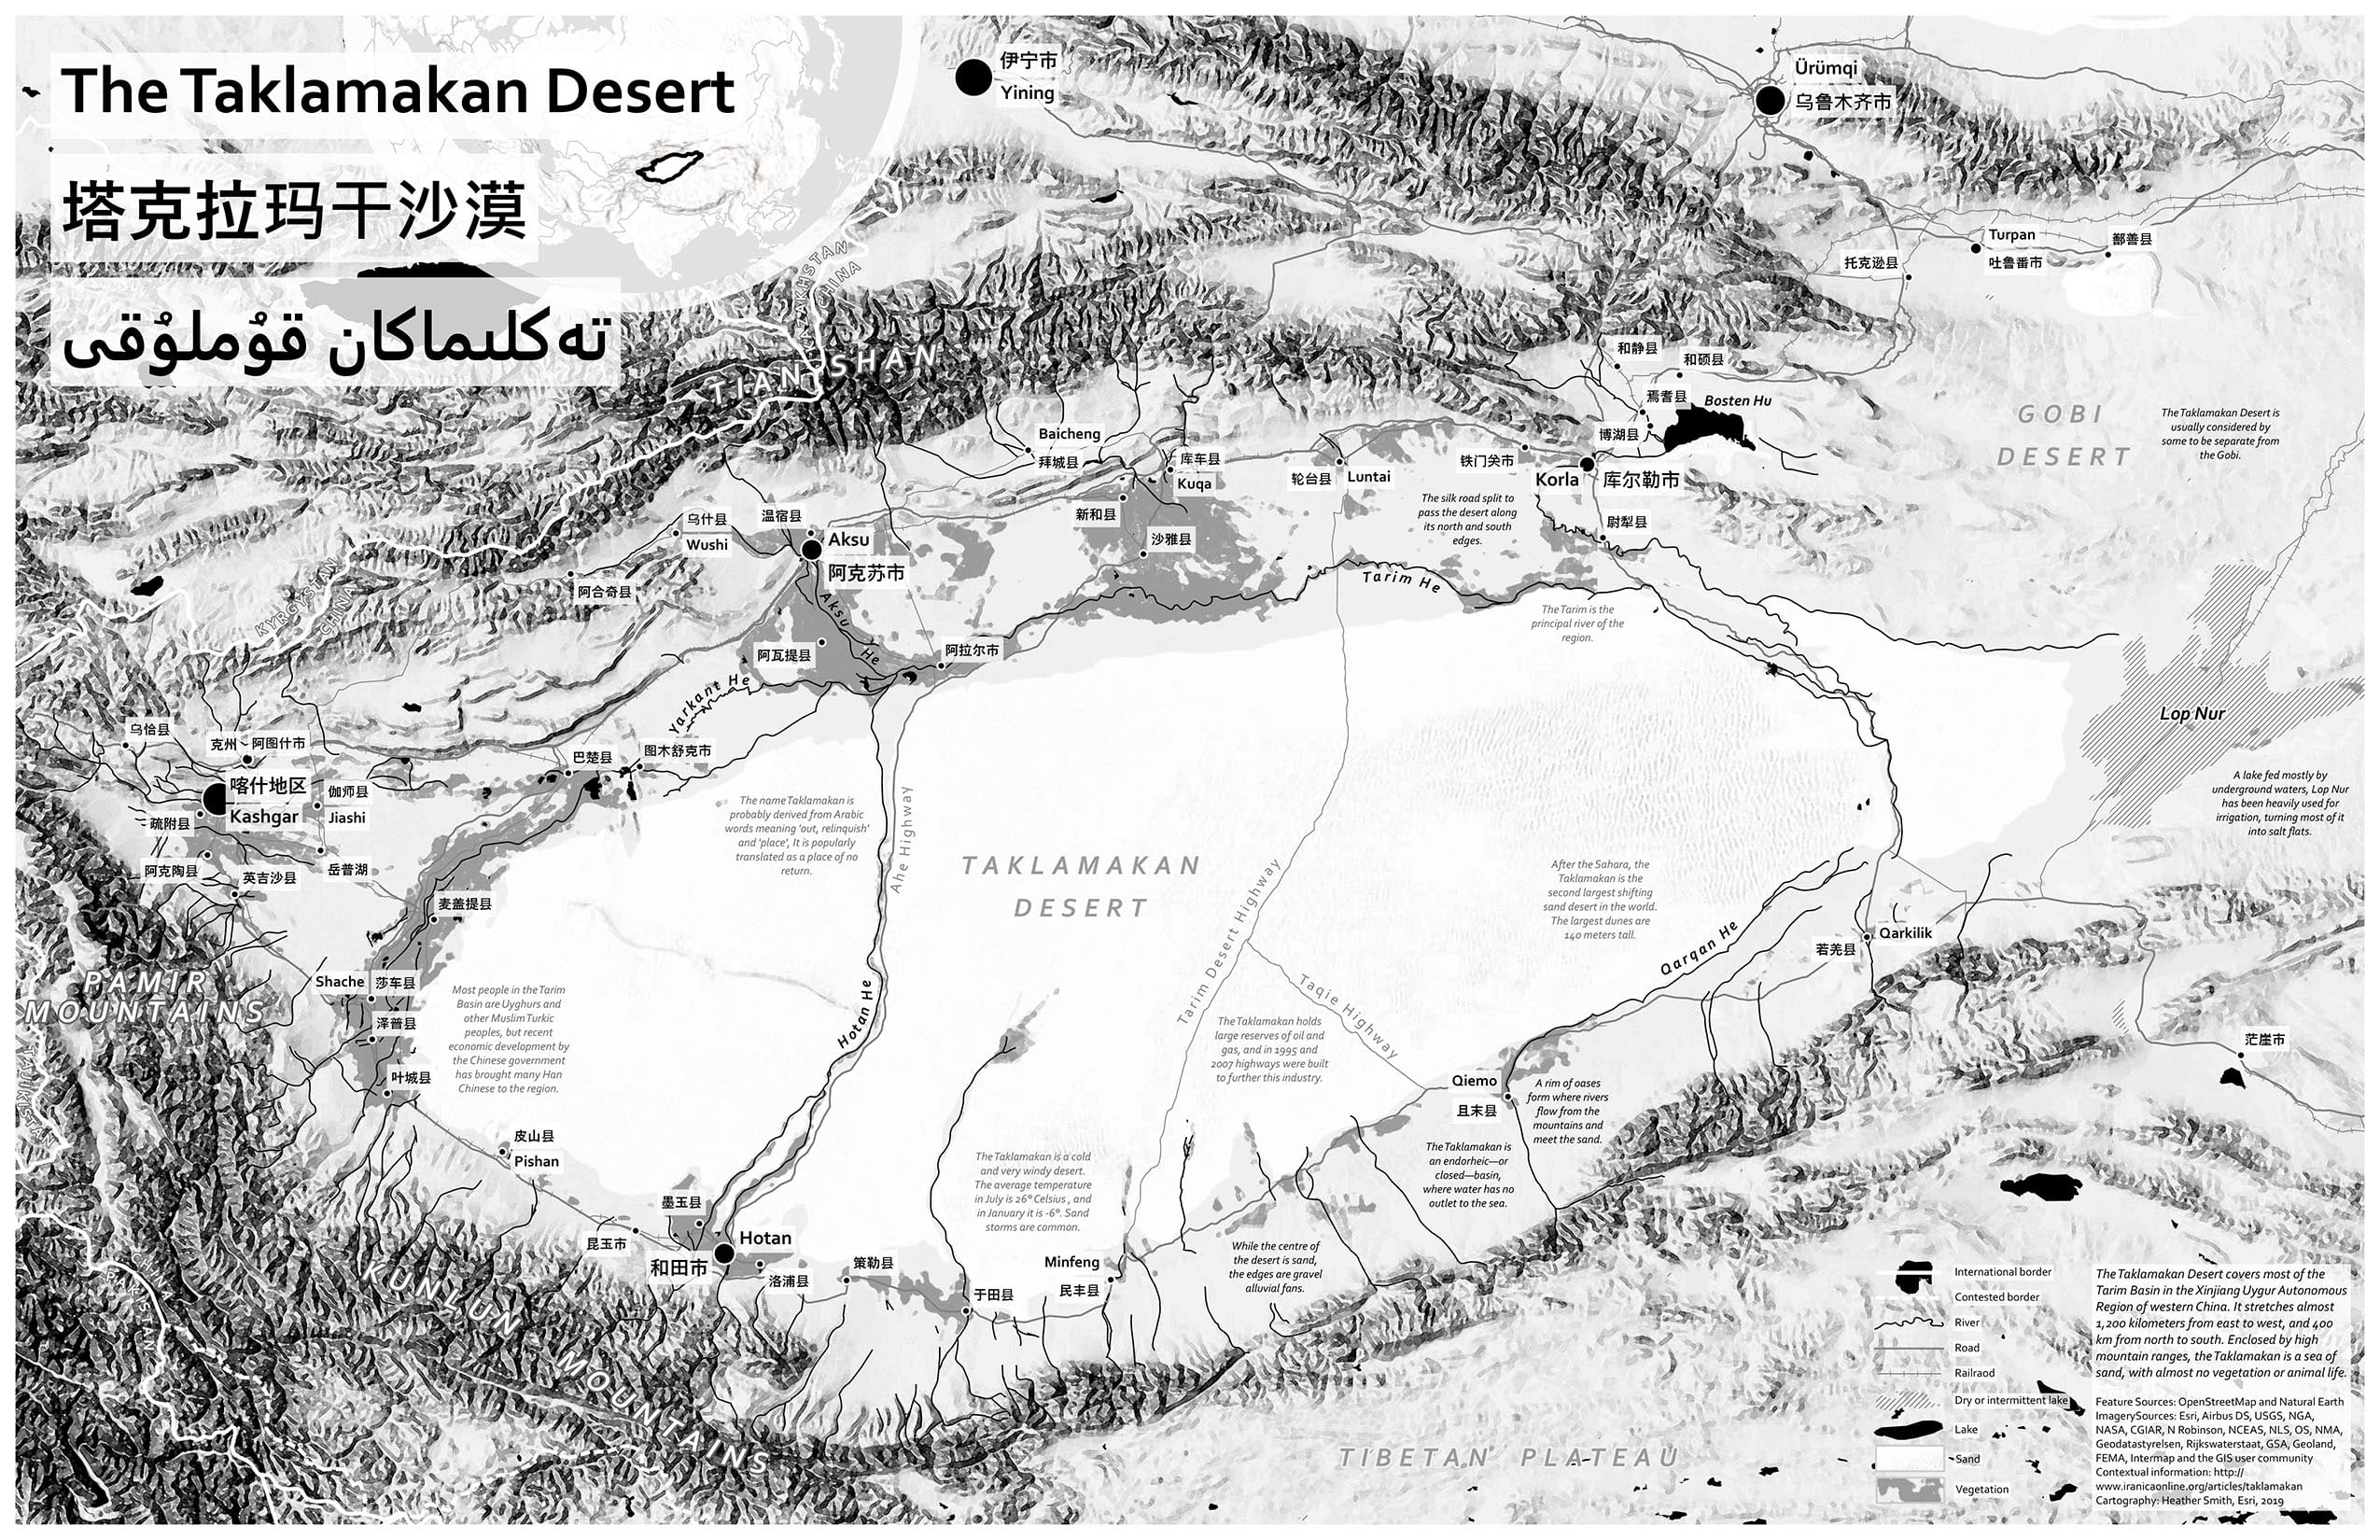
And here’s the more dramatic and busy version, with the added textures for mountains, sand, and vegetation:

Commenting is not enabled for this article.