If you spend much time in the digital design realm, you are probably aware of the faint checkerboard background some applications use to let you know where your design has no content. Not white, not black or gray, but actual nothingness. It’s an excellent indication of empty space, and helps your eye track variations in content and opacity in your designs. Remember that spark of understanding you felt in Jr. High when you realized that 0 and null were not the same thing?
Maybe you’d like that sort of background as you design maps in ArcGIS Pro. I sure do! Here’s a simple hack for checkerifying your map-making experience…
Adding the Checkered Backgrounds Style
I’ve created an ArcGIS Pro style called “Checkered Backgrounds” that you can install and rock your design thing with a tasty checkered background.
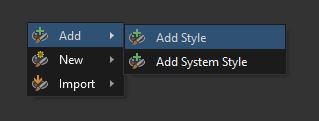
After you’ve downloaded it, add it to your Pro project via the View > Catalog > Styles panel.
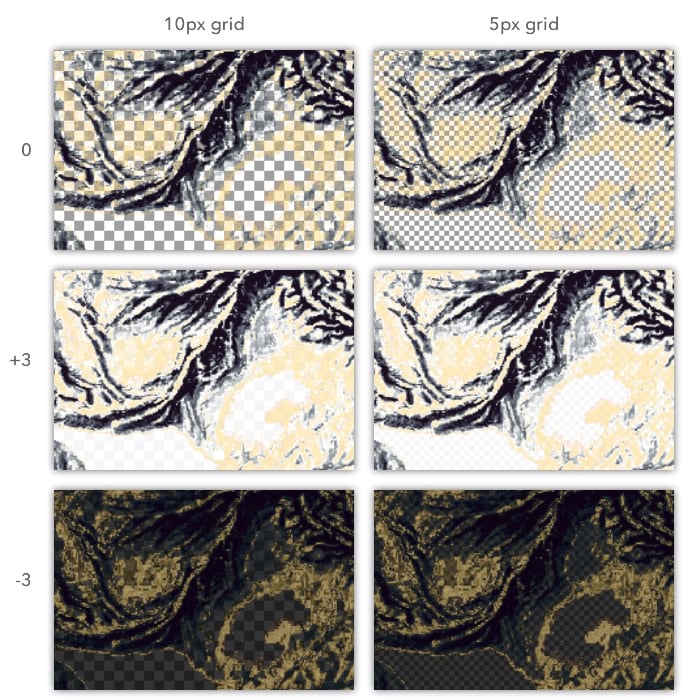
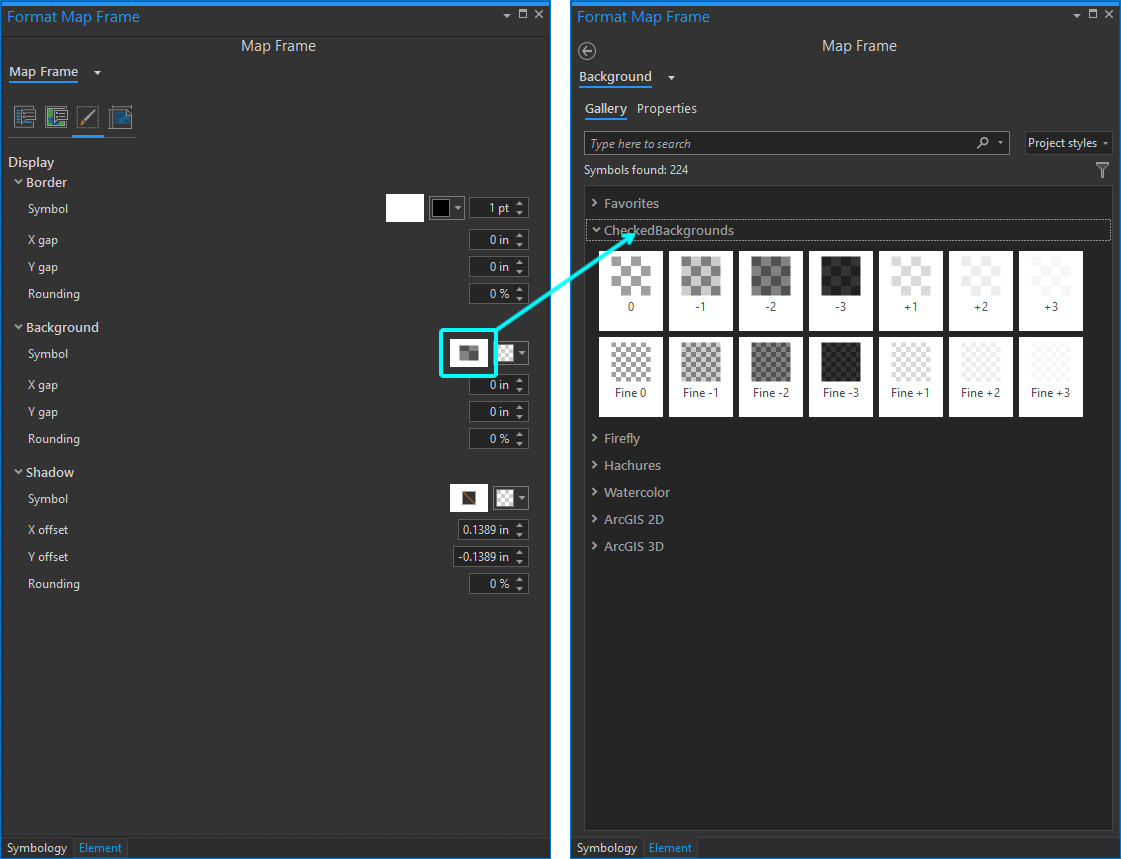
It consists of 14 polygon fills. There is a regular checkerboard pattern and a finer version. And each has 7 options of lightness, so you can have some choices depending on your data and tastes. They look like this, when viewed behind an imagery layer with some variable transparency…
Using In a Map
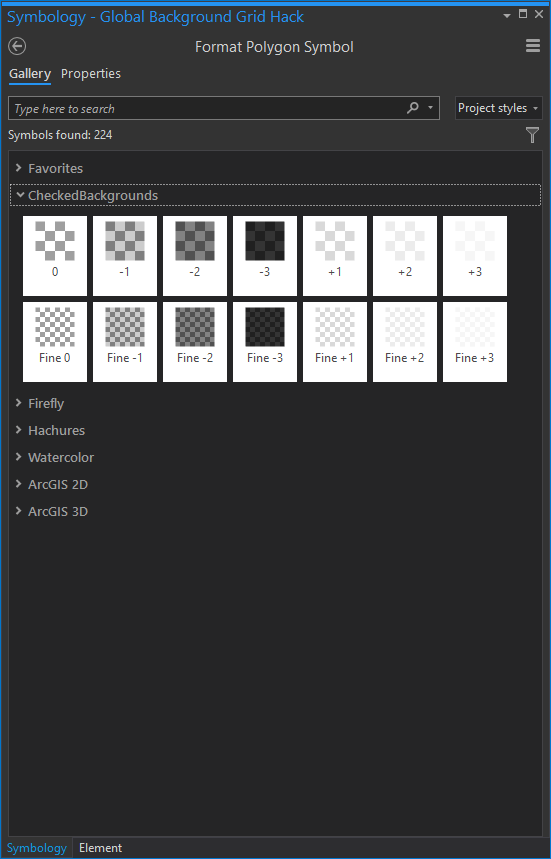
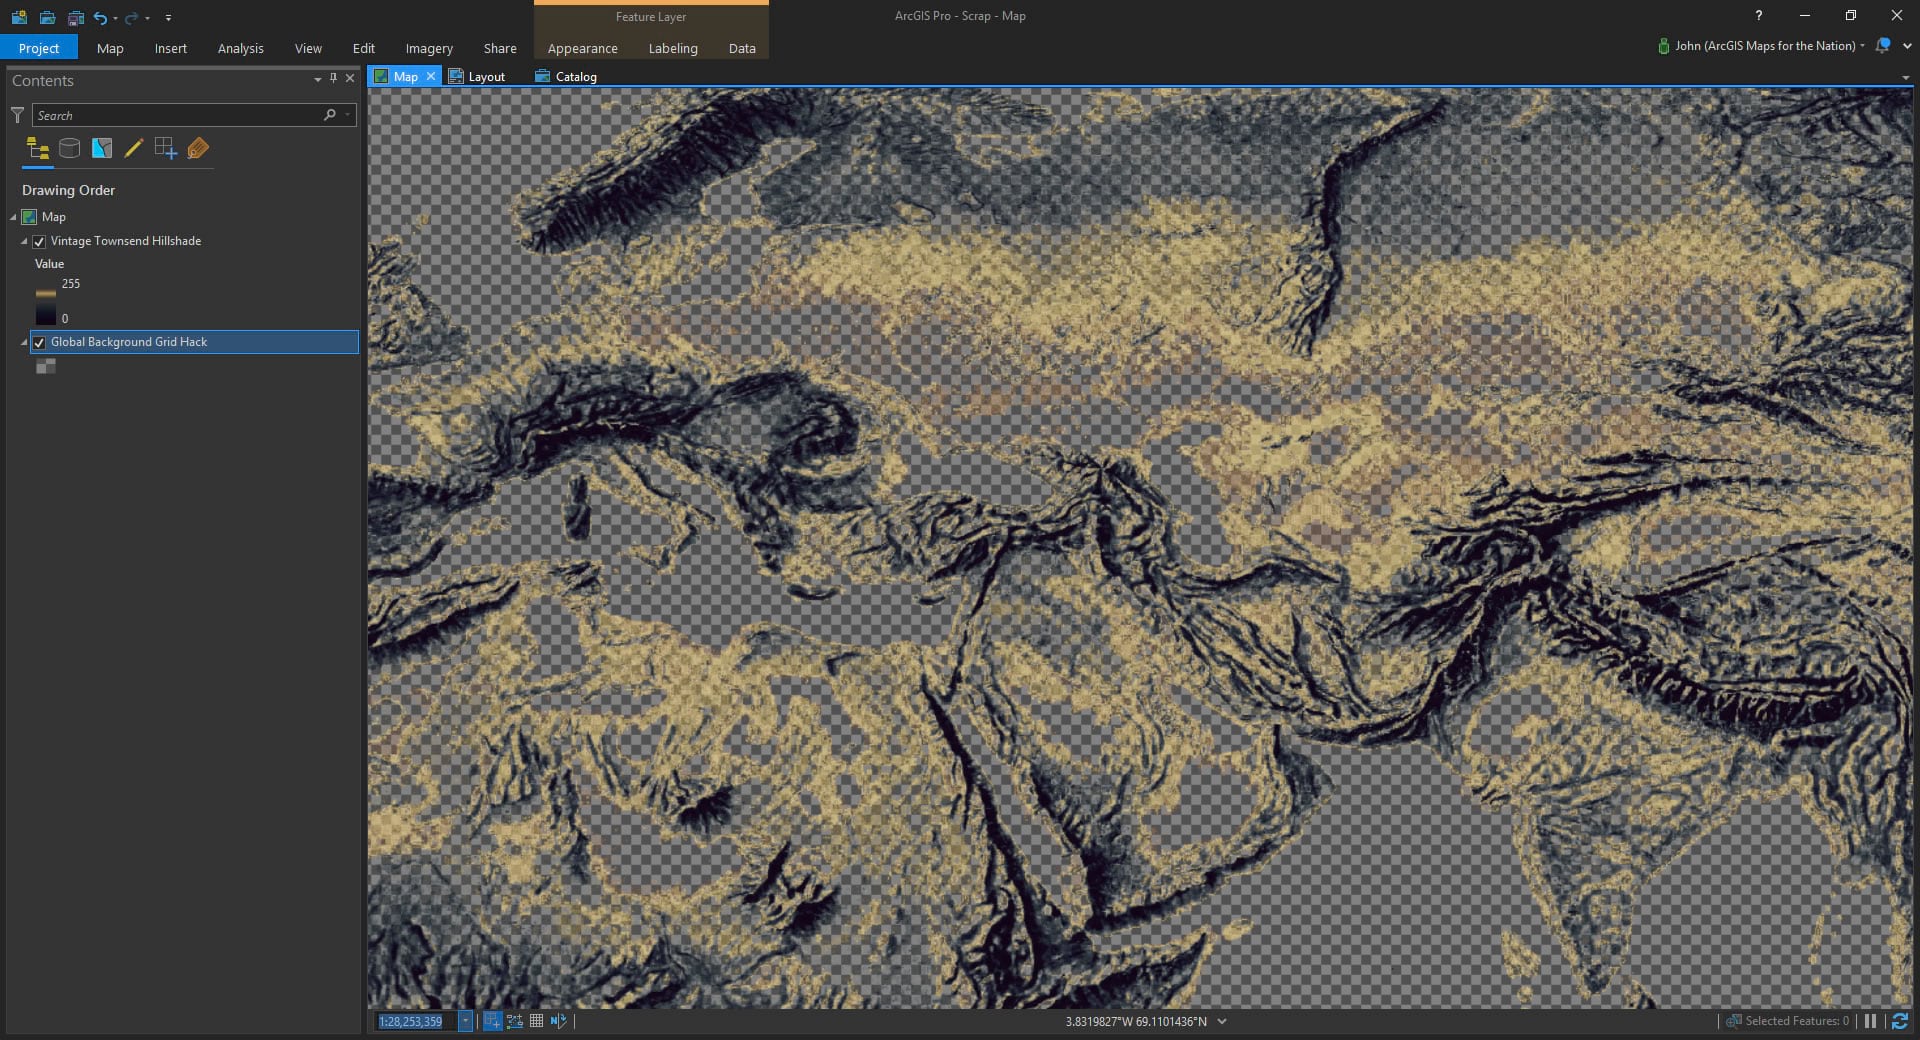
There are a couple different ways you can implement the checkered background. If you’d like to apply it to your Map view, then add this big empty global rectangle feature to your map. Then, in its symbology panel’s gallery tab, choose the checkered background of your choice.
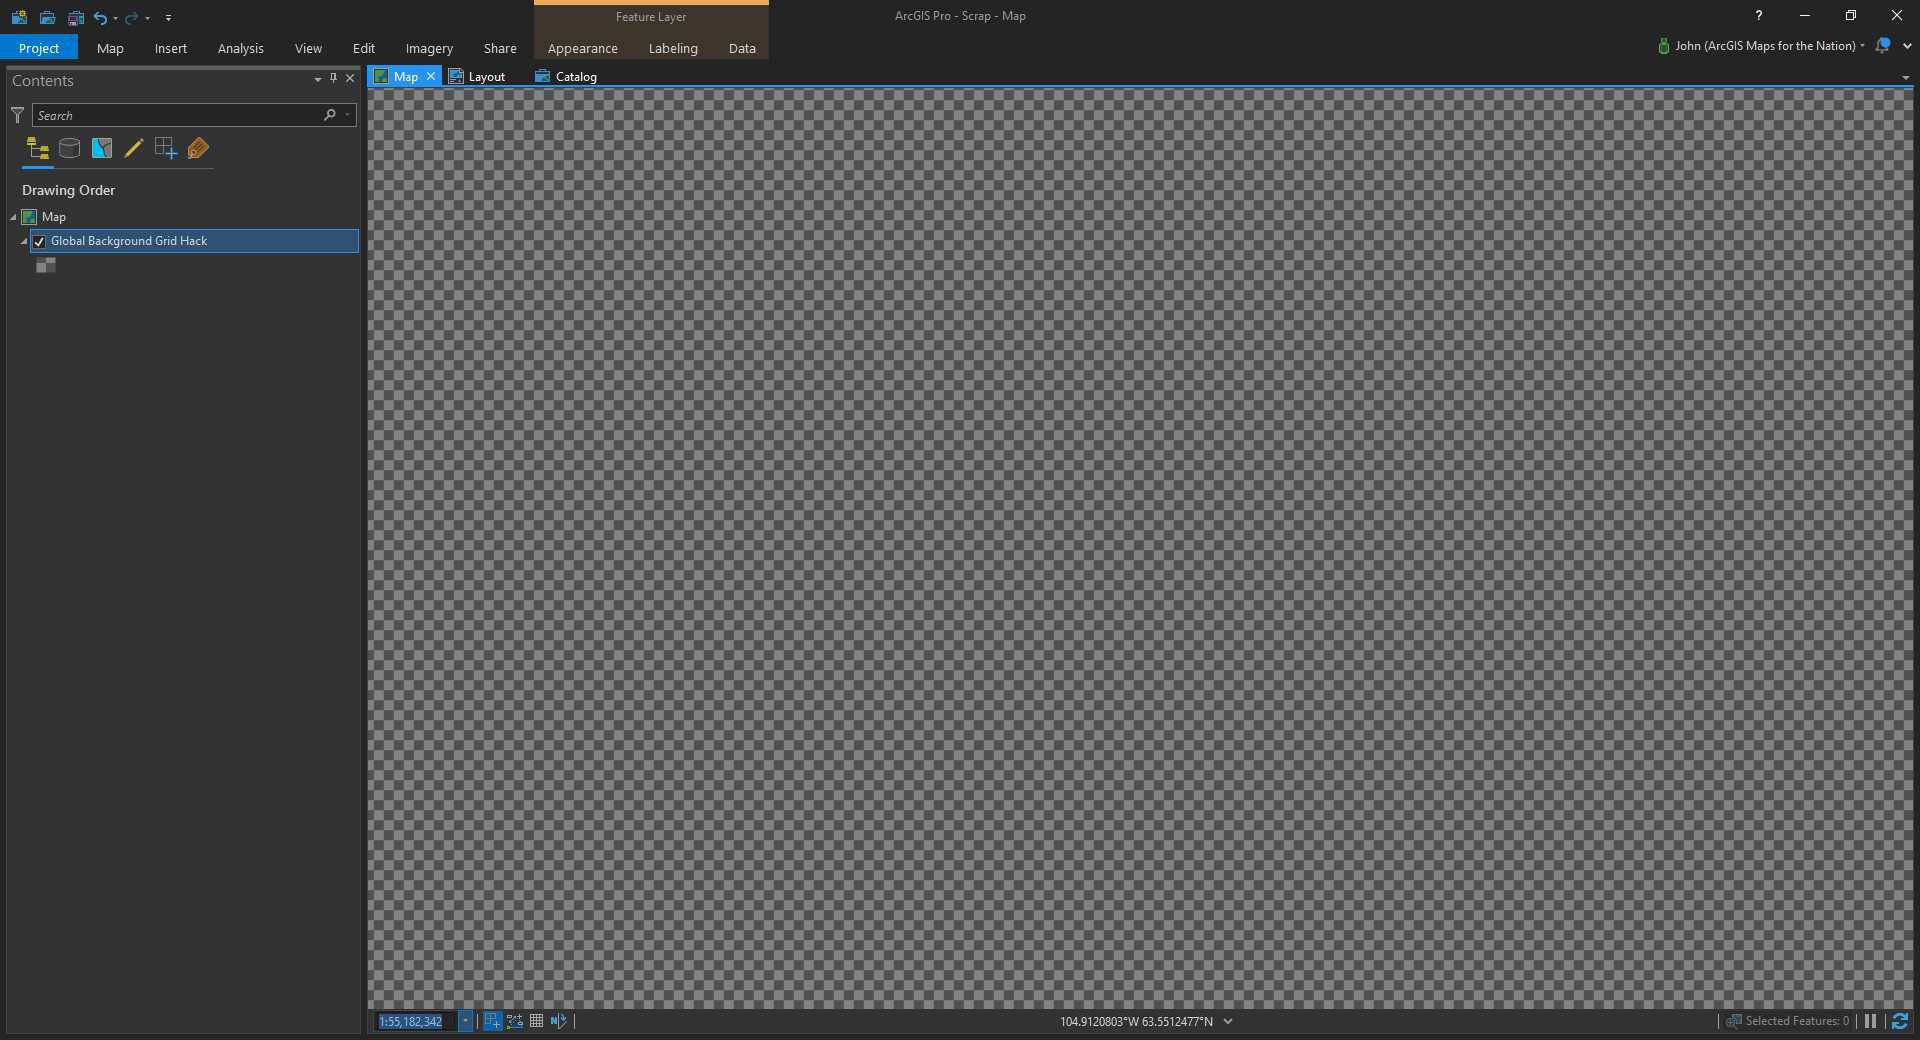
In a map view, the courser pattern will always be 10×10 pixels, even after you zoom in and out. The finer pattern is 5×5 pixels. Here is the map view, showing my big global hack polygon, now with its very own checkerboard fill.
You can really see how a checkered background helps you know “null” content areas. It’s especially helpful for raster data (is my data white or is that just the background? etc.) or data with varying transparency.
Just remember to turn the background layer off before you publish your map! The checkerboard is just for we map makers, not for the map readers (though, you may have seen me share screenshots of Pro with a checkered background to help you, and me, see the opacity characteristics of various layer symbologies).
Using In a Layout
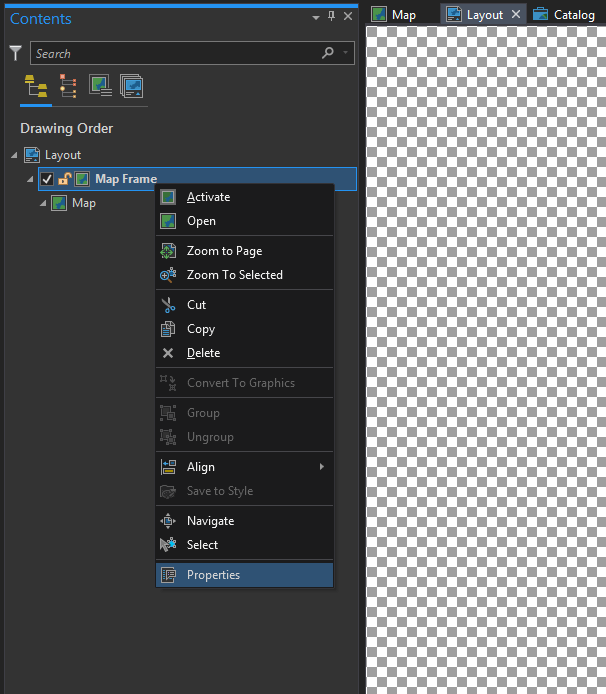
Alternatively, you could apply this checkerboard fill in a Layout, if that’s where you happen to do most of your work. In this case you don’t need the big global background layer hack I described above. Layouts let you apply a style’s fill to the background of a Map Frame, which is sweet. In your Layout, right-click the Map Frame you want to give a background to and choose “Properties” (or just double-click the Map Frame).
In the Map Frame properties panel, you can check out the little paintbrush icon to set the “display” parameters. By default you have a transparent (even though it looks white…wink) background. Click the little box to the left of the color picker and you can pick your favorite checkered pattern from the style gallery.
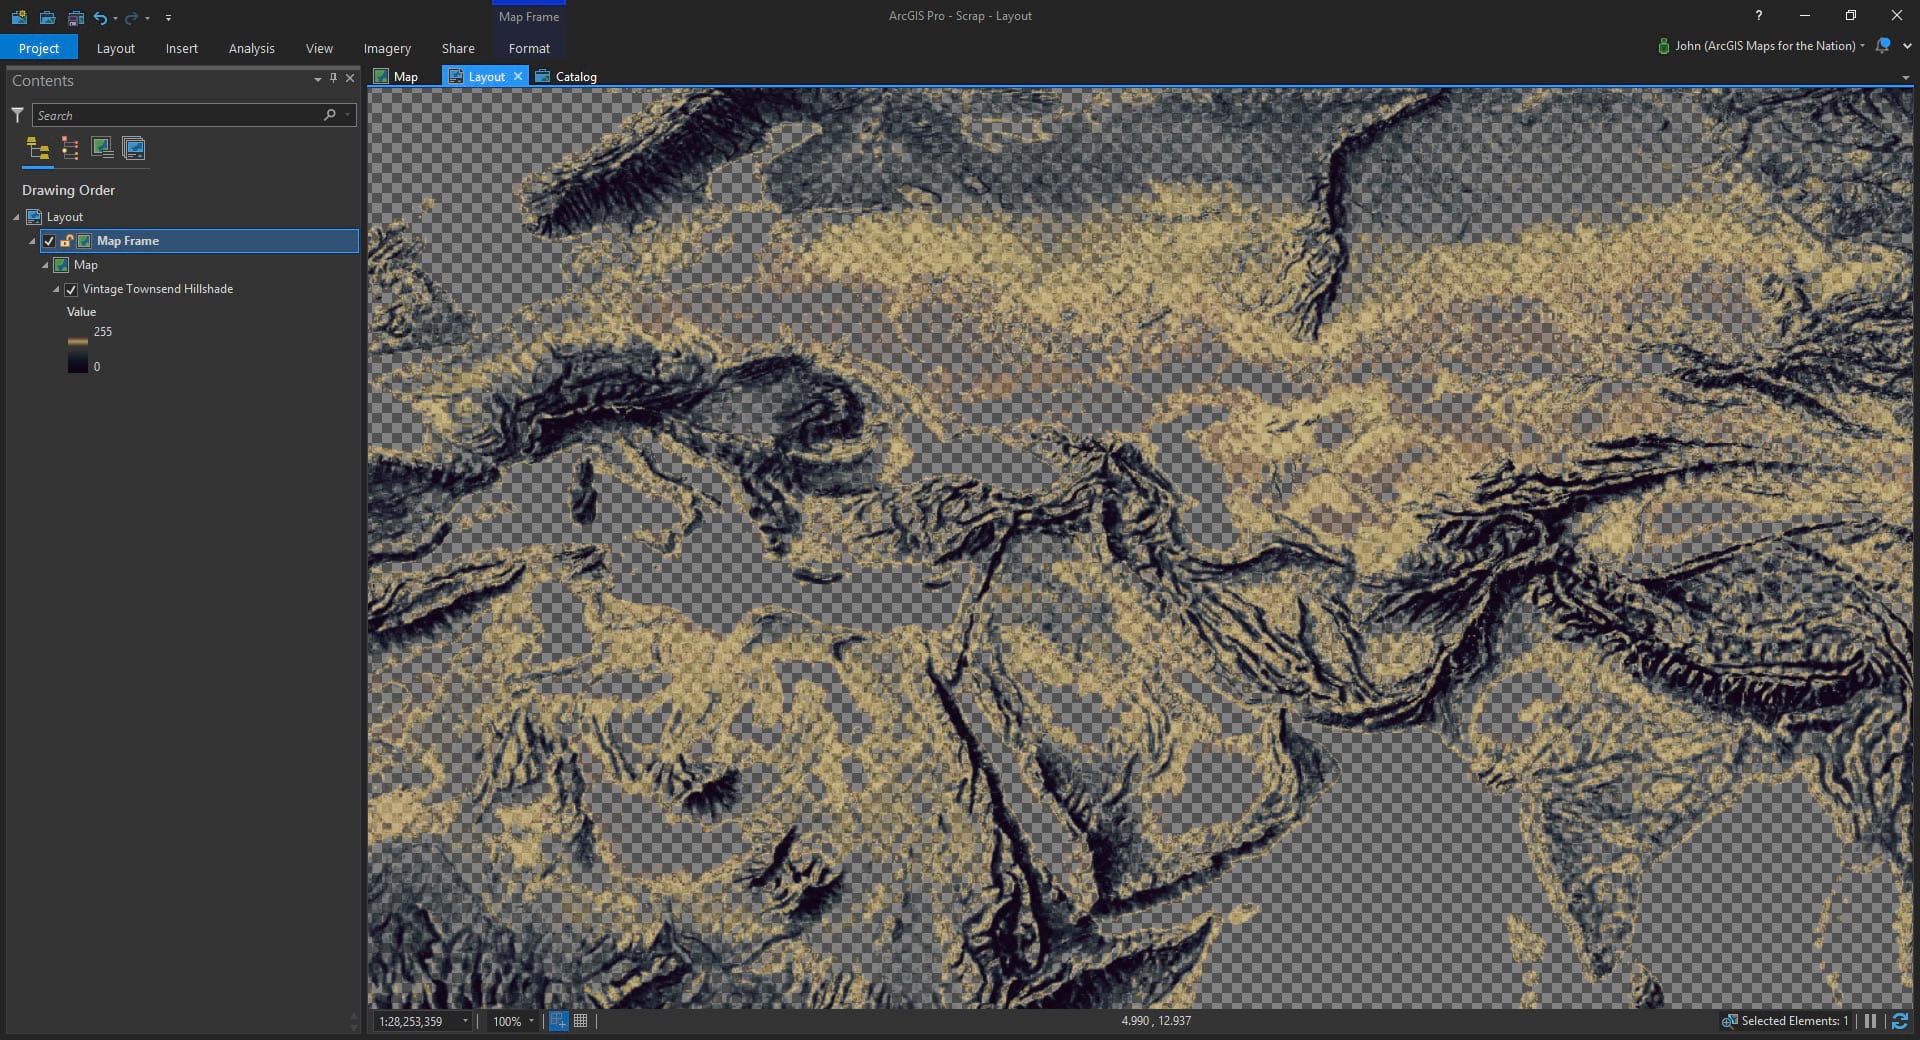
Now the Map Frame in your Layout will have a checkered background. But because a Layout is different than the Map view, when you zoom in and out on the Layout, the checkered pattern will look smaller (when zoomed out) and bigger (when zoomed in). When the Layout’s scale is set to 100% it will have its native 10 or 5 pixel size.
But promise me you will turn this background setting off before you produce your finished map!
Anyway, that’s that! A silly little hack to get a checkered background in your map while you adventure away on your cartography. If you are, like me, into that kind of thing. Once more, get the style here, if you are game.
Happy Mapping! John

Commenting is not enabled for this article.