Using your knowledge of geography, geospatial and remote sensing science, and using the image classification tools in ArcGIS, you have produced a pretty good classified raster for your project area. Now it’s time to clean up some of those pesky pixels that were misclassified – like that one pixel labelled “shrub” in the middle of your baseball diamond. The fun part is using the Pixel Editor to interactively edit your classified raster data to be useful and accurate. The resulting map can be used to drive operational applications such as land use inventory and management.
For operational management of land use units, a useful classified map may not necessarily be the most accurate in terms of identified features. For example, a small clearing in a forest, cars in a parking lot, or a shed in a backyard are not managed differently than the larger surrounding land use. The Pixel Editor merges and reclassifies groups of pixels, objects and regions quickly and easily into units that can be managed similarly, and result in presentable and easy-to-understand maps for your decision support and management.
What is the Pixel Editor?
The Pixel Editor is an interactive group of tools that enables editing of raster data and imagery , and it is included with the ArcGIS Pro Image Analyst. It is a suite of image processing capability, driven by an effective user interface, that allows you to interactively manipulate pixel values. Try different operations using different parameter settings to achieve optimum editing results, then save, publish and share them.
The Pixel Editor is contextual to the raster source type of the layer being edited, which means that suites of capability are turned on or off depending on the data type of the layer you are working with. For thematic data, you can reassign pixels, objects and regions to different classes, perform operations such as filtering, shrinking or expanding classes, masking, or even create and populate new classes. Edits can be saved, discarded, and reviewed in the Edits Log.
The Pixel Editor in action
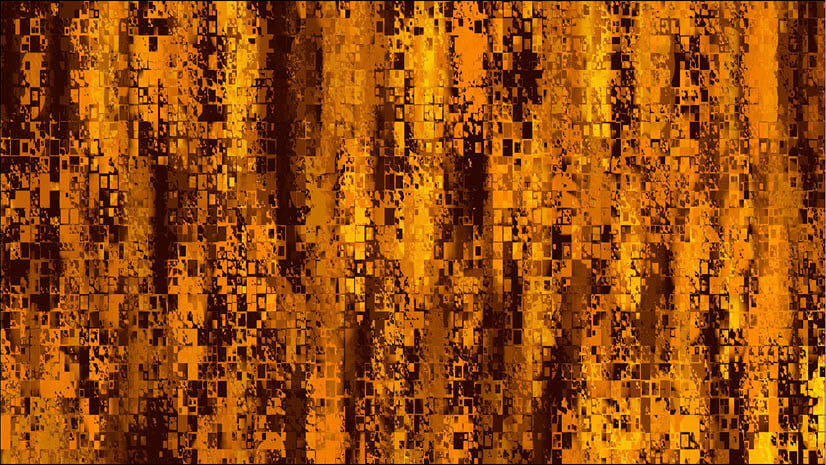
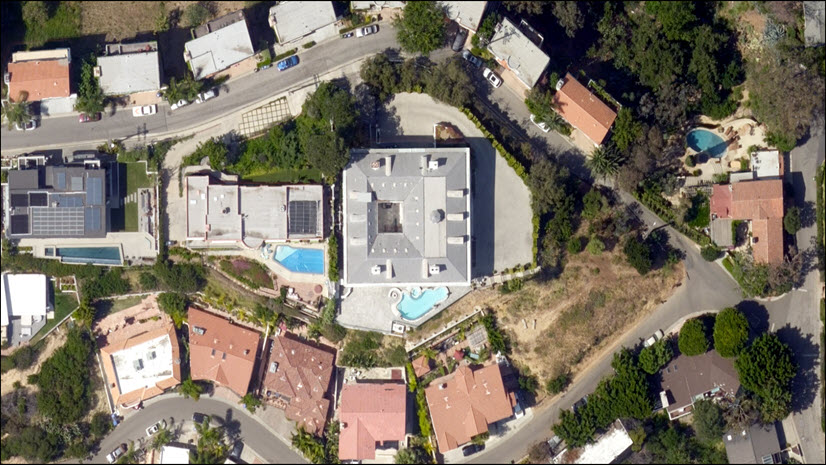
Because the Pixel Editor is contextual, you need to first load the layer you want to edit. Two datasets are loaded into ArcGIS Pro, the infrared source satellite image and the classified result. The source data is infrared satellite imagery where vegetation is depicted in shades of red depending on coverage and relative vigor. This layer has been classified using the Random Trees classifier in ArcGIS Pro. The class map needs editing to account for classification discrepancies and to support operational land use management.
Launch the Pixel Editor
To launch the Pixel Editor, select the classified raster layer in the Contents pane, go to the Imagery tab and click the Pixel Editor button from the Tools group.
The Pixel Editor tab will open. In this example, we’ll be editing a land use map, so the editor will present you with editing tools relevant for thematic data.

The Region group provides tools for delineating and managing a region of interest. The Edit group provides tools to perform specific operations to reclassify pixels, objects or regions of interest. The Edit group also provides the Operations gallery, which only works on Regions.
Reclassify
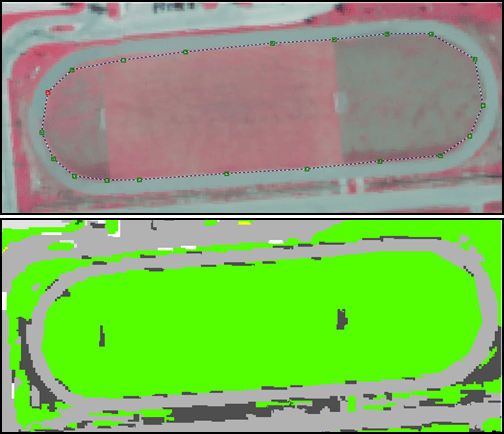
Reclassify is a great tool to reassign a group of pixels to a different class. In the example below, you can see from the multispectral image that either end of the track infield is in poor condition with very little vegetation, which resulted in that portion of the field being incorrectly classified. We want to reclassify these areas as turf, which is colored bright green in the classified dataset.
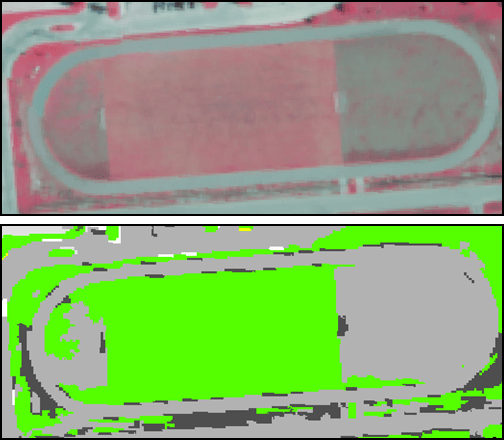
We used the multispectral image as the backdrop to more easily digitize the field, then simply reassigned the incorrect class within the region of interest to the Turf class.
Majority Filter and Expand
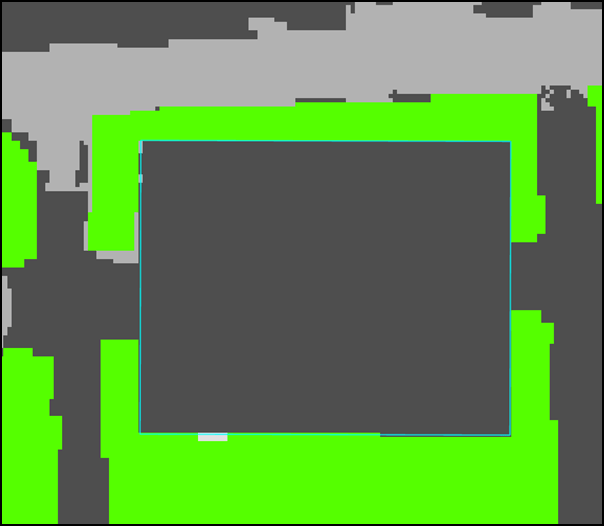
Check out the parking lots south of the track field containing cars, which are undesirable in terms of classified land use. We removed the cars and make the entire parking lot Asphalt with a two-step process:
(1) We digitized the parking lot and removed the cars with a Majority Filter operation with a filter size of 20 pixels – the size of the biggest cars in the lot.

(2) Then we used Expand to reclassify any remaining pixels within the lot to Asphalt.
Add a new class
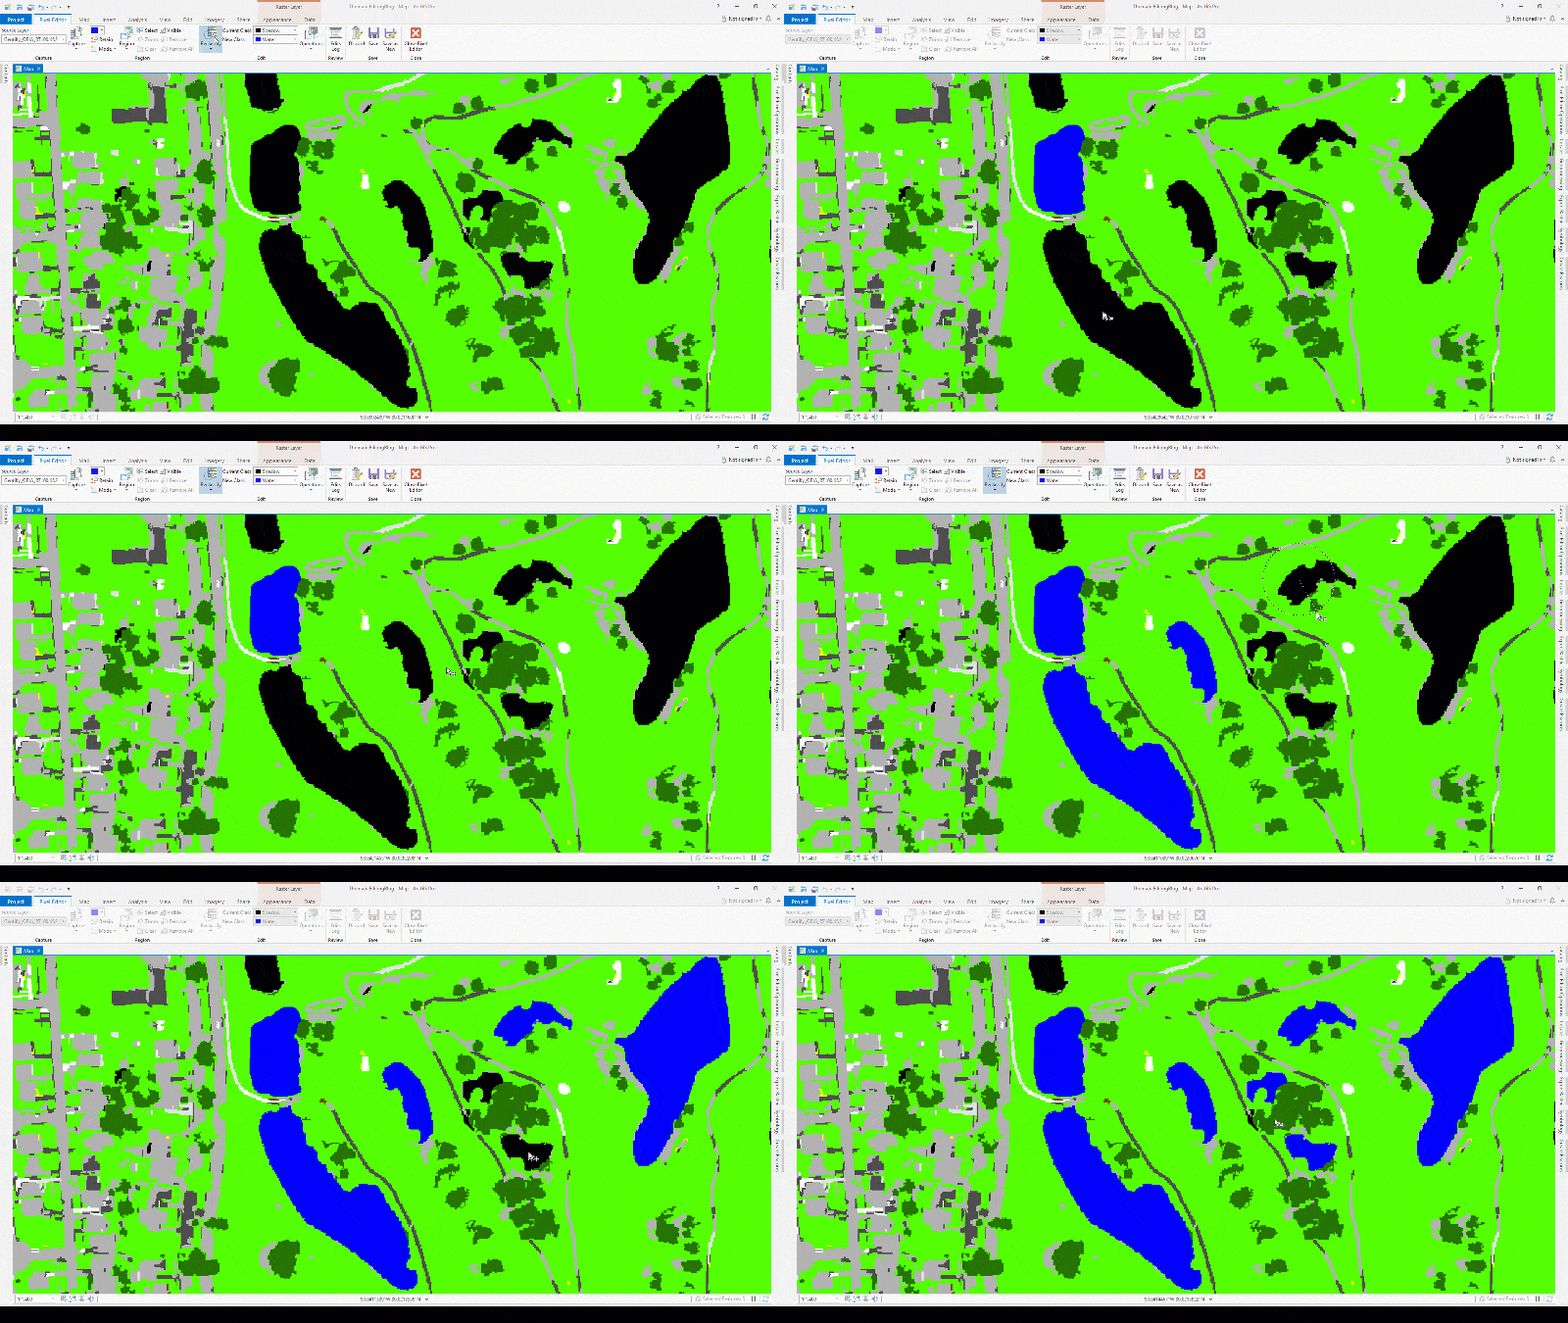
Another great feature of the Pixel Editor is the ability to add a new class to your classified raster. Here, we added a Water class to account for water features that we missed in the first classification.

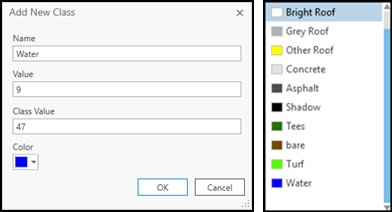
In the New Class drop-down menu, you can add a new class, provide its name, class codes, and define a color for the new class display.
After adding the new class to the class schema, we used the Reclass Object tool to reassign the incorrect Shadow class to the correct Water class. Simply click the object you want to reclassify and encompass it within the circle – and voila! – the object is reclassified to Water.
Feature to Region
Sometimes you may have an existing polygon layer with more accurate class polygon boundaries. These could be building footprints, roads, wetland polygons, water bodies and more. Using the Feature to Region option you can easily create a region of pixels to edit by clicking on the desired feature from your feature layers in the map. Then use the Reclass by Feature tool to assign the proper class.
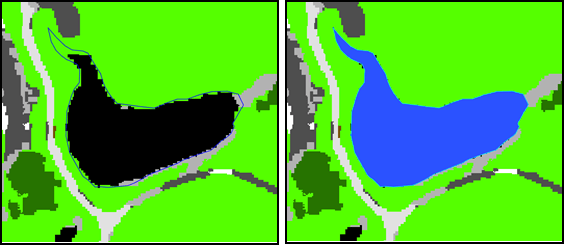
We see the updated water body now matches the polygon feature from your feature class. The class was also changed from Shadow to its correct value, Water.
Summary
The Pixel Editor provides a fast, easy, interactive way to edit your classified rasters. You can edit groups of pixels and objects, and editing operations include reclassification using filtering, expanding and shrinking regions, or by simply selecting or digitizing the areas to reclassify. You can even add an entire new class. Try it out with your own data, and see how quickly you can transform a good classification data set into an effective management tool!


Commenting is not enabled for this article.