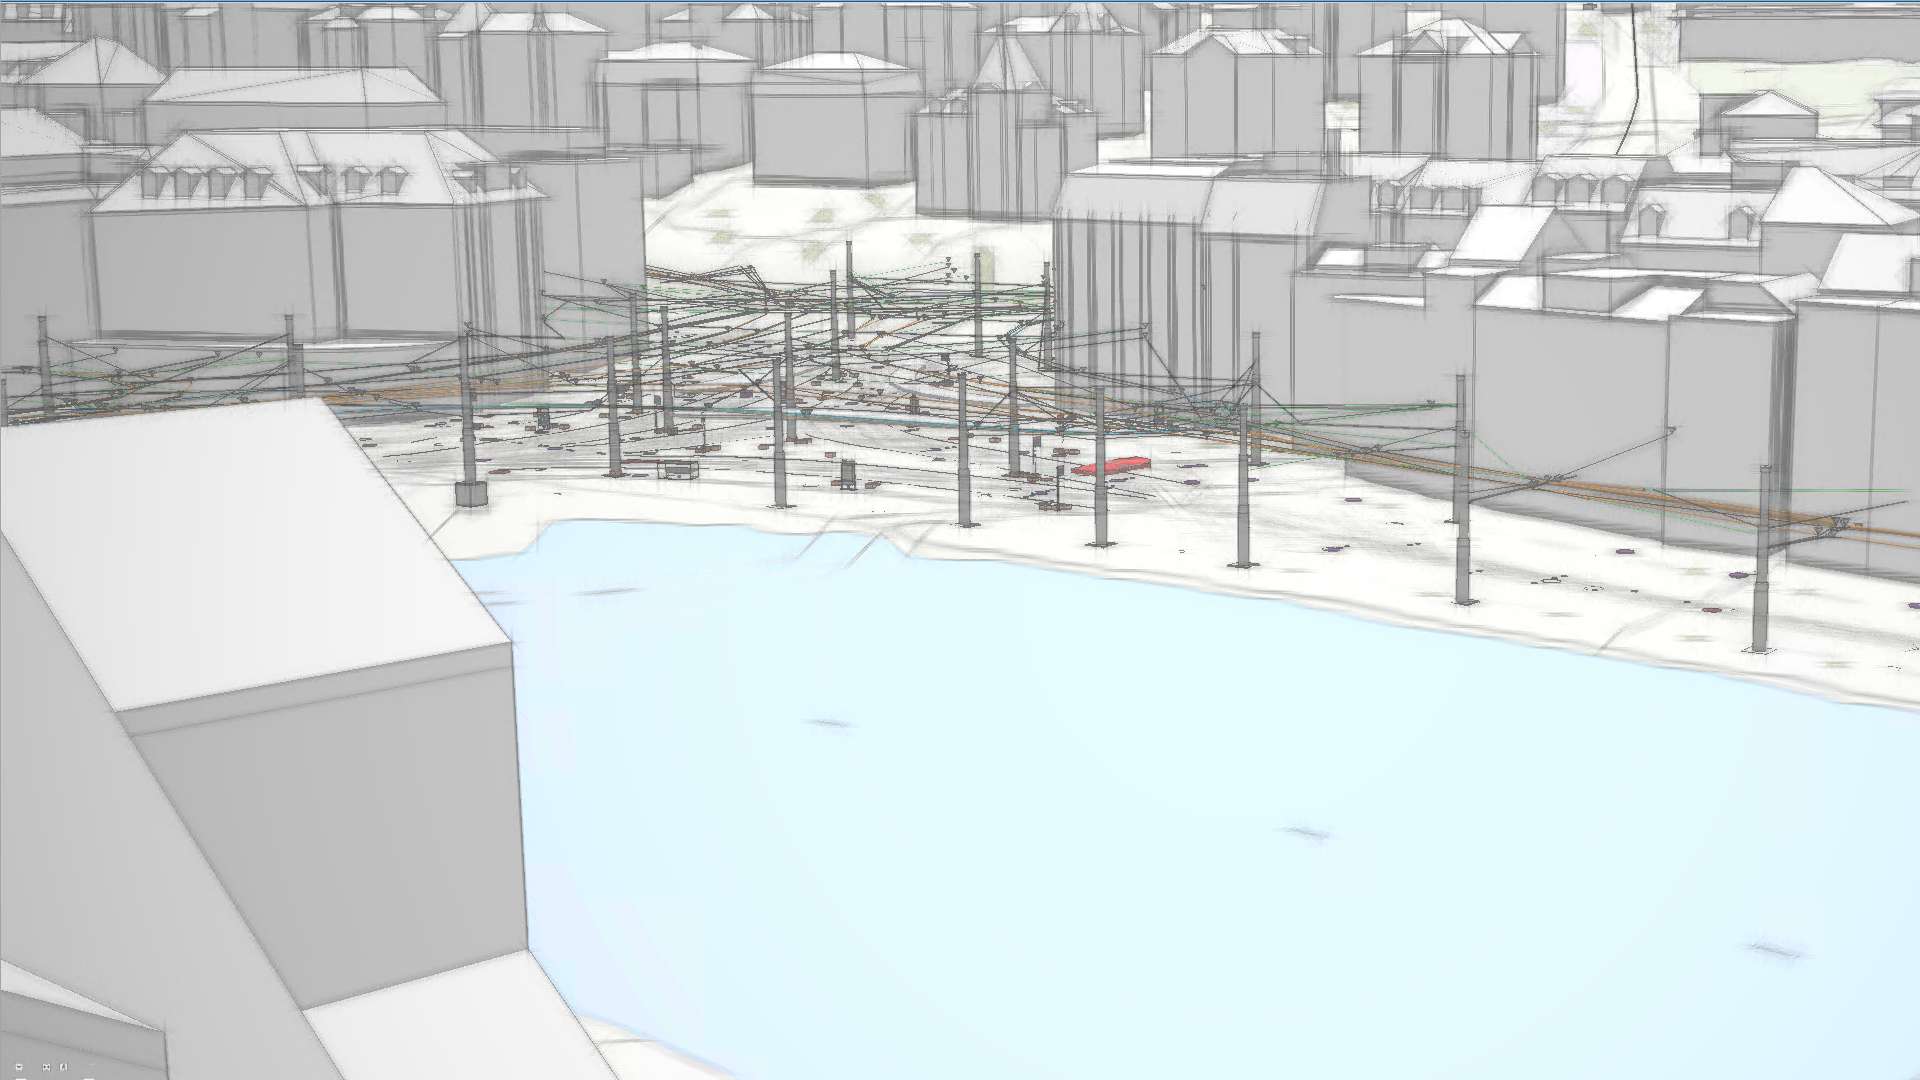
Engineering projects require decision-making that accounts for existing physical infrastructure and the surrounding environment. Combining detailed designs with geographic context allows project stakeholders to collaborate on centralized, authoritative data and make informed decisions throughout project phases. Further, integrations combining CAD and BIM with GIS information help address the complex demands of built projects, where environmental and infrastructural factors are increasingly interconnected.
Spatial analysis and visualization workflows that account for real-world geographic constraints and environmental factors require geolocated CAD and BIM data. When datasets such as those authored in Autodesk AutoCAD®, Civil 3D®, and Revit® do not contain geolocation information, inefficient downstream efforts become necessary.
Empower design and engineering teams to geolocate CAD and BIM datasets
This blog highlights example strategies and step-by-step documentation for use by project team members such as architects, civil engineers, and CAD technicians. Members of CAD and BIM authoring teams can use these resources to better incorporate geolocation directly into drawings and models—at the source—and to the benefit of all downstream stakeholders. For example, the resources below reduce the need for GIS analysts to manually perform geolocation when working with .dwg and .rvt files in ArcGIS Pro.
Strategies for geolocating AutoCAD, Civil 3D, and Revit data
Highlighted below are two illustrative geolocation overviews for use by design and engineering teams that work in Autodesk tools. One overview is given for progressing from AutoCAD to Revit, while another is given for progressing from Civil 3D to Revit.
For design and engineering teams ready to take a deeper dive, please see the documentation in this Knowledge Base article: Geolocate CAD and BIM files from the start.
International feet and metric workflow
Illustrative overview: AutoCAD to Revit
1. Setting up your AutoCAD file
a. Make sure the UNITS and DWG UNITS match.
b. Confirm the “Imperial to Metric conversion” matches.
c. Select “Set AutoCAD variables to match”.

2. Setting up your Revit file
There are two options: Acquire Coordinates or Shared Coordinates. Select one of the options to link the CAD file to the Revit file, depending on the information in the AutoCAD file.
Option 1: Acquire Coordinates from the DWG
This procedure assumes that the model’s survey point, or project base point is not yet defined, or its geolocation is different from the location specified in the AutoCAD file.
This procedure assumes that the model’s survey point, or project base point are defined.
Your AutoCAD, Revit content will now be positioned correctly, for example, when combined with other project information in ArcGIS Pro.
For more detailed documentation, check out the Knowledge Base article.
Illustrative overview: Civil 3D to Revit
The following plug-ins are required:
Autodesk Shared Reference Point Extension for Civil 3D
Autodesk Shared Reference Point for Autodesk Revit (needs to be installed)
1. Set a Geographic Coordinate System in Civil 3D.
2. Export the Shared Coordinate Point from Civil 3D.

3. Import Shared Coordinate Point in Revit.

The Survey Point in Revit will be moved to the geodetical coordinate system origin in Civil 3D.
Link the Civil 3D file to Revit
Here, you will have only the Shared Coordinates choice to link the Civil 3D file to Revit.
Shared Coordinates
This procedure assumes that the model’s survey point, or project base point are defined.
- For Positioning, select Auto – By Shared Coordinates.
- For Import units, select Auto-Detect.
The Coordinate System Code, Latitude, and Longitude fields will display the geo-location information acquired from the linked DWG. This location information can be used for shadow studies, energy analysis, and export operations.

Your Civil 3D, Revit content will now be positioned correctly, for example, when combined with other project information in ArcGIS Pro.
For more detailed information, check out the article.
Spread the word
For project stakeholders that rely on CAD and BIM datasets authored upstream to your workflows—spread the word. Encourage your CAD and BIM teams to adopt geolocation strategies and experience the benefits of enhanced interoperability. Share detailed listings of steps, additional options, and more ways to configure geolocation in Autodesk files in the full Knowledge Base article. Geolocate CAD and BIM files from the start
Check out this video to see how it’s done using international feet and metric workflows, as well as for workflows involving US survey feet.
For more information on visualizing and analyzing BIM and CAD data with ArcGIS.


Article Discussion: