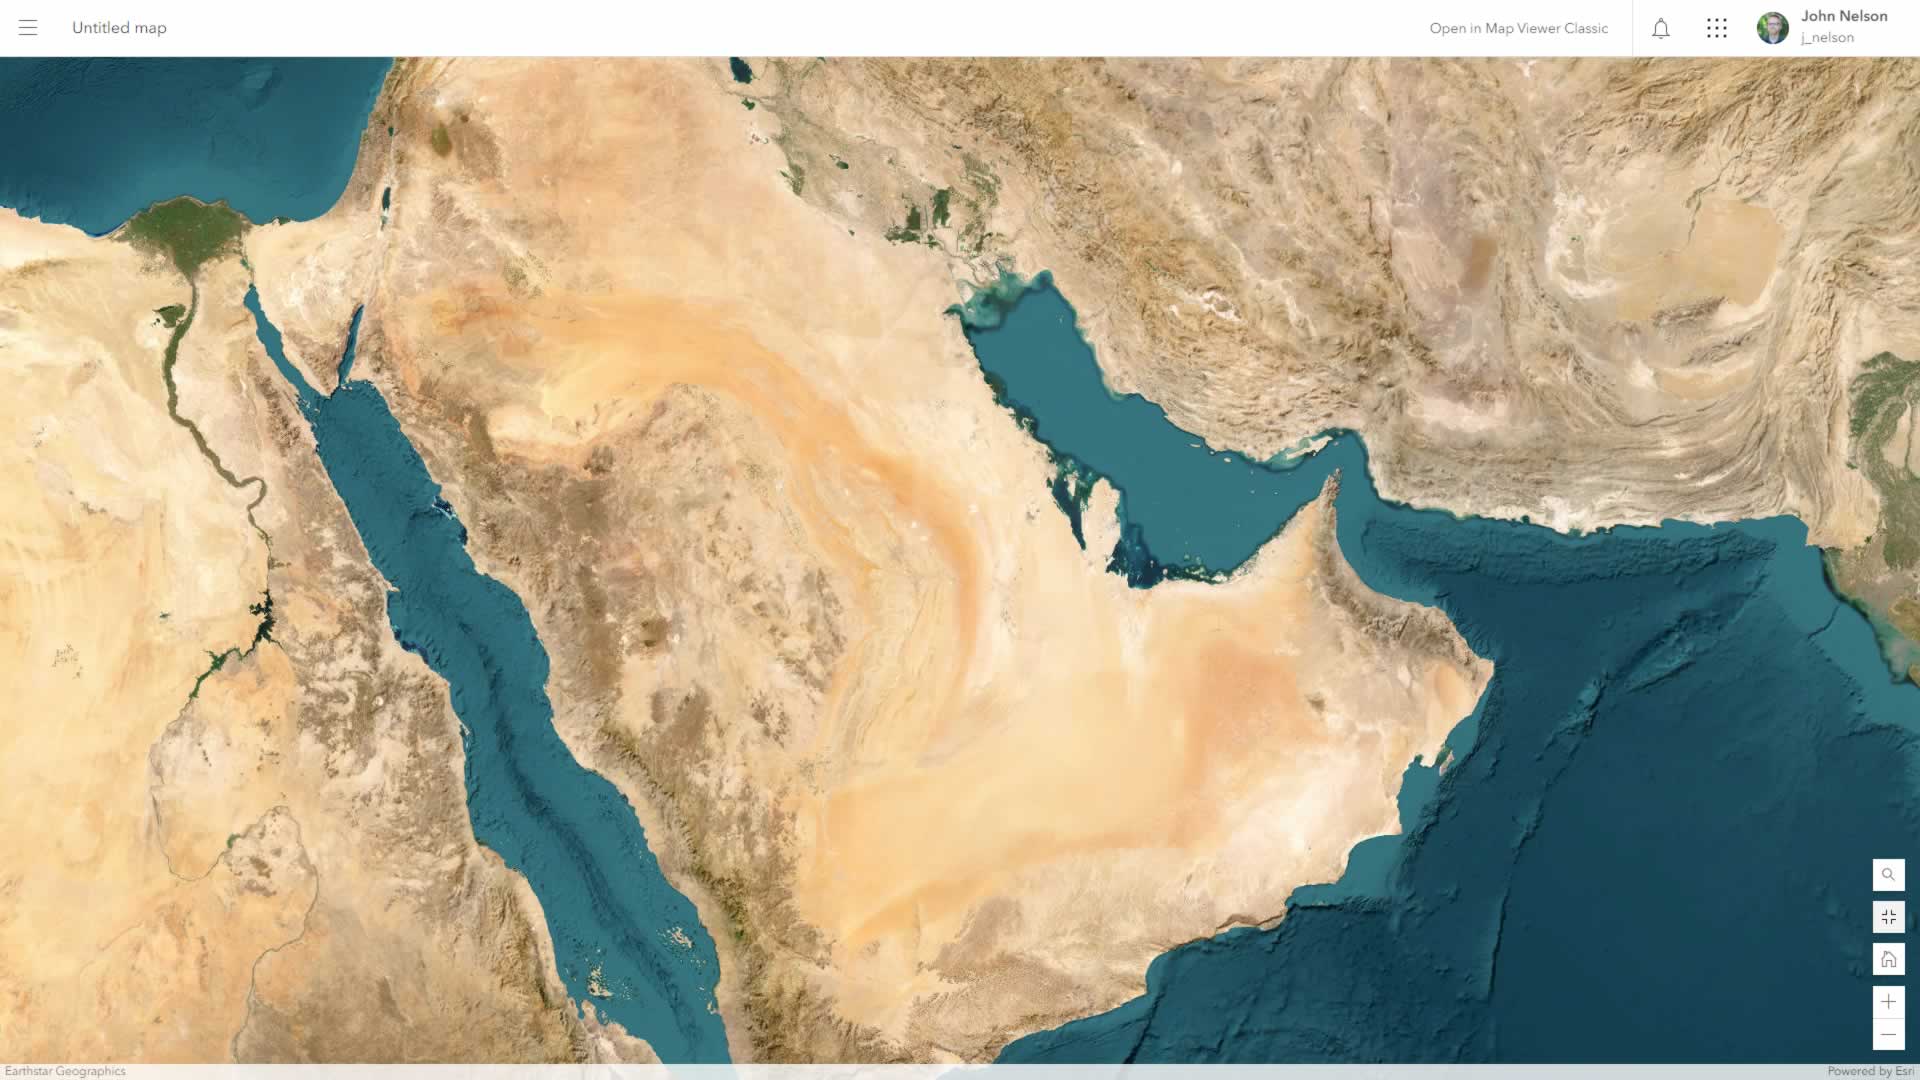
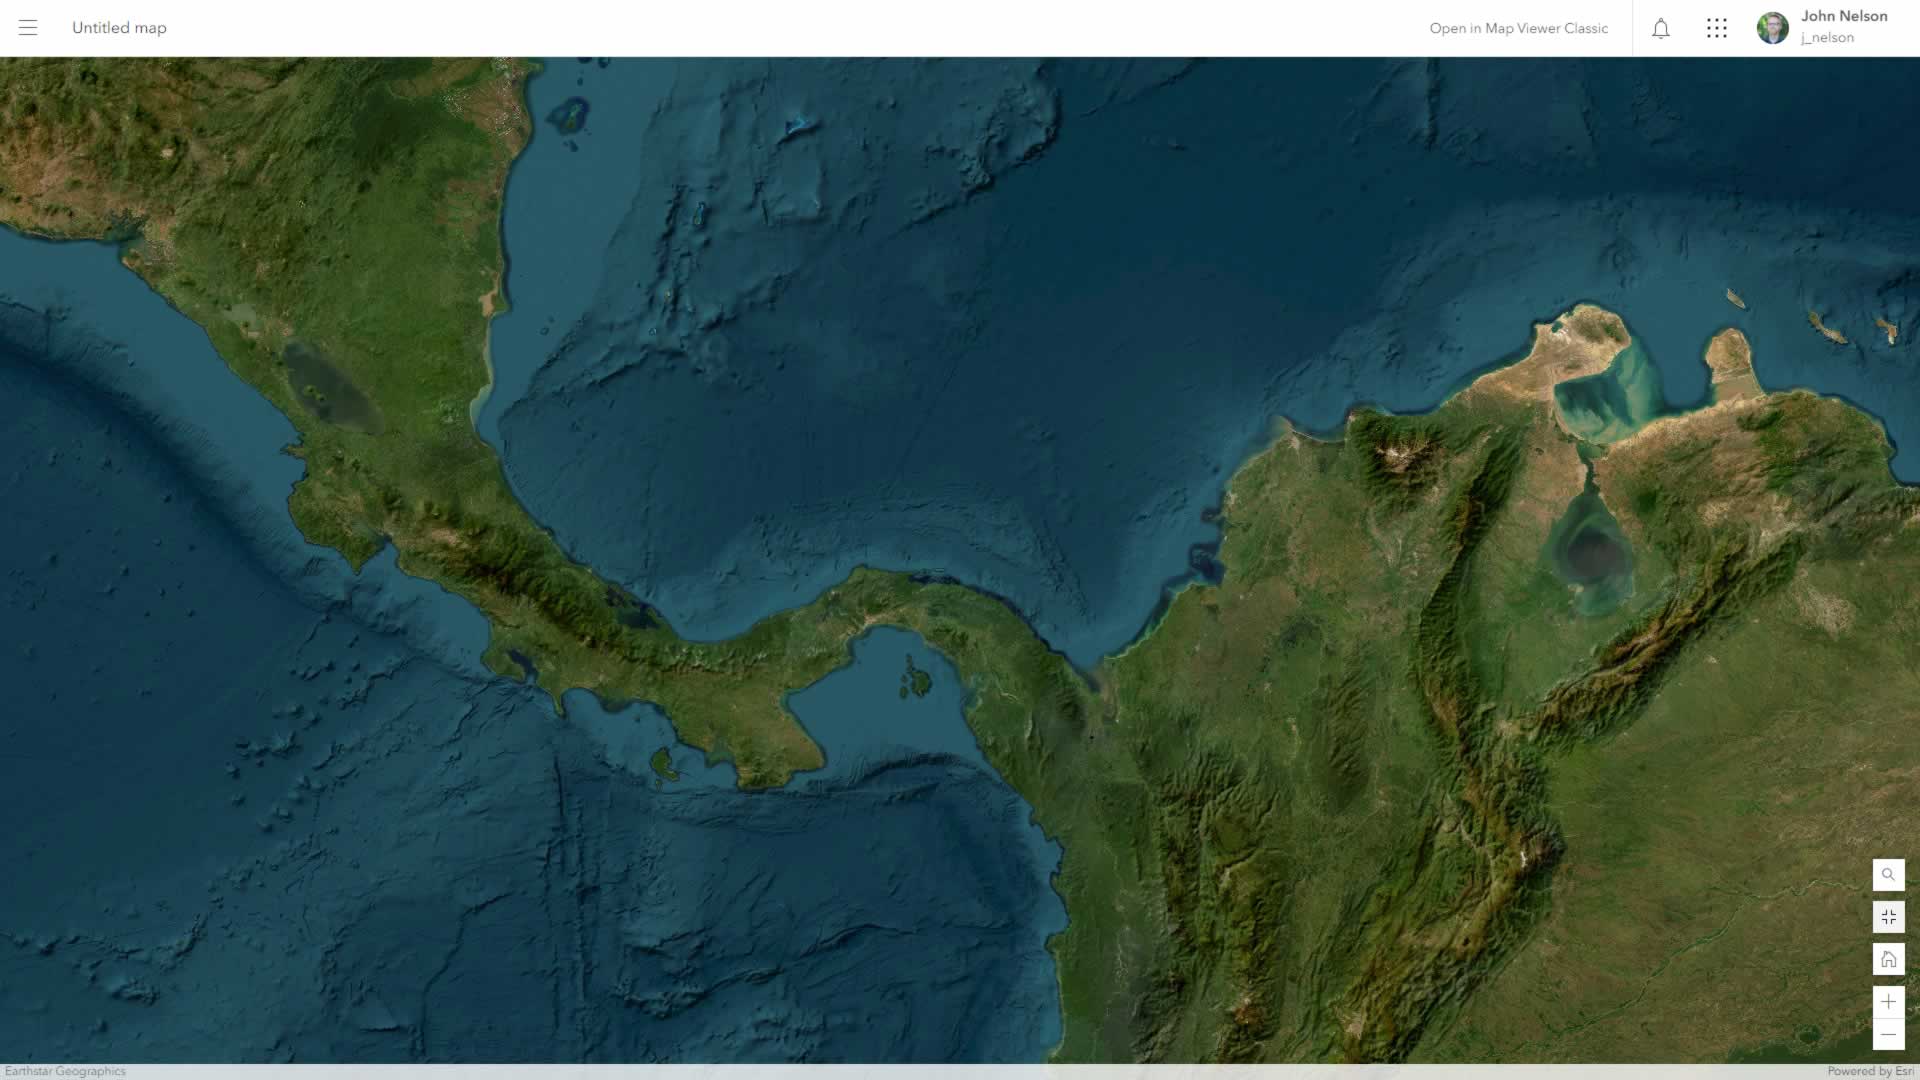
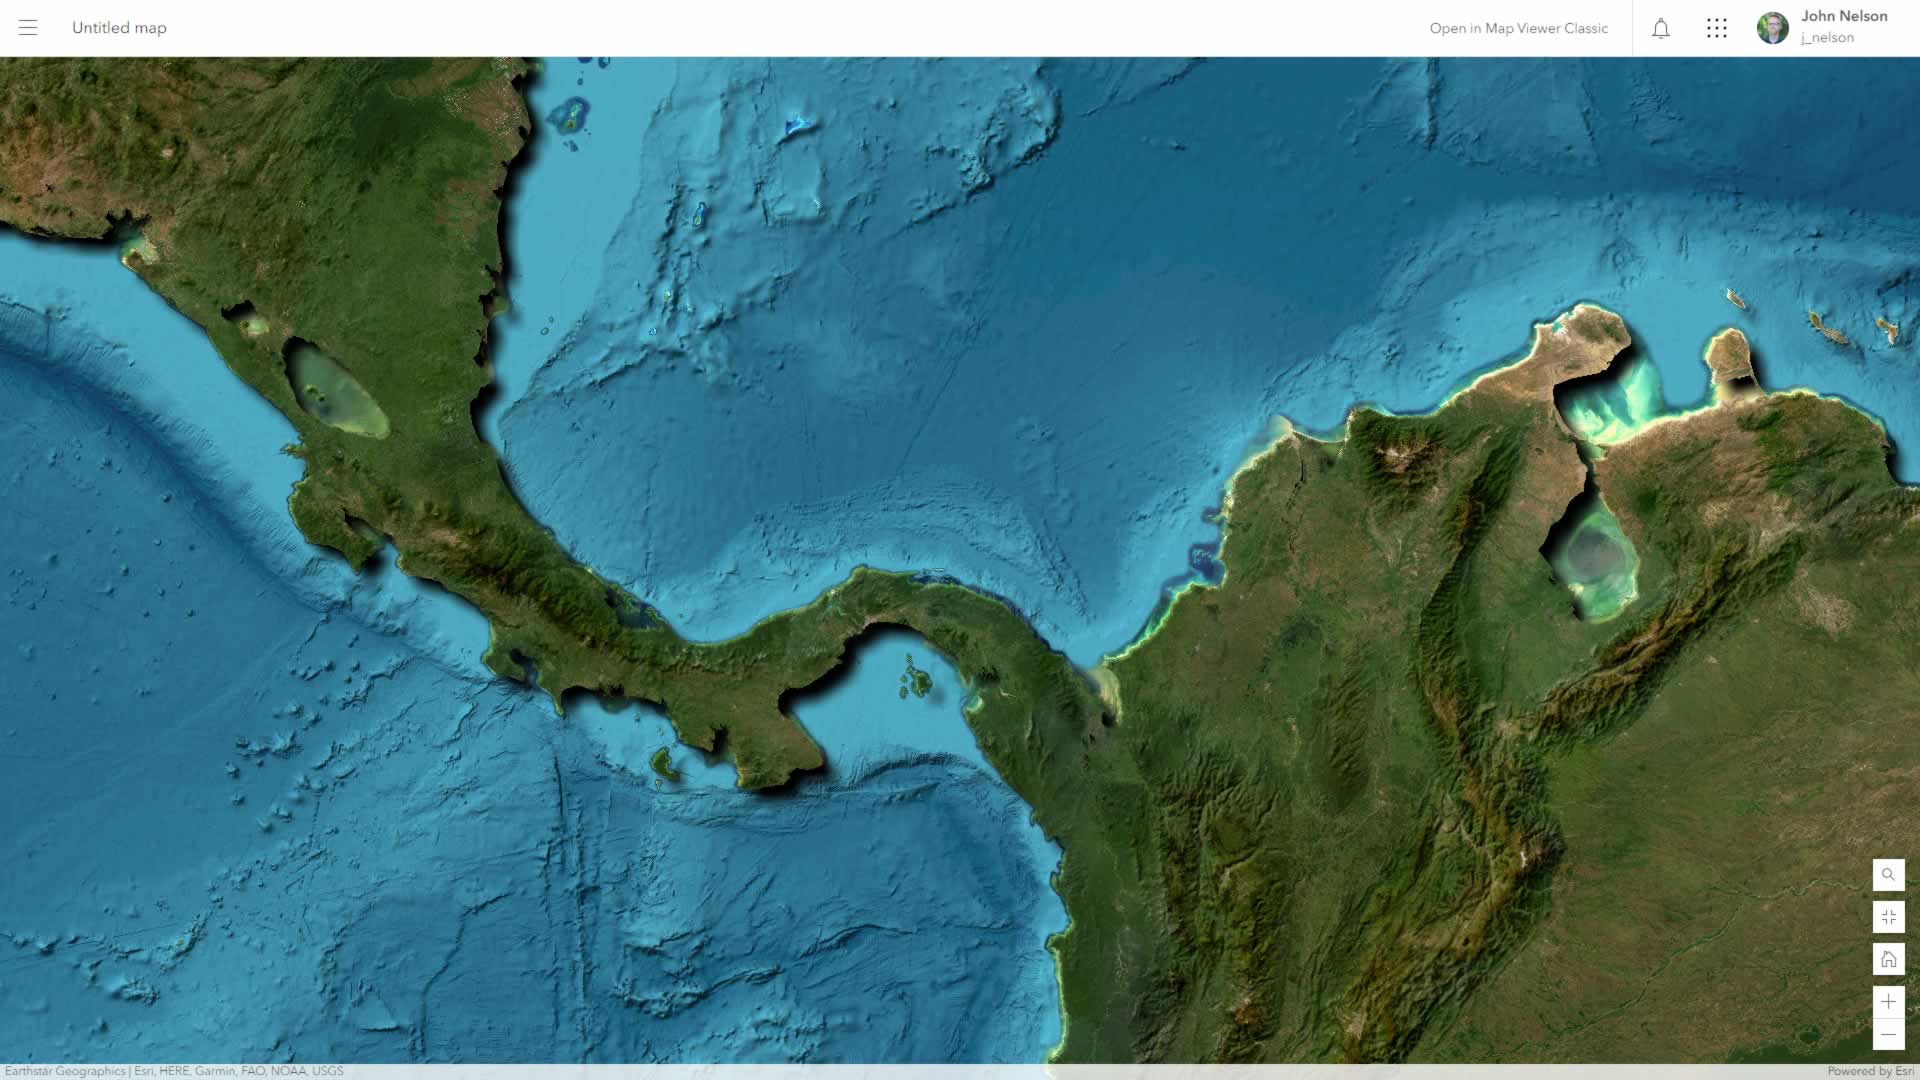
Ah the simple pleasures of the World Imagery basemap. So much earth. So much imagery. So many corners of this world to explore. How can we take something so verdant and charming and just ratchet it up to eleven? We’ll use a water mask and some layer effects, that’s how!
0:00 Start out with the World Imagery basemap. Give it a Brightness and Contrast effect of 196 and 96, respectively. And respectfully.
0:14 Via the layers, add the World Imagery again, from Living Atlas.
0:22 Also add a Living Atlas layer named Bathymetry Light.
0:28 Group the Bathymetry and Imagery layers, with Bathymetry on top.
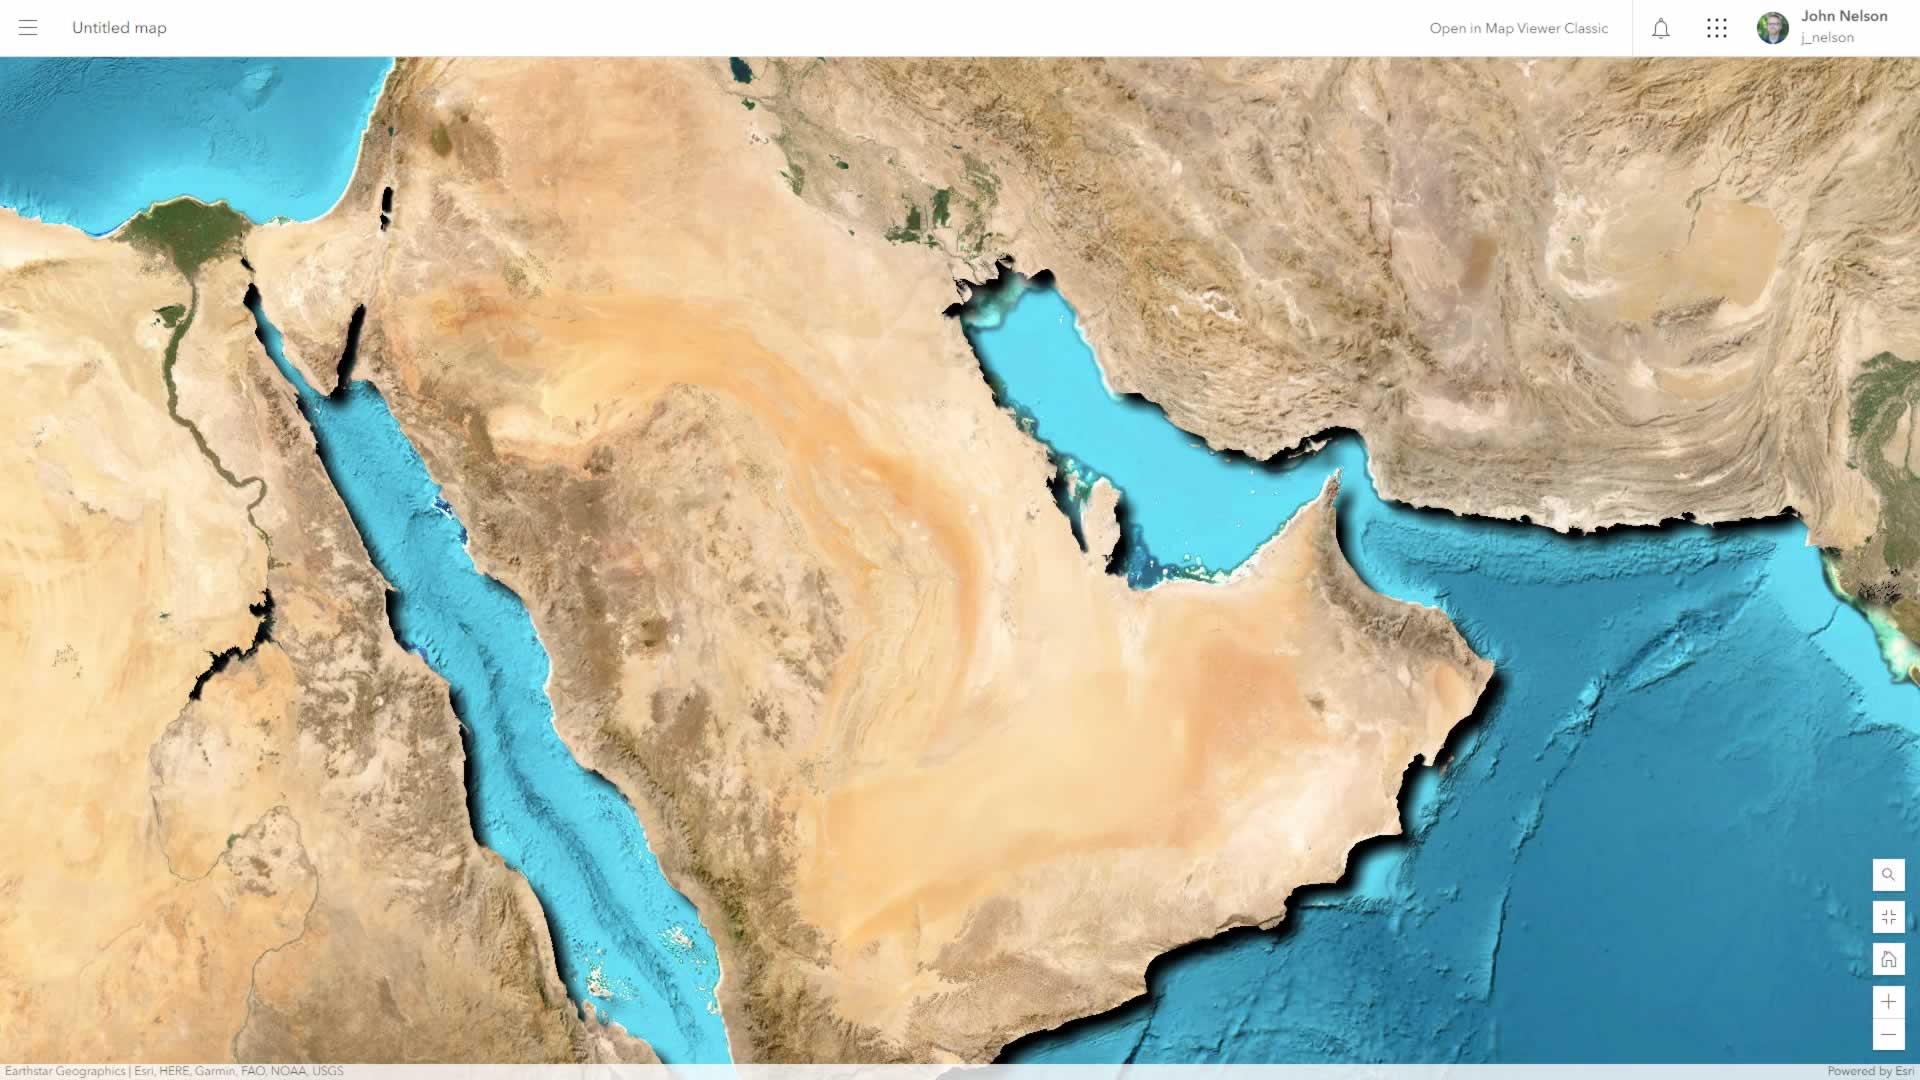
0:35 Apply a Destination Out blend mode to the Bathymetry layer. This is effectively a clipping mask, so only the imagery’s land areas are visible in the group.
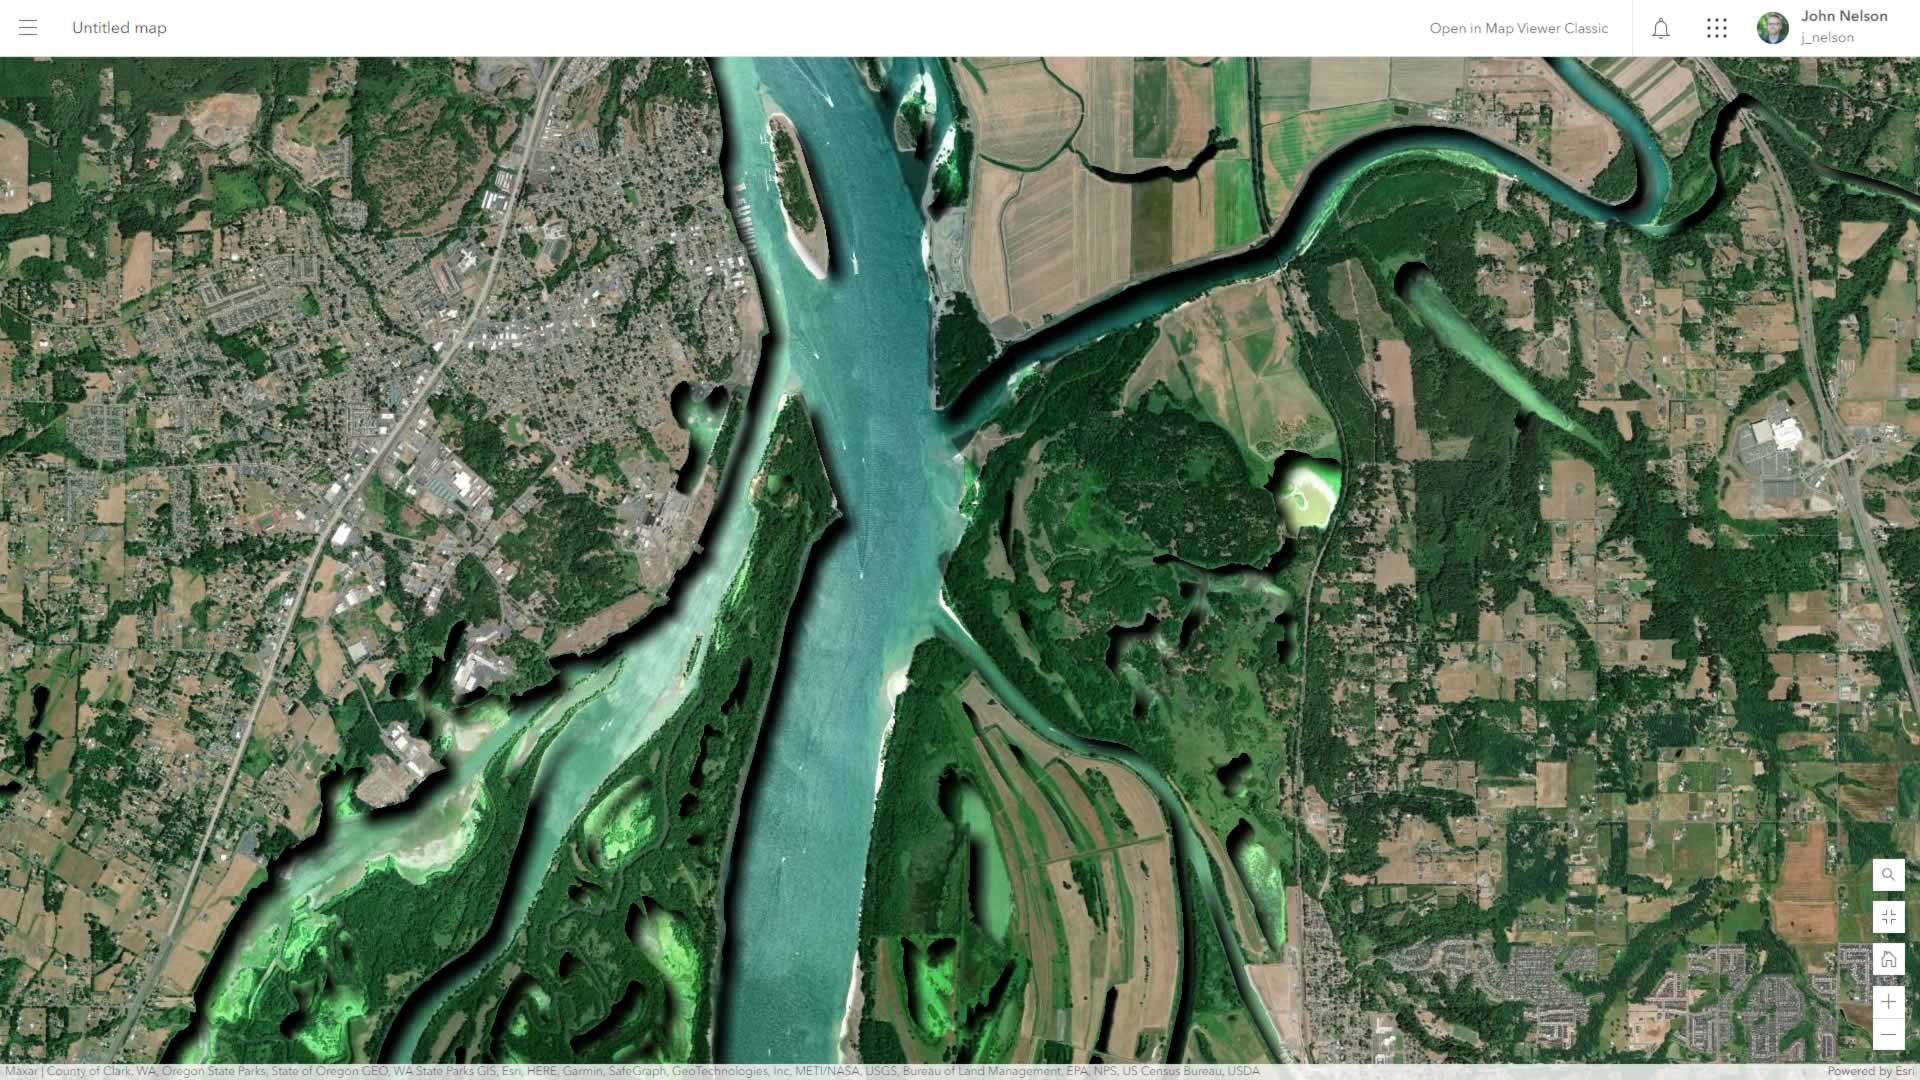
0:42 With the whole group selected, apply a black Drop Shadow effect.
0:49 Back in the group, select the bathymetry layer, and give it a Drop Shadow effect of white. This gives the land a bright edge.
1:00 Profit.
Here is the resulting web map, if you want to take a look around. Here are some fun examples to nudge you in the direction of cartographic tomfoolery…


Happy Embossing! John

Article Discussion: