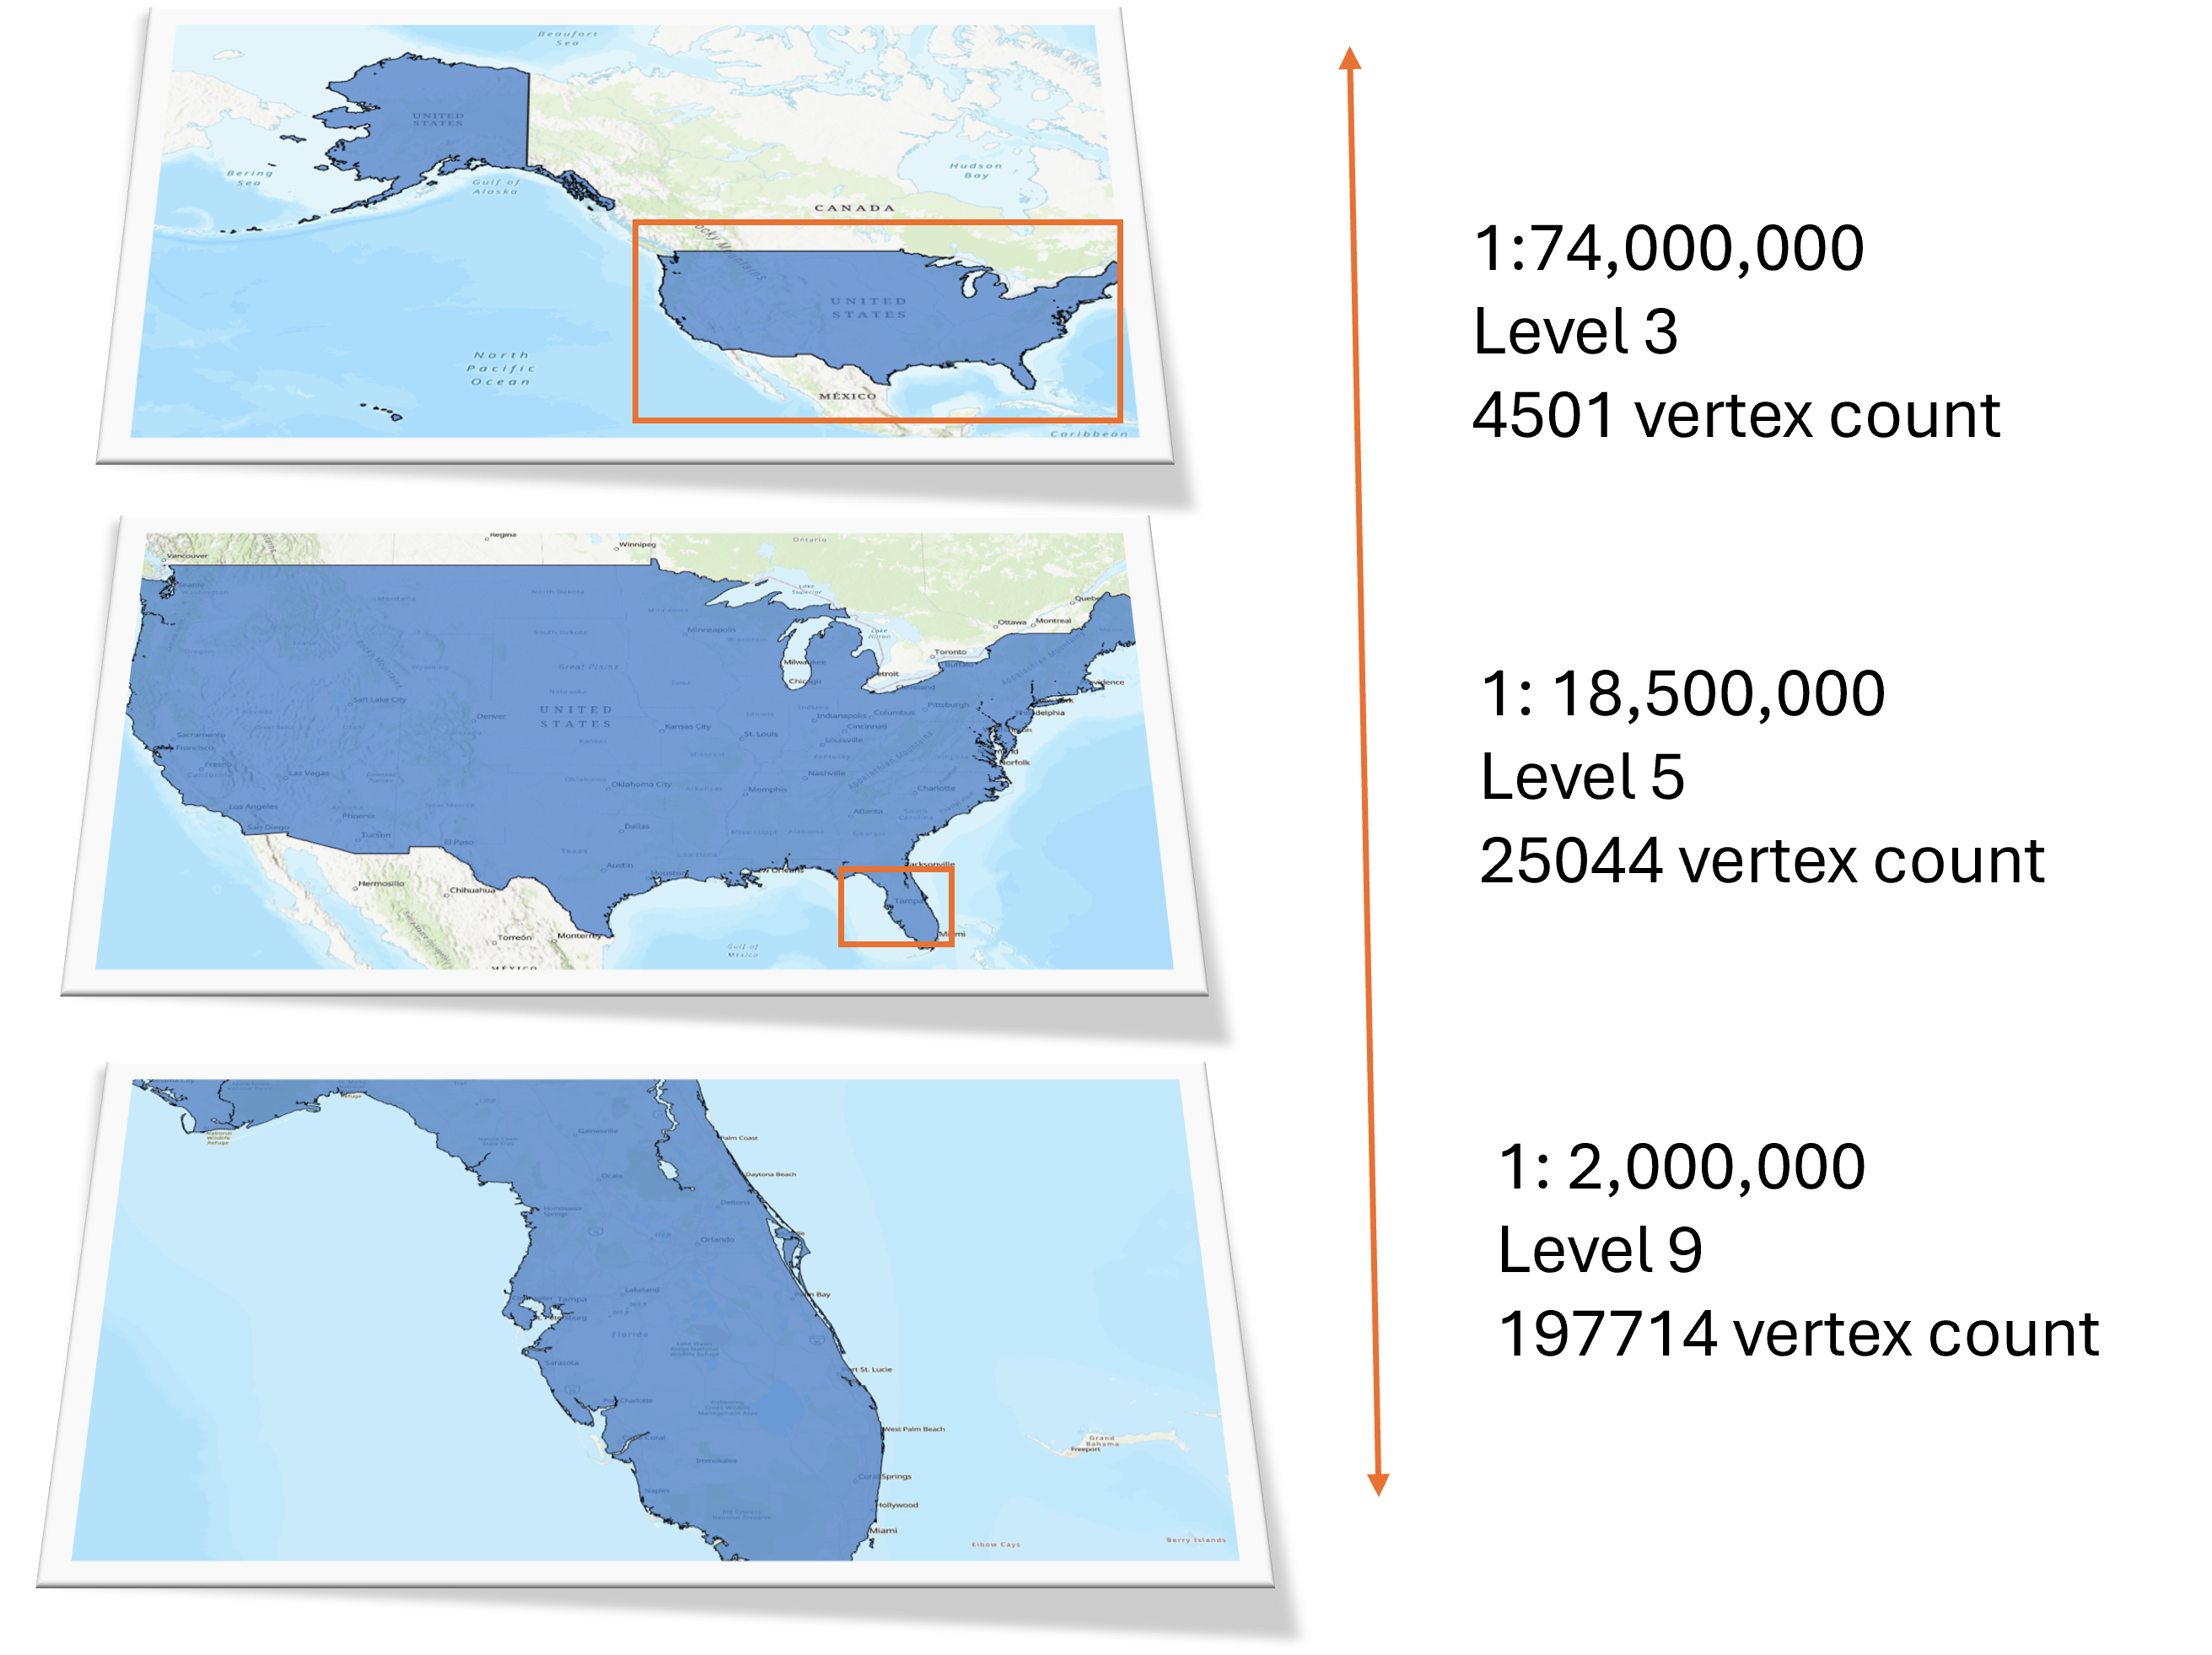
In this blog post, we’ll dive into important changes in the November update that impact how you manage large features in ArcGIS Online. Many of those center around Optimize Layer Drawing. Optimize Layer Drawing is a feature layer setting that can display geometry with different levels of details depending on the zoom level. If the hosted feature layer includes line or polygon layers that contain a large number of vertices and is often viewed at small or medium scales, you can optimize these layers to improve drawing performance.
How does Optimize Layer Drawing work?

Optimize Layer Drawing works by computing and storing down-sampled or generalized geometries at multiple scales. This increases performance by only drawing information with the detail that is appropriate at the scale being viewed. Generalization is performed by using a quantization algorithm: taking a higher-detailed geometry and producing a less-detailed geometry suitable for viewing at a specific scale range. Layer optimization usually takes a few minutes to complete. Editing is disabled while optimization is in progress. The optimized geometries are stored alongside the full-resolution geometry in the underlying datastore. The feature storage required for optimized layers will increase. For the curious users you can view more information about the specific scales (levels) by looking at the feature layers REST page you should see something similar to this under the “multiScaleGeometryInfo” properties. Multiscale is the internal name of the Optimize Layer Drawing. In “multiScaleGeometryInfo”, “levels” list all versions of optimized geometry, and higher number means more detailed. It gives you a sense of how many generalized copies of the geometry have been built and for what scale levels.
  "multiScaleGeometryInfo" : {
    "levels" : [
      1,
      3,
      5,
      7
    ],
    "maxAllowableDisplayLevel" : 7,
    "generalizationType" : "Quantization"
  }
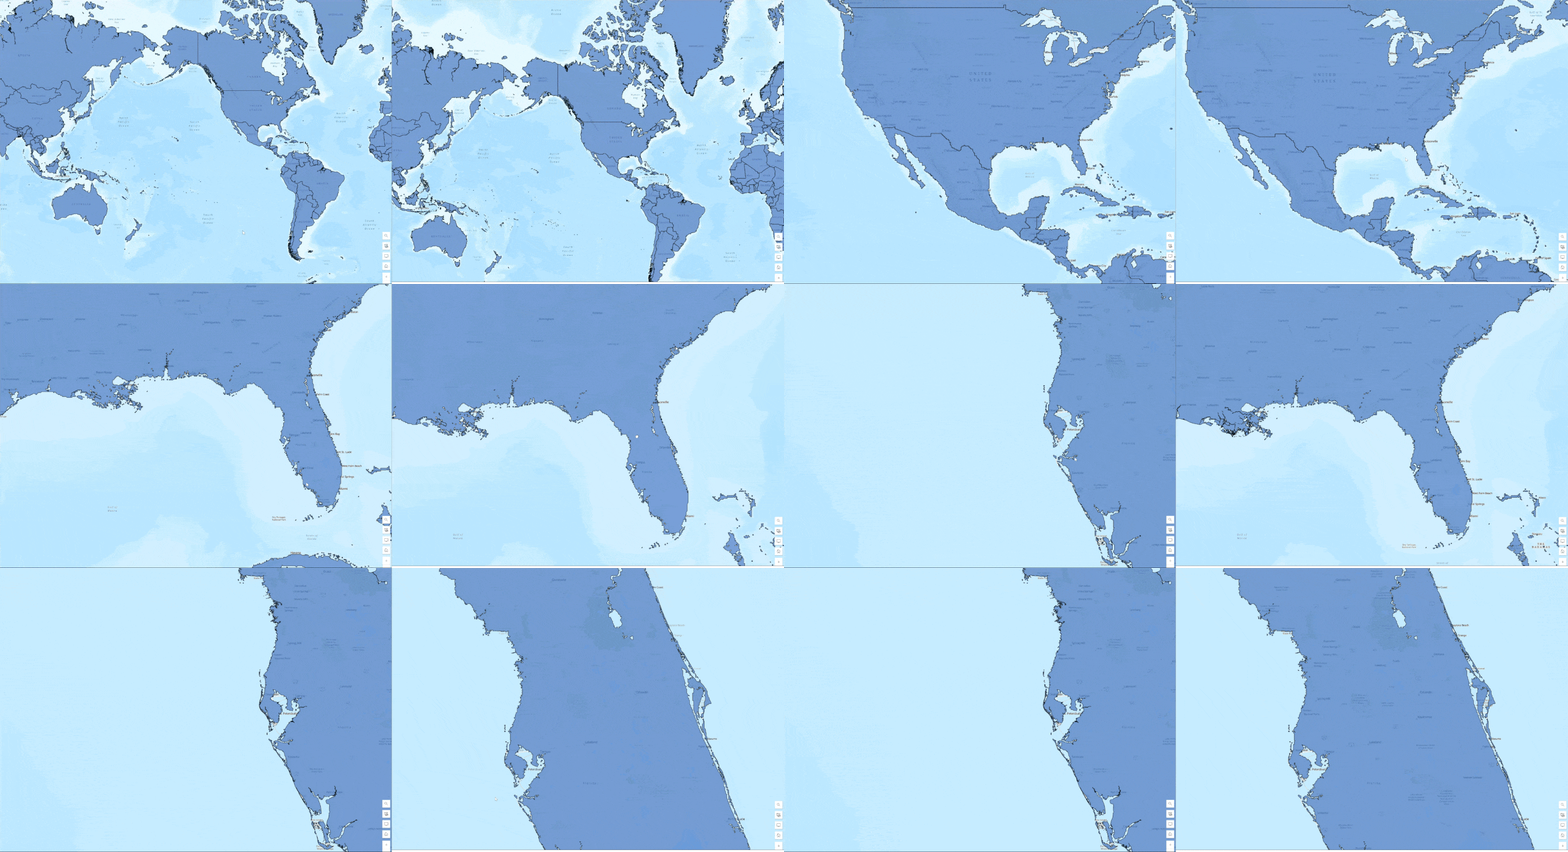
A good candidate for optimization would be a layer that contains country boundaries all over the world. You may want to view all countries at one time at smaller scales, and you also may want to zoom in to view details at city level. In below comparison panel, we can see that large geometry layer with Optimize Layer Drawing (left) loads faster on each zoom level.

You might be wondering what happens to the optimized geometries if I edit a feature and change its geometry or shape. Layers with Optimize Layer Drawing can still be edited. When the feature is edited, the optimized geometries will be updated. This includes operations like overwrite, update data (feature layer append) or sync.
What do I need to watch out for?
There are two thresholds for Optimize Layer Drawing:
- 400K Vertices: When the layer contains a feature with more than 400K vertices, the Optimize Layer Drawing feature will be automatically enabled. This threshold of 400K vertices triggers Optimize Layer Drawing during various operations, including publishing a layer, appending, overwriting, and analysis tools such as “Create Buffer” or “Dissolve Boundaries”. Syncing and editing will not auto-enable Optimize Layer Drawing if the layer has not been optimized before.
- 1M Vertices: The maximum display level limit is set at 1 million vertices. When the geometry has fewer than 1 million vertices, the Optimize Layer Drawing feature will query the original geometry if you zoom in beyond the maximum level of optimized geometries. However, if the original geometry exceeds 1 million vertices, the “maxAllowableDisplayLevel” geometry will be the last level to use instead of the original. This information is defined in the “multiScaleGeometryInfo” when building the optimized geometry and cannot be altered.
You can check vertex count for each feature using “Calculate Geometry Attribute” tool in ArcGIS Pro. To figure out the number in ArcGIS Online, below is an example query that returns the maximum vertex count for a layer:
https://<root>/<serviceName>/FeatureServer/<layerId>/query?outStatistics=[{"outStatisticFieldName": "maxPoint", "statisticType": "maxPointCount"}]
Other ways to optimize large geometries?
There are several other ways to optimize geometries without having to solely rely on Optimize Layer Geometry setting such as using geoprocessing tools to adjust the data before publishing to ArcGIS Online. While this can be an extra step it does give you more control over how the data is optimized. Below are some effective methods for feature generalization. You can find these in the “Modify Features” pane in ArcGIS Pro, where you can adjust settings for both preview and precision.
- Simplify: This method in Generalize can simplify lines by reducing unnecessary vertices while preserving their fundamental shapes.
- Split: This tool splits a visible feature into two or more features.
- Explode: This tool separates the component parts of a multipart feature into single-part features with attribute values that match the original multipart feature.

One additional GP tool that can help manage the Vertices count is Dice. Where you can specify a specific vertex count as a limit, splitting features when they exceed it. Also works with complex Polylines!