ArcGIS Hub Premium provides powerful tools for cultivating your community and fostering meaningful engagement. This helps you design Hub sites that function as virtual places for people to participate in the local events, projects, and initiatives that matter most to them. And to share information and data on sites in a multitude of formats so users can explore, create, and download content.
This article is one in a series of three that collectively act as a guide for successfully managing your community organization. Don’t miss the others on Connecting your community with ArcGIS Hub Premium – best practices part 1 and how to Collaborate with your community with ArcGIS Hub Premium – best practices part 2. In this third article, we offer nine handy hints for managing your community organization.
1. Find a solution to fit your community organization
ArcGIS Solutions are ready-to-go packets of content built around a particular workflow or topic. Solutions are available for various industries, and you can likely find applicable tools and patterns from another industry that can help define your own workflows.
A wide assortment of ArcGIS Solutions make use of Hub community engagement tools that facilitate upkeep and care of public facilities such as Adopt-A-Road, Adopt-A-Tree, and more. You can activate a solution and customize it to suit the needs of you and your community.
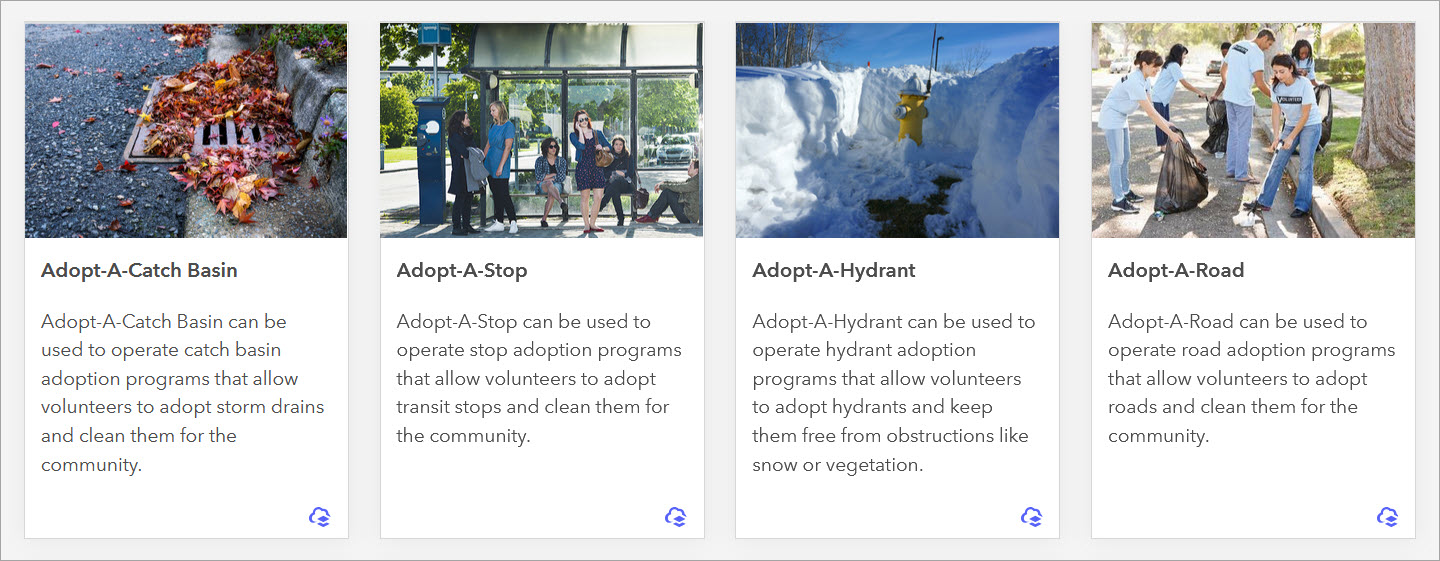
Hub Premium customers often use the community organization to coordinate volunteer work. Coordinated activities in a community such as volunteer work are often tied to geography, as people need to cover specific locations.
So, don’t reinvent the wheel! The Homelessness Point in time count solution has a volunteer management component with a built-in Hub site with pertinent information and ways for citizens to create accounts and identify preferred areas of work. The solution also provides a powerful dashboard that allows you to visualize spatial patterns of homelessness and evaluate related metrics.
2. Optimize sign in options
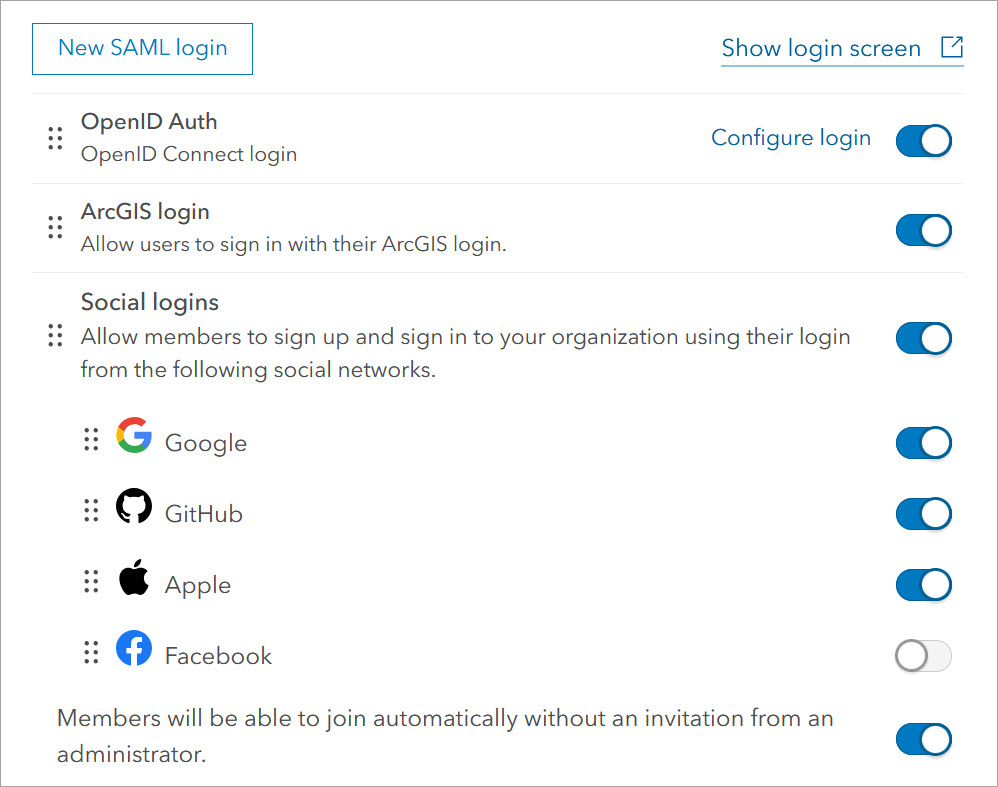
New community members can use their email address to sign up. You can also provide options for them to use their credentials for Facebook, Google, Apple, or GitHub. In addition, the sign in prompt can be configured to use a third-party provider for single sign-on. Learn how to configure security settings such as the sign in prompt in ArcGIS Online (Organization > Settings tab).
Our documentation recommends enabling global navigation for sites so that the sign in option is consistently available for visitors. However, it may be useful to turn off global navigation (no sign in prompt) for sites not designed for engagement that are delivering information or data, or for sites that are using the community organization in a more targeted way.
3. Promote interaction with the community organization
After they have an account, people can follow your page, project, etc. for subscription-based updates and to access exclusive content. They can also sign up to attend events and use or download open data provided through your site to create maps and stories on their own.

4. Keep in contact with your community
After members have signed up, you’re just getting started. Put together a plan for follow up with new members, especially if your call-to-action doesn’t include a secondary action or a follow button. You can view a list of all community members and access their profiles in ArcGIS Online (Organization > Members tab).
5. Provide materials in various formats
If you are providing training materials or other informational resources, make multiple formats available (if possible), as people learn in different ways. This could mean a PDF of text and static images, infographics such as a chart, interactive maps, videos, or in-person training sessions.
6. Keep track of activity
Community administrators may want to define governance practices for the community organization before opening it up for members. If you already have processes in place to manage your employee organization, these can be applied to the community organization and customized as needed. For example, you may want to promote standard naming conventions for content items to ensure legibility and consistency, and to facilitate data management.
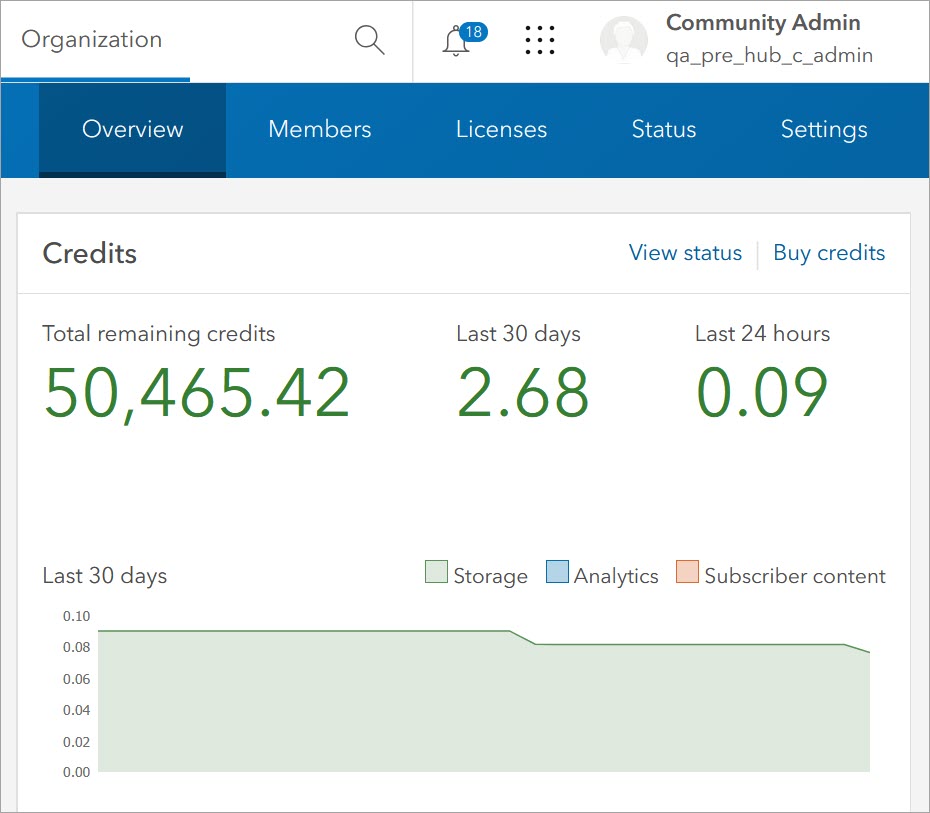
Community administrators can view and manage member activity in ArcGIS Online (Organization > Overview and Members tabs, Groups > My organization’s groups tab). This may mean limiting the number of accounts, monitoring login frequency or credit usage, or auditing the number of active groups. For detailed steps, see how to Manage members.

7. Use groups to organize members and share content
You can use existing groups or create new groups to organize community members around shared interests and goals. This built-in model can facilitate collaboration and communication. For example, you could create focused groups related to your projects or initiatives and community members could join or be added to these groups.
Staff can share content with community members via a site’s groups. Site groups are stored in the employee organization. With the default publisher role, community members have the privilege to “Join external groups.” This way, they can become group members (access group content) but cannot access the rest of the employee organization’s staff profiles or official content. Learn more about general privileges available with the publisher role.
8. Leverage Hub Premium
Take advantage of Hub Premium tools to take community engagement to the next level. This includes features such as initiatives, projects (check out metrics!), events management, content-based discussions, and even public discussion boards. Learn more about Hub Premium features.
9. Look ahead to communities and workspaces
With the release of workspaces in general availability later this year, much of the management of the community organization will be done in ArcGIS Online. Administrators currently use these workflows for the primary organization.
Workspaces are the new way to edit and manage items across Hub. You can enable the workspaces feature (beta) to start using this improved edit interface.
- Sign in to ArcGIS Hub.
- From your user profile, select Settings
- Select the button to enable workspaces.
Leverage initiatives and projects (unique to Hub Premium) to organize and share your coordinated work. If you enable workspaces (beta), you have access to enhanced initiatives as well as projects and you can manage them in their respective workspaces. This will give you a sneak peek into workspaces and a head start towards success in optimizing your Hub sites.
Learn from community organization resources
- Find details in the ArcGIS Hub Community web help
- Check out these Time-saving tips for managing members in ArcGIS Online
- Discover customized tools for working with communities in ArcGIS Solutions
- Learn more in the Improve Infrastructure Projects with Community Input Using ArcGIS webinar
- Sign up for the ArcGIS Hub e-newsletter
This article is part of a series so be sure to read the others (linked below) that expand on best practices for managing the community organization with Hub Premium. Please post your comments or questions on Esri Community.
A special thanks goes to Harshi Dondapati (Product Management); Morgan Miller, Mackenzie O’Brien, and Payten Jarnagin (Professional Services); and Jeremiah Lindemann (Solutions team) for consulting on this article. The 10 tips for growing your Hub community base blog by Katie Thompson also provided ideas and inspiration.
Non-screenshot images are licensed from Adobe Stock.


Article Discussion: