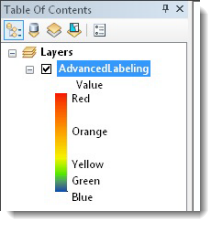
Many of you have asked us if/how you can create a custom colormap file in ArcGIS. Well, finally we can say, “Yes! You can create a custom colormap file in ArcGIS 10”.
OK, so how do I create one?
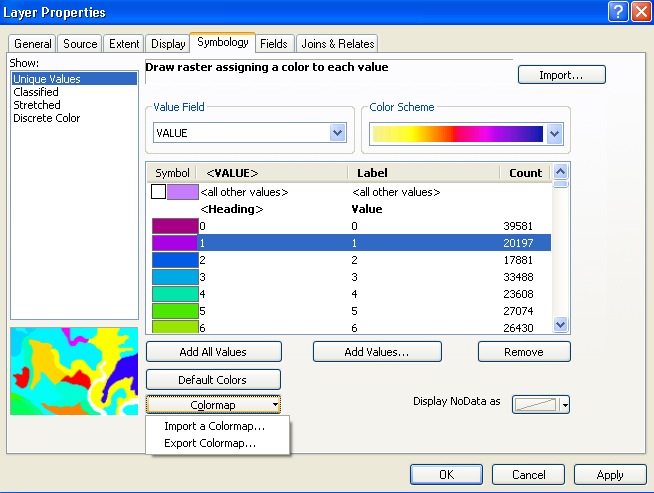
The way to create a colormap file (CLR) is to edit the color scheme of a raster dataset using the Unique Values renderer (on the Symbology tab of the Layer Properties dialog). Edit the color for each value. Once you have completed the editing, then you can display your color scheme to see if you are satisfied with it. If you are not satisfied yet, you can further refine your color scheme.
I am happy with my colors; now how do I save my colormap?
Once you are satisfied with your colors, go back to the Symbology tab window. In the window, there is a new button named “Colormap”. This allows you to export or import CLR files. To save your colormap, click the Colormap button, and then click Export Colormap. Save it to your local disk, and you now have a CLR file with your custom colors.
How do I persist my CLR to my raster?
To actually apply your colormap file with your raster dataset(s), you can use the Add Colormap geoprocessing tool. Populate the Input Raster and the Input .clr fields. After you run the tool, your raster dataset now has the new colormap information attatched.
Requirements for Colormaps
- Single band data.
- 8- and 16-bit unsigned integer (positive integer values).
- A format that supports colormaps (see Technical Specifications for Raster Formats).
For more information about colormaps, please see:
Contributed by: Simon Woo

Commenting is not enabled for this article.