In the last blog, we looked at how we can go to different areas within a building and explore how the view would look like. In this post, we take the same file online and see how we may do a daylight analysis, for different times of the day, different days of the year, not just outside the building, but within each room as well.
This can be done with a simple workflow, which is easily shareable.
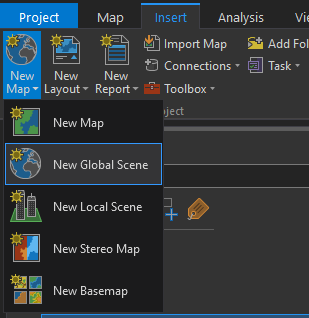
Open a new Global Scene by clicking on Insert -> New Global Scene
2. Add the original Revit file by clicking on Map-> Add Data and navigating to the file’s location. We can now publish this scene to the ArcGIS Online portal.
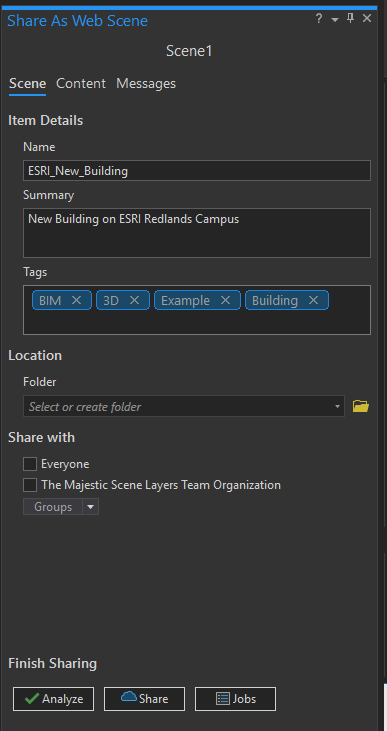
3. Go to Share -> Web Scene. The pane for Share As Web Scene settings opens.
- Change the name to –> ESRI_New_Building
- Add Summary:
New Building on ESRI Redlands Campus - Add the following Tags
BIM, 3D, Example, Building - Select Sharing Selects (Everyone or your organization)4. Click on “Analyze” to see that all the inputs are error-free. And then Click Sharee. You can check the status of this process by clicking on “Jobs”. This usually takes a few minutes, depending on the file size.
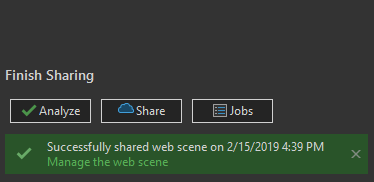
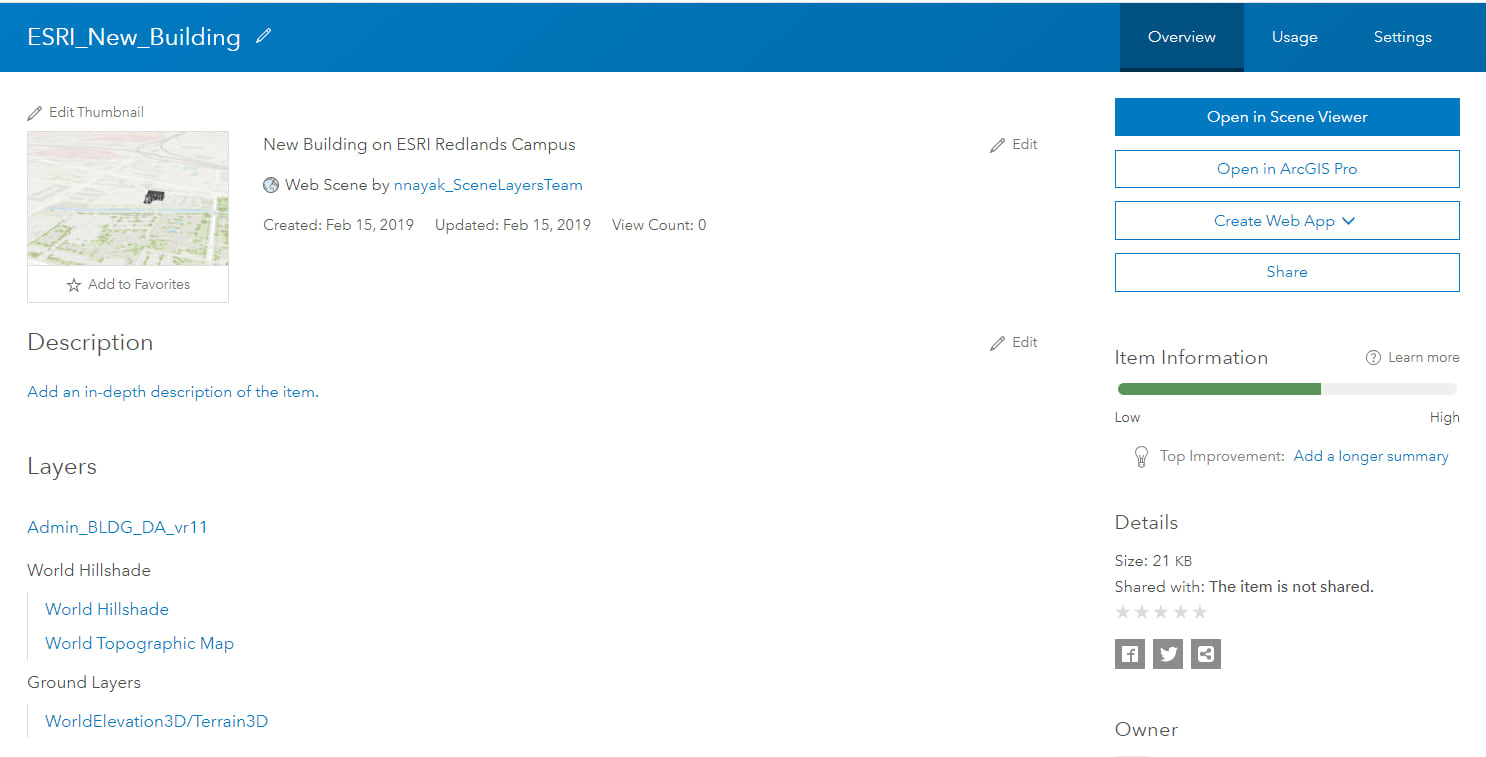
5. After the Scene is done publishing, you will receive a successful sharing message. You can click on Manage the web scene to view it online.
6. You are navigated to the ArcGIS Online portal. Enter your credentials to login if necessary. The description page for the web scene opens. Click on Open in Scene Viewer.
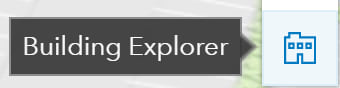
7. Click on the Building Explorer icon
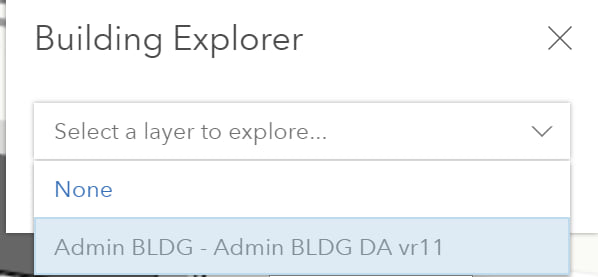
8. Select the Building
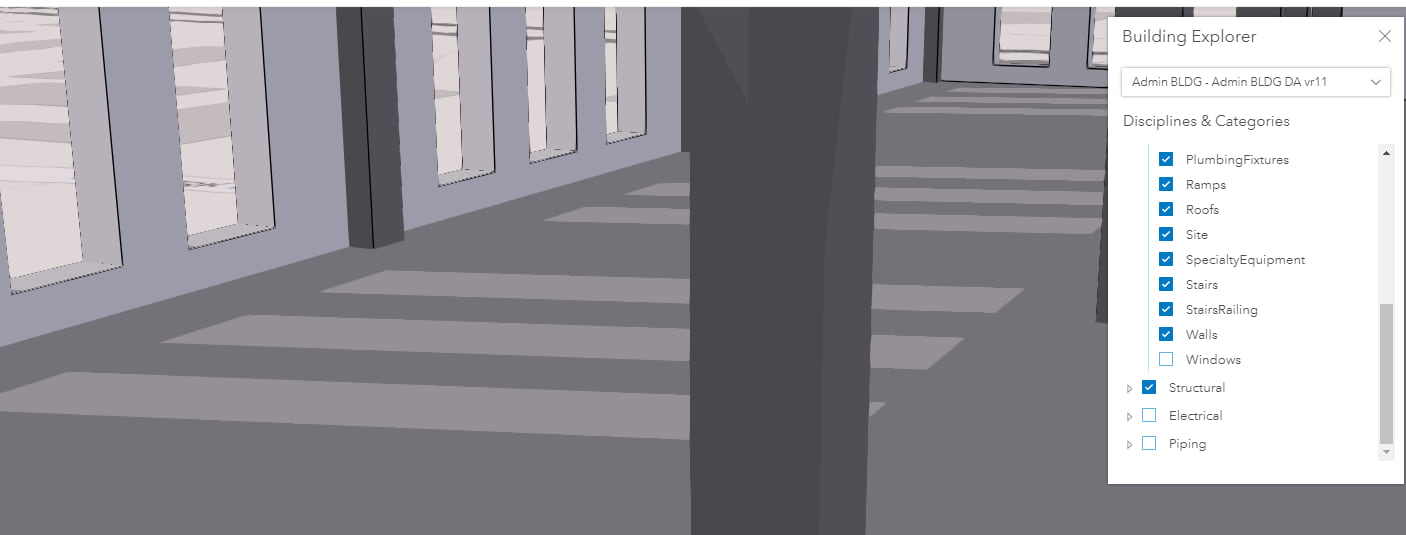
9. Building Explorer will show the Disciplines and Categories
Check Architectural Discipline
Check Structural Discipline
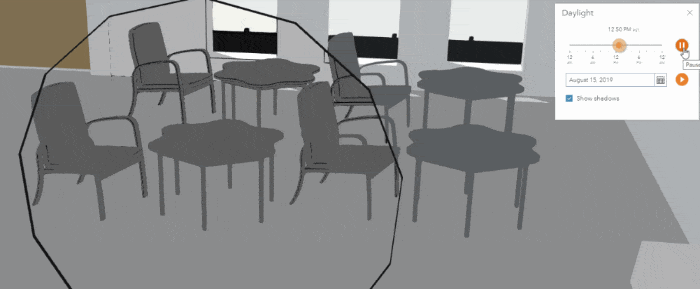
DAYLIGHT ANALYSIS FOR THE BUILDING FLOORS
- Unselect the Windows in the Architectural group in the Building Explorer.
Note: Unchecking the windows is necessary because the Scene viewer treats the windows as opaque if checked.
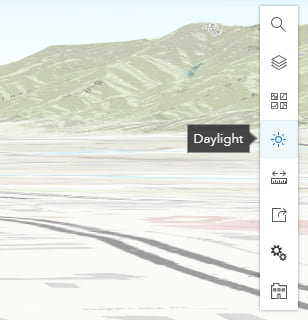
2. Click on the Daylight tool.
3. Use the slider to examine how the sunlight will fall inside the building for different times of the day, different months of the year.

SLICE INSPECTION
Next, we move on the Slice tool on the Web, which lets you explore the interior plan of the Building model.
- Go to Analyze tool
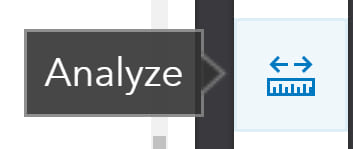
2. Select “Slice Objects”. You can now explore the interior of the building’s cross-section interactively using the handles on the scene

Hope you found this two-part tutorial blog worthy of the time and effort! Please leave your feedback below! If you have questions or comments, please email at nnayak@esri.com.
Now you are ready, to quickly import, georeference, conduct exploratory analysis on your data, share it online and analyze some more!

Commenting is not enabled for this article.