ArcGIS Instant Apps offers a wide selection of purpose-driven app templates that are easy to use and fast to configure. The November 2024 release introduced several new templates as well as a handful of exciting new features to existing apps. This blog highlights one of our brand new templates: Compare.
Visualize data at one or more locations using multiple maps and scenes with side-by-side or stacked layouts with the brand new Compare template. Choose between two comparison modes to compare multiple maps at the same location or compare multiple locations of the same map. These modes will be described below. This template supports up to 4 maps, scenes, or a combination of both at once. Import bookmarks or slides, or create locations manually to compare areas of the same map or scene. The views can be synced when using the app.
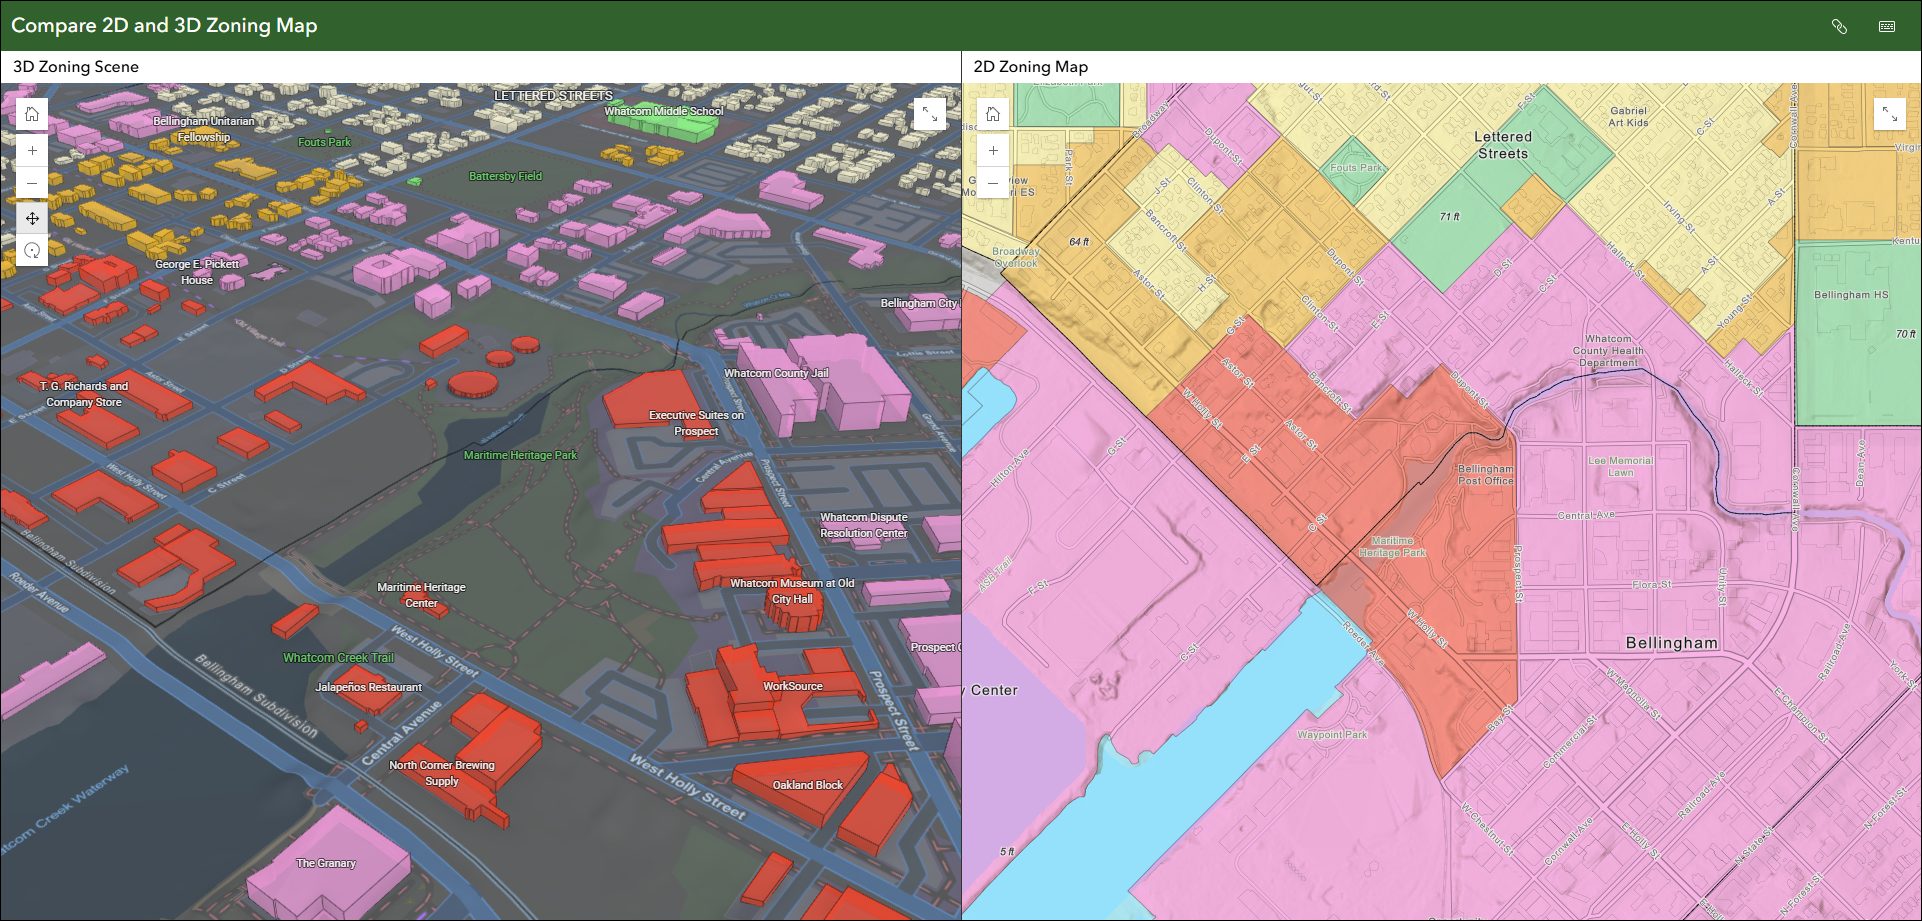
Let’s take a look at the two app modes and then run through a few helpful settings to consider that will get your app up and running quickly.
Multiple maps mode
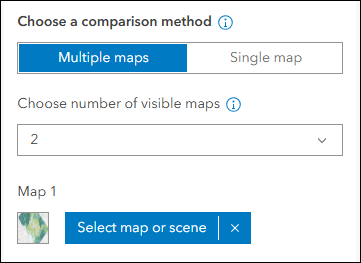
Use Multiple maps mode to compare different data at the same location such as housing cost, homeownership, and median income. Use the app configuration to choose each map containing the different data variables. By default, each map will load to the exact same location based on the map you choose for Map 1 in the configuration. Remember, both maps and scenes are supported so feel free to include 2D and 3D in your comparison.
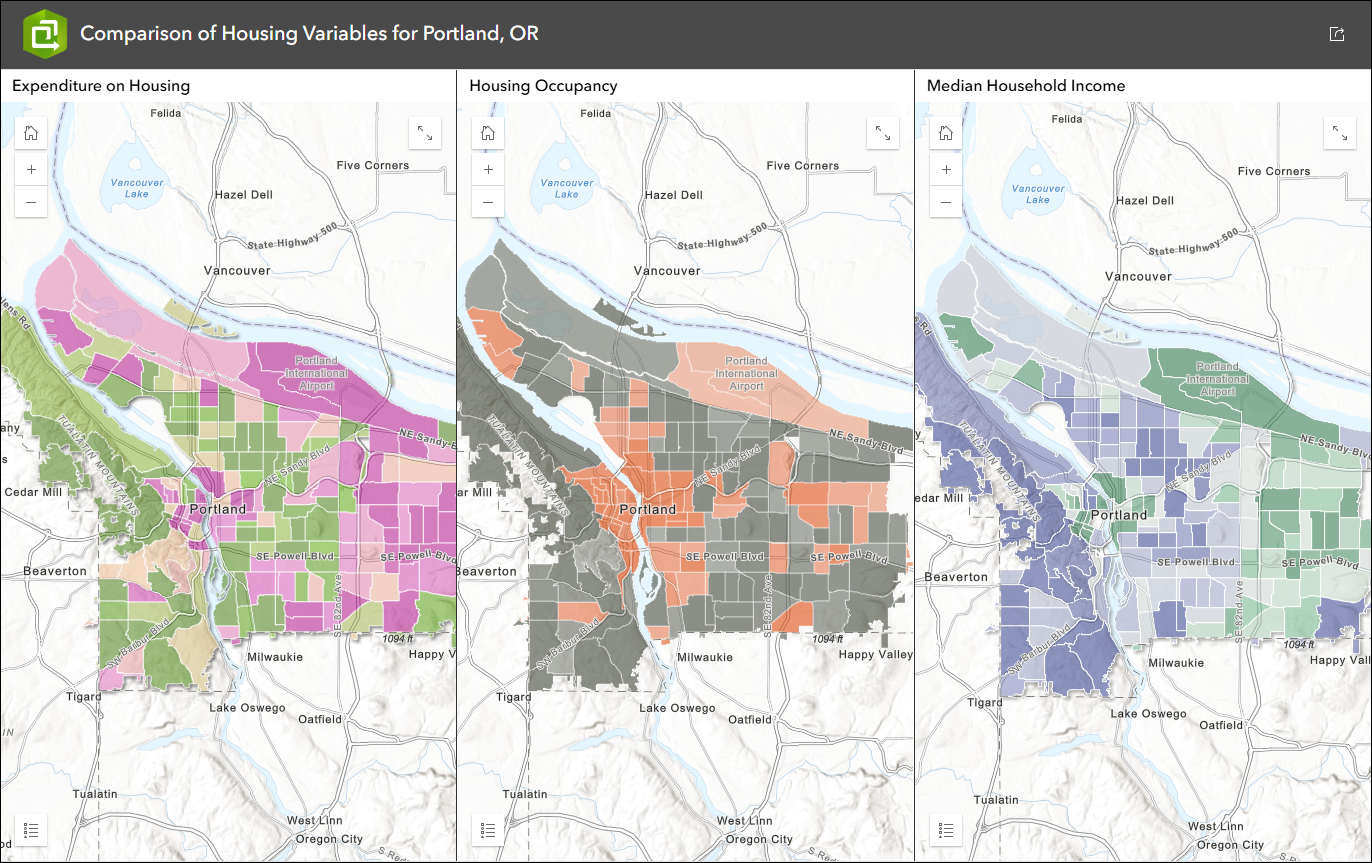
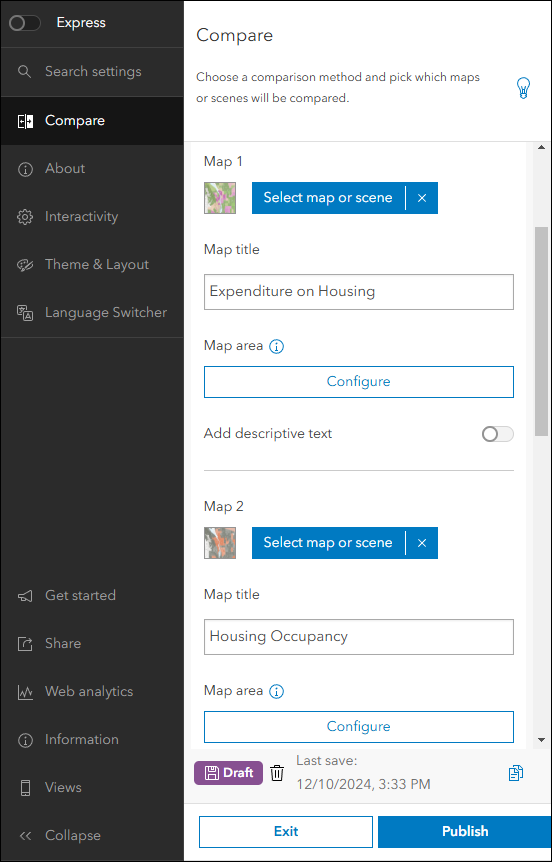
Multiple maps mode gives you that classic comparison style app that you might have been accustomed to with ArcGIS Configurable Apps in the past. Comparing different variables for a given location in a single app layout is a great way to visualize differences, similarities, and trends in your data. We recommend to move forward using this new Instant Apps template as the replacement solution to any apps you’ve created using older and retired comparison style templates from ArcGIS Configurable Apps. The new Compare also includes an additional comparison mode, Single map, which is detailed below.
Single map mode
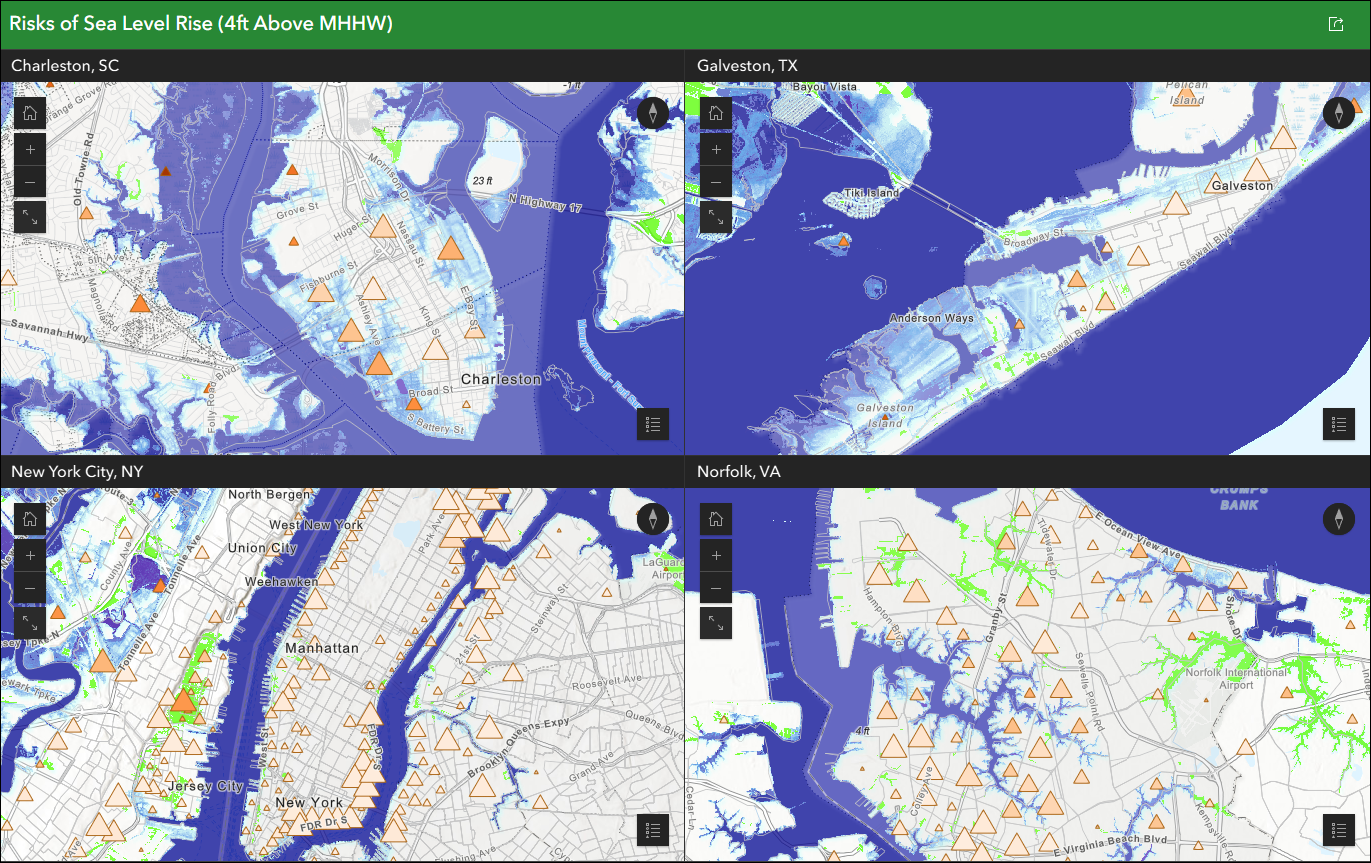
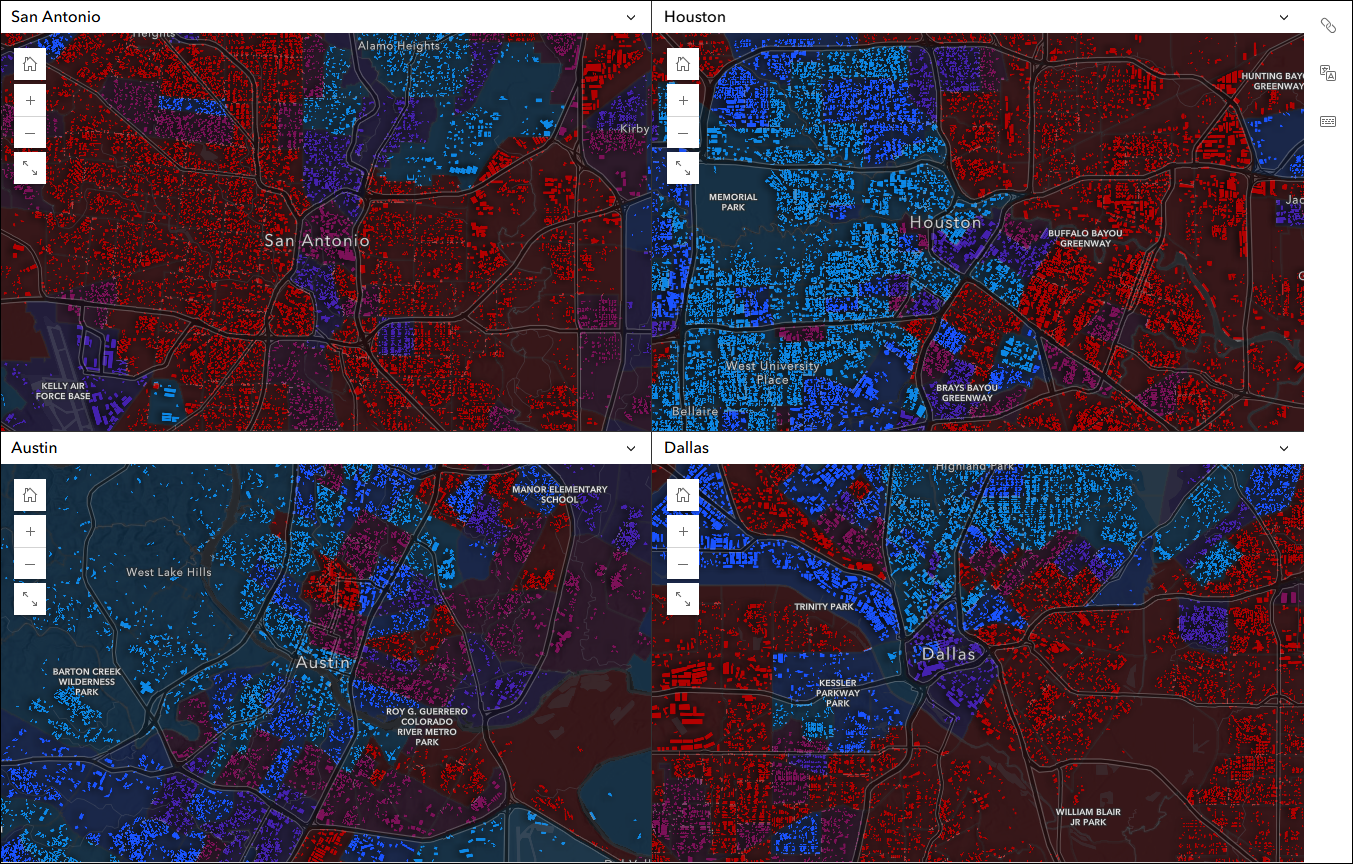
Use Single map mode to compare data at multiple locations such as the impact of sea level rise for different US cities. In this mode, one map or scene contains all of your data, and you use the app configuration to choose which locations you want to compare. This lets you view multiple, non-contiguous locations of your map at the same time in the same app layout. After choosing your map or scene, you can either create locations manually or import bookmarks/slides to instantly generate locations to compare. In many cases, this mode will save you the big step of creating multiple web maps that all contain the same data.
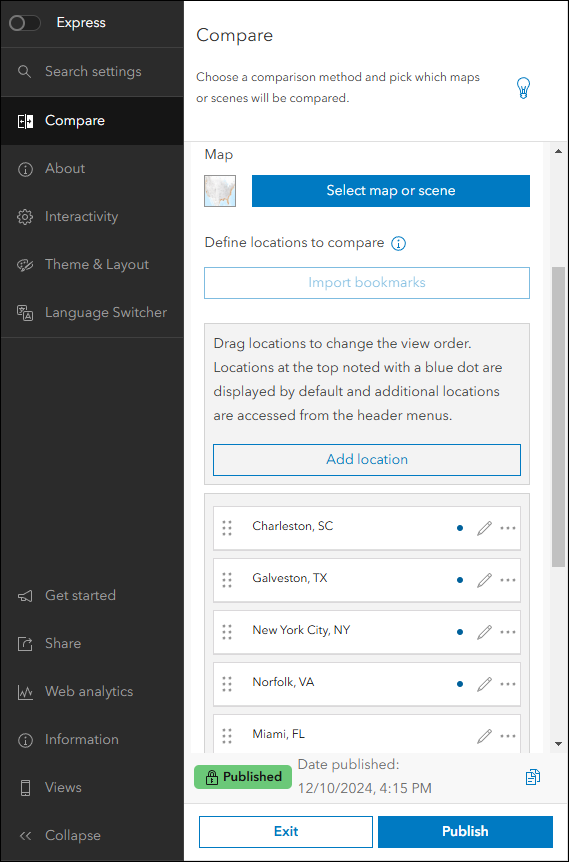
Important settings and options
- Choose number of visible maps/locations – This setting is part of both comparison modes, and it lets the app creator decide how many maps or locations are visible in the app layout. Use this setting to have control over the look and feel of the layout regardless of the number of maps included for comparison. Say you want to offer the app viewer several additional maps to compare but you’d like them to only view two at a time. In this situation, you would choose to have “2” visible maps in the layout to preserve the side-by-side look but pick up to four different maps in the configuration to be included. The app viewer can access the additional maps using the drop-down menus on the title headers. Note: anytime the total number of maps or locations exceeds the visible maps/locations setting, the title headers will be automatically enabled for this reason.
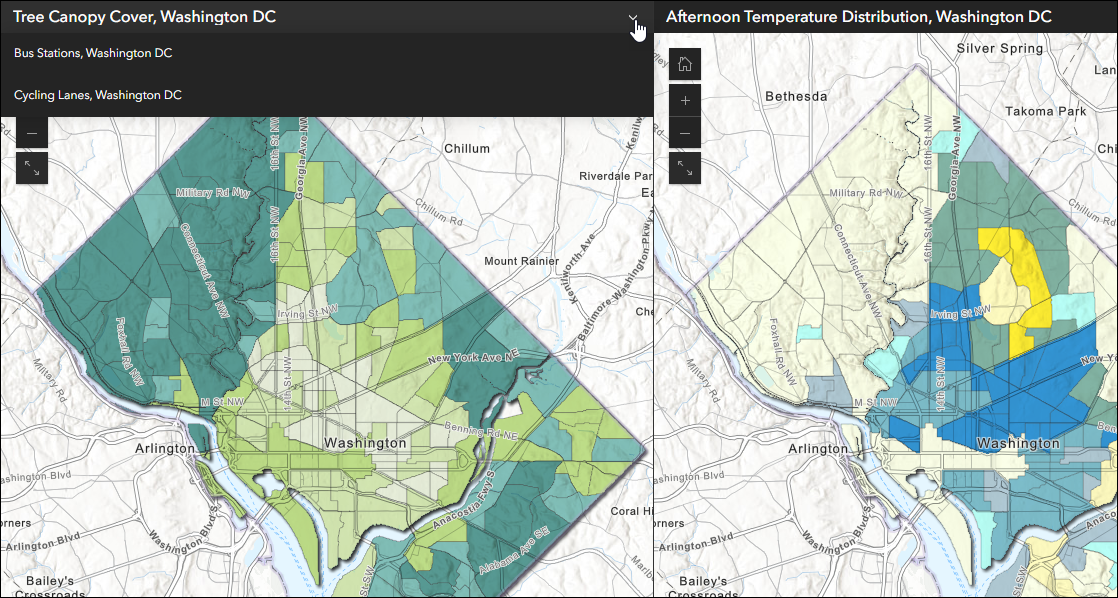
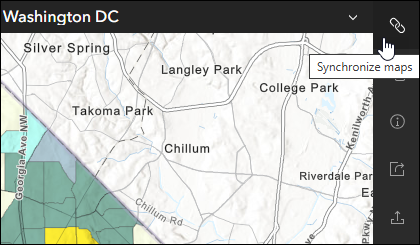
- Add Synchronize maps button and Synchronize maps on load – Map synchronization is pivotal when using an app that is purposed for comparison. This template includes a couple settings that can be configured to offer the synchronization experience that you prefer for your audience. Enable the “Add Synchronize maps button” setting in the configuration to add a sync button to the app. The app viewer can use this button to enable universally synchronized map navigation across all maps or locations in the app. Enable the “Synchronize maps on load” setting in the configuration if you want the app to load with all maps or locations automatically synced. For simplicity reasons, this setting uses the extent of the map chosen as “Map 1” (or the first location in Single map mode) in the configuration.

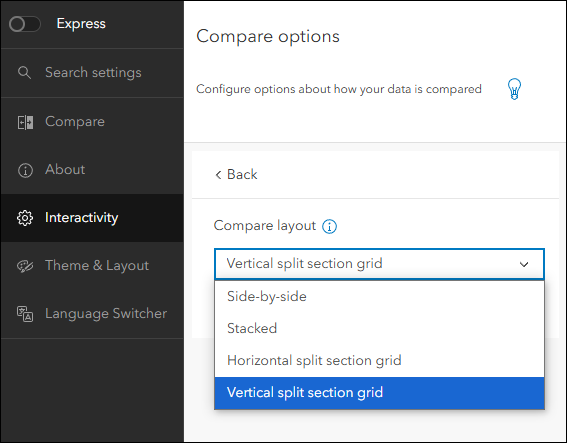
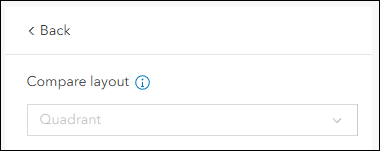
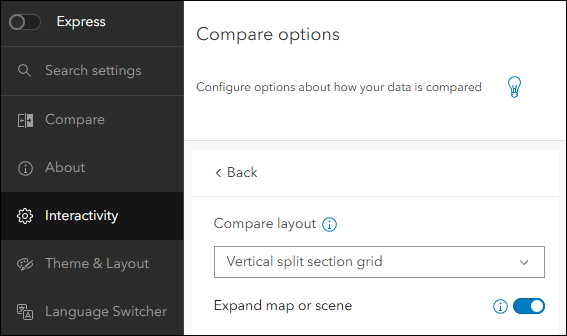
- Compare layout – Customize your app by choosing a preferred layout. Use the “Compare layout” setting on the Interactivity > Compare options tab of the configuration to choose from a drop-down of choices. The layout choices will vary depending on the number of visible maps or locations you have set. For example, if you have chosen 4 visible maps then the only layout choice is “Quadrant”. Apps that are configured to show 2 or 3 visible maps will offer more layout choices such as Side-by-side, Stacked, Horizontal split section grid, and Vertical split section grid.
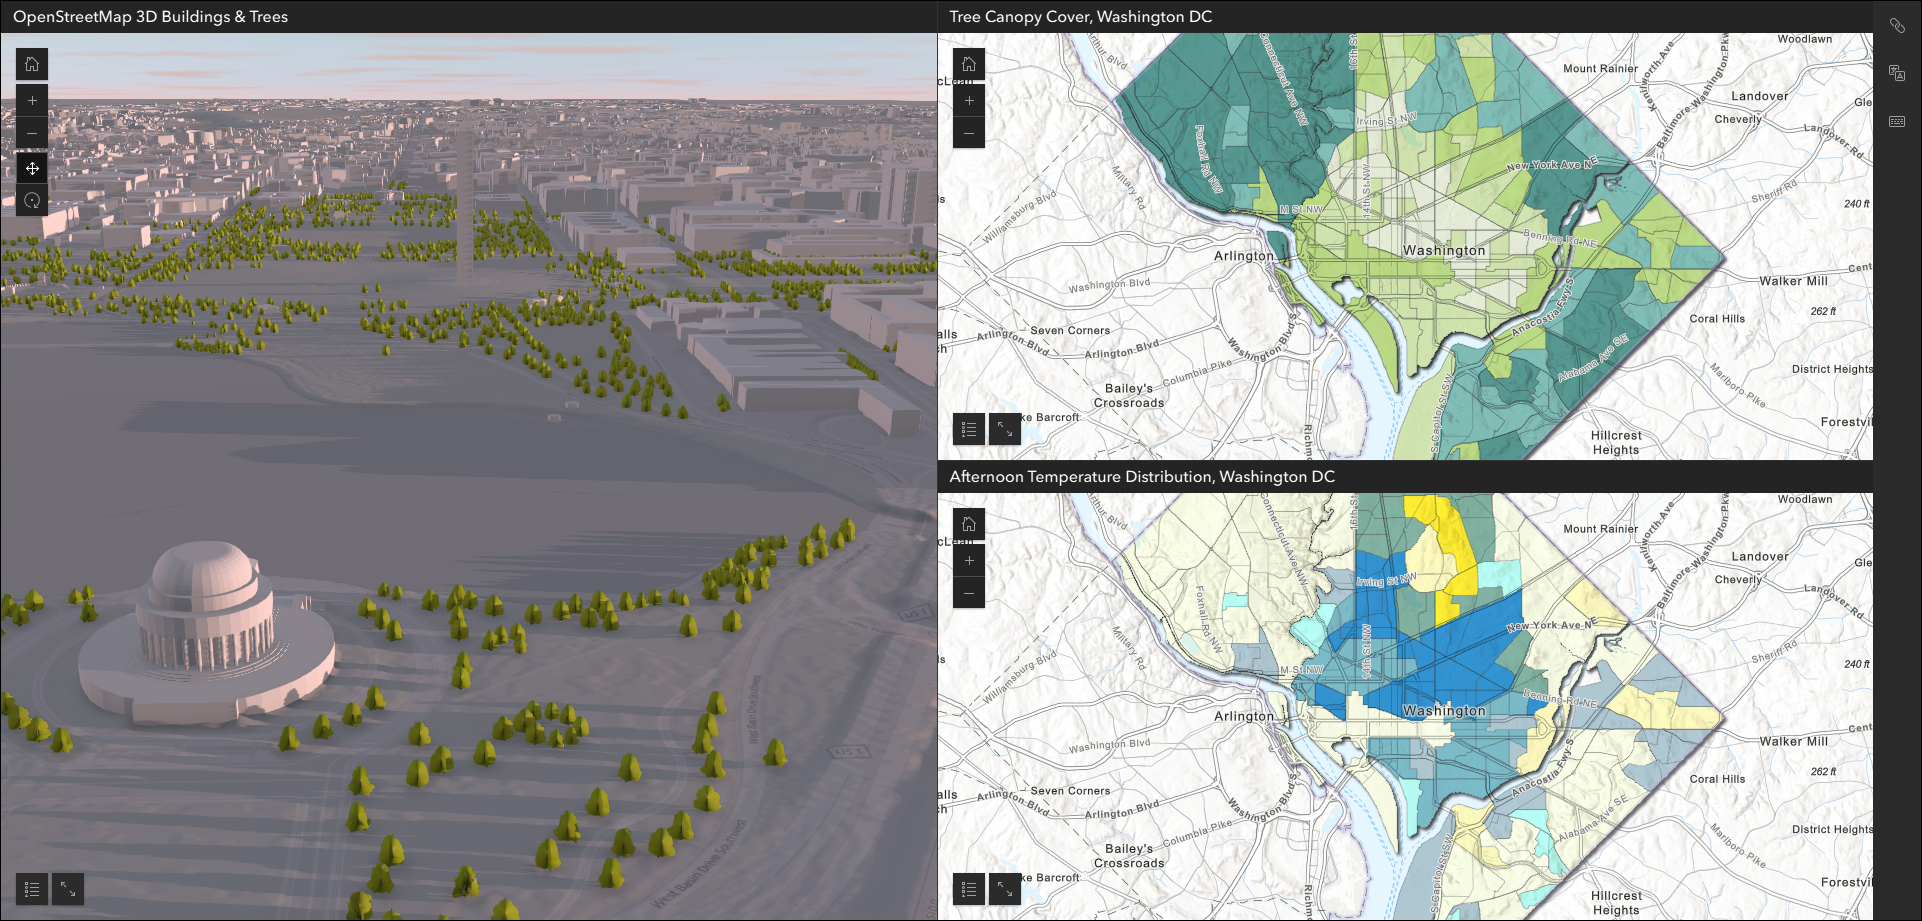
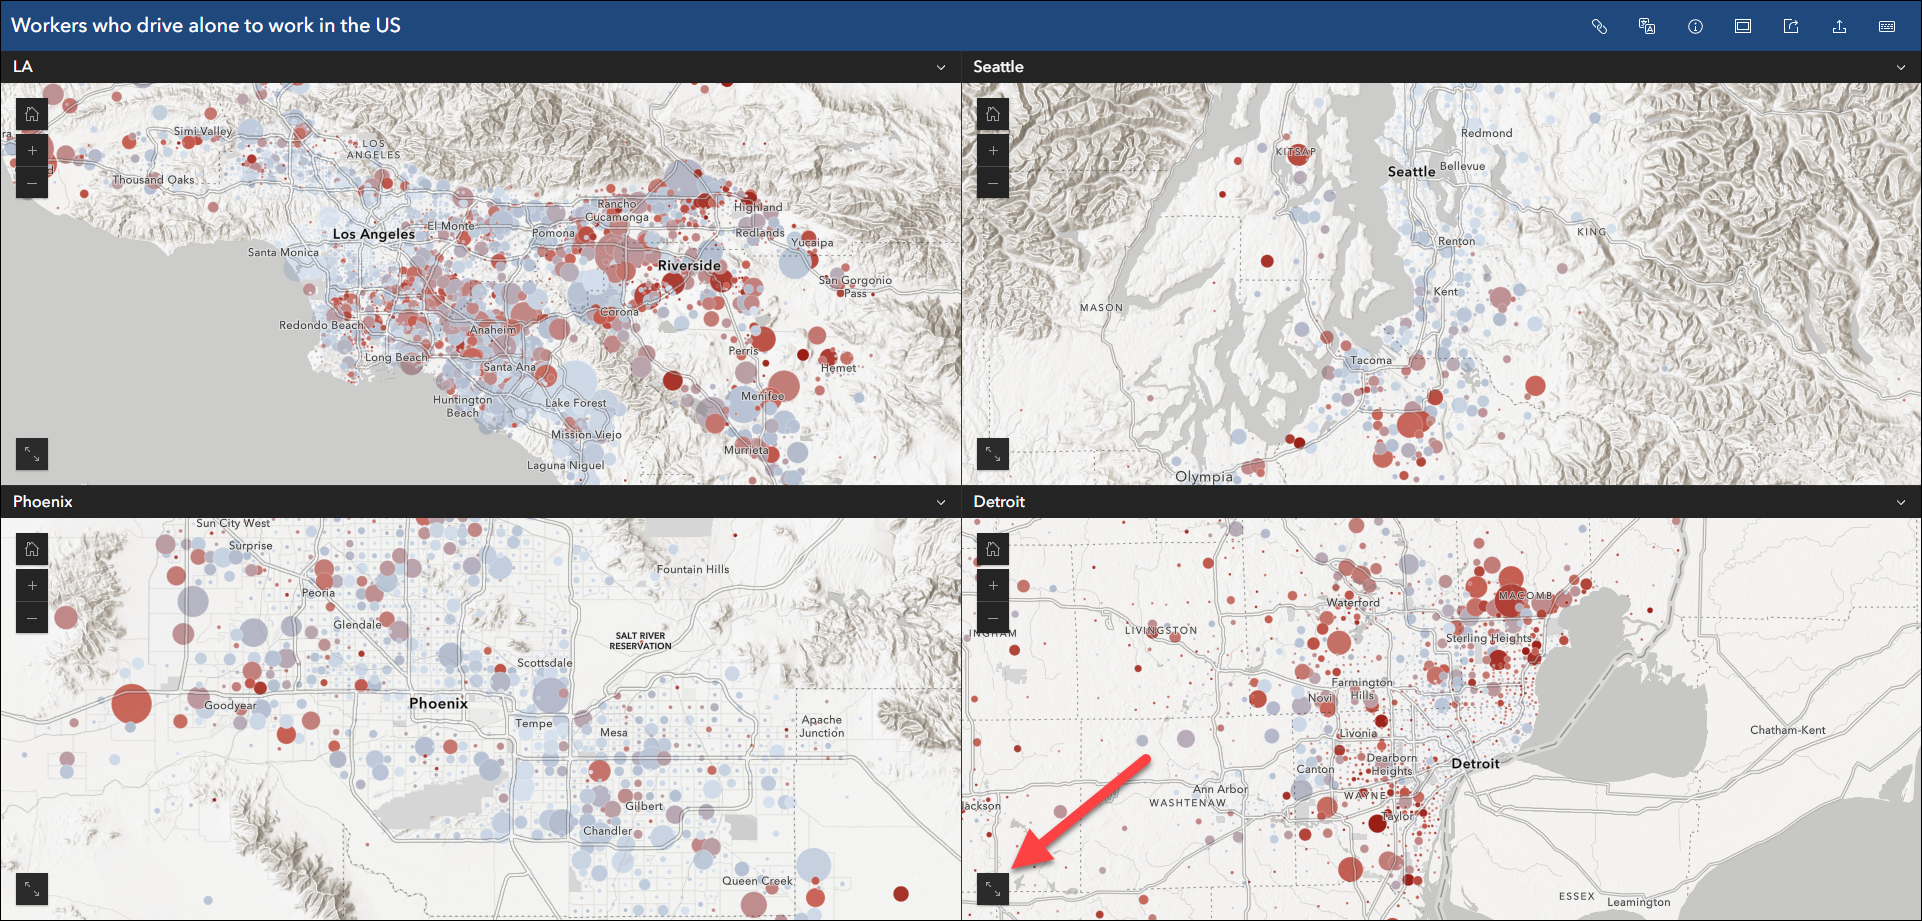
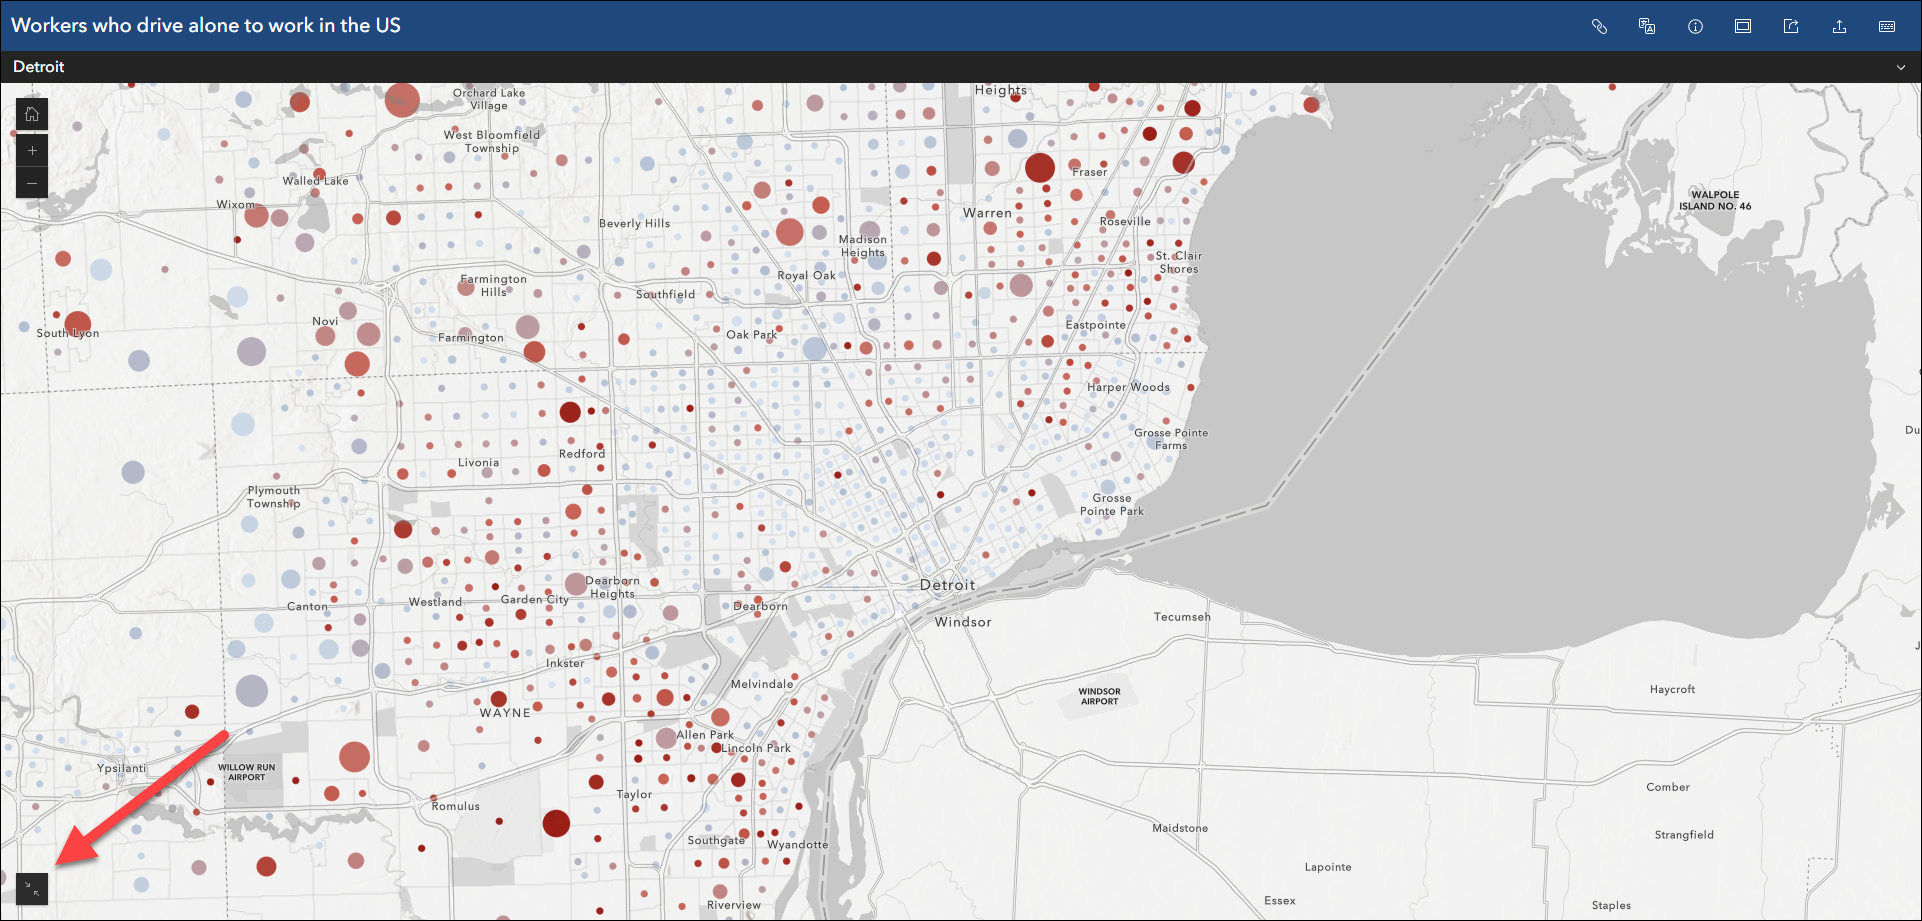
- Expand map or scene – Include a button in each map or scene to view it in more detail. The “Expand map or scene” option is useful when comparing data and you want to get a more detailed view while exploring. Click the button in the app to have the map do a full take-over of the app layout. To collapse the map, click the same button to return to the regular app layout. This setting is found on the Interactivity > Compare options tab of the configuration.
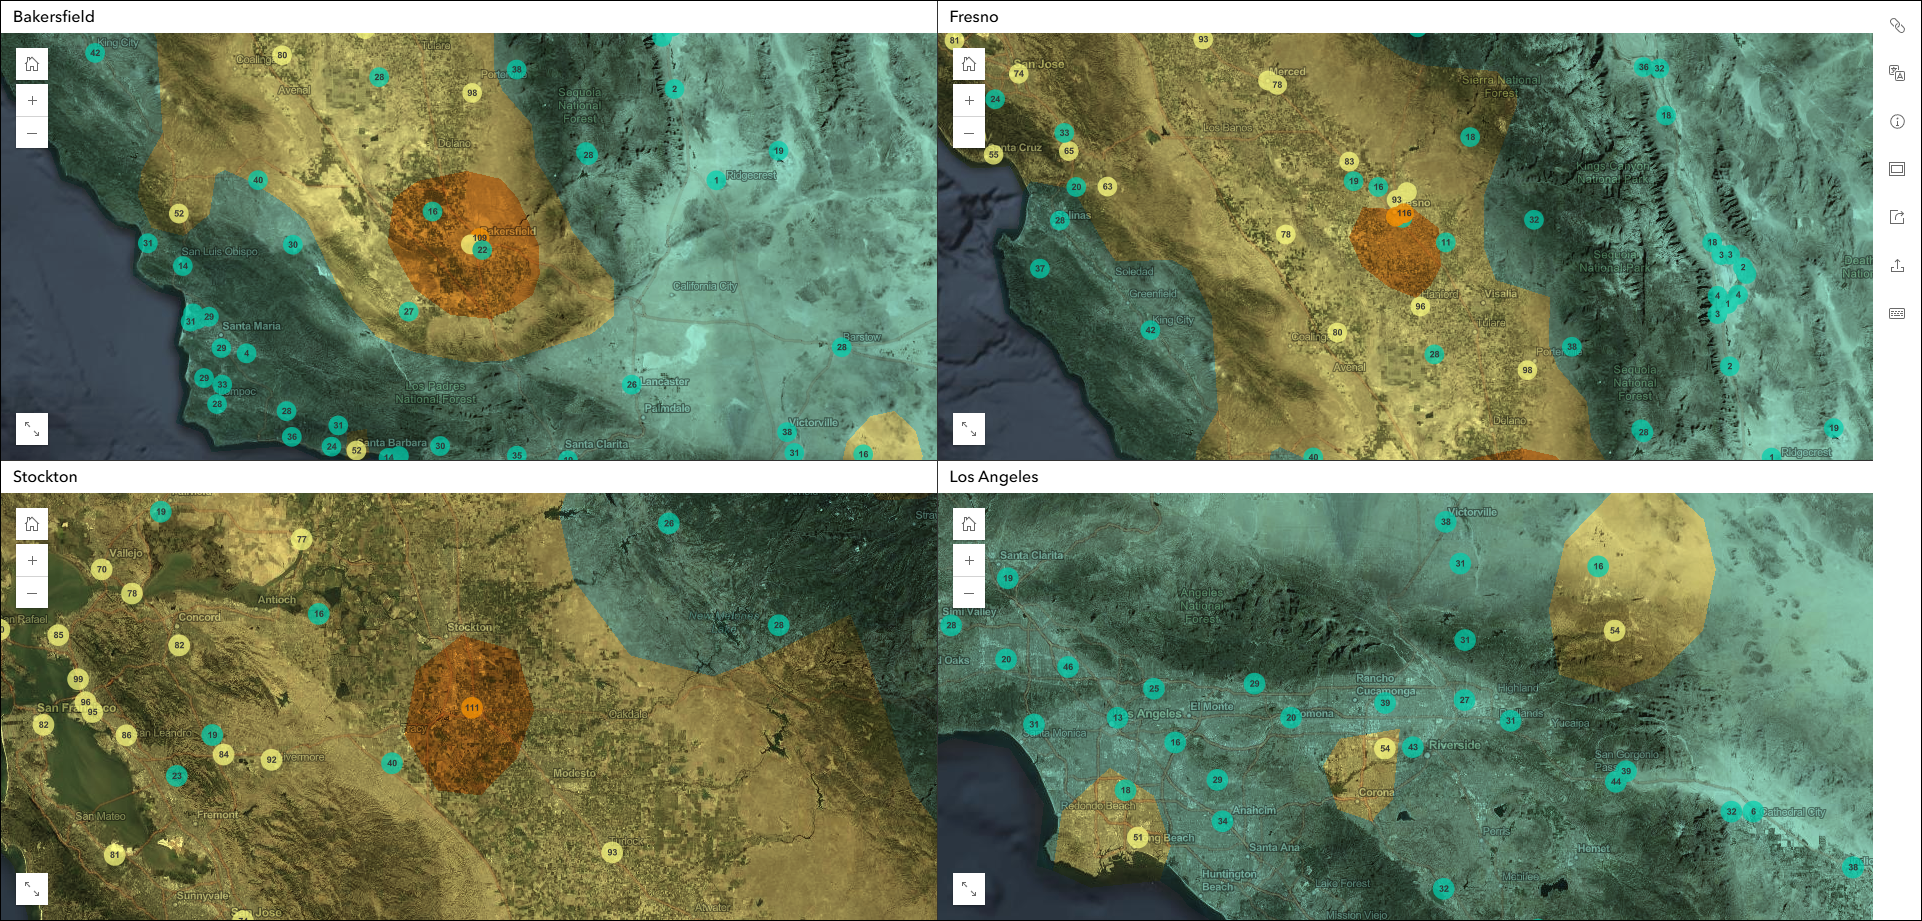
- Universal tools in the layout – Depending on how your app is configured, a right-side toolbar may be used to help organize universal tools in the layout. These are any tools that are universal to the whole app such as Synchronize maps, Language switcher, Share, Keyboard shortcuts, etc. These tools by default will display in the app header, but if you configure your app to not include the header, they will display on the right side of the app in a vertical toolbar.
Create your own app
Find Compare and begin configuring your own app from any of the following places:
- On the Content tab of your organization, click Create app > Instant Apps
- In map viewer, click Create app > Instant Apps
- On the item page of a web map, click Create Web App > Instant Apps
- On the Compare item page, sign in to your organization then click Create a Web App
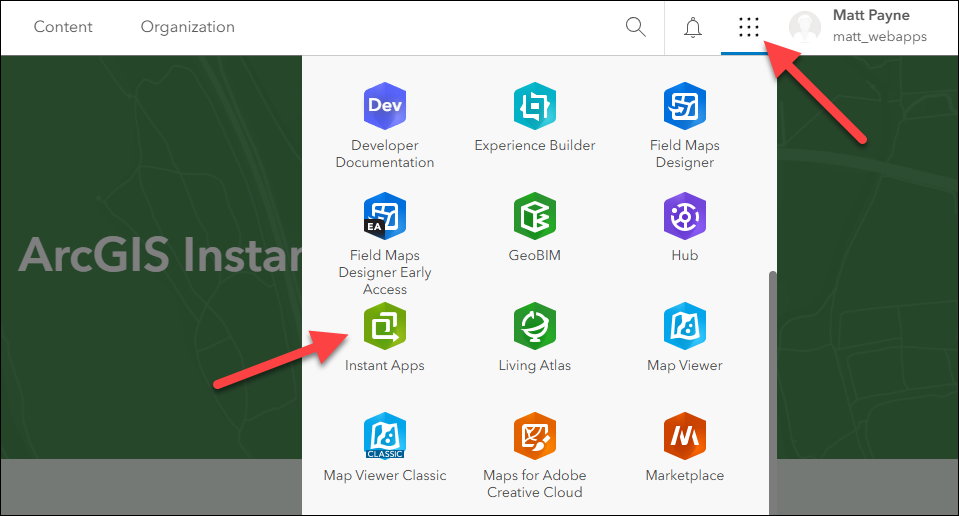
- Or click Instant Apps on the app launcher and then choose Compare
More information
For more information please reference our Instant Apps documentation page where you can find details about getting started with creating and sharing ArcGIS Instant Apps. We also recommend taking a look at our ArcGIS Instant Apps gallery page of samples where you can explore many example apps created using all of our purpose-driven templates.

Article Discussion: