Creating feature services from any data source of your choosing may sound like a dream, but it’s here today with custom data feeds.
Custom data feeds are a new feature included in the ArcGIS Enterprise 11.1 release, part of the ArcGIS 2023 releases. With custom code you can now create read-only feature services, ready to be used anywhere in the ArcGIS system and beyond.
Note: Custom data feeds are only available for ArcGIS Enterprise on Windows and Linux and are not available in ArcGIS Enterprise on Kubernetes.
Read on to learn more about custom data feeds; how they work in the ArcGIS System and a quick overview of the steps to create them in your own ArcGIS Enterprise environment.
Data sources in ArcGIS Enterprise
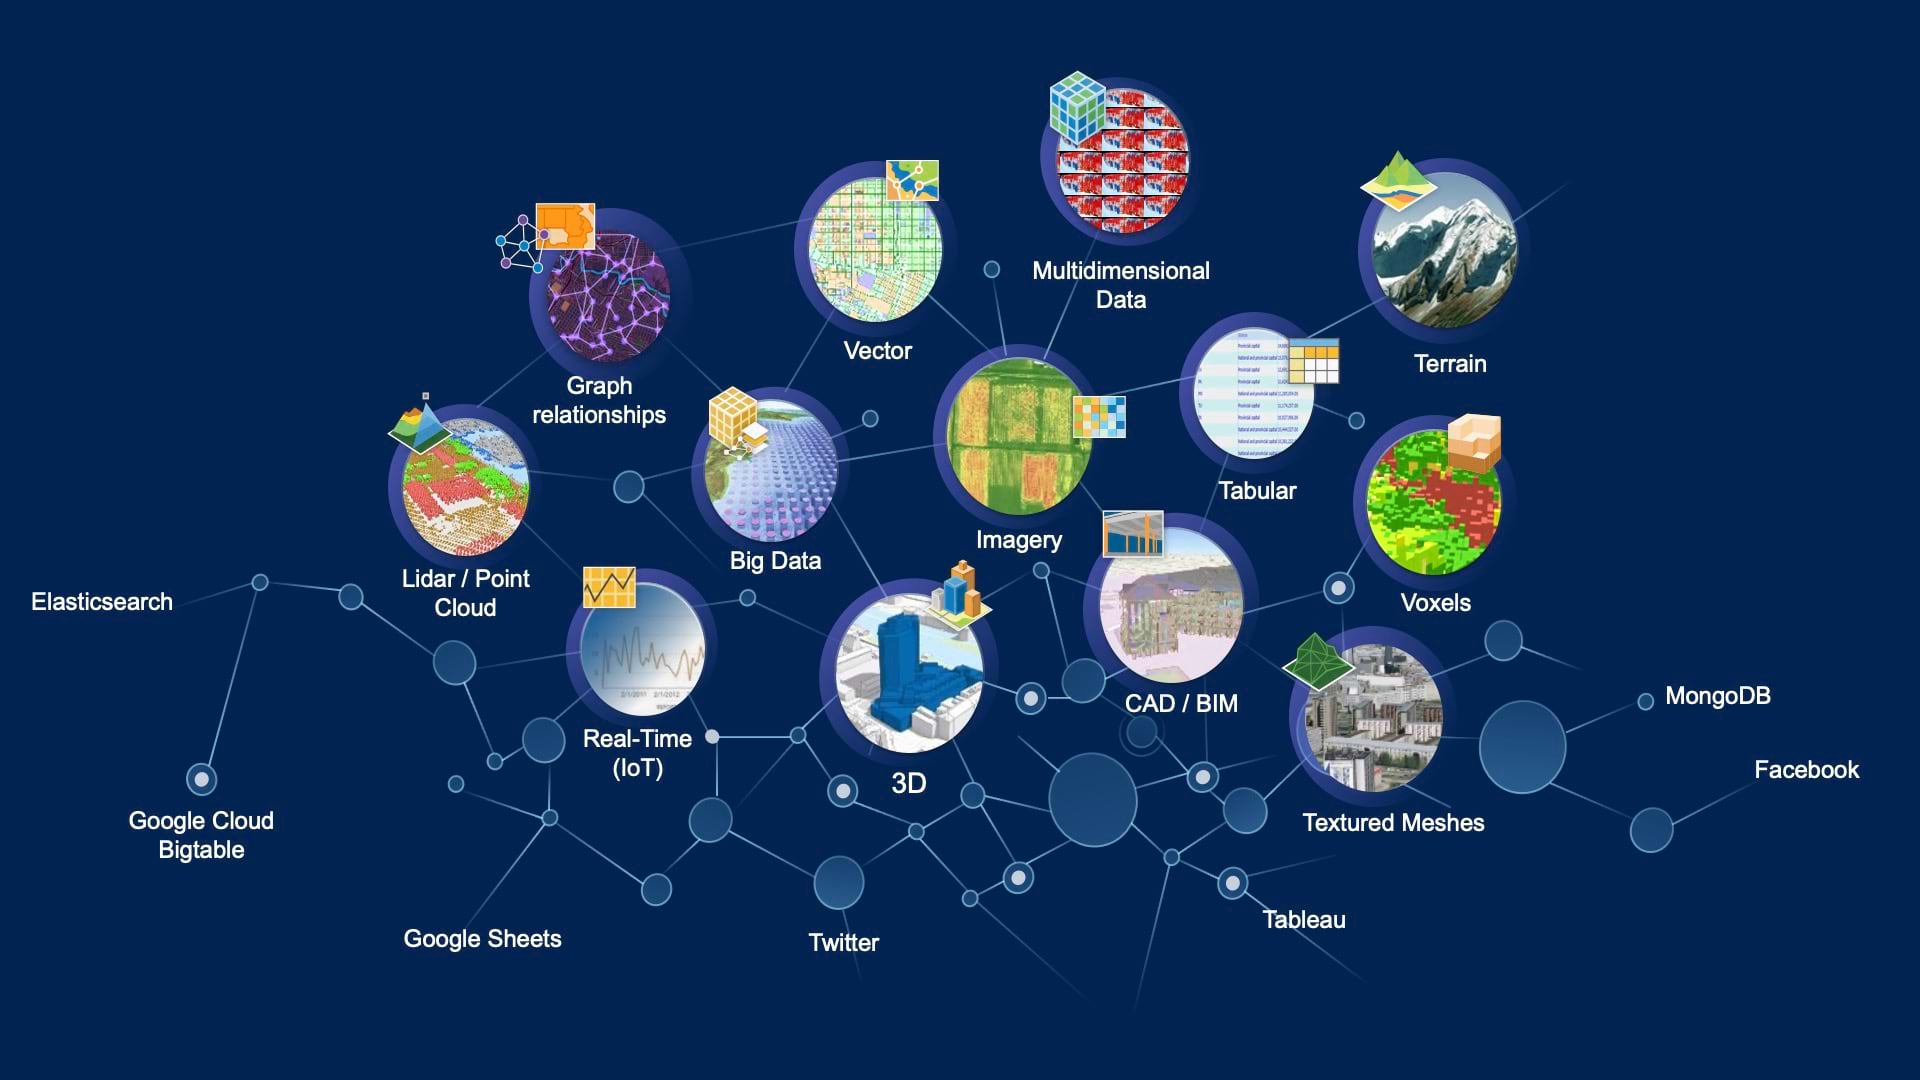
Before getting into custom data feeds, let’s talk a bit about data. The majority of data is vector and raster – and of course there’s more data types, such as LIDAR, real-time, etc. Data sources themselves can vary too. There’s file geodatabases, enterprise geodatabases, cloud data warehouses, and more. All of these data types and sources, and more, are supported in ArcGIS Enterprise.
Even with all these different types of data sources, there’s a lot more data out there. Our world is full of content that can be considered data. There is spatial data found in Elasticsearch, MongoDB, Twitter, or even your local city’s website. And there are of course many, many more data sources to consider.
While you wouldn’t have been able to connect to these data sources directly through ArcGIS Enterprise before, this is now possible with custom data feeds.
Understanding custom data feeds
Custom data feeds allow for the data to stay in its data source while ArcGIS Enterprise reads it and writes it to a read-only, non-editable feature service. This read-only feature service has the same underlying architecture found in other ArcGIS Enterprise feature services; it works the same in clients that consume feature service.
Configuring your custom data feeds environment
There are two environments to consider when configuring custom data feeds: a developer environment and a server environment.
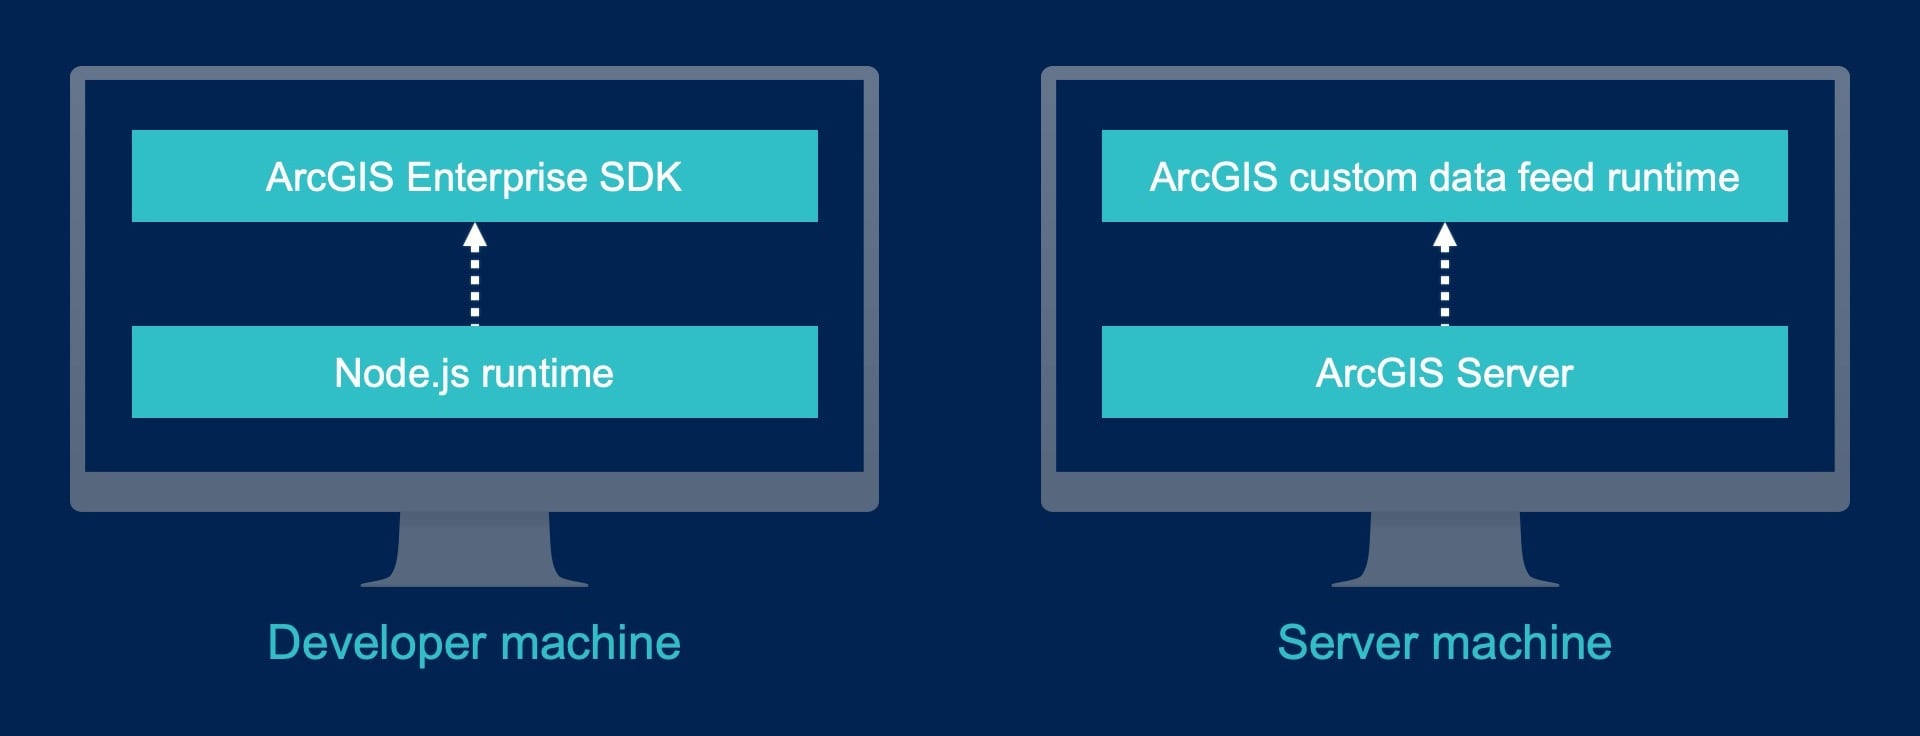
The developer environment is where you will need to have the Node.js runtime installed. Next, you can then install the ArcGIS Enterprise SDK, which includes the necessary tooling to create custom data providers. For further information on how to configure this environment, take a look at our product documentation.
The server environment is where ArcGIS Server is installed and configured. This ArcGIS Server can be part of an ArcGIS Enterprise deployment or it can be a standalone ArcGIS Server environment. ArcGIS Server contains the necessary APIs for custom data feeds: the deployment API, the create service API, and the REST framework critical to this workflow. The custom data feed runtime will need to be installed on the same machine as ArcGIS Server. This powers the execution environment for custom data providers. This runtime contains all the necessary binaries to execute provider source code in JavaScript.
Publishing a feature service from a custom data feed
Once your environment has been properly configured, you are ready to ready to start creating your feature services!
Creating a custom data feed can be accomplished in four steps:
- Create a custom data provider
- Deploy the custom data provider
- Create a feature service
- Consume the feature service!
Step 1: Create a custom data provider
To create your custom data provider, open command prompt on the developer machine; you will be using the cdf command line tool.
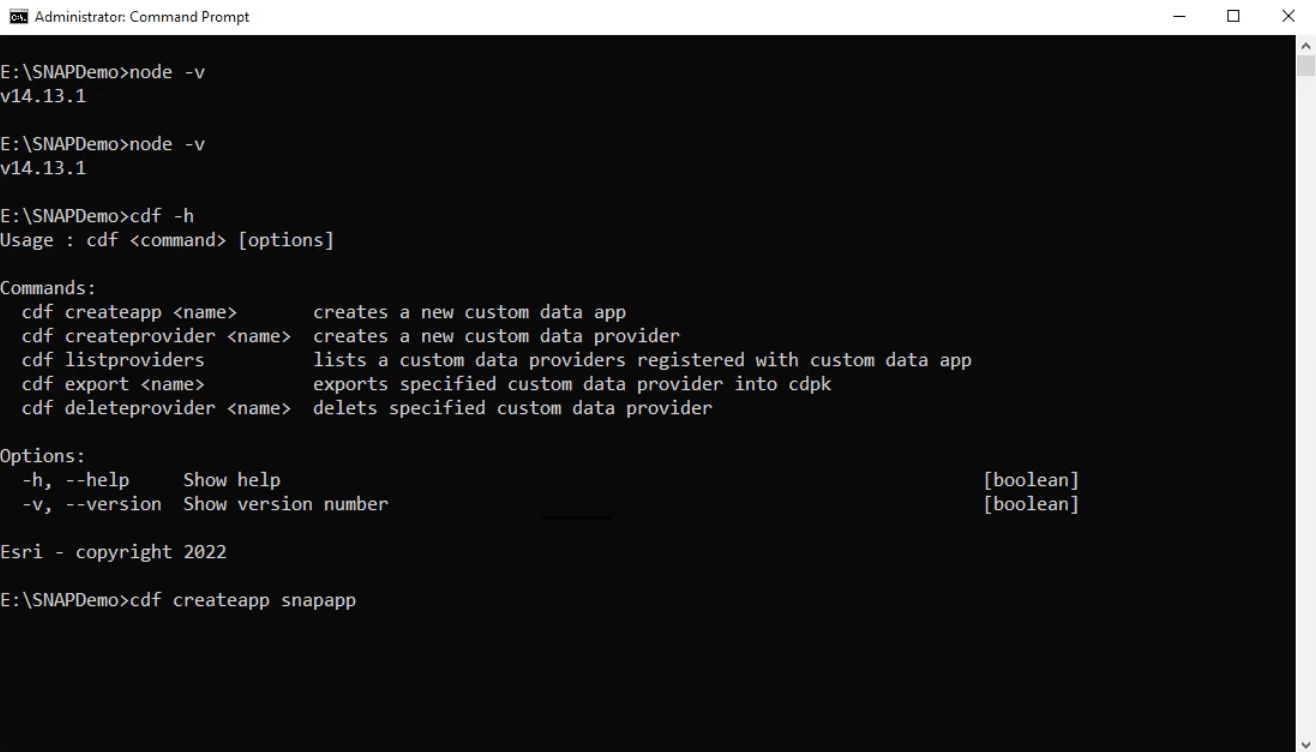
Next, you will create a skeleton Node.js app. Using the IDE of your choice, you can open the project and add the relevant provider information. While the product documentation contains samples to help get you going here, the provider information will vary depending on the data source and what information you want to include in your feature services.
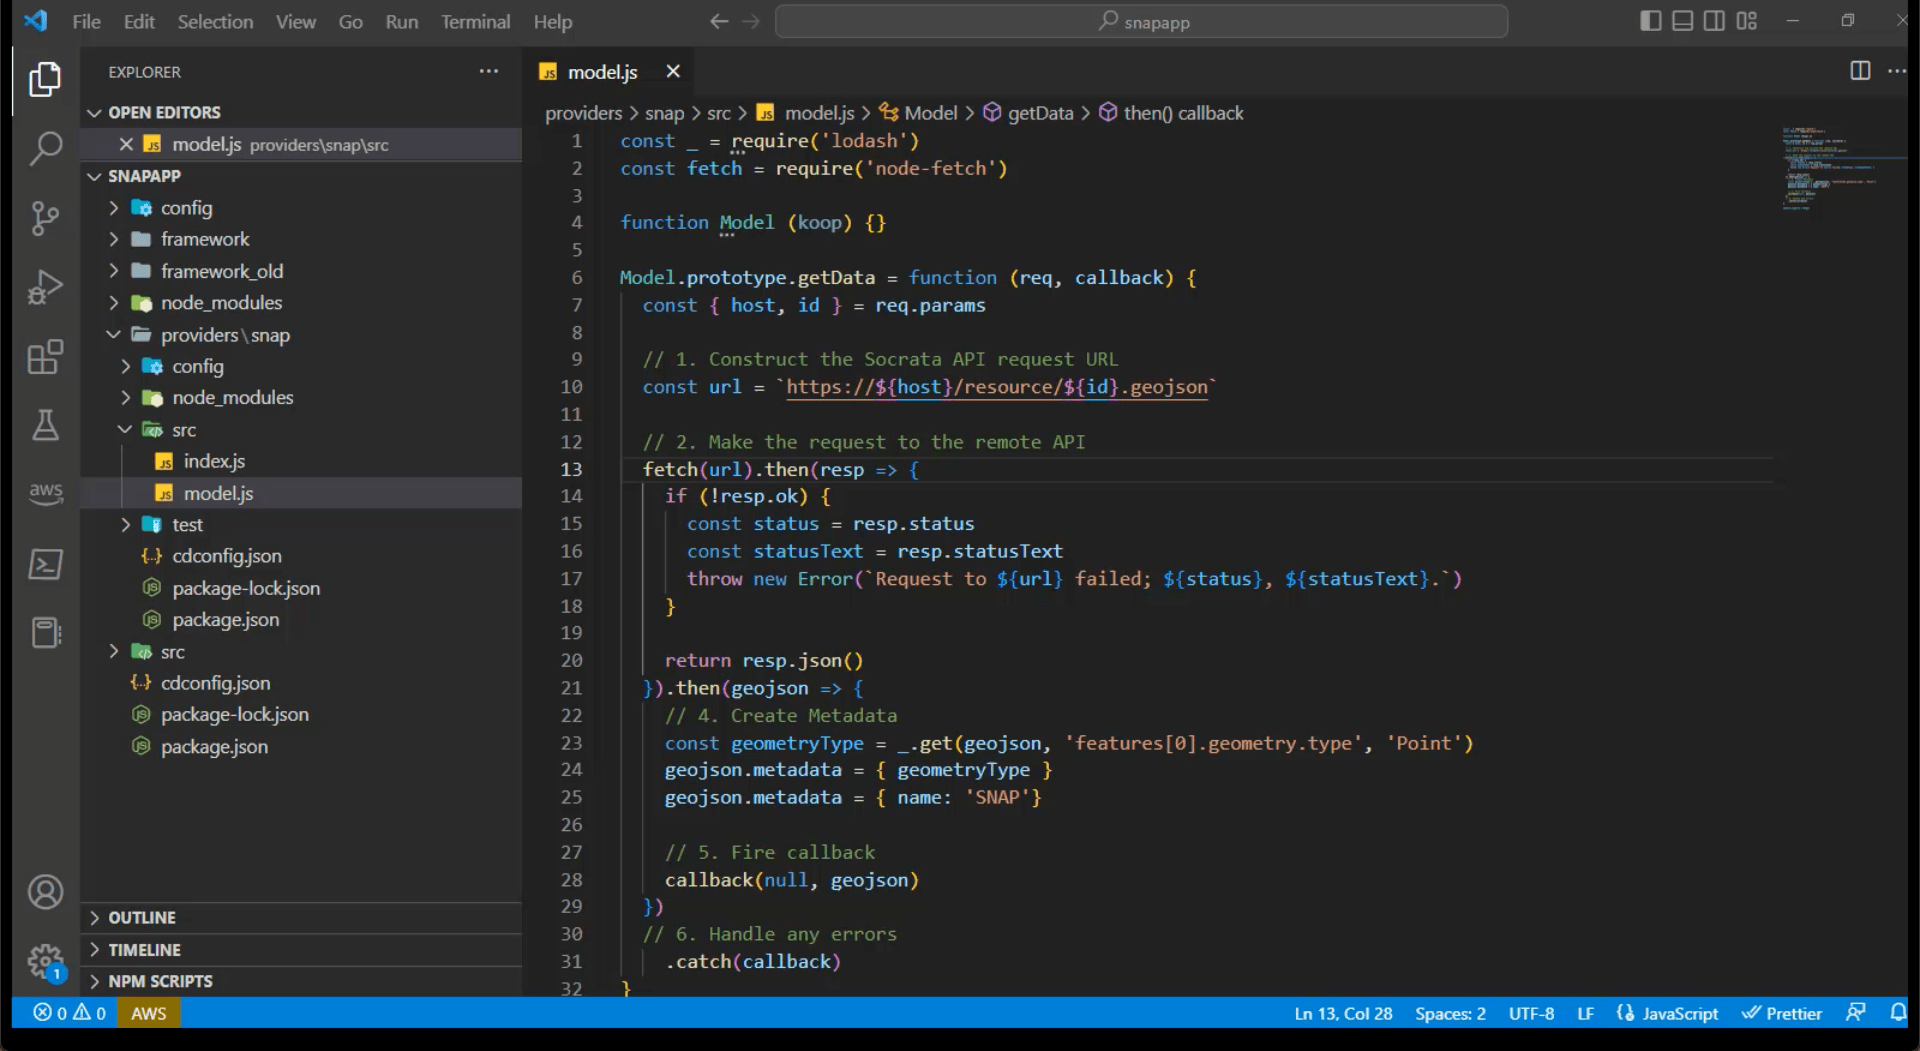
Once you are done adding the necessary provider information to the project, you can export a custom data provider package (.cdpk) through command prompt using the cdf command line tool.
Step 2: Deploy the custom data provider
Once the .cdpk has been exported, it can be uploaded via the ArcGIS Server REST Admin API using the upload operation. Once uploaded successfully, there will be an item ID that you will need to make note of. This item ID will be used to register the custom data provider with ArcGIS Server. This allows ArcGIS Server will know this custom data provider can be used as a data source for feature services.

Step 3: Create a feature service
Once the custom data provider has been registered with ArcGIS Server, you’ll still be working in the ArcGIS Server REST Admin API to create your feature service via JSON. Make sure to update the feature service JSON object with the correct provider name and associated properties before creating a feature service. This feature service will connect with the custom data provider to serve data from the appropriate source. This feature service will be read-only and will only have query capabilities enabled for all layers.

Step 4: Consume the feature service!
Once the feature service is created, the feature service is ready for use! It will show up in your ArcGIS Server REST directory. If using ArcGIS Enterprise, it will show up in your content as well.
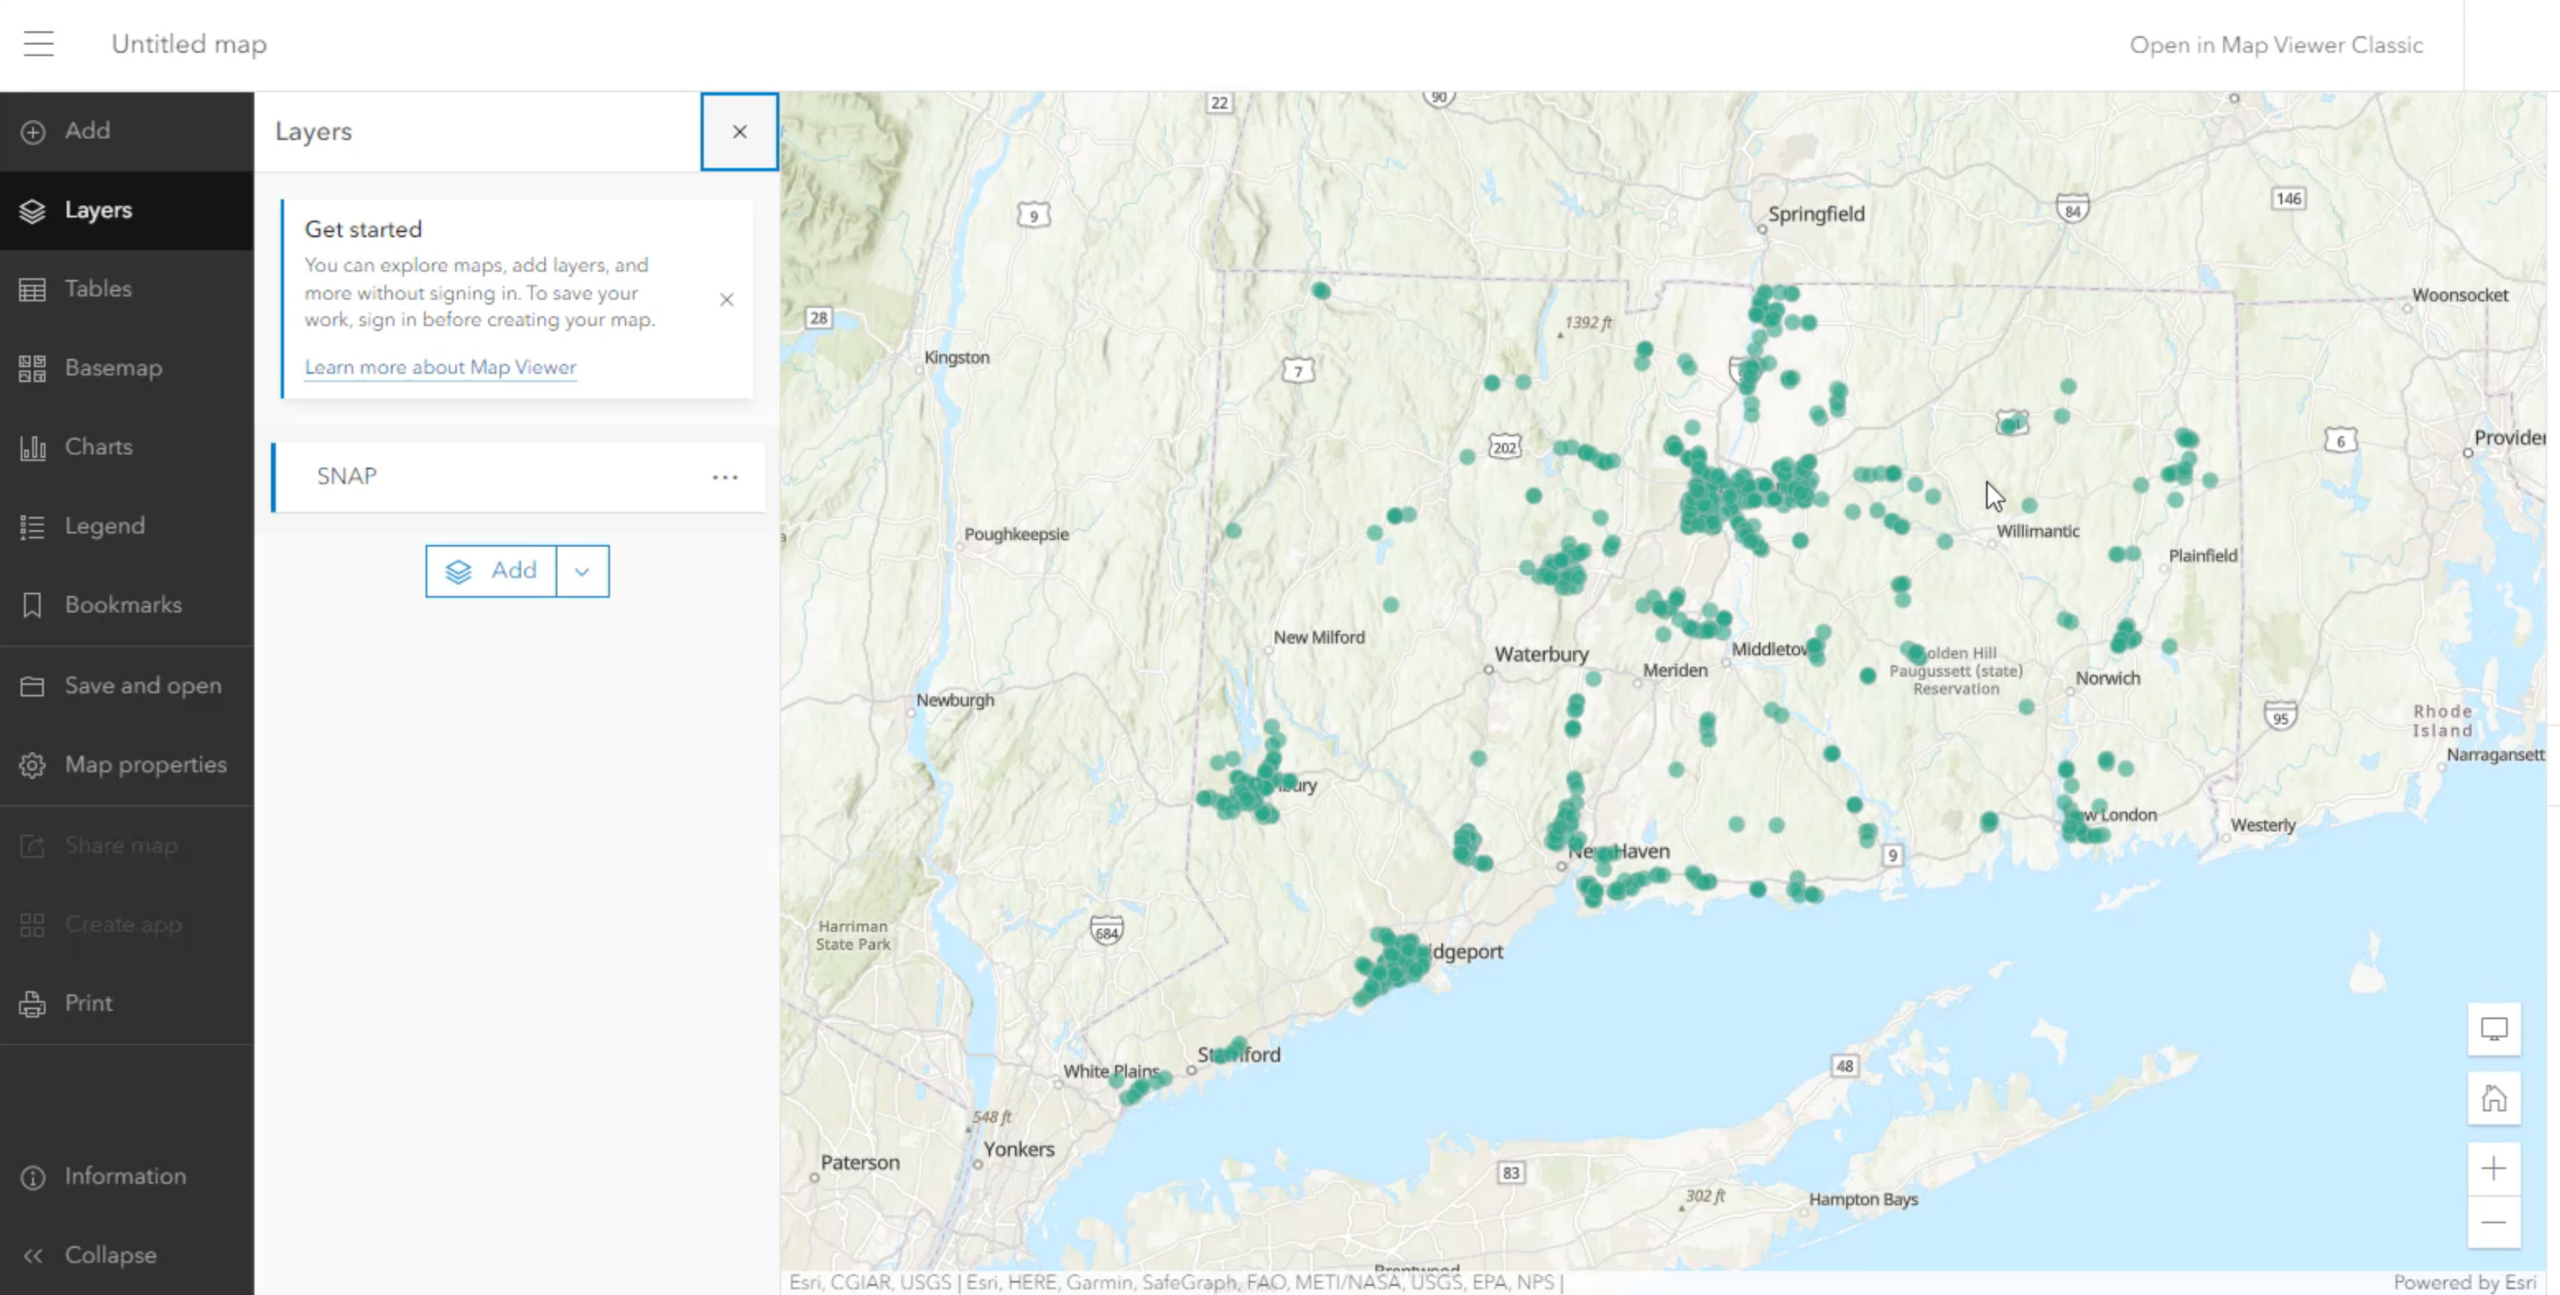
This feature service is just like any other ArcGIS Enterprise feature service, meaning it’s the same at REST, in your Enterprise portal, in your clients. Your users don’t know need to worry if this feature service came from file geodatabase, SQL Server, or a custom data provider – it’s all the same for the clients. You can consume this feature service in the client of your choice. You’re good to go!
Let us know what you think
This is just the beginning for custom data feeds in ArcGIS Enterprise. Add a comment below if there is something specific you’d like to see in a future release of custom data feeds. We look forward to hearing from you!

Nice!
CDF currently outputs GeoJSON with coordinates expected to be in WGS84. Would it be possible to output EsriJSON which would allow a spatialReference to be specified? Most of the services in the Netherlands, if they supply coordinates in some form, offer them as projected coordinates in Rd_New (EPSG:28992)
Currently, custom data feeds only support GeoJSON. I appreciate your feedback regarding the limitation of only being able to work in WGS84; this is something for us to keep in mind for future release of ArcGIS Enterprise.