In this article, I’ll show you how to use layer visibility settings in ArcGIS Experience Builder.
BOSTON, MA – City, county, and regional GIS officials often have access to large amounts of data that they want to make publicly available.
Say you’re making a web app for your city. You have a web map with feature layers for roads and parking lots, but you feel that having them all appear together makes the map look cluttered. One option is to make multiple copies of your web map in Map Viewer, each with different combinations of layers turned on, but you don’t have to do that. You can configure layer visibility in Experience Builder.
Here’s a snow parking web map with multiple overlapping layers…
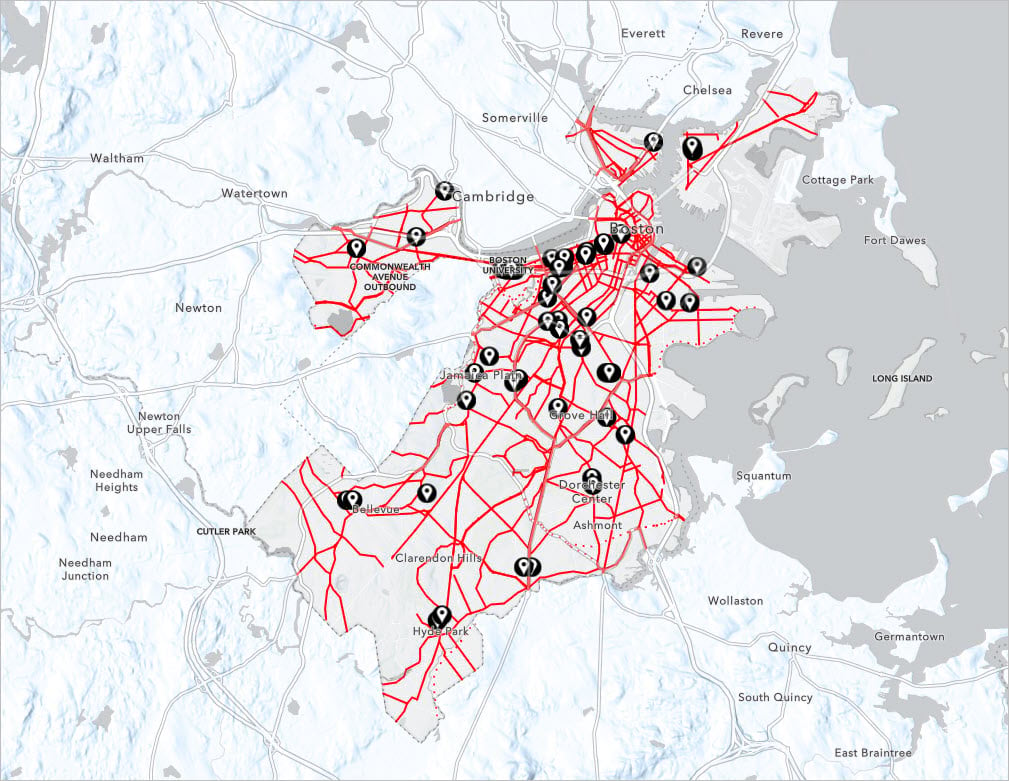
...and here's a simple app that splits the layers into multiple views. I'll show you how to make it.
If you want to learn more about Experience Builder, I recommend trying this lesson: Get Started with ArcGIS Experience Builder. It goes through the steps of making an app in more detail.
Background
If you live in Boston, Massachusetts and you have a car, you need to know what to do with your car during a snowstorm. City officials often declare snow emergencies before major winter storms. During a snow emergency, parking on main roads is banned to keep roads clear for plows and emergency vehicles. If your car stays parked on a main road during a snow emergency, it may get ticketed and towed.
To help residents know what to do with their cars before, during, and after a snowstorm, the city provides a map of restricted streets and designated snow parking lots in addition to posting road signs. You’ll create something similar, using a map with data from BostonGIS as a starting point.
The materials for this lesson include the following:
Boston Snow Resources web map (layers from Esri and BostonGIS)
Boston Snow Emergency template
Tutorial
1. Start Experience Builder.
Sign in to ArcGIS or create a free trial account. Go to experience.arcgis.com.
2. Click Create new in the top right corner.

3. Select a template from the template gallery.
Browse to the ArcGIS Online tab. Search for the Boston Snow Emergency template and click Create to begin.

4. Explore the template.
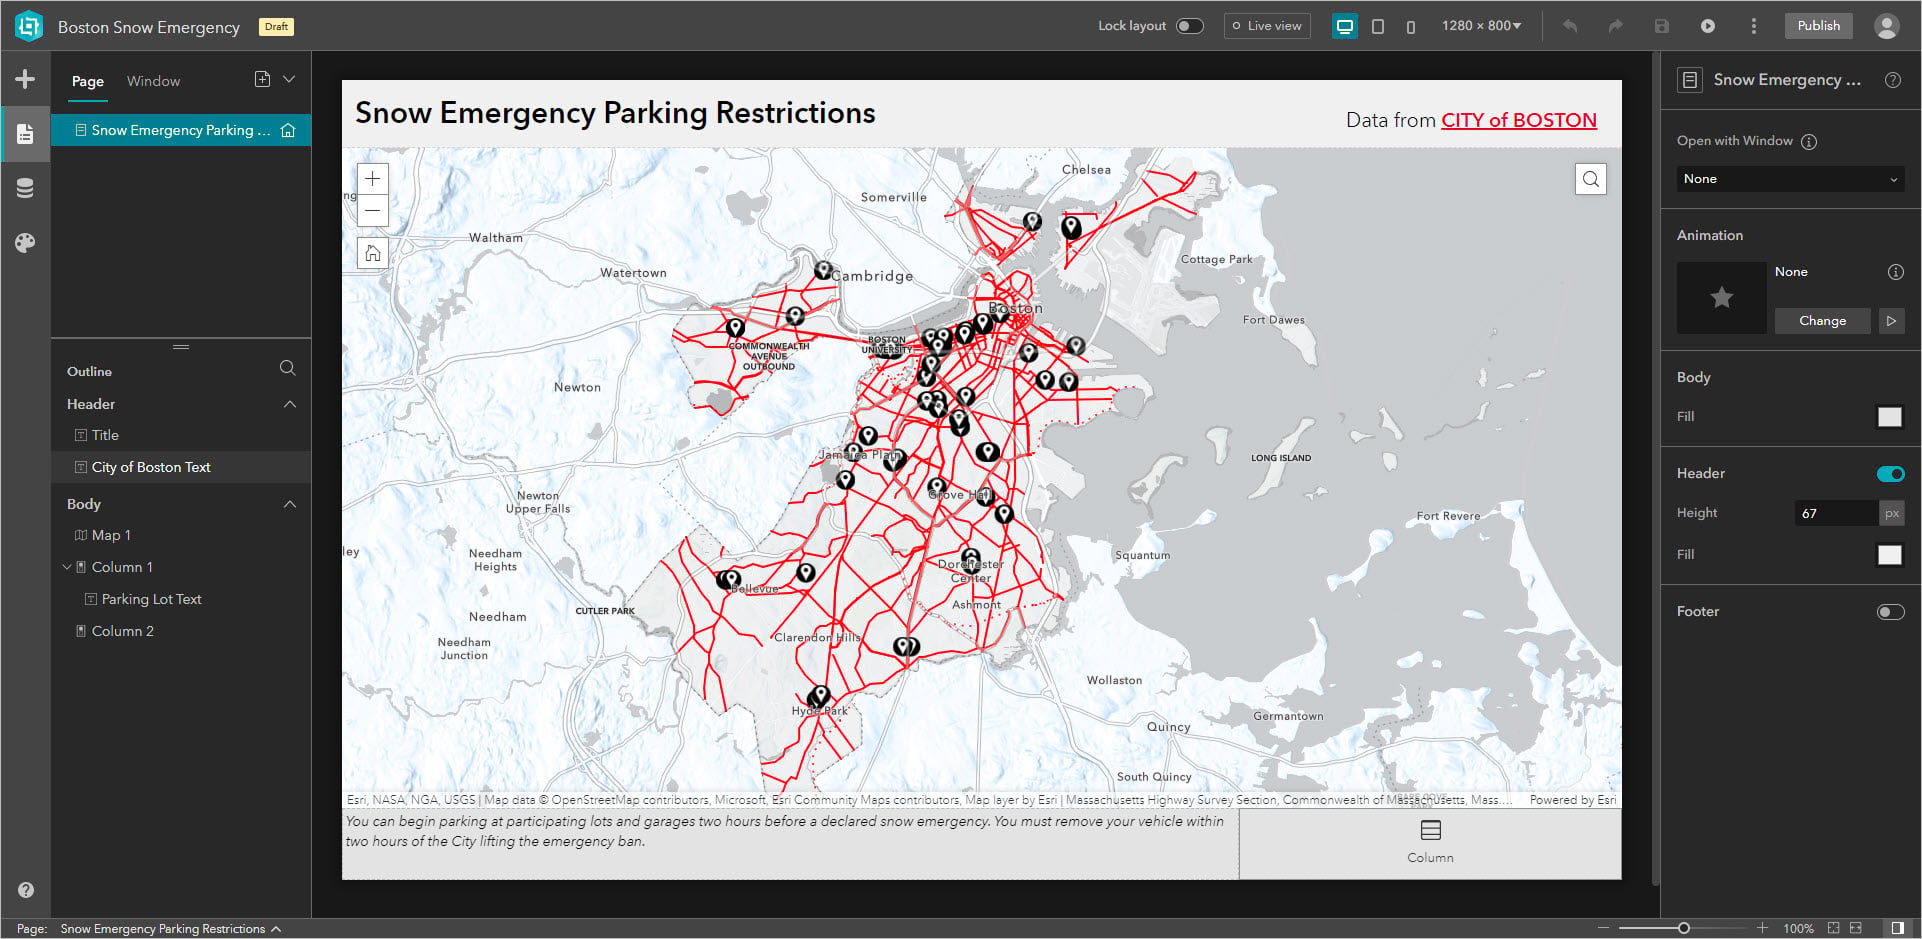
Imagine you’re a GIS manager for the City of Boston and you think the map in this experience is too cluttered, but you feel that all the data is important to show. You’re concerned that when non-GIS folks access the app, they may not know how to switch between different layers using the layer list. It would be useful to have a simple button for switching between different views of the map. This is possible with the Section widget, Views Navigation widget, and by switching layer visibility on the Data tab.
Configure layer visibility
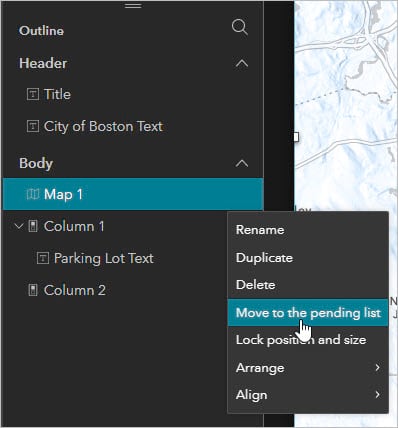
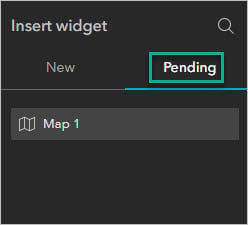
1. Move the Map widget to the pending list.
Click Map 1 either in the outline or on the canvas, then click Move to the pending list. This removes the widget from the canvas and saves its configuration for when you need to add it back to the layout.
2. Add a Section widget.
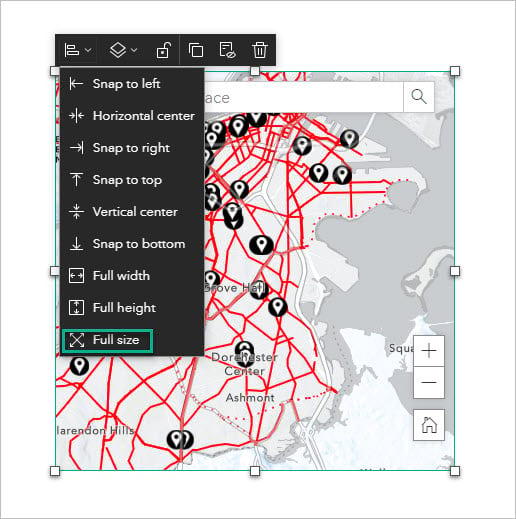
From the Insert tab, drag a Section widget into the middle of the canvas. Make it full size, then drag up the lower side so it doesn’t cover the Text and Column widgets at the bottom of the template.
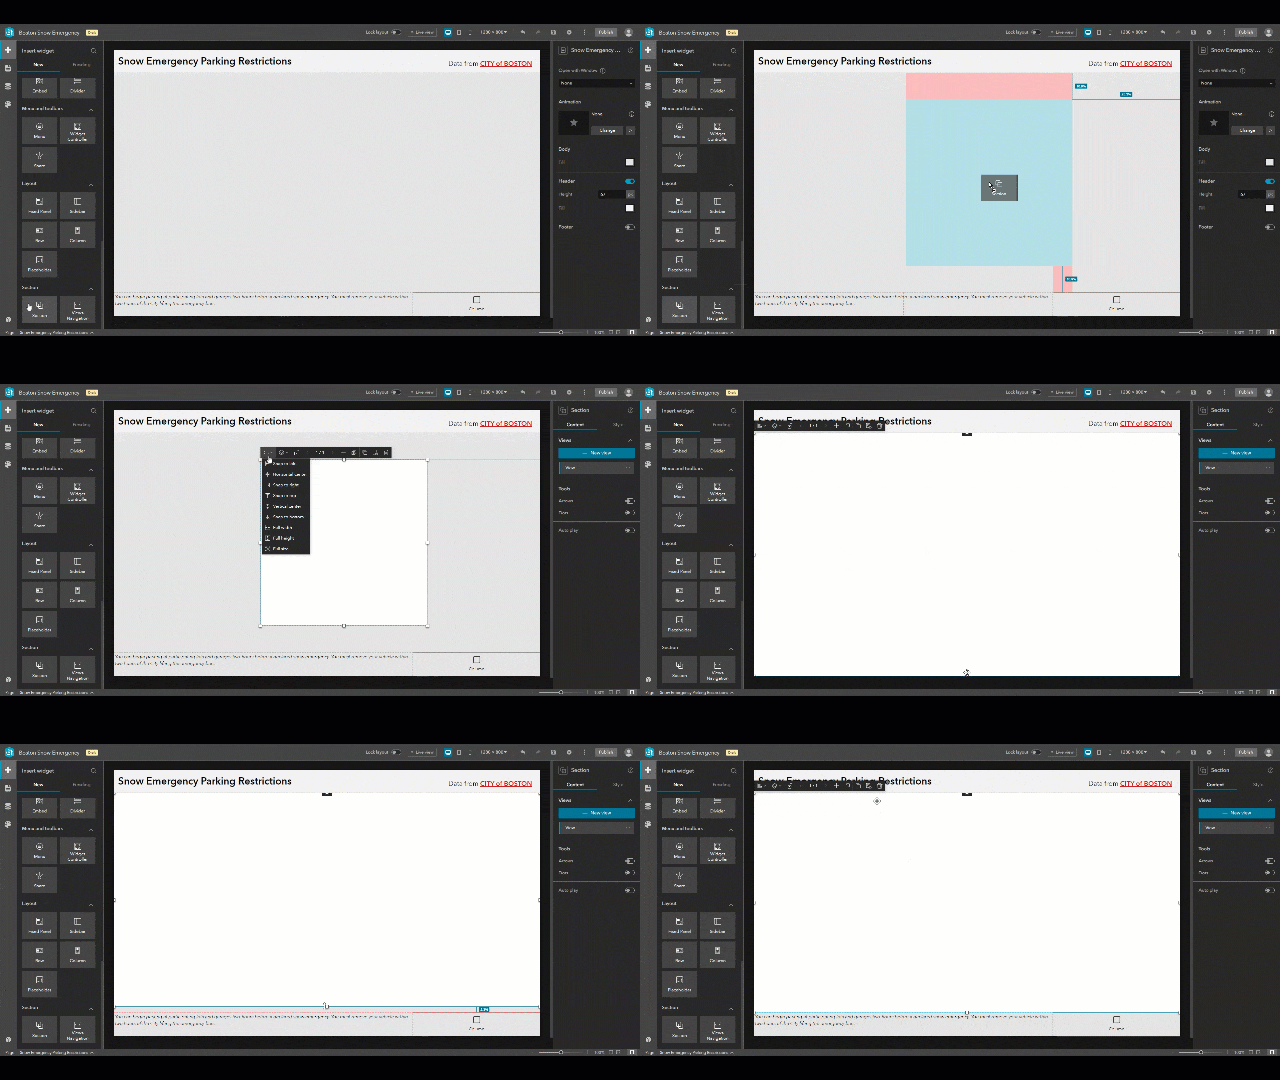
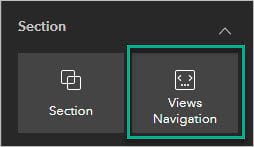
3. Add a Views Navigation widget.
From the Insert tab, drag a Views Navigation widget into the empty Column widget in the lower right corner of the canvas.
Choose Tab pills for the Quick style.
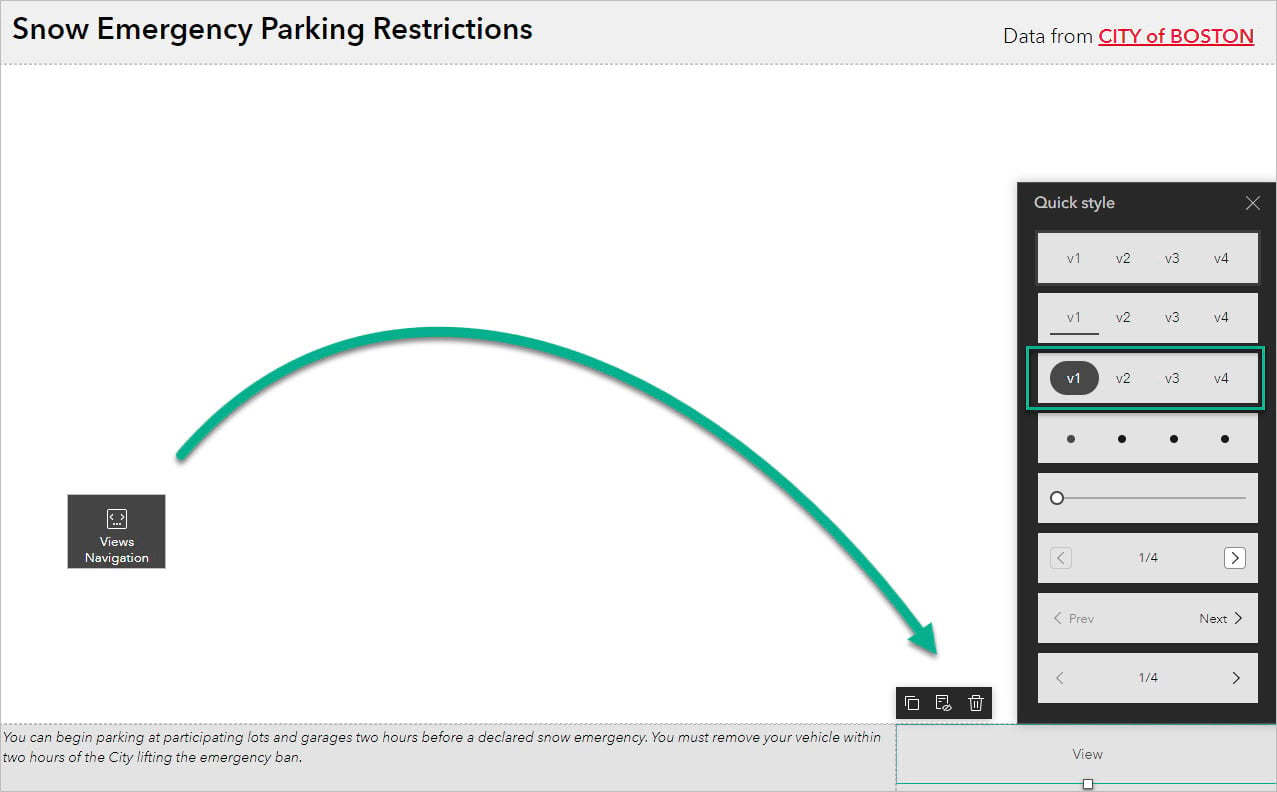
The Section widget contains views. The Views Navigation widget lets users switch between them.
4. Add a view.
Click the Section widget. In the widget’s settings on the right, click New view.
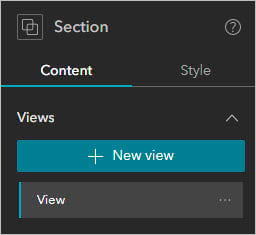
Rename View to Emergency Lots and View 2 to No Parking.
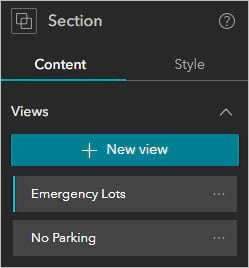
5. Drag Map 1 from the pending list onto the Emergency Lots view. Back in the Section widget settings, click No Parking then add a new Map widget to that view.
Make both Map widgets full size.
6. Add a second copy of the Boston Snow Resources web map to the app.
The second map widget is not connected to any data yet. Browse to the Data tab. You see the Boston Snow Resources web map.
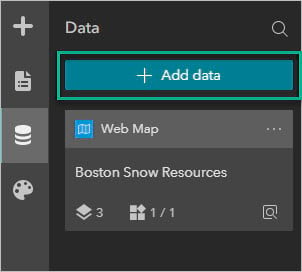
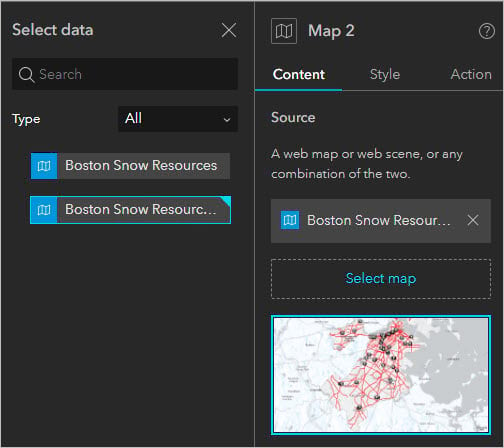
Click Add data, choose ArcGIS Online, then search for Boston Snow Resources owned by thomascoughlin. Select the web map, and click Done. Rename it Boston Snow Resources 2, then connect Map 2 to Boston Snow Resources 2.
You’ve just added a second copy of the same web map. Now you can edit which layers are visible in each copy of the web map. Connect Map 2 to Boston Snow Resources 2.
Edit Layer Visibility
On the Data tab, click Boston Snow Resources. Click Click to hide (the eyeball button) for the Snow Emergency Routes feature layer.
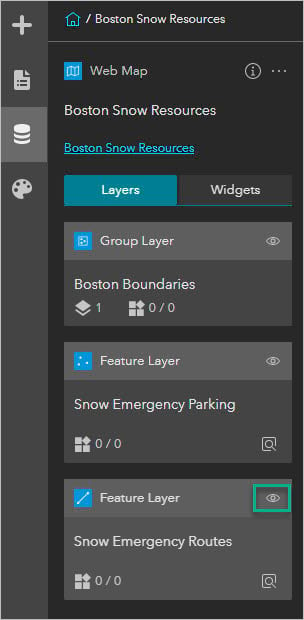
Click Home, then click Boston Snow Resources 2 and hide the Snow Emergency Parking feature layer.
Finalize, save, and publish
Finally, you can format widgets (optional).
Make it easier to tell which view is selected by editing the Views Navigation widget. In the widget’s settings, turn on Advanced, then click Selected and change the font color to the red theme color. This also better draws attention to the widget and helps tell users that they can click to switch views.

You can make additional adjustments, such as changing the theme of the app. Experiment with other settings until satisfied. When finished, publish the experience.
More information
For more information about Experience Builder, see the following resources:
- ArcGIS Experience Builder
- ArcGIS Experience Builder overview and concepts
- What’s new in ArcGIS Experience Builder



Cool, now make it an option to disable layers completely (ie hide them in the layer stack), not just turn visibility off because if the layer stack is enabled (as it often needs to be) then users can just go there and flip everything back on that we intentionally turned off and we don’t want that.
Hi Daniel, since I first posted this we added a Customize layers setting to the Map Layers widget, which is for what you’re describing. You can hide specific map layers from the layer list.
Additionally, lets say we’ve got a source map with 25 layers and we make 5 section views, each with a different 5 layer subset. In each of those views, if the user opens the layer stack they will see all 25 layers there. Thats a whole lot of clutter that they don’t need/ want to see.
In that situation, I would turn off the Layers tool in the settings of every Map widget and instead add a Map Layers widget to each map. Then I would turn layers off in the Map Layers widget settings so only the expected layers appear.
@Thomas Coughlin thanks for the quick response. It looks like Customize becomes available at 11.2. Unfortunately I’m at 11.1 but we’ll get there eventually.
Is there a way to get these views to control what’s visible to the public? I have content being shared to the public via instant app with view layers, and I’ve fed my hosted feature layers into the Experience Builder. The section views I created with the help of this post are not hiding the layers on my public maps. Not sure if there’s a way to do this?