You’ve spent hours making a map you think looks cartographically perfect. But something seems to be missing. Then you realize there are no labels for important features such as oceans, mountain ranges, or neighboring states.
Identifying those types of features provides map readers with important contextual information and makes the map look finished. Without the text for these features, the map lacks authority and professionalism.
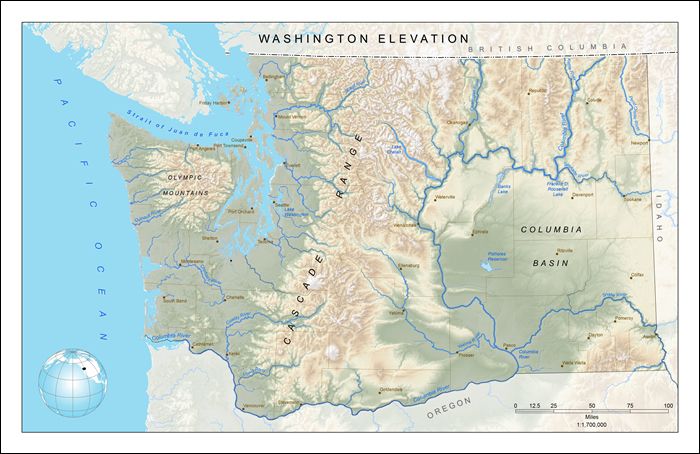
Compare the maps in figures 1 and 2. The map in figure 1 lacks important text that’s in figure 2. The second map identifies major water bodies such as the Pacific Ocean and Strait of Juan de Fuca; major physical features such as the Cascade Range and Columbia Basin; and neighboring states and provinces such as Oregon, Idaho, and British Columbia, Canada.
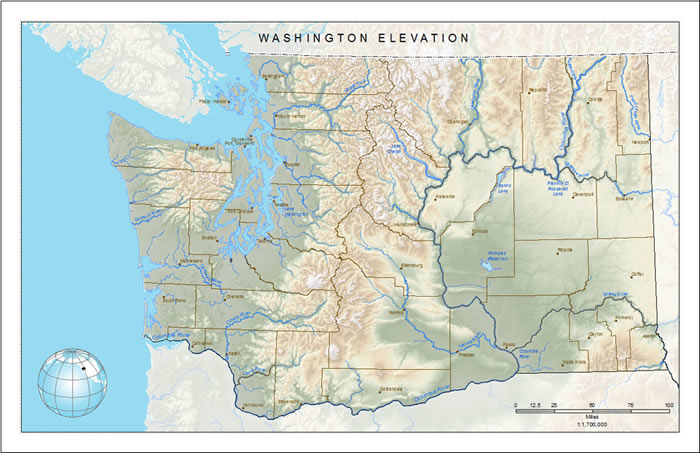
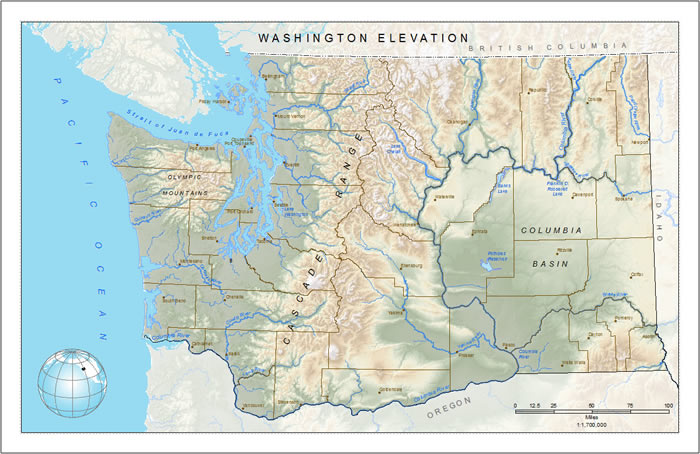
Adding this type of missing text is easy and does not require the use of additional feature classes. Just use the Text tools on the Draw toolbar to add normal horizontal text or splined text that follows the curve of a mountain range or river. In figure 2, Columbia Basin was added as normal horizontal text, and Cascade Range was added as splined text. Because the data frame containing these features is in focus when you add them, any graphics drawn inside the data frame will be drawn in geographic space and will move with the data when the map is panned.
Follow these steps to add text using the Text tool in ArcMap.
Step one: In ArcMap, in page layout view, double-click the data frame to put it in focus. A hatched outline will appear around the data frame.
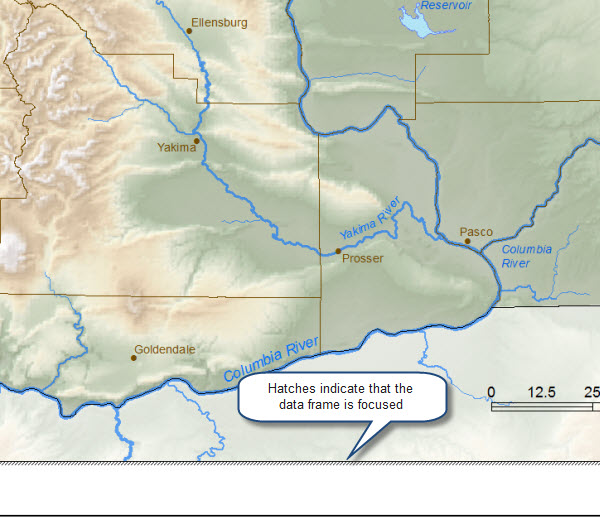
Step two: Use one of the Text tools on the Draw toolbar to add text to the map. Use the Text tool to draw normal, horizontal text. Use the Splined Text tool to draw text that follows the path of a curved baseline that is aligned to the feature (see figure 4).
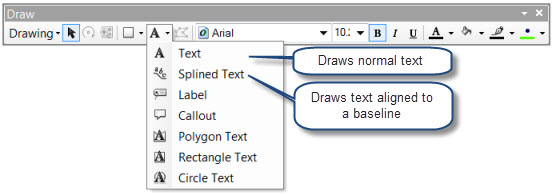
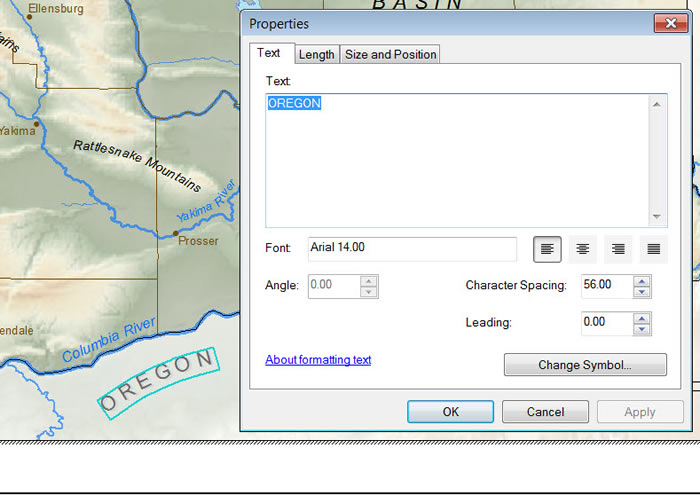
Step three: To draw splined text, draw a baseline that aligns with the feature and then use the options on the Properties dialog box to format the text (see figure 5).
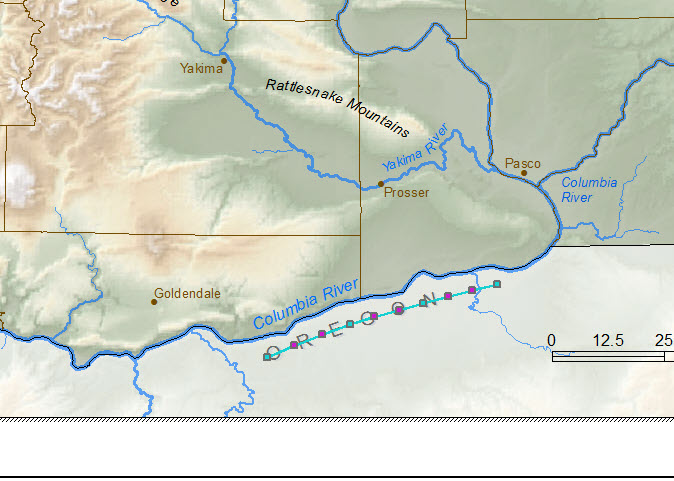
Step four: If you want to edit the baseline for the splined text to make it more closely follow the feature, use the Edit Vertices tool on the Draw toolbar to select and move individual vertices along the baseline (see figure 6).
Step five: Continue to add text or click anywhere outside the data frame to remove the focus from it when finished adding or modifying the text (see figure 7).
Because you don’t need additional feature classes to add this text, you can quickly and easily provide important information that may be missing from your map. Adding the text in a focused data frame ensures that the text will move with the data and remain aligned with the features. Adding this missing text makes your maps look professional and authoritative.
To learn more about focusing data frames, read the following ArcGIS blog post: The state of data frames in layout view.
You can also read Working with data frames in page layouts in ArcGIS Resources.
