Last year I wrote blogs showing how to create Workforce assignments in the field from Collector or from Survey123. This year, there is another app for collecting data in the field, ArcGIS QuickCapture. And yes, you can use it to enable mobile workers to create Workforce assignments in the field, too.
Why would you pick Collector, Survey123, or QuickCapture? As I said last time, they all work equally well for creating assignments from the field, so your decision should be based on which app your mobile workers already use. However, since QuickCapture is a new app with a specific use case, it’s worth going into a bit here. QuickCapture is designed for creating assignments with the push of a single button, especially when the mobile workers are moving at speed and don’t have time to fill in information about the assignment. When using QuickCapture to create assignments, mobile workers see a set of buttons in the app (defined by you) that fill out all the information with the single tap.
The steps are like those we took for Collector and Survey123: create a view of the assignments for the mobile workers, make a project for use in QuickCapture, give mobile workers access, and then create assignments using QuickCapture.
1. Create a view of the assignments layer
The mobile workers creating assignments in the field don’t need access to all the data that Workforce uses. To limit the fields and types of data the mobile worker sees, create a hosted feature layer view from the assignments layer. You can do this exactly the same way as we did it for Collector (see the first section, “Create a view of the assignments layer”) – you could even use that same hosted feature layer view you created for Collector.
As a reminder, in making that view you configured a few things:
- Only unassigned assignments are included.
- Only the following fields are included: OBJECTID, Description, Status, Priority, Assignment Type, WorkOrder ID, Due Date, GlobalID, Location, CreationDate, Creator, EditDate, and Editor. Some of these are the fields the mobile worker needs to fill out when creating assignments, and when setting up the QuickCapture project you’ll define these. The others are set for you by the ArcGIS platform and you’ll hide these in the project.
- The layer is editable, and sync is enabled.
However, unlike in Collector, the pop-up isn’t used in QuickCapture, so you don’t need to customize it. Instead, you’ll define the information used to create the assignments as part of creating your project for QuickCapture. We’ll get into this in detail next.
2. Create a project for QuickCapture
Open the QuickCapture website to create your project. Click New Project to get started. Select the hosted feature layer view you created based on your assignments layer.
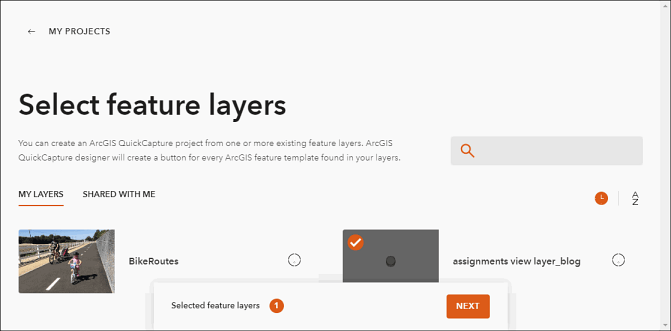
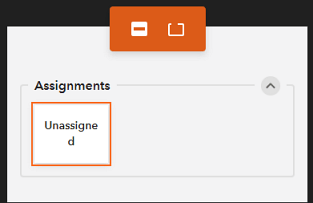
Give the project a name and click Create. A project is created using all the fields in the view and is opened. The project starts with a single button. First let’s look at that button. In the panel showing the button UI, click on the button already in place, labeled Unassigned.
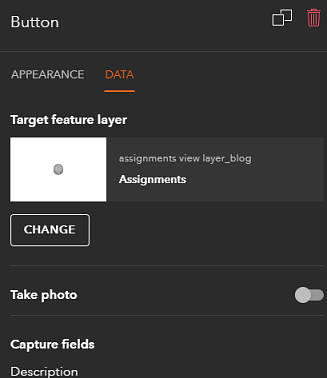
In the panel to the right, you can see the configuration options for that button. Click on the Data tab to view the values configured for the fields when that button is used to create a feature.
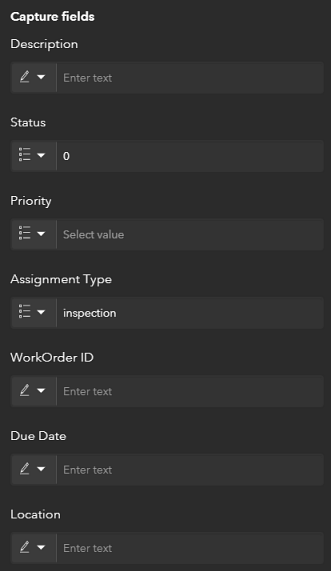
Scroll through the Capture fields. The Status is set to 0, and the other fields are not set.
To allow mobile workers to create assignments of the types supported in your Workforce project, you’ll need to create a button for each type. Mobile workers create all assignments in an unassigned state (a value of 0 for Status), so you’ll set Status to 0 for each button you add. For example, here are the Capture fields for a button that creates unassigned inspections:
In the Appearance tab, set the label for the button to capture the type of assignment (here Inspection) instead of Unassigned since all buttons create unassigned assignments.
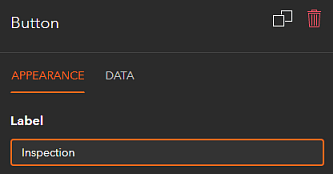
Add a button for each type of assignment you want your mobile workers collecting through QuickCapture. As you add a button for each assignment type to your project, make sure to set Status to Undefined.
For my example Workforce project, there are two types of work: inspection and flushing. So I have two buttons.
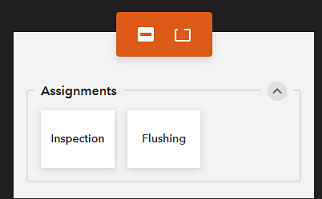
The number of buttons you create depends on what types of assignments you want mobile workers creating. For example, if you want the mobile workers to set the priority for the assignments, add a button for each assignment type and priority. QuickCapture honors the values set in the coded domain of the layer, so when a mobile worker taps a button to create an assignment, the assignment created will have a priority that Workforce recognizes.
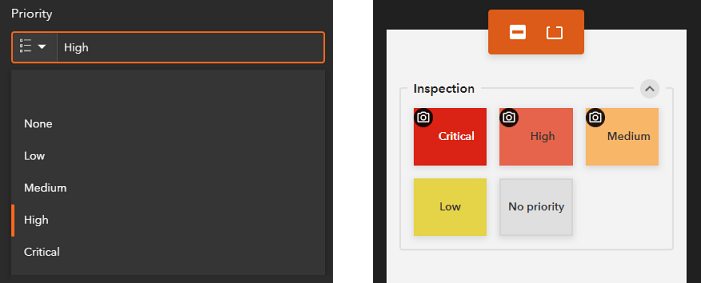
Want to let your mobile workers add attachments? In the Data tab for the button, enable Take photo and choose if it should be added automatically, or if the mobile worker should preview the image before it is added.

Save your project, and the updated project is available in the QuickCapture mobile app. You need to share it with the mobile workers who need access, or only you’ll be able to use it.
3. Share your project
Think about who needs access to your QuickCapture project. You’ll need to share both the QuickCapture project and the hosted feature layer view with those mobile workers.
If you want all mobile workers in your Workforce project to be able to create assignments in Collector, share the layer and QuickCapture project with the group created with your Workforce project. Dispatchers in the project would also have access to the survey: this may or may not be useful depending on your project.
If instead you want to provide only a subset of mobile workers with access to create assignments in QuickCapture, create a new group (see how using either the ArcGIS Online or the ArcGIS Enterprise web site). Only add into the group mobile workers that you want using QuickCapture to create assignments. After joining the group through the ArcGIS Online or ArcGIS Enterprise website (or after an admin adds them without their need for approval), these mobile workers can access any content shared with the group. To give them access to the content they need to create assignments, you’ll need to share with the group the project you created for QuickCapture and the hosted feature layer view, as described next.
First share the hosted feature layer view. Use the browser and the hosted feature layer view’s item detail page to share it with a group containing the mobile workers.
Then in the QuickCapture web app, click Share and share the project with the same group.

4. Create assignments in QuickCapture
The mobile workers can download the project in QuickCapture and create assignments. Some things to keep in mind:
- The mobile workers won’t be able to use all the validation and user integration included in the Workforce web app, but only the validation you built into the project.
- They can’t set a dispatcher ID. That’s ok, as the mobile worker might not be a dispatcher.
- Need to include an attachment? Use the camera and attach as an image.
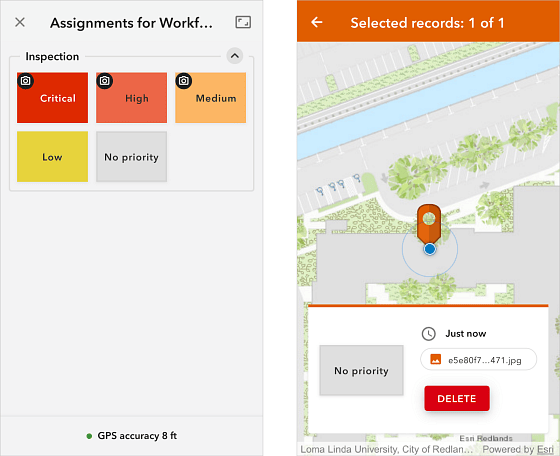
Now your mobile workers can contribute their field findings into Workforce using an app they are already familiar with, whether QuickCapture, Survey123, or Collector. Work they notice in the field is recorded and ready for assignment. The back office knows what needs to be done, and work is completed according to your staff’s workflow.


Commenting is not enabled for this article.