ArcGIS Workforce is designed for dispatchers to create and assign work for mobile workers to complete in the field. Assignments are created in the Workforce web app, but you might also want mobile workers to create assignments from the field. By bringing ArcGIS Survey123 to your workflow, mobile workers will be able to create assignments in the field that will then appear in Workforce.
To get started, identify a Workforce project that requires mobile workers to have the ability to create assignments from the field. You’ll create a view of the assignments layer for the mobile workers, use the view layer to create a survey in Survey123 Connect, publish the survey, and then create assignments using Survey123.
Note: If your mobile workers are more familiar with using ArcGIS Collector for data collection, see Create assignments in the field with Collector.
Create a view of the assignments layer
Creating a hosted feature layer view from the assignments layer limits the fields and types of data the mobile worker sees. This ensures they only edit the Workforce data you want them to. To learn more about the fields within the Workforce feature service, see the Workforce schema overview.
Browse to the item page of the assignments layer and click Create View Layer. For more information, see Create hosted feature layer views in ArcGIS Online or Create hosted feature layer views in ArcGIS Enterprise.
Set the view definition
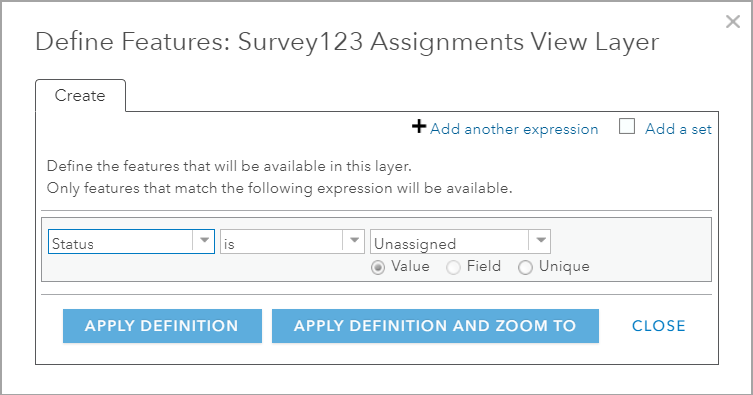
In your view, browse to the Visualization tab. Click More Options  , and click Set View Definition. The Define Features and Define Fields options appear. These allow you to limit the data available to mobile workers.
Click Define Features to only include assignments with a status of Unassigned.
Click Define Field to only include the following fields: OBJECTID, Description, Status, Priority, Assignment Type, Work Order ID, Due Date, GlobalID, Location, Creation Date, Creator, Edit Date, and Editor.
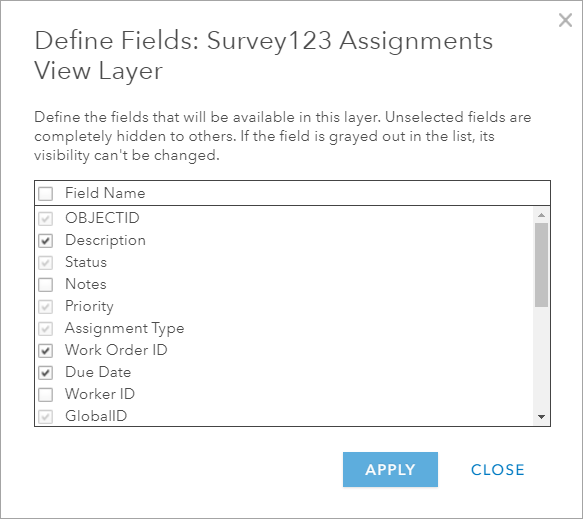
Note: Your mobile workers might not need all the fields. You can choose to exclude Description, Priority, Work Order ID, and Due Date.
Create a survey
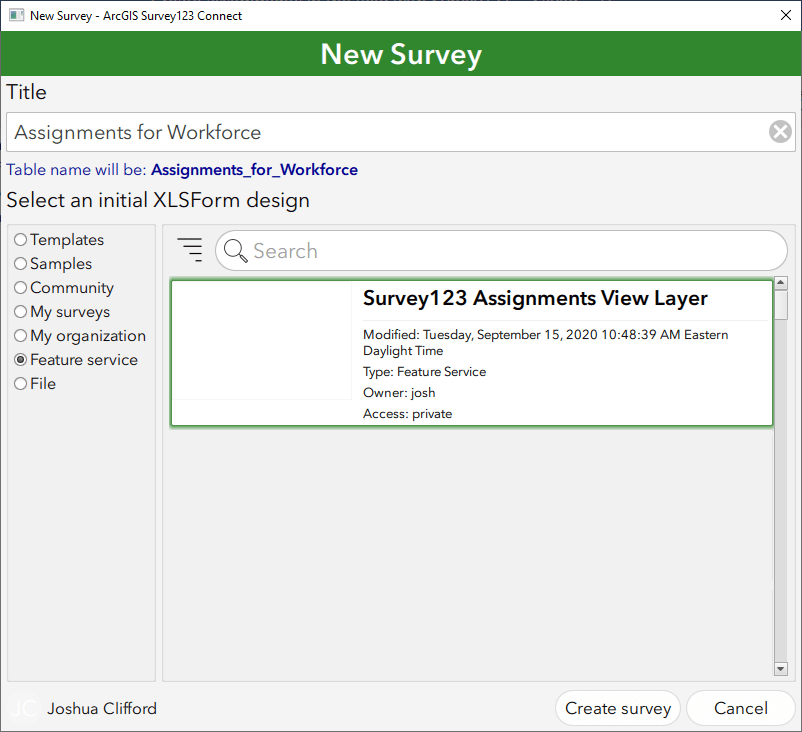
Open the Survey123 Connect desktop app to create your survey (the Survey123 web designer doesn’t support creating a survey from an existing hosted feature layer). Click New survey to get started. Give the survey a name and choose the Feature service option. Select the hosted feature layer view you created based on your assignments layer, and click Create survey.
A survey is created using the fields in the view layer, and the spreadsheet that defines the survey opens. On the survey tab of the spreadsheet, you’ll find the fields imported from the view layer.
The assignmenttype field is not automatically added to the survey because it has a GUID field type. You’ll manually add this field so mobile workers can include the assignment type when filling in their survey. In an empty row on the survey tab, fill in the following columns:
- In the type column, select select_one list_name and replace list_name with assign_type. It should read select_one assign_type.
- In the name column, type assignmenttype.
- In the label column, type Assignment Type.
- In the required column, select Yes.
- In the bind::esri:fieldType column, select esriFieldTypeGUID.

On the choices tab, you’ll add each assignment type so they appear as choices in your survey. Add an entry for each assignment type you want your mobile workers to have access to.
- In the list_name column, type assign_type.
- In the name column, type the GlobalID value for each assignment type. You can find the GlobalID value in the Data tab of the Assignment Types table Item page by clicking Options > Show/Hide Columns > GlobalID.
- In the label column, type the name of each assignment type.

Now that you have the assignment type question set up, you’ll make a few more edits on the survey tab.
An assignment status must be included, but you don’t want your mobile workers to change it from unassigned. For Status, mark the required column as yes, set the field’s type to hidden, and give it a default value of 0 (unassigned).

For Priority, set the appearance column to likert so the choices display as a scale in the survey.

Reorder the fields in the spreadsheet so required and more commonly populated fields display first in the survey.

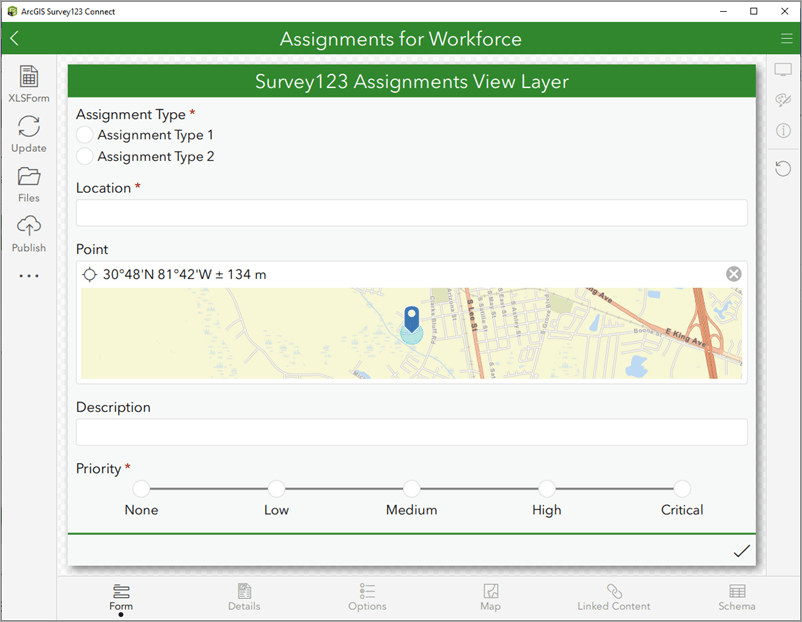
Save your spreadsheet changes, and the preview of the survey in the Survey123 Connect window updates to show your changes.
Publish and share your survey
In the Survey123 Connect window, click Publish.
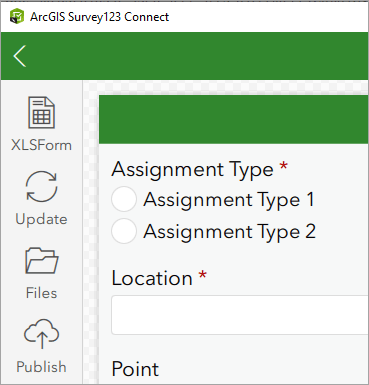
You are reminded that you used an existing feature service, so a new feature service won’t be created. Click Publish. Your survey is published to your ArcGIS organization in a folder of My Content that is named with “Survey-” followed by your survey name.
Browse to the Survey123 website and open the survey. Click the Collaborate tab to share the survey with mobile workers. If you want all mobile workers in your Workforce project to be able to create assignments in Survey123, share the survey with the group created with your Workforce project. For more information, see Share survey.
If instead you want to provide only a subset of mobile workers with access to create assignments in Survey123, create a new group for those members. Share the survey you created for Survey123 with the new group. For more information, see Create groups in ArcGIS Online or Create groups in ArcGIS Enterprise.
Create assignments in Survey123
Mobile workers can now download the survey in the Survey123 field app and create assignments. You can test your survey by submitting a form and then checking that a new assignment appears in the Workforce web app.
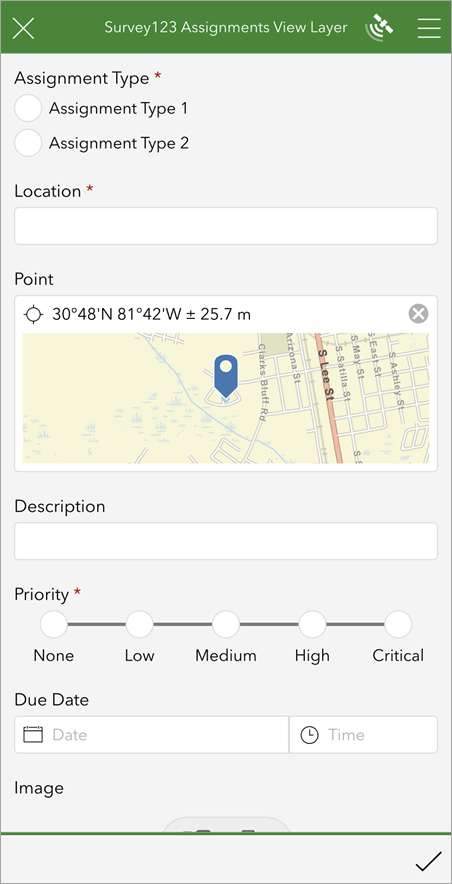
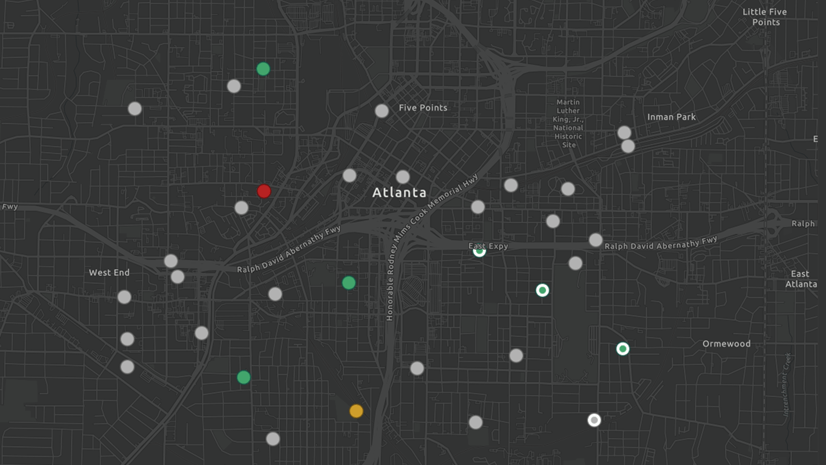
Now your mobile workers can contribute assignments to Workforce using Survey123. Work they notice in the field is recorded and ready for assignment in the Workforce web app.



Article Discussion: