ArcGIS Web AppBuilder allows you to build web apps without writing any code. It includes tools to configure fully featured HTML apps. As you add a map and tools, you can see them in the app and use them right away.
To create an app, connect a 2D web map or a 3D web scene. Configure widgets such as charts, tables, filters, and analysis tools. Customize the look, feel, and framework of your app by choosing a theme.
ArcGIS Web AppBuilder is built into ArcGIS Online, so you can leverage existing content. Using the Web AppBuilder developer edition, developers in your organization can extend Web AppBuilder with their own widgets and themes.
Key features:
- Create HTML and JavaScript apps that run on any device.
- Build the apps you need using ready-to-use widgets.
- Customize the look of your apps with configurable themes.
- Host your apps online or run them on your own server.
- Create custom app templates.
Get Started
After you sign in to your ArcGIS account (or create a free trial account), you can access Web AppBuilder any of these ways:
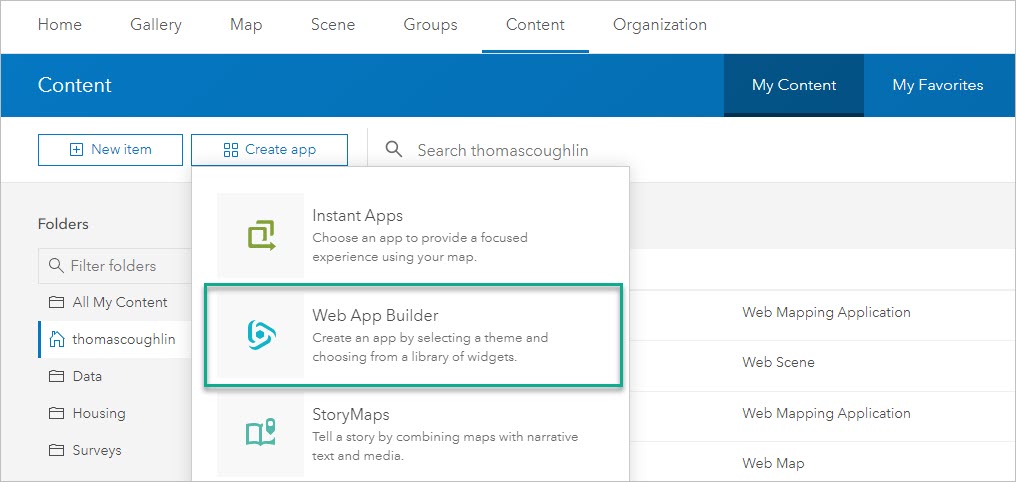
- On the My Content tab of the Content page, click Create, choose Web AppBuilder, and select 2D or 3D.
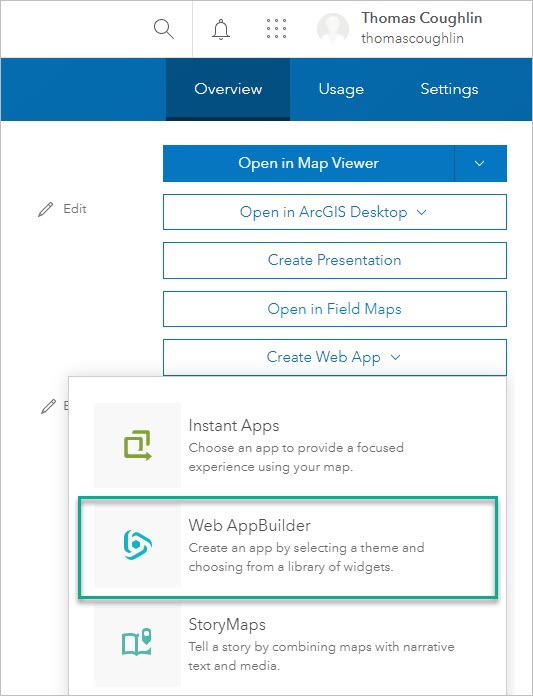
- Open the item page for a map or scene, click Create Web App and choose Web AppBuilder.
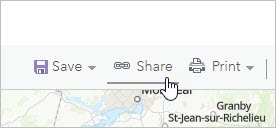
- Open a map in Map Viewer Classic, click the Share button, and click Create a Web App. In the window that opens, click the Web AppBuilder.
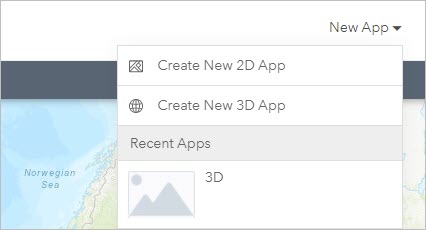
- In Web AppBuilder, click New App and choose Create New 2D App or Create New 3D App, or choose from a list of recent apps to edit.
Build a web app
To build an application, follow these general steps:
Step 1 – Choose a theme. A theme includes a collection of panels, styles, layouts, and preconfigured widgets.
Step 2 – Connect a data source. Connect either a 2D web map or 3D web scene. A 2D app can only connect to a 2D web map. The same is true for 3D.
Step 3 – Add and configure widgets. Choose from a library of widgets or edit the widgets already in the theme.
Step 4 – Configure attributes. Customize the app with logos, titles, hyperlinks, and more.
Step 5 – Preview, save, and open.
Builder interface
When you open Web AppBuilder, or open an existing web app for editing, the builder opens with the tools and options that you use to create or edit a map. These include the following:
A – The side panel allows you to open the Theme, Map or Scene, Widget, and Attribute tabs.
B – The canvas is where you preview and use the app.
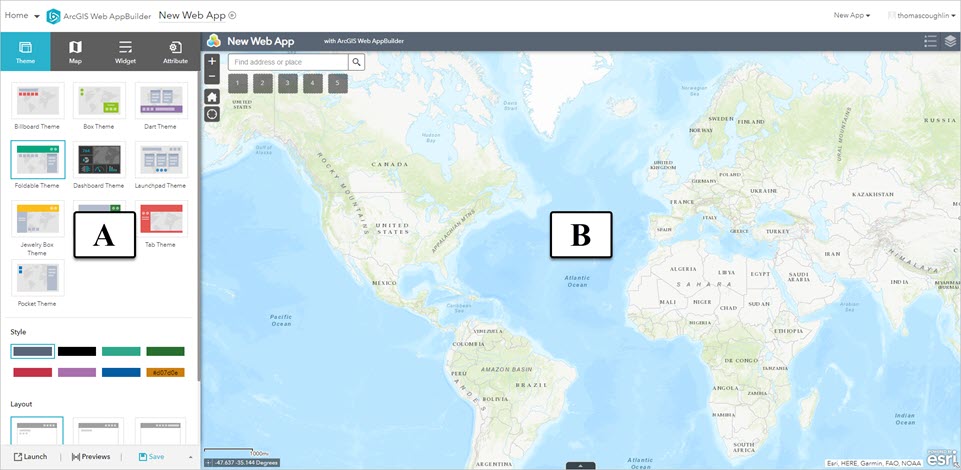
Here’s what you need to know about the four tabs:
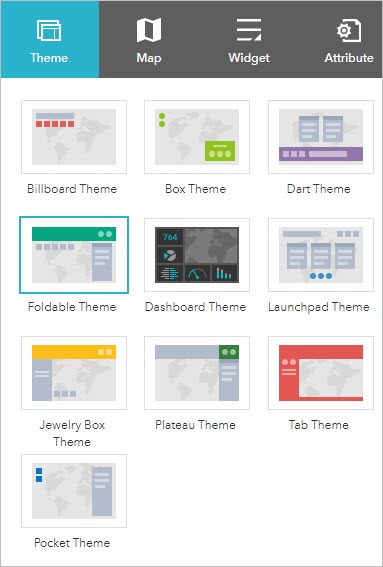
Theme
The theme affects the structure and feel of the app. Different themes are suited for different types of apps. For example, Pocket Theme is appropriate for apps you plan to embed in websites or ArcGIS StoryMaps stories. On the Theme tab, you can also configure the app’s colors and layout. For more information, see Choose a theme.
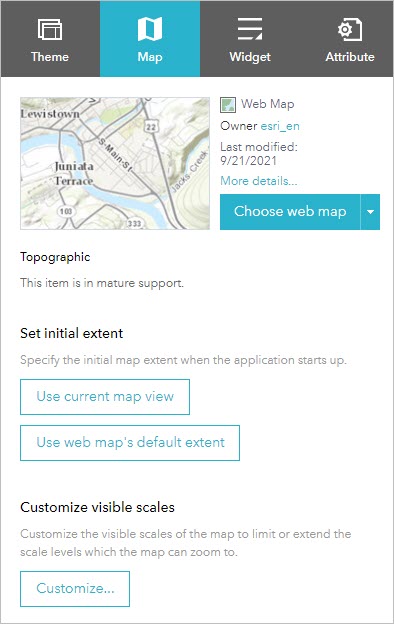
Map or Scene
From the Map or Scene tab, you can connect a 2D web map or 3D web scene. Apps created with Web AppBuilder are all mapcentric. The map or scene you connect is the foundation of the app. For more information, see Select a map or scene.
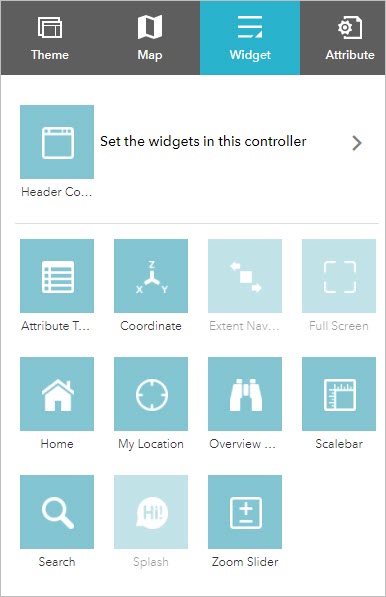
Widget
On the Widget tab, you can add and configure widgets, the main building blocks of the app. Some widgets are specifically designed to work with 2D or 3D data content, so the set of widgets available in 2D apps is different from 3D apps. For more information, see Add widgets.
Attribute
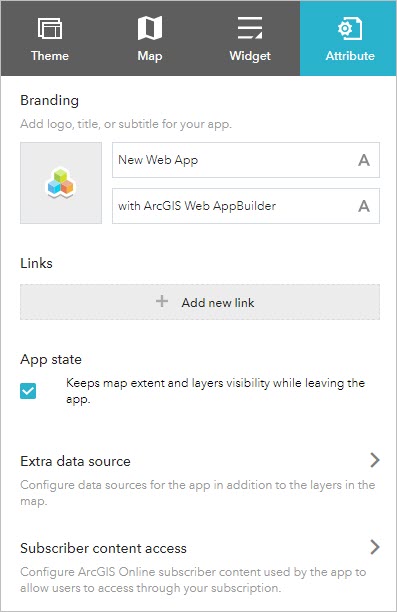
The Attribute tab allows you to add features related to you and your organization. Attributes include branding, links, logos, and more. For more information, see Configure app attributes.
Preview and launch the app
Click Save often. Click Previews to preview your app on different screen sizes. When finished, click Launch to view the completed app.

More information
For more information about ArcGIS Web AppBuilder, see the following resources:



Article Discussion: