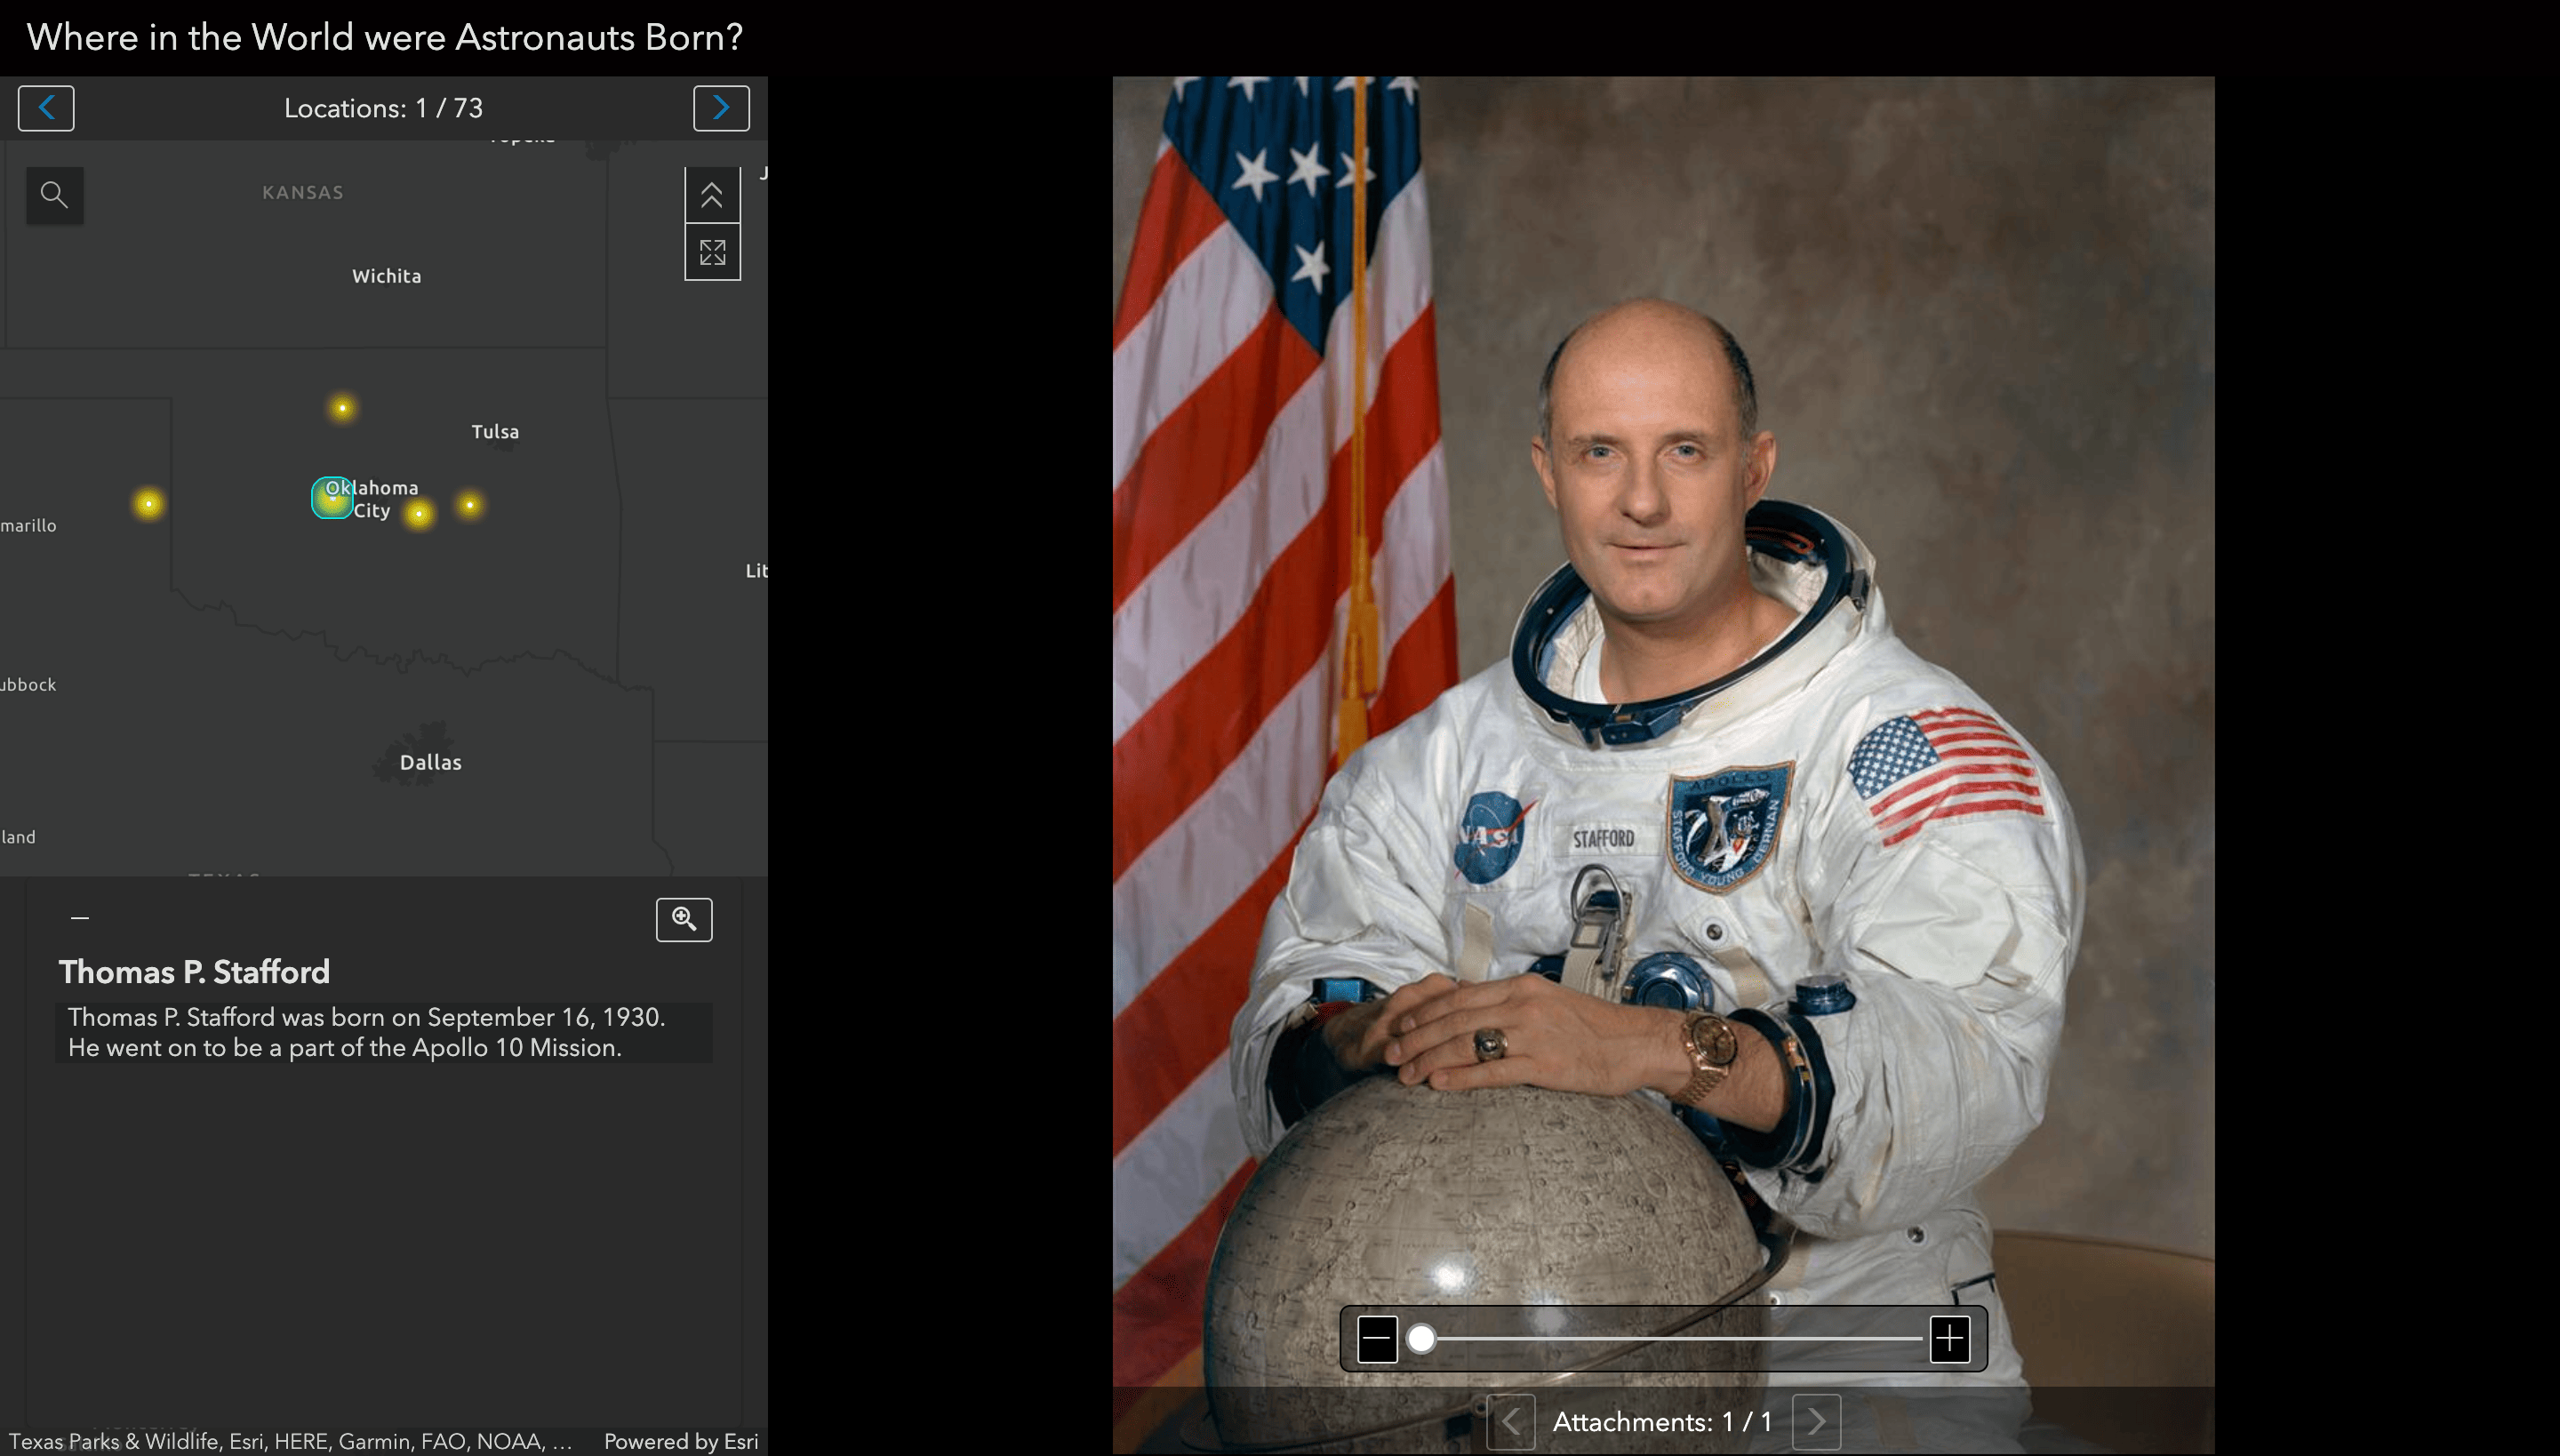
There is an incredible amount of data out there that’s stored in CSVs with images stored as links. Currently, there is no simple way to create a layer from a CSV and mass download and attach the linked images to it. Why would you want to do this? The Attachment Viewer Instant App is a beautiful way to display images while still viewing the geospatial data but can only be used for layers with attachments.
This method outlined below uses a short python script in the ArcGIS notebook to fill the gap. The script includes a function that downloads and attaches images to the right location in one step. This blog walks you through creating a layer with attachments from a CSV with linked images using an astronaut data CSV as an example.
Setting up your Environment
Adding your CSV
First, you need to add the CSV file to your files in the notebook. This can be done simply through the notebook by clicking on File in the top toolbar and uploading the CSV to the home folder. From here we want to add the CSV to our notebook by clicking the little plus next to it’s name.
Creating your Layer
The easiest way to create a layer from a CSV is through the My Content Page. Once in My Content click on add item and upload the CSV making sure to select “Add CSV and create a hosted feature layer.”
Once the layer is published you need to add it to your notebook.
Adding your Layer to the Notebook
To add the layer click on Add in the top toolbar, find the layer in My Content and click the plus next to it to add it to the notebook.
Downloading and Attaching Linked Images
In the Astronaut CSV I’m using photo_link is the name of the column in the CSV that contains the links. Make sure that the column name is in quotes because it is a string!
Running the Notebook
To run the notebook simply click the run button in the top toolbar until all the cells have been run! You will know it finished running when the asterisk * turns into a number in the box at the left of each cell.
To ensure everything was added properly, open the published feature layer’s attribute table in a new map and verify images are attached to the correct locations.
Final Steps
From here you are ready to create your map and app!
Once you have verified the process above worked properly and attachments are added to the correct layer, you’re ready to make your map and symbolize locations appropriately. If you would like to visualize only locations with attachments, you will need to create a new field in the Classic Map Viewer and calculate the field using the following arcade expression: Count(Attachments($feature)) which will create a field with the number of attachments for each location. From there you can filter the layer to show only locations where that field does not equal zero – locations that don’t have zero attachments.
Afterwards you can make an Attachment Viewer Instant App to highlight the attachments and geospatial information. See the following blog for more help on creating the app: Build an Attachment Viewer App with Express Setup
Click here to see the final Attachment Viewer App showing only items with attachments!


Article Discussion: