In Create a map for data collection in Field Maps, you created a map that allows you to capture information about your local park. Now, you’ll configure the map for data collection using the ArcGIS Field Maps web app. This workflow is supported on ArcGIS Online and ArcGIS Enterprise 10.9 and later.
You’ll use the Field Maps web app to complete the following tasks:
- Edit the map title, summary, and thumbnail
- Author the form
- Configure the feature templates
- Configure the map settings
- Share the map
For this exercise, you’ll configure the form to capture paint assessment data for amenities within a park. To follow along, add the following fields to the Places layer. When you add the needs_paint field, set the Default Value to ‘1’.

Create a list for the needs_paint field and add the following choices:

Edit the map title, summary, and thumbnail
The Field Maps web app allows you to edit the title, summary, and thumbnail of your map. Edit this information so the map is identifiable in the Field Maps mobile app.
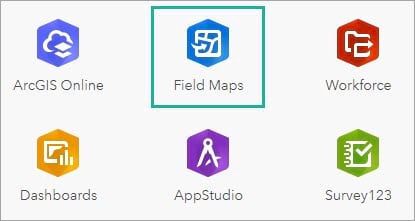
In a browser, sign in to your ArcGIS Online organization. In the app launcher, click Field Maps.
The Maps page opens, displaying maps you own. Click the Parks map card to configure the map you created in the previous blog post. The Overview page opens, displaying information about the map.
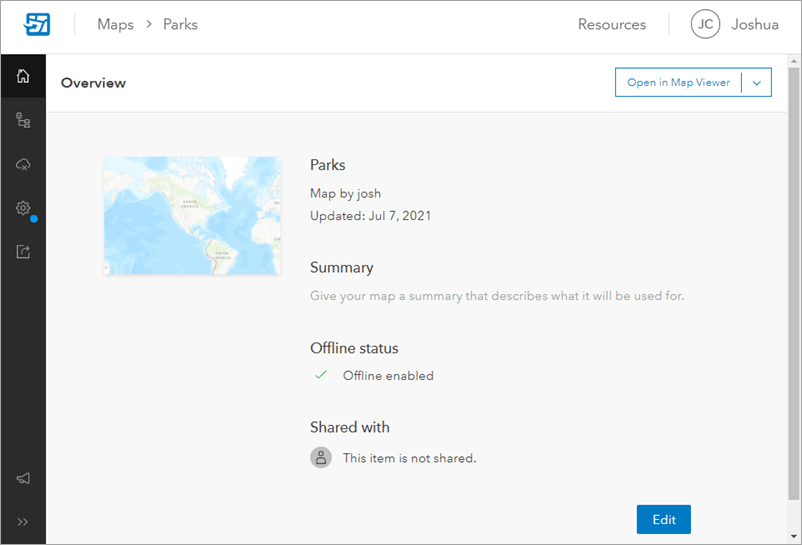
Click Edit and provide a title and summary specific to the project. For example:
- Title: Parks Paint Assessment
- Summary: This map is used for assessing the paint on park amenities.
If you have an image of the park you want to use as the thumbnail, hover over the default thumbnail for the map and click Change Thumbnail. Click Save.

Configure the form
Configure the form used in the field to collect paint assessments. You’ll configure the form title, the order of form elements, and how the elements display in the Field Maps mobile app.
Click Content to open the Content page. This page shows all the items in your map. Under Layers, click the Places layer. The Form builder opens with a blank canvas and includes the elements and fields you can add to the form. To familiarize yourself with the Content page interface, see Web app quick reference.
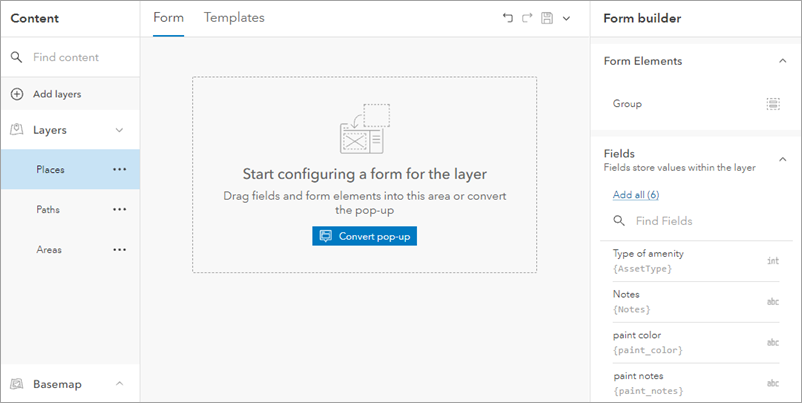
In the Fields list, click Add all, to add all of the layer’s fields as form elements.
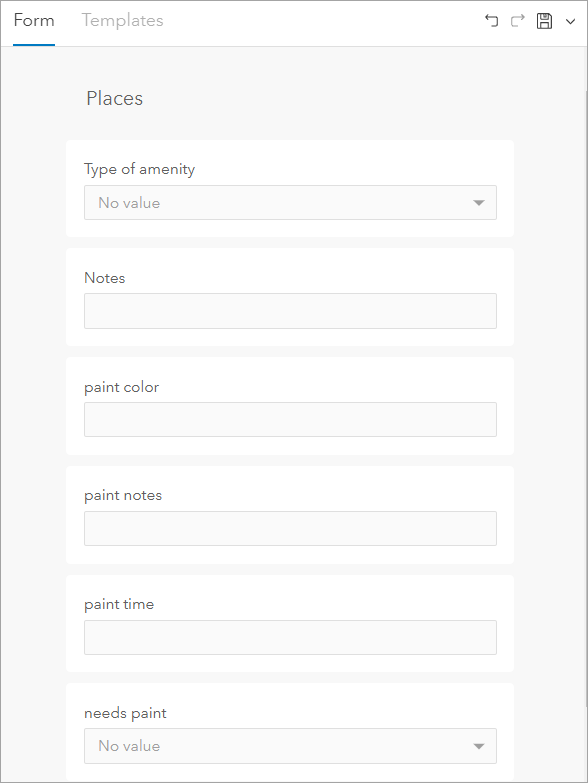
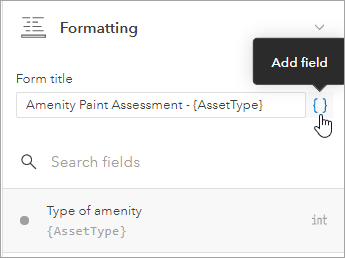
Provide a form title specific to the project. Click the form title and the Formatting pane appears. Under Form Title, type ‘Amenity Paint Assessment’. Additionally, click Add field and add the Amenity Type field to the title. This will populate the form title with the type of amenity when the form is opened in the map.
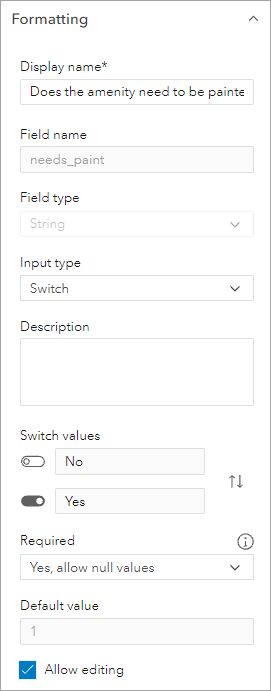
Now you’ll format the form elements so they provide helpful information when using the form in the Field Maps mobile app. Select the needs paint form element to open its Formatting options and edit the following:
- Display name—Change the display name so it asks a question, such as: ‘Does the amenity need to be painted?’
- Input type—Change the input type to Switch so the element appears as a yes or no switch within the form. Click the Switch order of values button so the ‘No’ value is the first option listed.
- Required—In the Required drop-down menu, select Yes, allow null values. This prevents the form from being submitted if the entry isn’t filled out.
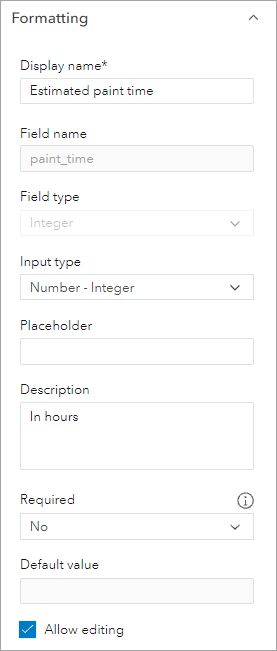
Select the paint time element to open its Formatting options and edit the following:
- Display name—Change the display name to ‘Estimated paint time’.
- Description—Add a description to provide additional information about the data being collected. For this property, type ‘In hours’.
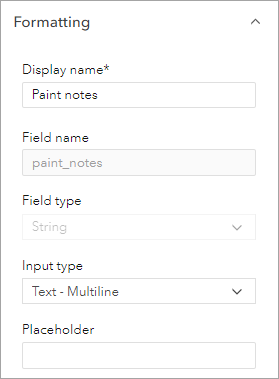
Select the paint notes element to open its Formatting options and edit the following:
- Input type—Change the Input type to Text – Multiline so you can type multiple lines of text for this entry in the mobile app.
Use a Group form element to group the paint elements together. In Form elements, click Group to add a group to the form (you can also drag it onto the form). Drag the Paint color, Estimated paint time, and Paint notes elements into the group. Select the group and change the Display name to ‘Paint Information’. The form should look like the following:
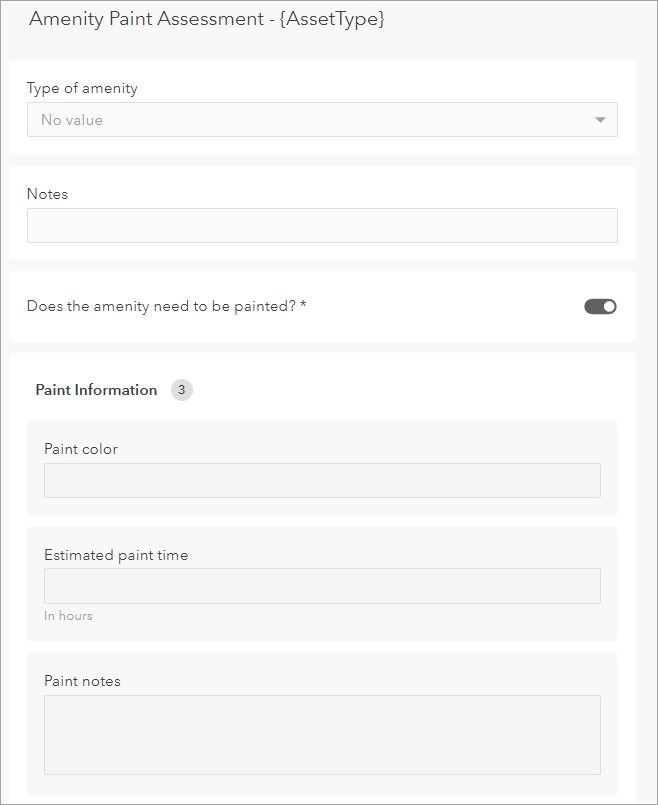
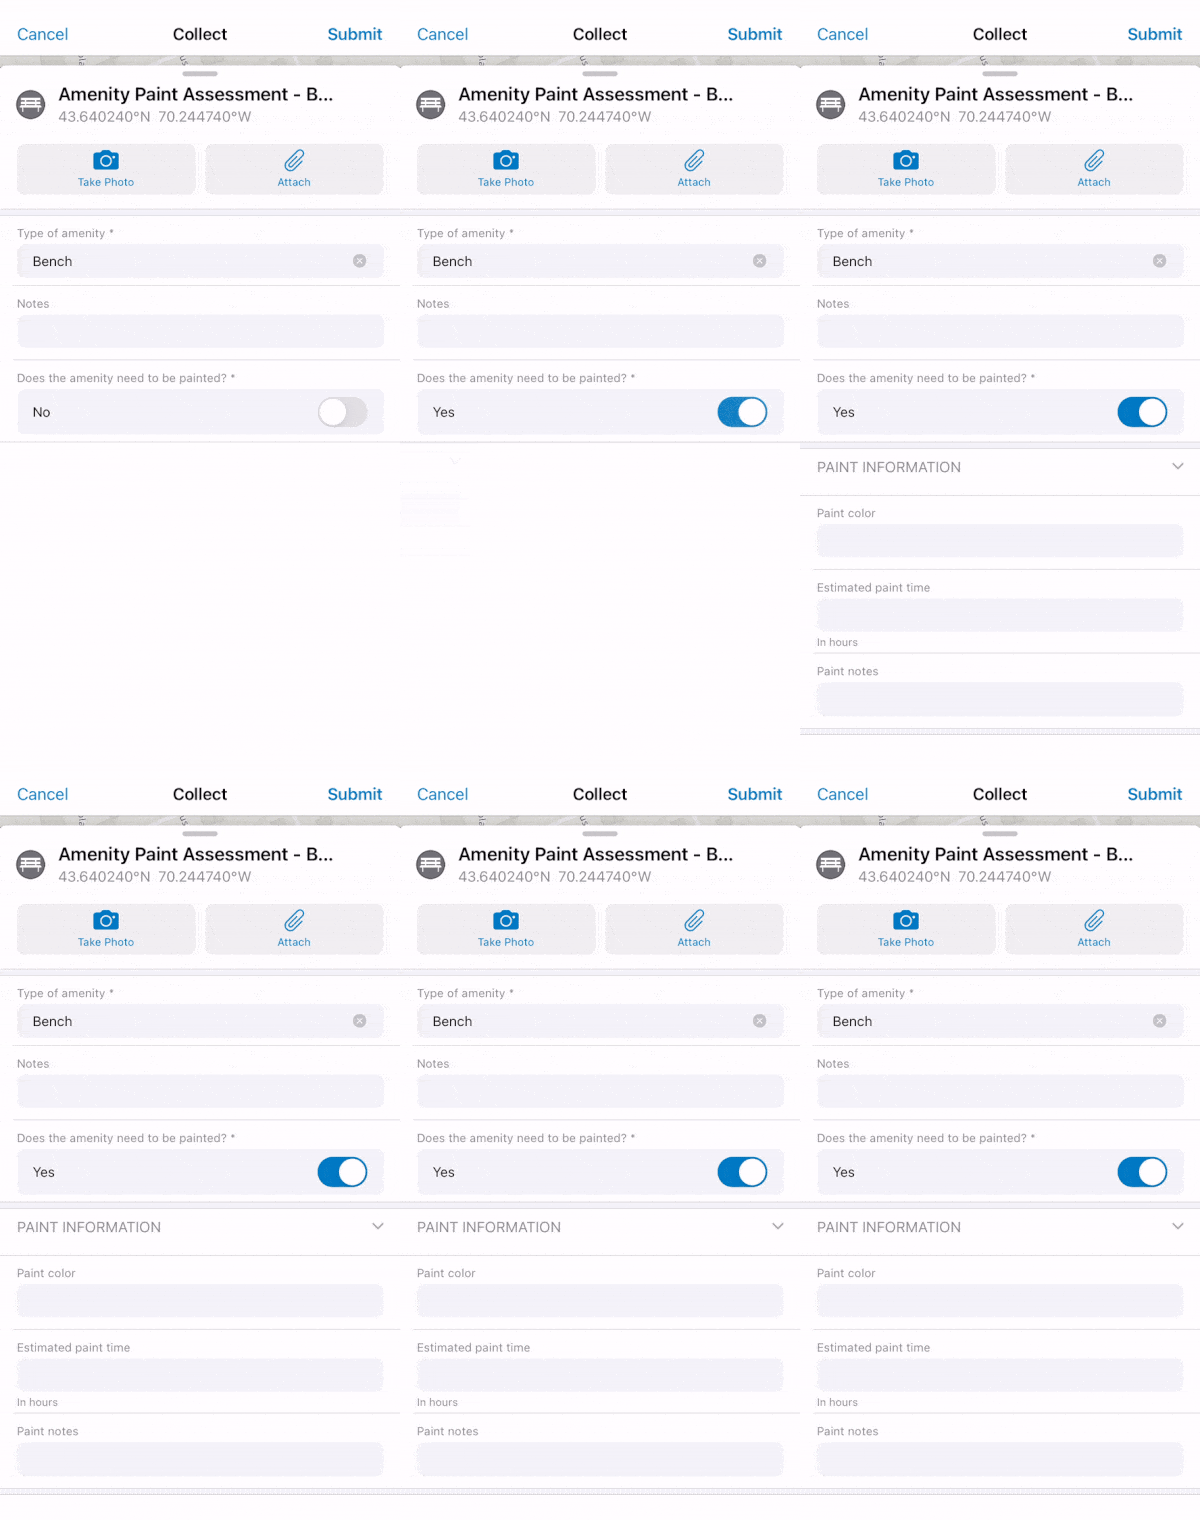
If a park amenity doesn’t need to be painted, then the Paint Information group doesn’t need to be filled out. Add a conditional visibility statement so this group only appears when the needs paint field equals Yes. Click the Paint Information group, and under Conditional Visibility click + Add expression.

In the Arcade editor opens, type the following expression:
$feature["needs_paint"] == "0"
The expression states that if the needs paint field equals ‘0’ (the coded value for ‘Yes’) then the Paint Information group will appear in the form. Title the expression needs paint.

Click OK and click Save to save the completed form. When the form is open in the Field Maps mobile app, it will look like the following:
To learn about more ways to customize the form, see Configure the form.
Configure feature templates
Configure the feature templates as they’ll appear in the mobile app. You can edit their description, default values, and order. On the Content page, click the Templates tab. The feature templates you created in the previous blog post appear.
Select the Bike rack feature template. The Properties pane opens, allowing you to format the feature template and set default values. Default values can be used to ensure consistency during data collection. For example, if your park contains blue bike racks, set the default value for the paint color field to blue.
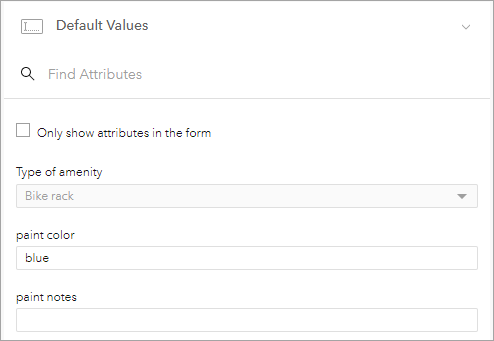
Click Save. Now, if you use the bike rack feature template to capture a new point, the paint color field is automatically set to blue.
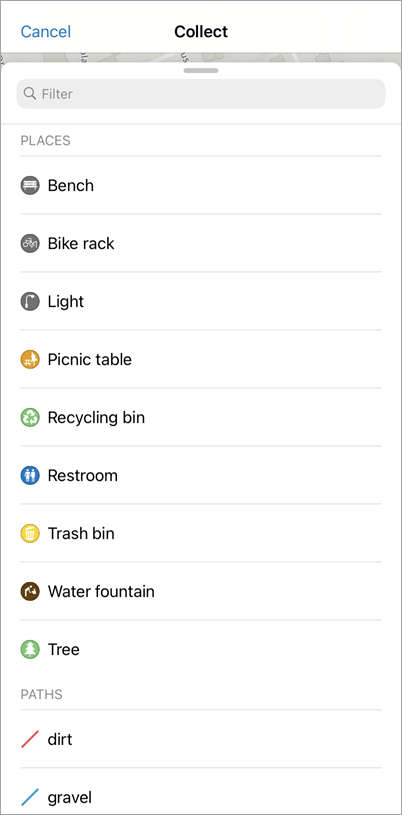
Reorder the feature templates as you want them to appear in the mobile app, placing more commonly used templates at the top of the list. Since the map is being configured for paint assessments, move the Tree feature type and template to the bottom of the list. You can move feature templates by dragging them or by using the arrow keys.
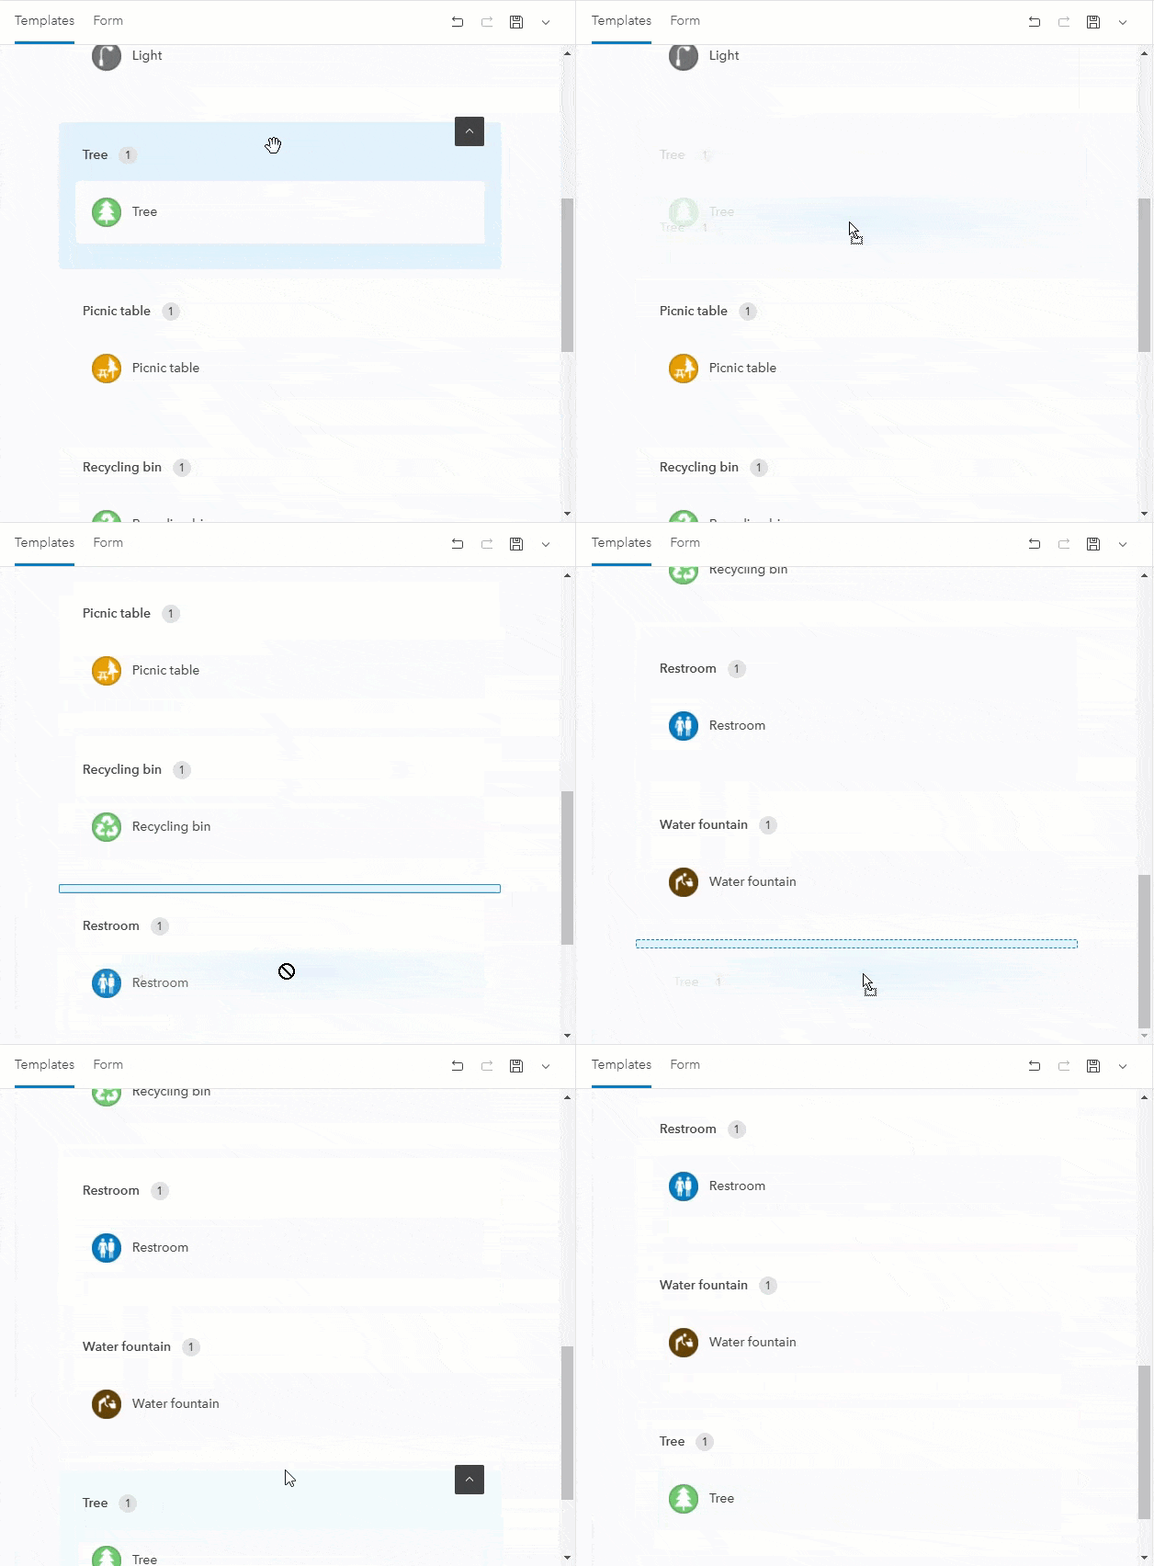
Click Save to save the feature templates. When mobile workers collect data in the Field Maps mobile app, the feature templates will appear just as they do on this page.
Configure the map settings
Next, you’ll configure the settings for the map. From the Settings page, you can configure collection requirements, map tools, feature actions, and whether location tracking is required when using the map. For this exercise, you’ll configure the Copy feature action to allow a feature’s attributes and shape to be copied when creating a new feature. This will save time in the field by allowing mobile workers to copy similar amenities when collecting data.
Click the Settings page and scroll down to the Feature Actions section. Under Copy, check the Copy All check box.
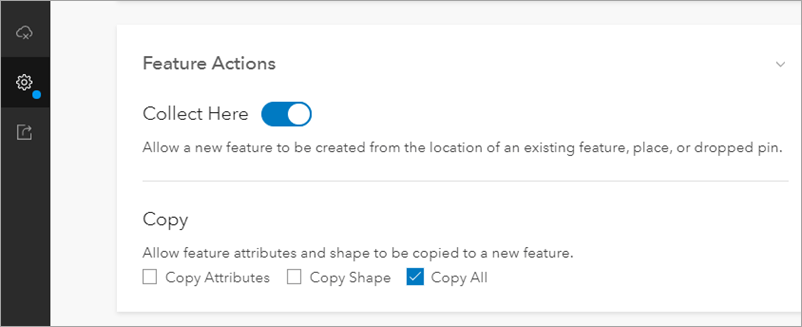
Click Save to save the map settings. To learn more about the settings you can configure on this page, see Map settings.
Share the map
Finally, you’ll share the map so mobile workers can access it in the Field Maps mobile app. Click the Sharing page and then click Set sharing level. You can share the map with your organization, groups, or the public. Once you set the sharing level, mobile workers can access the map in the Field Maps mobile app. After you set the sharing level, you can share the map via link or QR code .

Your map is configured, shared, and ready for data collection on a mobile device! To learn how to collect data with your map, see the Try data collection in Field Maps blog post.
This blog post was originally published on December 9th, 2020, and has been updated.



Article Discussion: