Why Drones?
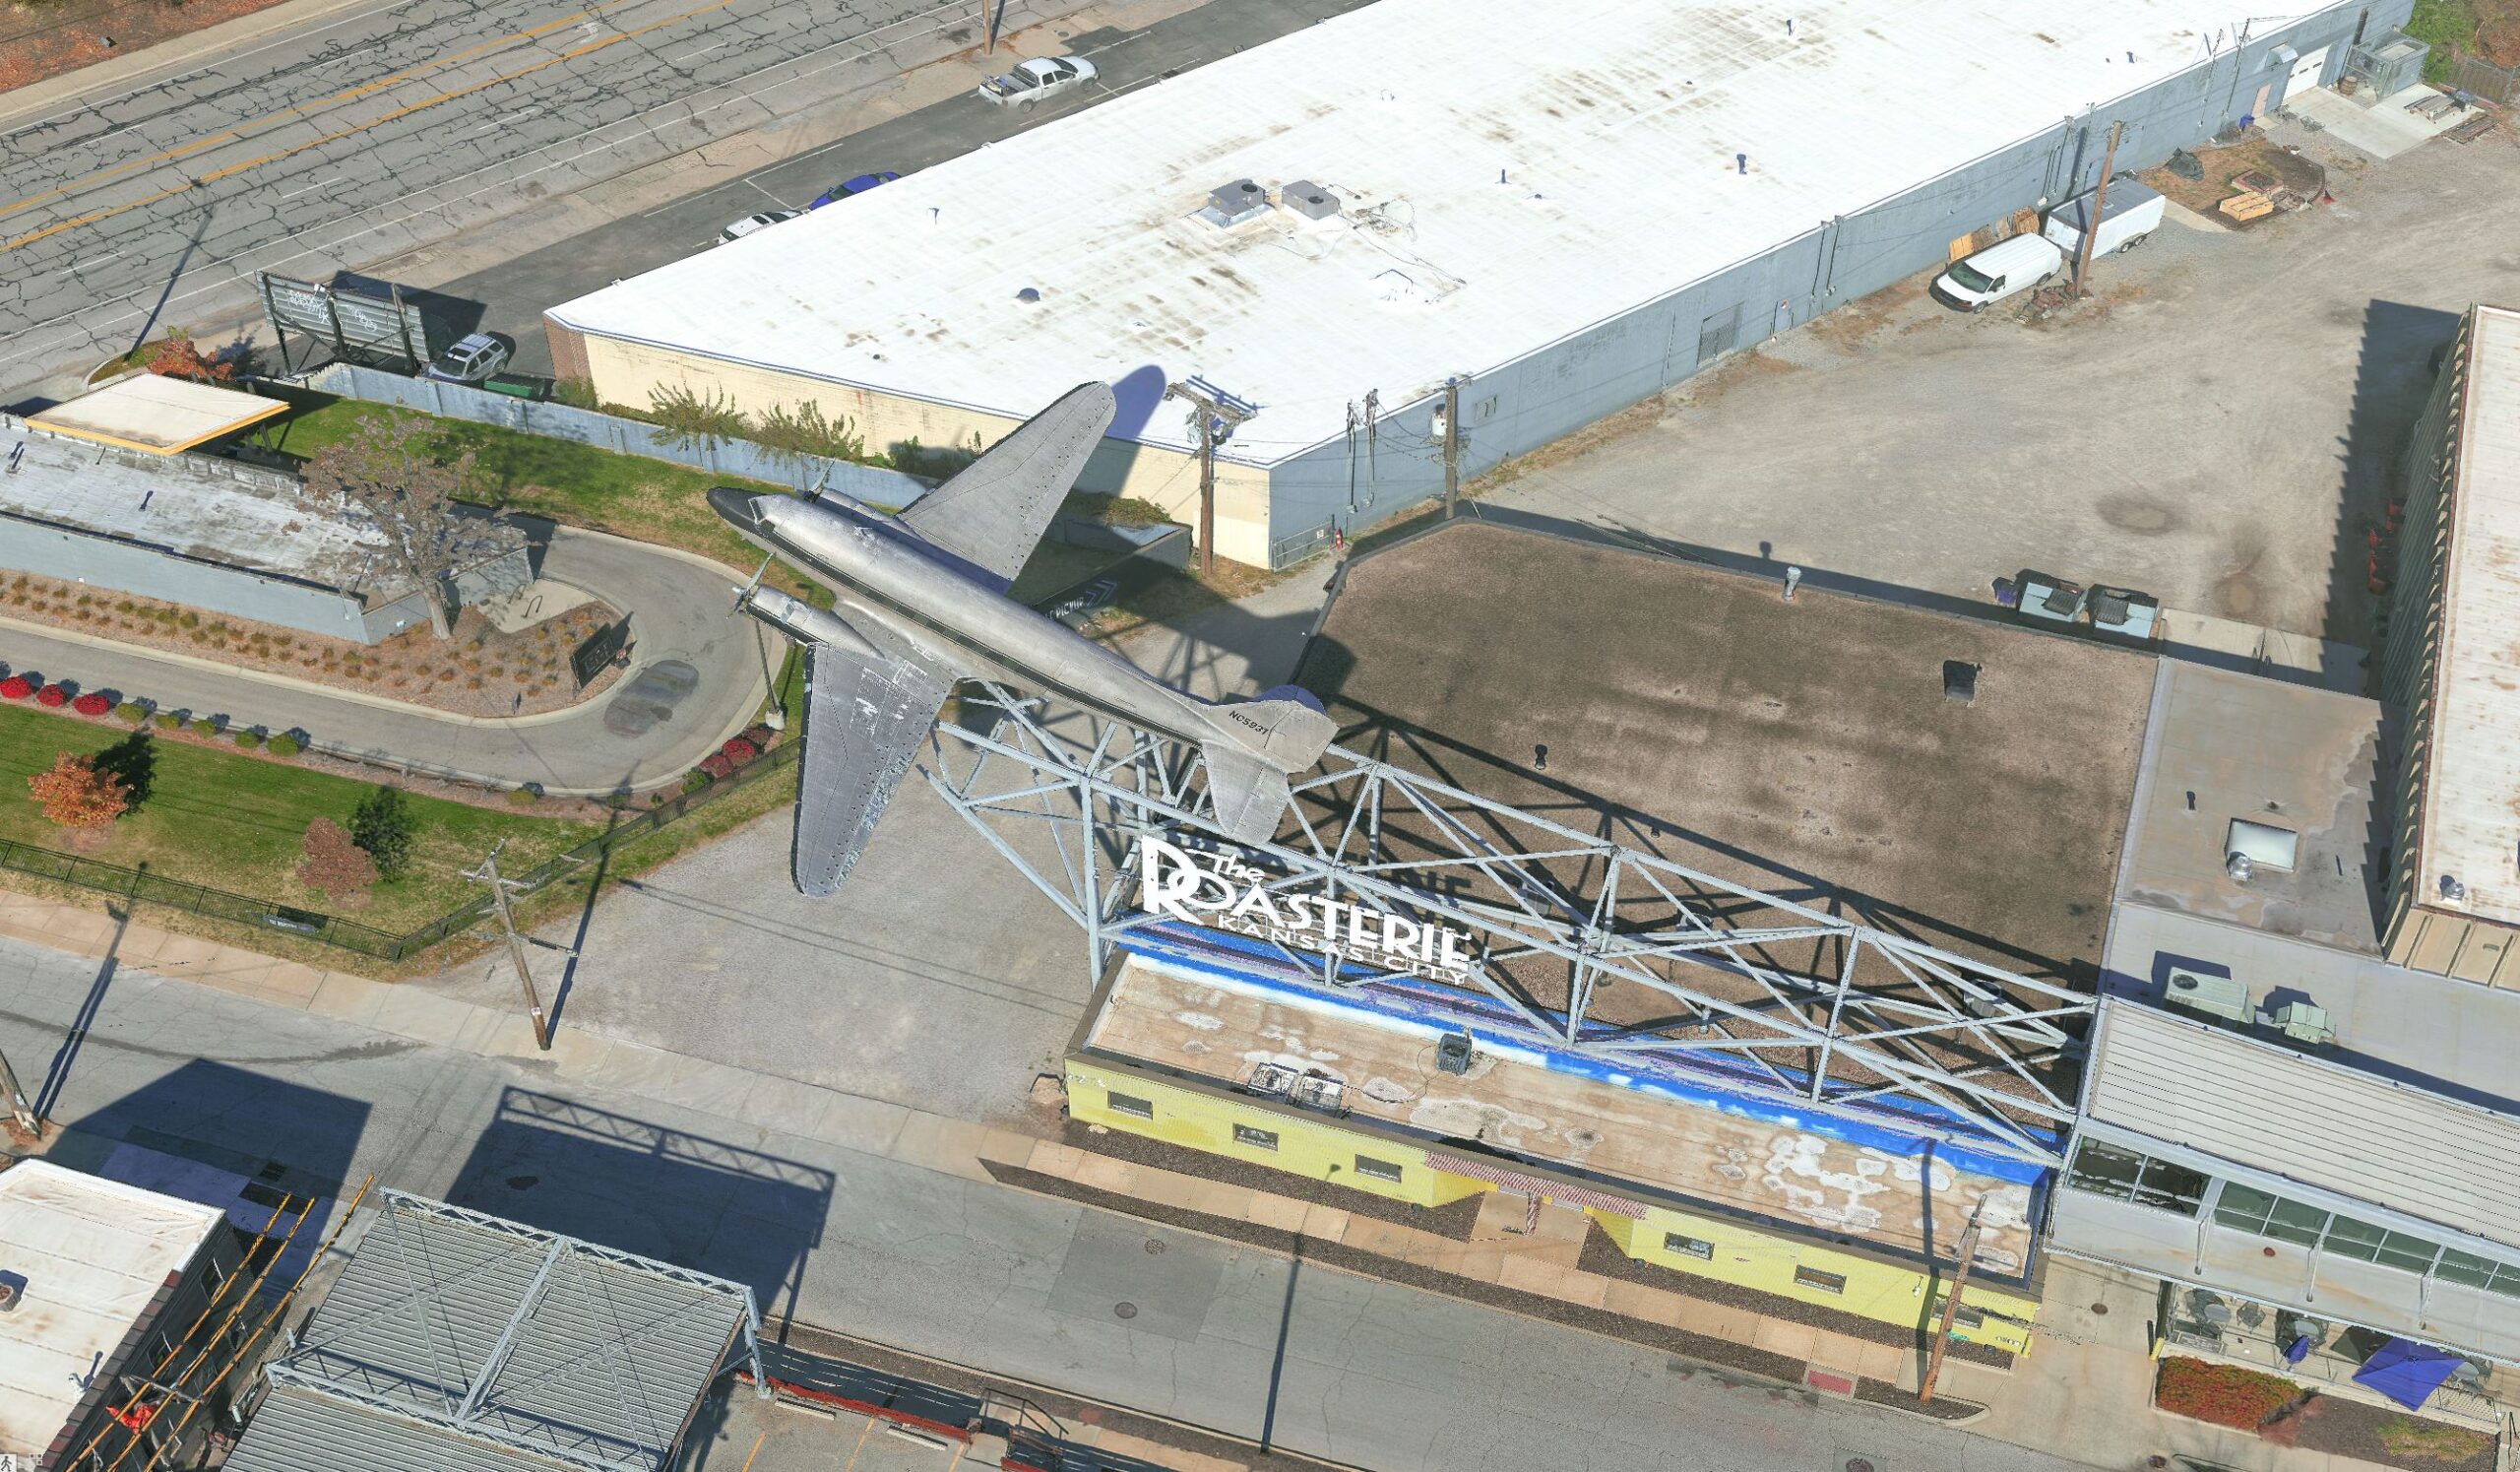
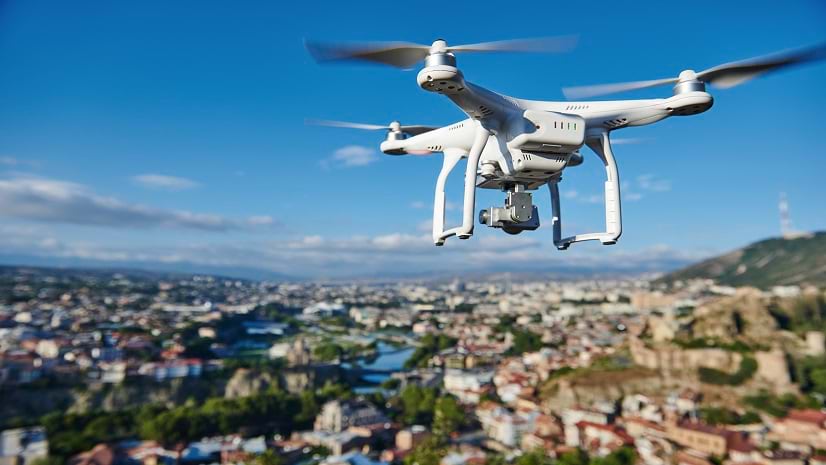
Drones have revolutionized the way we capture and analyze spatial data. They offer unparalleled flexibility and precision, making them invaluable tools for a wide range of applications, from mapping and surveying to environmental monitoring and construction. Drones can access hard-to-reach areas, capture high-resolution imagery, and provide near real-time data, all while being cost-effective and efficient.
A drone’s ability to fly at low altitudes allows for detailed data collection that is often not possible with traditional methods. And additionally, drones can capture complex objects and adapt their flight patterns to suit specific use cases, further enhancing their versatility and effectiveness.
Ingredients and Best Practices for Generating Quality Results from Drone Imagery
In the rapidly evolving field of drone technology, ensuring the highest quality outputs from your drone imagery is essential for accurate and reliable data. Whether you are involved in mapping, surveying, or creating 3D models, adhering to best practices in drone flight planning and image processing can significantly enhance the quality of your final products. This guide provides key considerations and tips to help you achieve optimal results in your drone projects.
Consistency: Consistency is crucial in drone flight planning to ensure reliable final products. Movement of objects in the image frames during a flight can cause “ghosting,” where scanned objects appear partially or completely transparent. To avoid this, keep people and equipment stationary, and be mindful of moderate to high winds that can cause movement of features in the landscape, especially in tree leaves. Maintaining a consistent distance to the object or terrain is essential for effective 2D and 3D modeling. The drone should stay the same distance from the ground and the subject structures throughout the flight. If capturing the area at multiple scales is necessary, treat and process each scale as an independent project. Terrain-following tools in your flight planning application can help maintain this consistent distance, ensuring high-quality data capture even in non-typical aerial scenarios.
Image Acquisition and Overlap for Quality Outputs: Effective image acquisition and overlap are crucial for high-quality photogrammetry. High image overlap enables reliable 3D point cloud generation through Multi-Stereo Triangulation, enhancing accuracy and completeness. Each surface point should be observed by at least three to five images to ensure accurate pixel matching in 3D space.
Overlap allows the software to stitch images together using identifiable keypoints. In areas with unique features, 60-70% overlap may suffice, but featureless areas may require up to 90%. Both front and side overlap are important, though side overlap can drain battery life. Insufficient overlap results in “NoData” holes.
Maintaining a consistent image scale by capturing images at similar distances is essential. A regular grid acquisition pattern with adequate forward and side overlap minimizes occlusions and improves data redundancy. Terrain and high structures can influence the required overlap, affecting image capture consistency. Planning your flight area slightly larger ensures adequate overlap at the edges and complete coverage.
Also note that image overlap percentage is determined by the highest buildings/objects within the dataset.

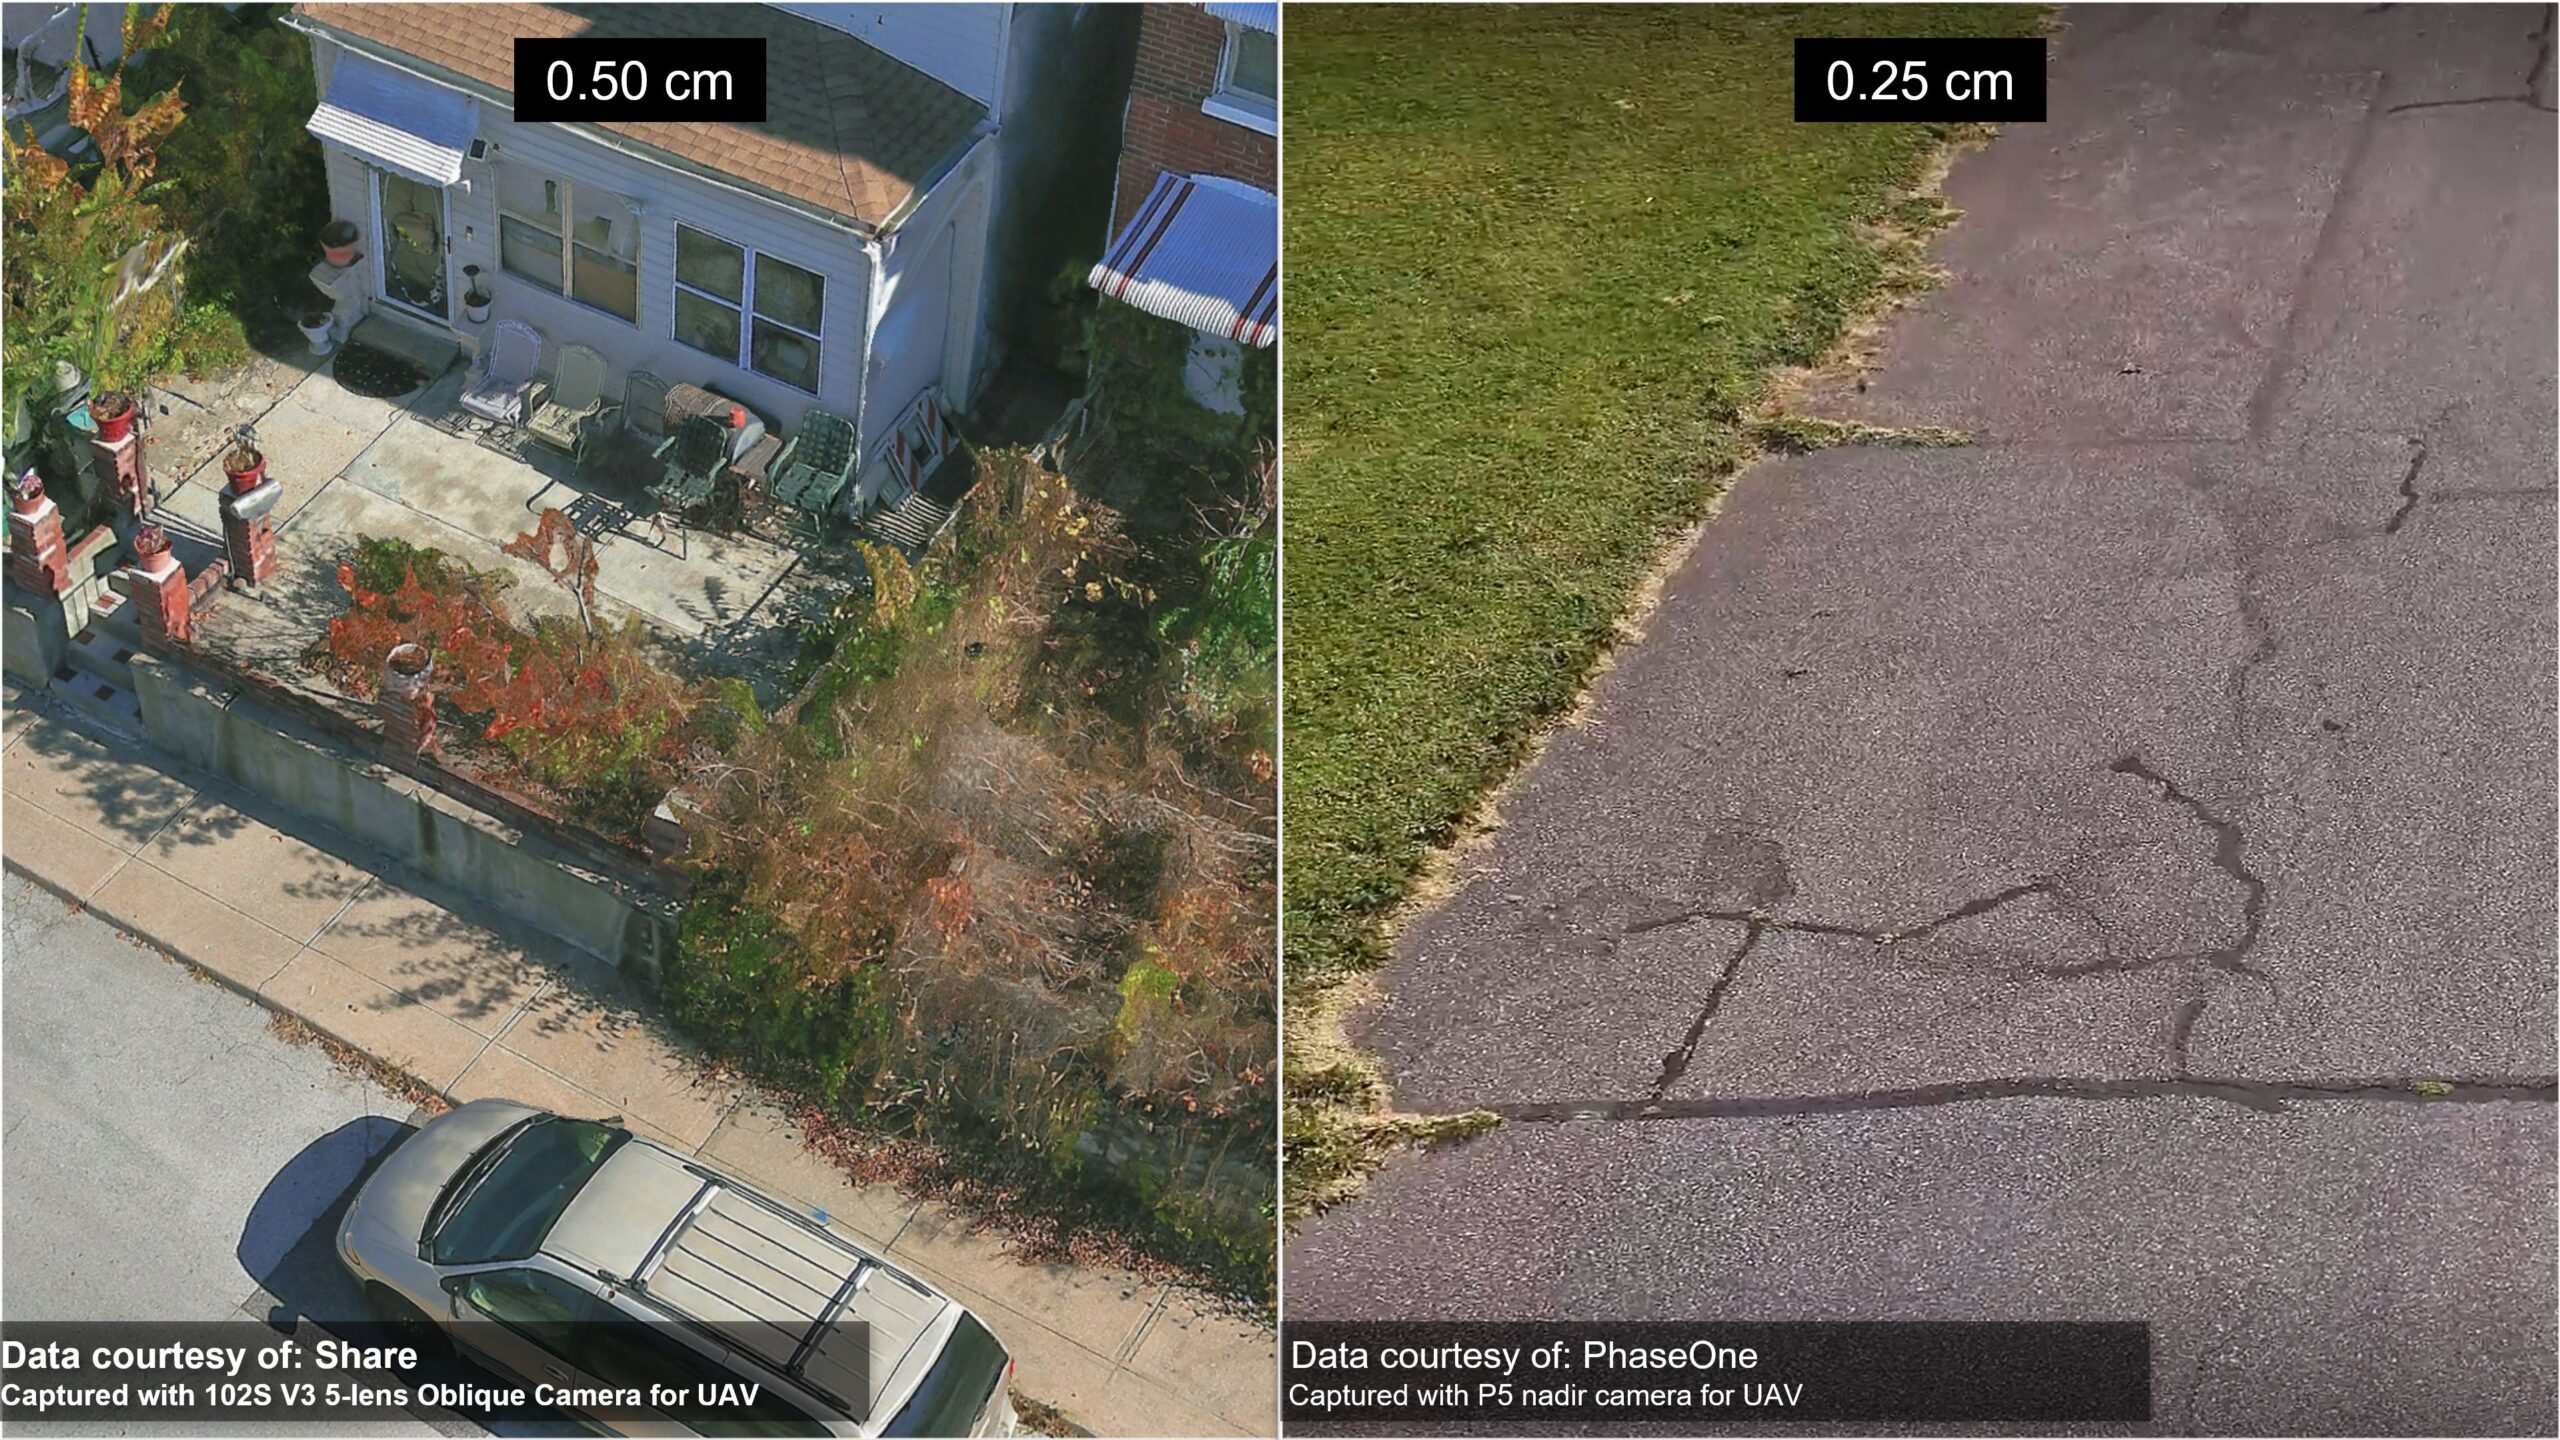
Ground Sampling Distance (GSD): GSD is the distance between the centers of two consecutive pixels on the ground. A smaller GSD means higher resolution and more detailed images. To achieve the desired GSD, maintain a constant altitude during the flight. Adjust the flight altitude based on the desired GSD, the sensor’s focal length, and the camera’s specifications. For high-precision mapping, a lower altitude is preferred, but this may require more flight lines and increased overlap to cover the same area, so be sure to pack some extra batteries.
For more help with GSD calculations and flight planning in general check out the ArcGIS Flight App or free calculators like this GSD Calculator tool.
Lighting Conditions: Optimal lighting conditions are essential for capturing high-quality images. The best time to fly is around noon when the sun is directly overhead, minimizing shadows. If flying a project over multiple days, try to start flying at the same time each day to maintain crucial consistency. Overcast lighting is ideal, as this removes the need to consider shadows, and can minimize glare from reflective surfaces. Shadows can obscure details and reduce the number of keypoints for stitching. For 3D objects, shadows on one side can be problematic. If necessary, conduct additional flights at different times to capture shadowed areas in better light. However, this approach is not always guaranteed to work.
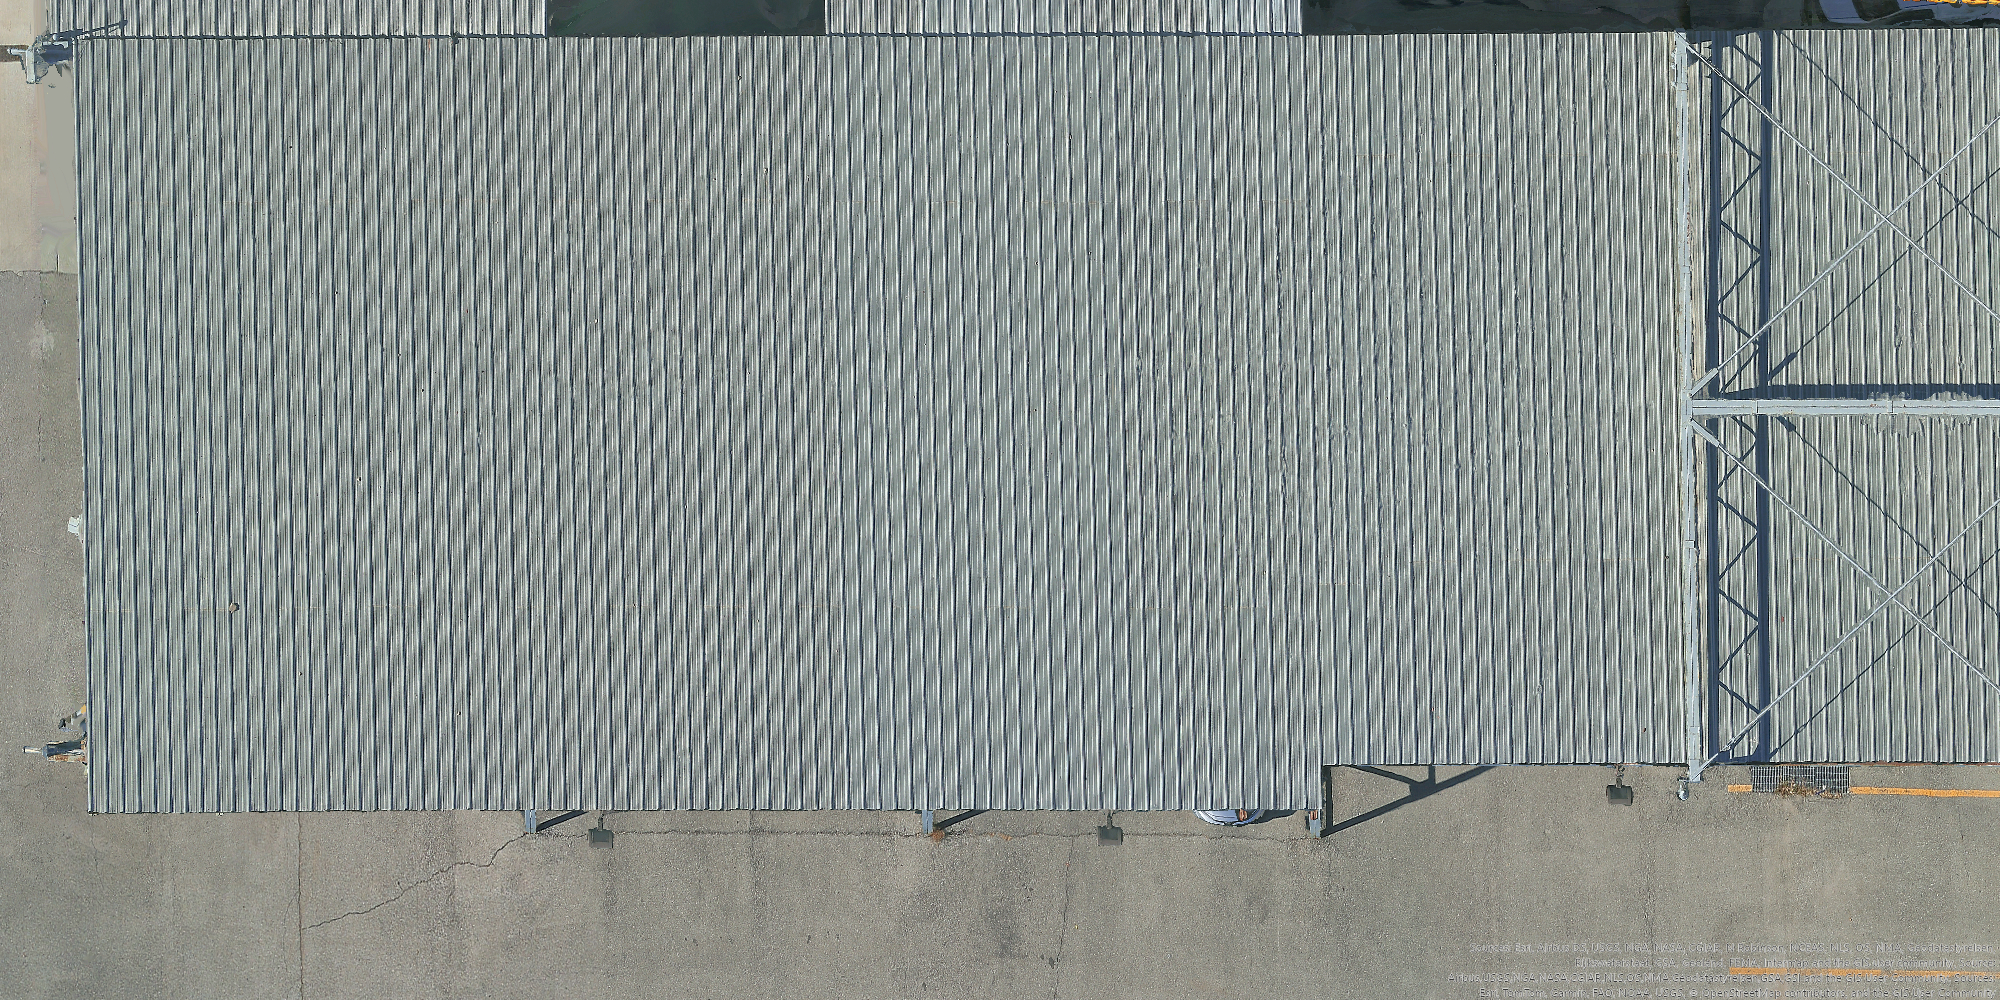
Patterns: Repeating patterns can confuse photogrammetry software, making it difficult to identify common keypoints. Homogenous landscapes, such as fields, forests, or bodies of water, lack unique features, making it challenging for the software to stitch images accurately. This issue often results in “NoData” holes or misaligned patches in the final product. To mitigate this, fly at different altitudes to change the perspective and reduce the impact of patterns. The goal is to find an altitude where the pattern is less repetitive. You can also try adjusting exposure settings to maximize contrast, which can help create more distinguishable keypoints, or placing artificial keypoint features in the landscape. This approach helps the software distinguish between different areas more effectively, but success cannot be guaranteed.
Reflectance: Reflective surfaces like water or vehicles can cause issues with image stitching. Reflections can vary with the angle of the drone, leading to inconsistencies in available keypoints. For water, fly when the wind is minimal to reduce ripples. For vehicles, reflections from windshields and glossy finishes can appear as pure white or “NoData” holes. Plan flights to minimize the impact of reflections, such as flying when it is overcast, and consider using image editing software to correct issues in post-processing.
Water: Water poses significant challenges for photogrammetry due to its featureless and constantly changing nature. Most successful stitching requires at least 25% of each image to contain land. Water can also cause GNSS multipath errors and poor altitude sensor readings. When planning flights over water, ensure that a substantial portion of the images includes land to provide reference points for stitching. Consider flying higher to achieve this. Keep expectations realistic, as areas with extensive water coverage are rarely successful.
Weather Conditions: Weather conditions, particularly wind, can greatly affect drone flights. High winds can cause the drone to deviate from its planned flight path, amongst other data quality issues we have discussed here, leading to erratic GNSS data and potential safety hazards. If your drone is not rated for high winds, reschedule the flight. Fog, rain, and snow can also pose risks and hinder adherence to best practices. Snow coverage especially can reduce the amount of natural keypoints available. Always check weather forecasts and choose optimal conditions for flying to ensure safety and data quality.
Plan for Products: Consider what kinds of photogrammetry products you will need in processing, as well as the characteristics of your area of interest. If your objective is quality 2D products, such as orthomosaics or DEMs, it will be best to capture your images at a nadir angle, i.e., with the camera facing straight down towards the ground at a 90-degree angle. If your goal is to model a building, especially as a 3D mesh or point cloud, you will want to capture images of the target from multiple angles. This includes oblique angles and overhead views to ensure the structure is visible in multiple images. For accurate reconstruction, it is essential that the structure is clearly visible in the images captured. Providing the photogrammetry software with views from different angles allows it to reconstruct the building accurately, producing a comprehensive model without gaps or NoData areas.

Accuracy: The question of accuracy requires a longer answer than can be covered in this article, but let’s cover some basics. Most drone flights will achieve relative accuracy. This means that objects within your output product are largely accurate when compared to other objects in the product. This means that you can use measuring tools on your data products with high reliability in the results. Absolute accuracy implies that everything in your output products exactly represents its true place in the world. This is largely achieved with additional measures such as ground control points (GCPs), or RTK or PPK drones. Keep in mind that many drones on the market today have pretty good XY positional accuracy, but often struggle with collecting accurate Z values.
Reality Mapping with Esri is a game-changer in the field of spatial data analysis, offering unparalleled accuracy and efficiency. By leveraging Esri’s advanced tools and technologies, users can transform raw drone imagery into high-quality, actionable insights. This not only enhances decision-making processes but also drives innovation across various industries. Embracing Reality Mapping with Esri ensures that you stay at the forefront of geospatial technology, unlocking new possibilities for your projects.
Take a look at our Drone Mapping resource for more information.


Article Discussion: