Story Map Crowdsource is a different kind of story map–you pick a topic and then sit back and watch as other people contribute their photos and stories. Sound easy? It is. You can put one together in about 10 minutes. You just need an idea and a cover photo. That’s it! But as with any project worth doing, there are some additional things you can do to make it better. Here are some tips to make your crowdsource story more engaging and successful…
Form your idea
First you need an idea. Here are a few to get you started:
- Teachers can create a crowdsource story for students to collect photos of historical markers in their town or plants and animals they encounter during a field trip to a park.
- Non-profit organizations can create stories that rally people around a cause or raise awareness of an issue.
- Governments can make stories to engage citizens about what they like about their community or to promote activities like farmers markets or events like fall festivals.
- Commercial organizations can use a crowdsource story to promote their brand and can of course create them for their customers.
- Someone even made a crowdsource story into a game for a work retreat.
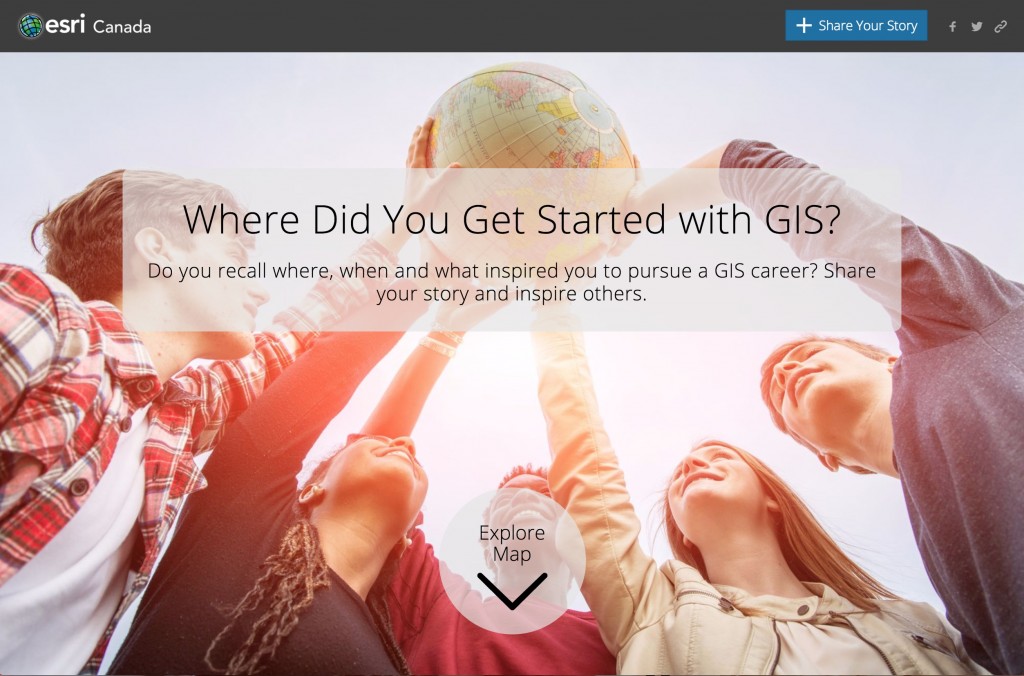
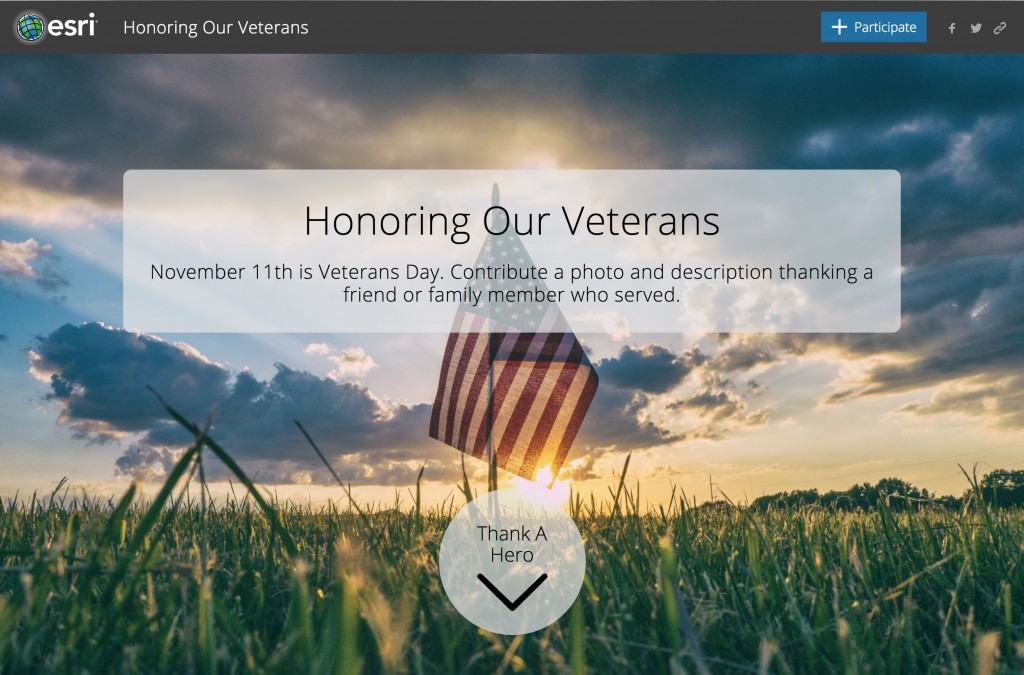
Some of the most compelling crowdsource stories we’ve seen so far include honoring veterans, memories of national parks, where GIS professionals got started in their careers, and this one that commemorates friends and family who have been lost to opiate overdoses. You can see more in our gallery.
Make an impactful first impression
The cover — particularly the cover photo — is the first thing people see when they open your story. It’s your story’s first impression, so find a striking image that evokes an emotional response.
Ideally, you or someone in your organization has taken that perfect photo that captures the mood of your story. If that’s not the case, there are plenty of websites that have free images you can use. Unsplash is one of our favorites since it has a wide variety of high quality images that are well tagged for searching. Don’t forget to credit the image owner, if required.
Look for a photo that isn’t too busy and doesn’t make the cover text hard to read. Often it’s helpful to lighten your photo slightly or even apply a subtle blur effect so the photo’s detail doesn’t attract too much attention.
Make sure your title appropriately captures the theme of your story. In general, shorter titles are better, but be sure it’s long enough to convey a complete thought. The cover message (the text below the title) gives you an opportunity to expand on your theme and explain the point of your story a bit more. You can also use the cover message to provide direction about how you want or expect your audience to formulate their contributions.
The Crowdsource Builder lets you upload a photo that will be used for your cover (so you don’t have to use another website or web server to host your image). Just go to Settings > Cover and drag a photo to the drop zone. The builder will optimize your photo for web display, so even if you have a high resolution image with a large file size it will look great and load quickly in your story.
Set the stage (and the extent)
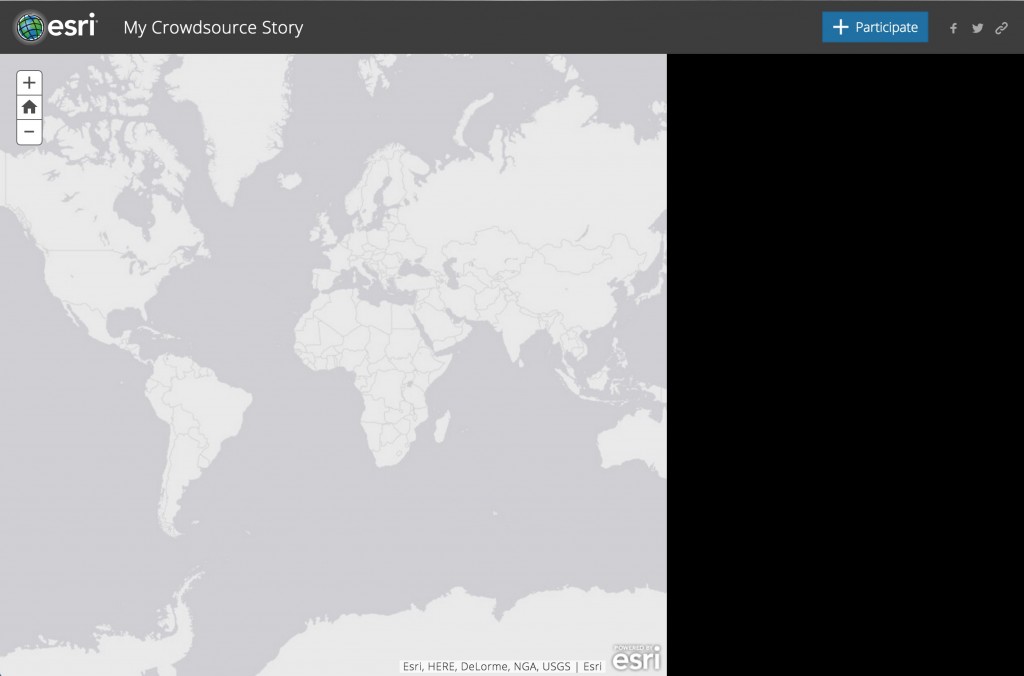
Make sure the map initially shows an area that makes sense for your story. If your story is intended for the residents of a neighborhood or city the map shouldn’t show the entire country or world.
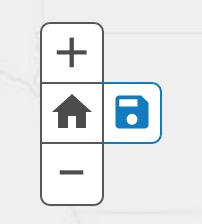
To set the extent, zoom the map to the area you want to show and click the blue Save home location button next to the zoom controls. This button will disappear whenever the map is showing your currently saved home location, and clicking the Home button will return the map to whatever home location you have set.
Decide whether to crowdsource or curate
Showing contributions on the map right after they are submitted is recommended because it provides instant gratification for your participants and makes your story more fun. Of course, this comes with a risk that someone may post something irrelevant or inappropriate, but you can always remove a contribution (see below).
Choosing to review submitted content first lets you curate the submissions and gives you the most control over what appears in your story. This is useful if you want only very high quality submissions or submissions that meet certain criteria. To review contributions before they appear on the map, go to Settings > Contributions and change Immediately to After review.
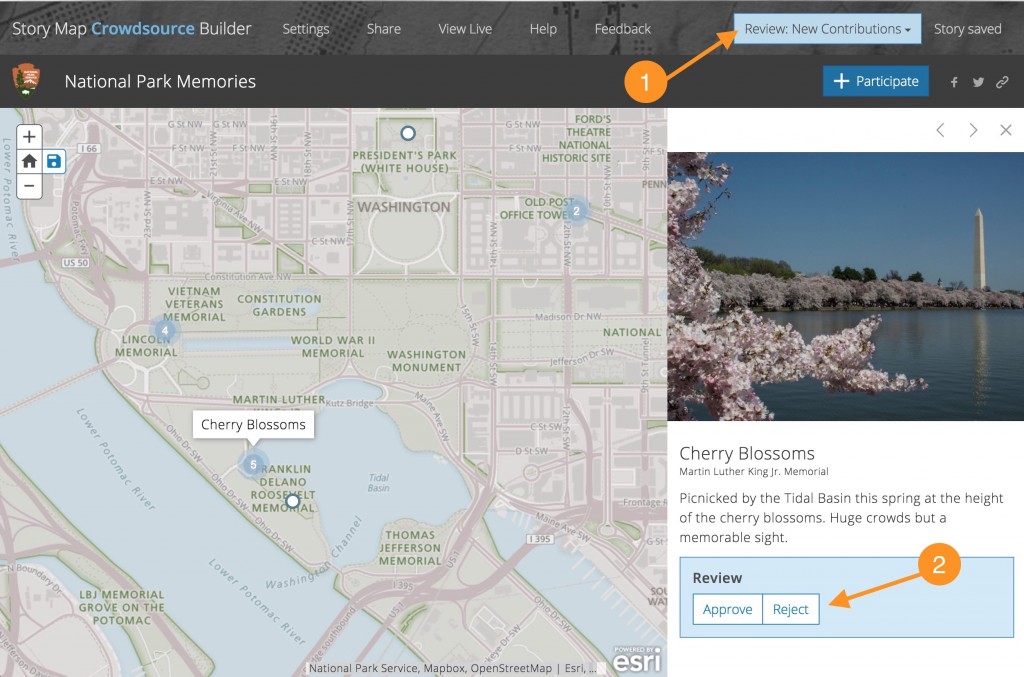
You can open the builder periodically to check for new contributions to review. First confirm Review > New Contributions in showing in the header. Then, browse the unreviewed photos and stories people have submitted (using the arrows above the photo is helpful), and click Approve or Reject for each one. You can also use the Review selector in the header to see all contributions or show only approved or only rejected ones. Remember, even when your story is configured to show contributions immediately, you can still review them and hide any you don’t want by clicking Reject.
If you need help reviewing contributions you can give other members of your organization permission to review and approve/reject contributions. Ask an administrator to create a group where all members can update the items in the group. Then share your crowdsource story, map, and feature layer to the group from your My Content page with Access and Update capabilities. Here’s more detail about how to enable colleagues to update your maps and apps.
Add context
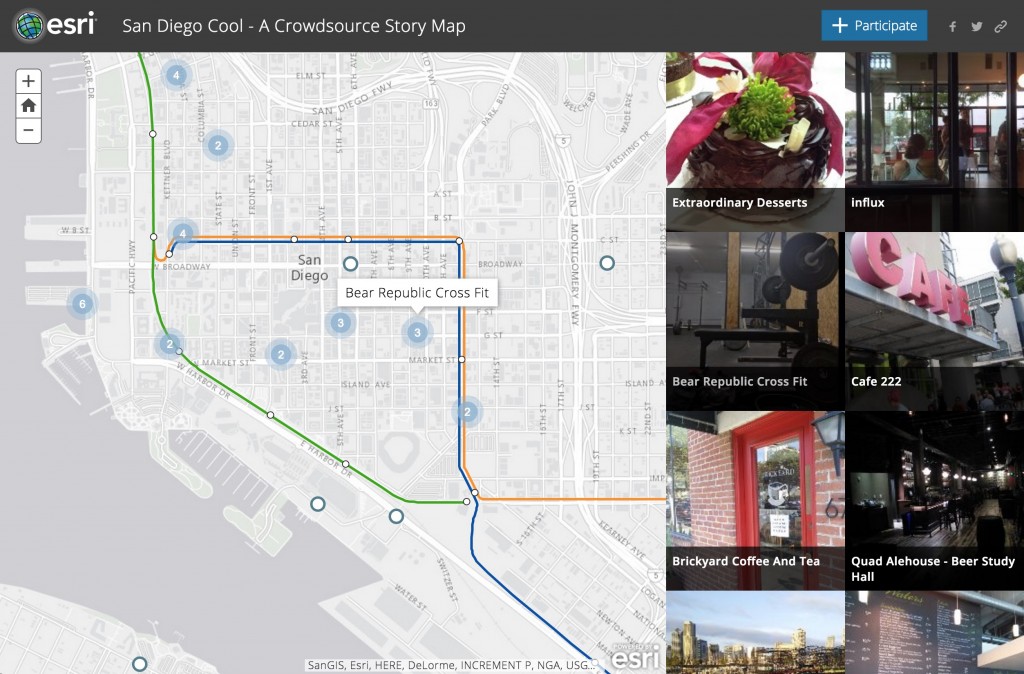
Sometimes you’ll want to show additional map layers to provide context for your crowdsource story. This lets you call out certain areas of the map for your audience. The best reference layers are very simple. Here’s an example showing the San Diego trolley lines and stops.
Pro Tip! If you want to enable pop-ups on your reference layer, see this article on our Developers’ Corner blog.
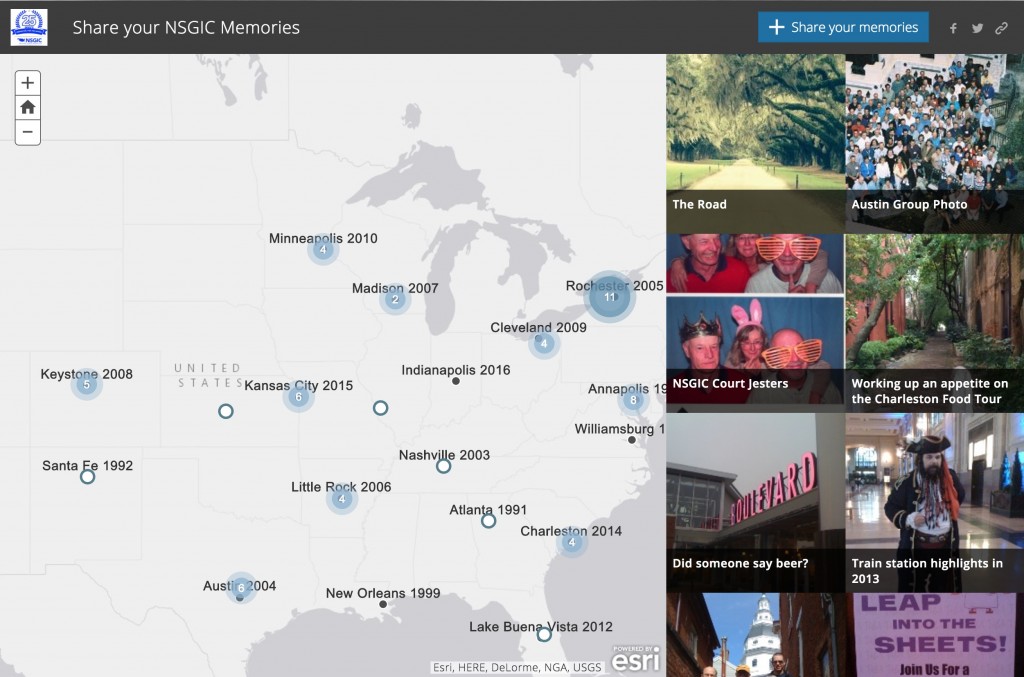
To add a layer to your crowdsource story go to My Content and find your crowdsource story’s web map. (It will have the same name as your story, unless you picked a different one when you created the story.) Then open the map, add the layer, and save the map. Now go back to your crowdsource story and refresh it. The layer will now appear in your story. Don’t forget, reference layers can include labels, like in this example:
Make your story unique
The blue “participate” button is how people begin the process of contributing to your story. To entice them you can change the label on this button in Settings > Contributions to something that really captures what you want your audience to contribute. It can be generic or specific, but should be clear and simple. Some examples are: +Share your story, +Share a memory, +Show your selfie, +Honor a vet, +Put yourself on the map.
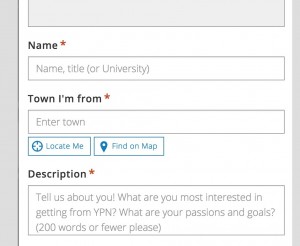
You can also change the prompts and placeholders on the contribution form to better elicit the information you want to collect in your story. For example, you can specify that you want people to provide a city for their location rather than their home address. Changing these labels requires editing the story outside of Builder, but the process is straightforward, even if you are not a developer. Just take a look at this article on our Developers’ blog.
Also don’t overlook the fact that you can change the label on the cover’s “Explore map” button. Just go to Settings > Cover and click the label to edit it.
Also be sure to brand your story by adding a logo (Settings > Header) and filling in your Twitter account and suggested tweet text (Settings > Social).
Seed your story!
Part of the appeal of Story Map Crowdsource is that it collects information from others and also presents the results in a fun, interactive map. Seeing photos and stories from others can inspire more people to contribute. But when your story is new it’s empty, and an empty crowdsource story is no fun. People that see your story in this state will likely be disappointed and not motivated to contribute.
So, before you widely share your story you should enlist some colleagues or a small targeted audience of people who you can help you get your story going. This will seed the story with content, so that when you tweet it or post it on Facebook or your organization’s website there will already be some (or lots of!) interesting photos.
Don’t forget the steps for success…
As with any story map it’s a good idea to follow our steps for success, especially step 9, which is make sure there are no errors in your story and that you have a nice thumbnail so that your story looks good when others share it on their social media feeds.
Happy crowdsourcing!
For more information
- Story Map Crowdsource tutorial
- How to personalize your Crowdsource story even more
- Story Map Crowdsource: Advanced configuration
This article was originally published in Fall 2016 and was updated in Summer 2018.


Commenting is not enabled for this article.