Publish your own web styles with the release of ArcGIS Pro and use them in Map Viewer. These web styles will contain 2D symbols for points, lines and polygons. The web styles will show up in Symbol Styler in Map Viewer as symbol galleries. They will honor the properties you set on the symbols in pro like color locking, offsets and more. These web styles are a great way to deliver symbols that are consistently used across your organization to make maps with similar styling. We will cover this throughout the blog but you will need to have the admin for your organization do one thing to help deliver these web styles to all users – set a group in the organization to contain the web styles. This is following the same pattern as setting up your own basemap gallery.
The new styles can be used to display multi-layer vector symbols for features. This will give you more control when customizing symbols by allowing you to use one or more symbol layers to create the desired effect. You can also use the Esri provided default vector symbols and change colors to the symbol layers or alter the marker placements in polygons for example.
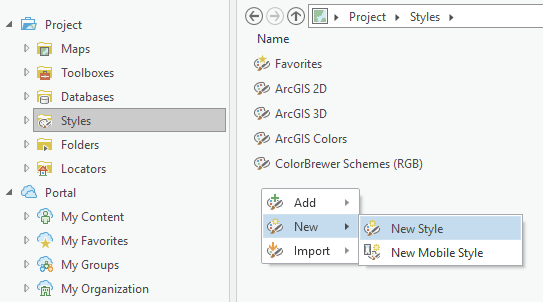
Create your own Style in ArcGIS Pro
In ArcGIS Pro open a project open to the Catalog view and double-click on the styles folder within the Pro project. In the Styles folder, right click and click on New > New Style, and enter the name for the style.
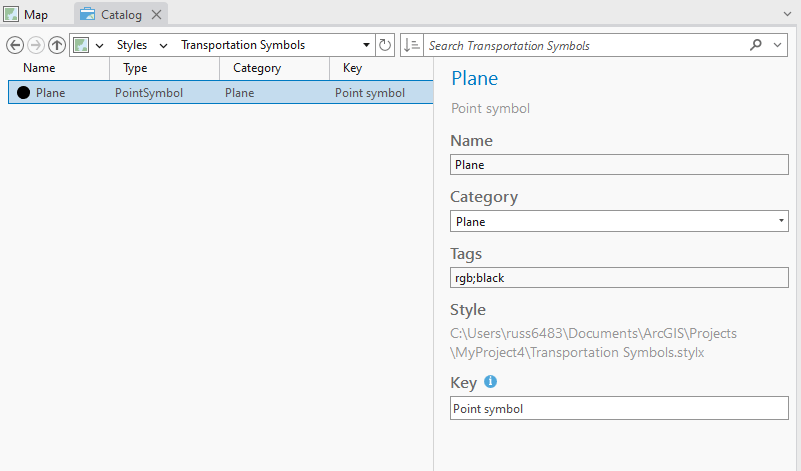
Double click on the new style and right click in the new style and click on New to create a new symbol within the style. You can also click New Item in the ribbon to add the point symbol. By default, this will create a point marker symbol and is what will be used to generate this vector symbol from an SVG file. On the Description tab for the symbol give it a descriptive name, category and tags.
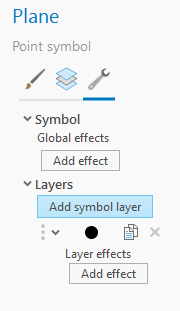
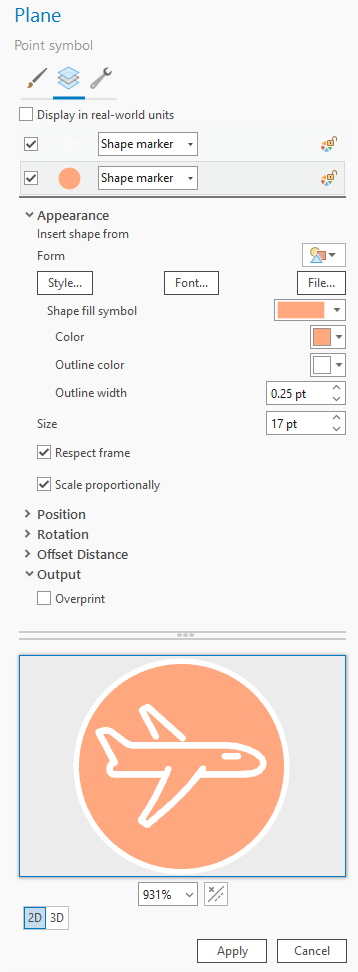
Clicking on the Structures tab for the Sample Symbol you can add additional symbol layers. This symbol being authored is going to be an icon of a plane with a circle background. Click on Add symbol layer to add another marker symbol.
This sample symbol will be using a Shape marker symbol because the sample symbol is an SVG file and will be published as a vector symbol that supports color changes and will not show any symbol distortion when the size is changed from the default published size. After all adjustments are made to the symbol click on the apply button to finalize the symbol. Click on the File button in the on the symbols Properties tab. Once all edits are made click Apply.
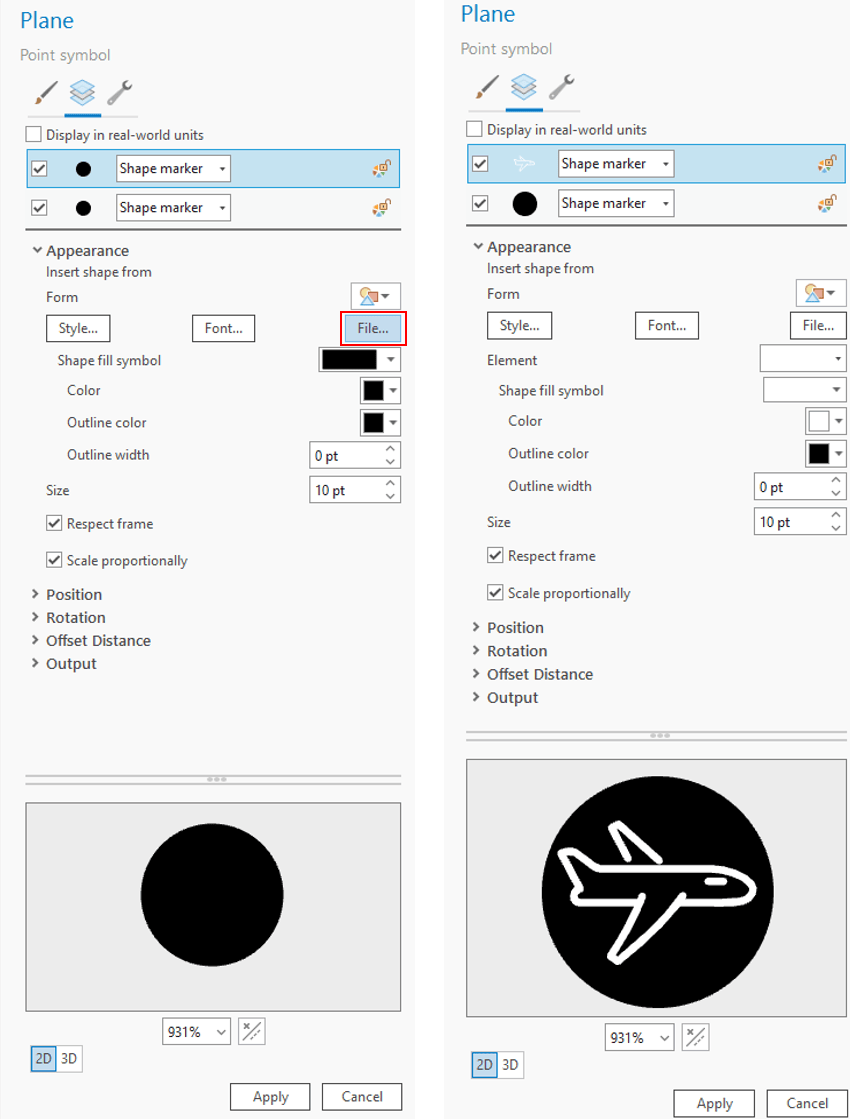
Going to the second symbol layer where the circle icon is you can change the size and color of this default or place in another file to be used as the background for the symbol. Here I am applying a new color, making a thin outline and changing the color to white.
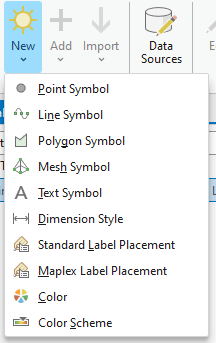
Under the style file you can add other geometry type symbols to go along with the point symbol created. Map Viewer supports line and polygon symbols published from web styles and choosing those options from the New button on the ribbon will add those symbol types which can be further configured.
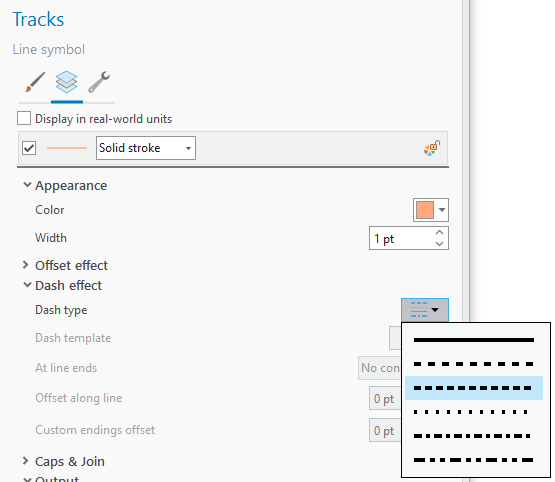
Here for lines you could create your or dashed line symbol, apply point markers to be placed along the line or even create multiple stroke symbol layers to create compounded lines. Below is a simple line symbol that I’ll use the map my plane tracks.
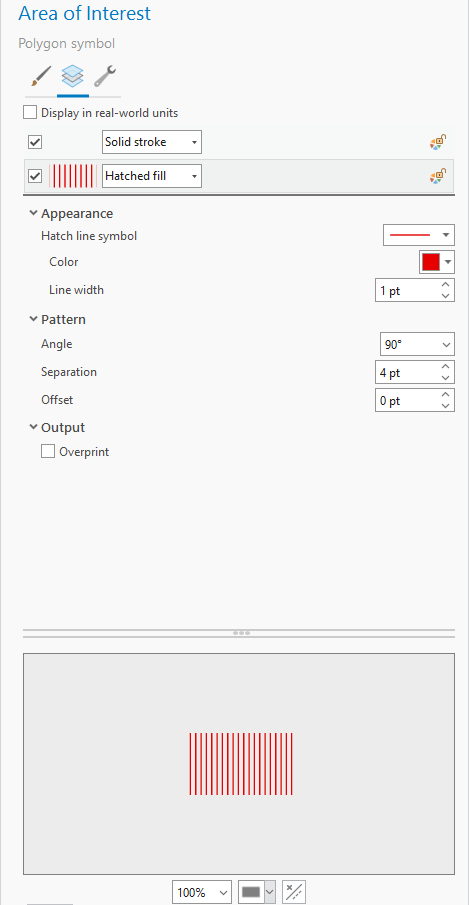
The same goes for polygon symbols. You can create your own solid, marker or hatch fill polygons with multiple symbol layers and those will be supported in Map Viewer. Map Viewer will expose the controls to allow you to make make further adjustments to marker placements and hatch fill patterns.
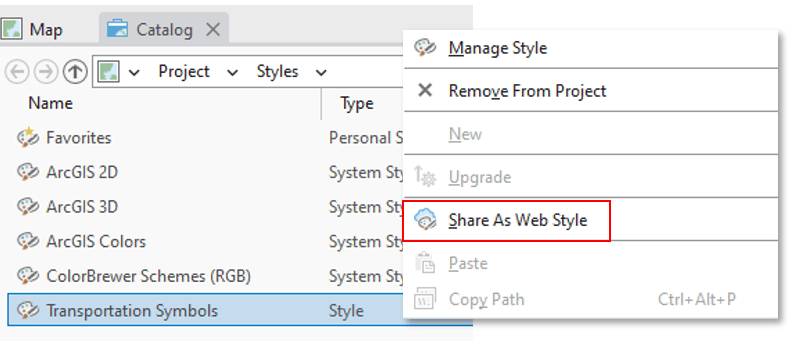
To publish a web style from a style file, right click on the style and click on Share as web style.
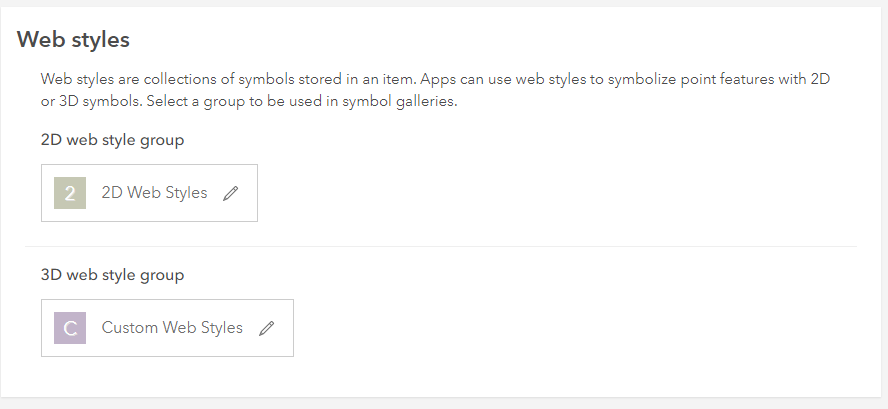
On the Share pane add your title, description and tags for the web style about to be published. Next pick the sharing for the style to go to the group that will make the web style available for Map Viewer and other apps to use the style. This group will also need to be configured on the Organization Settings page on the map tab where you select the group that will contain your 2D web styles. It is highly recommended you do not share both 2D and 3D styles into the same group and best to keep them separate.
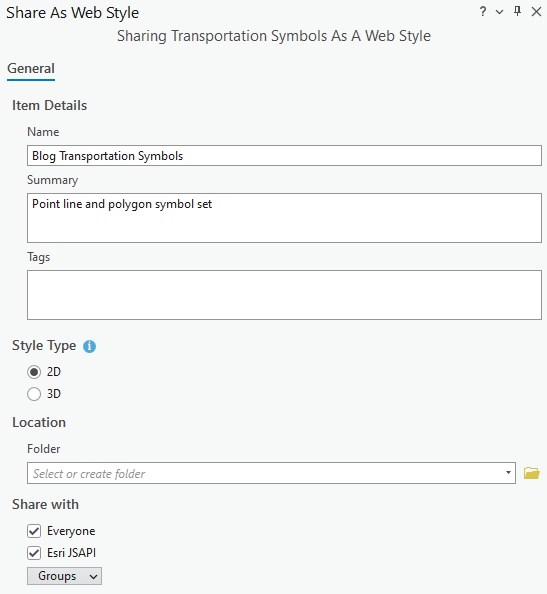
If the group you are sharing to has not been configured yet, you can configure it on the Map tab under Organization settings. Select the group to be used and then update the sharing for the item from the item link Pro provides or through My Content.
Once the web styles have been published and shared to the group you configured to store the 2D web styles, Map Viewer Beta will show them when point layers are being styled.
How to use web styles in Map Viewer
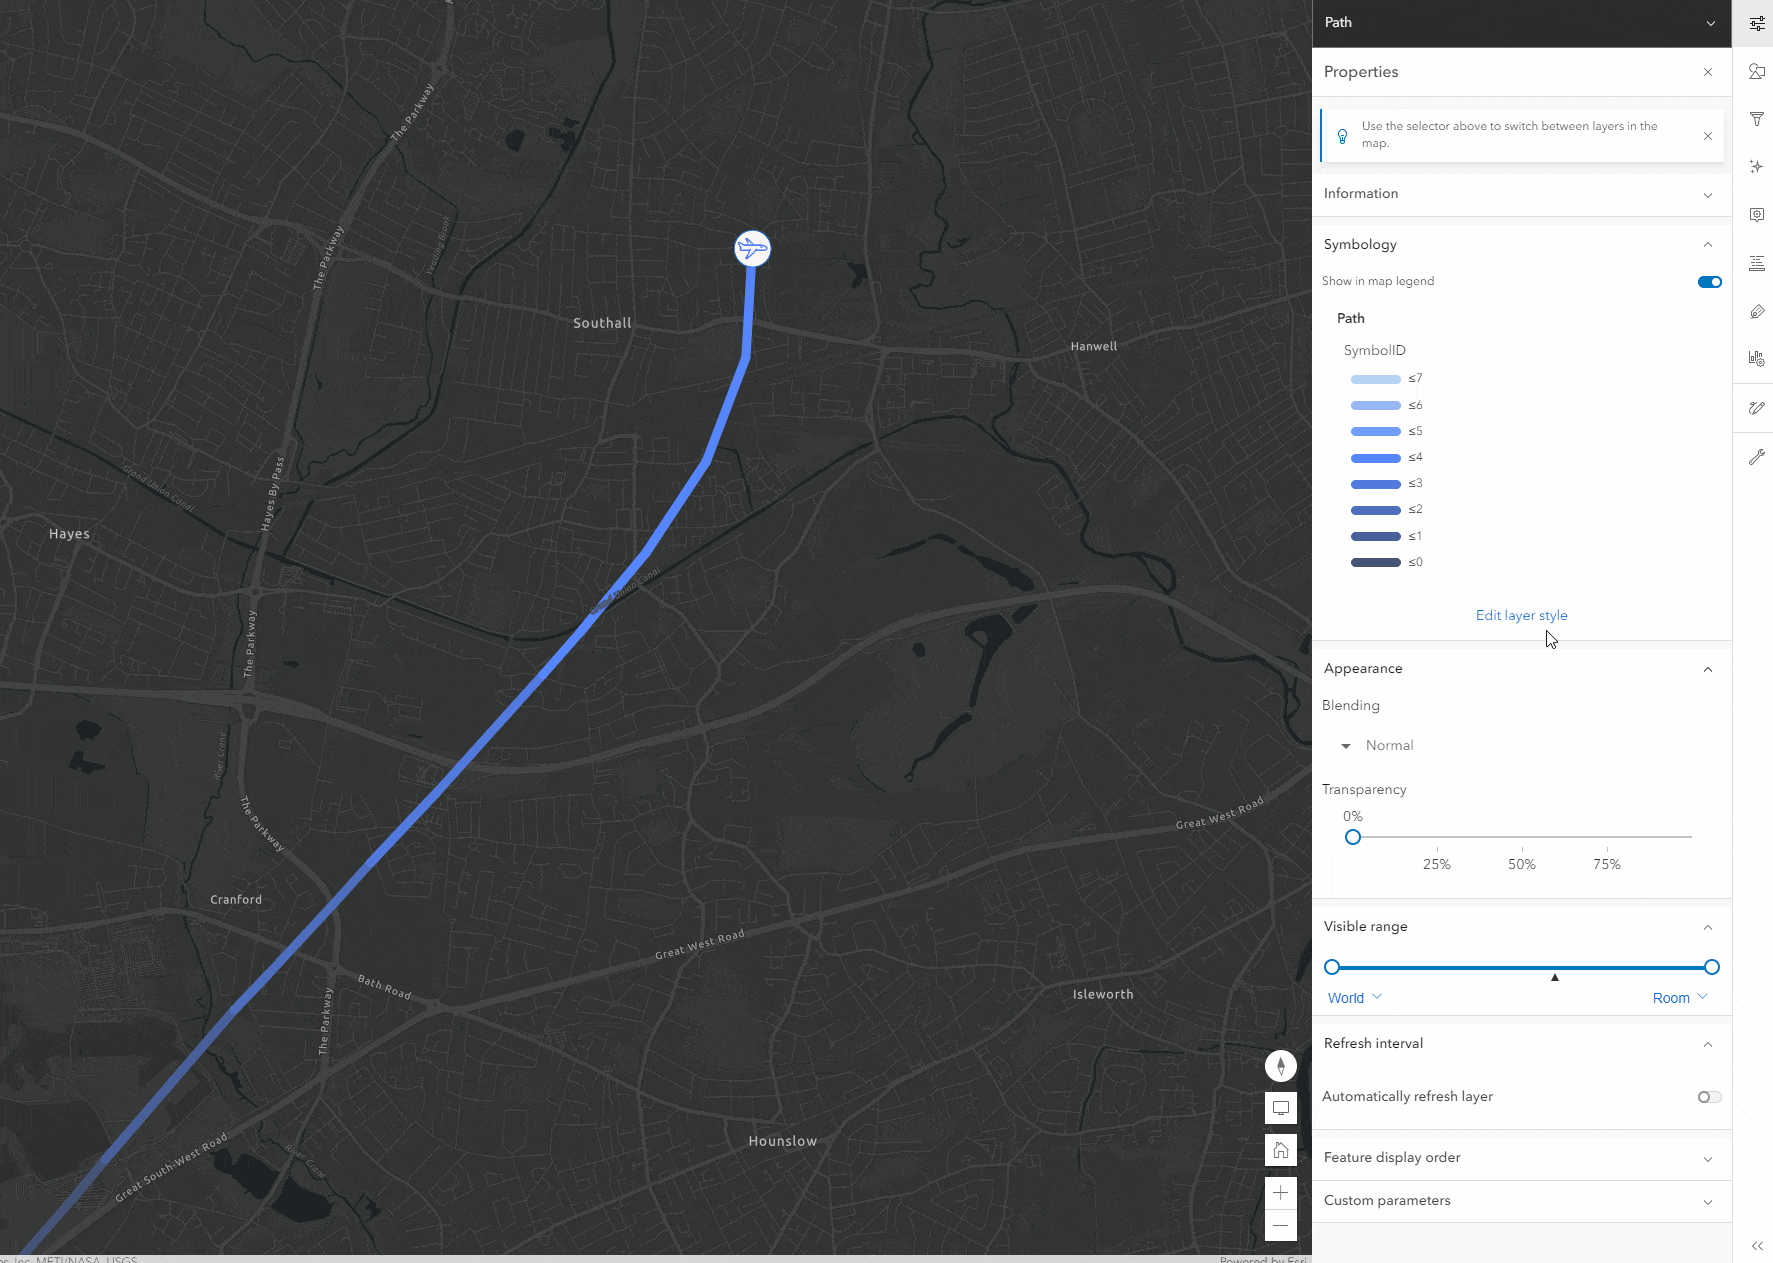
With the web styles published and shared to the organizations group set to hold 2D web styles the Map Viewer will show them when point layers are being styled. The sample map below is showing a plane location and a track behind it. The map is showing the default point symbol used when published and needs to be updated with the new symbols I published. Clicking on the Style button will open the Styles pane and because this is a vector symbol it can be used with different smart mapping styles to change the look of the same symbol. The symbols stylet can customize these colors and save these colors for use another time.
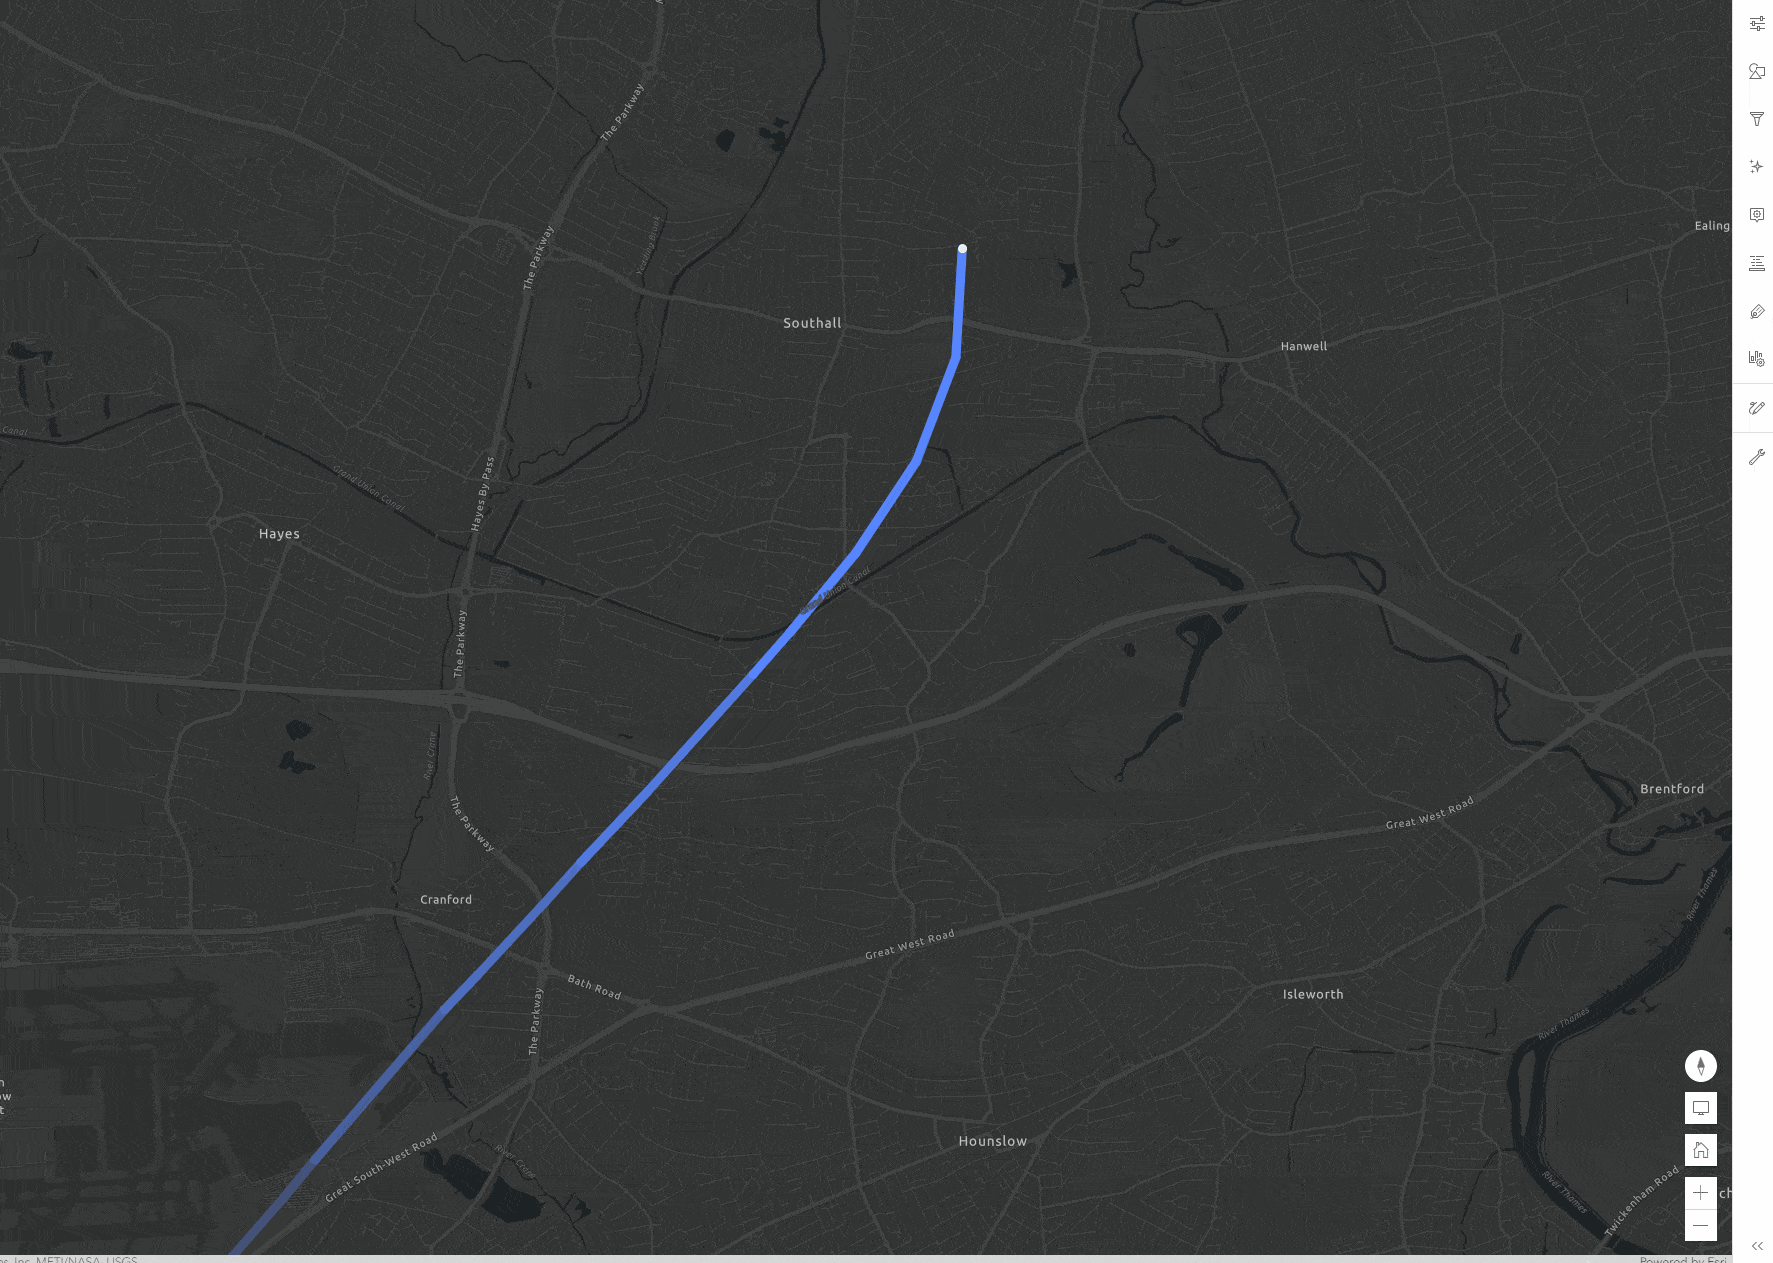
Next you can use the line symbol to style the path and because it is a vector symbol the ramp color can be applied to the line with no masking.
Here are some other web styles I have published. I look forward to seeing the examples you create!


Article Discussion: