This blog article was originally published on July 26, 2016, and has been updated. The last previous update was August 30, 2023.
ArcGIS Online provides a variety of analysis tools that enable you to perform spatial analysis and gain insights from your data. These tools include summarizing data, finding locations, analyzing patterns, data enrichment, proximity analysis, and more. For those with appropriate privileges, these tools can be found by clicking the Analysis button on the Settings (light) toolbar.
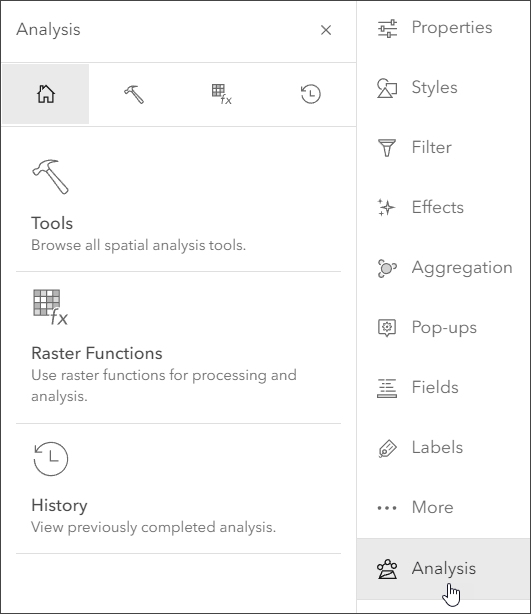
Feature analysis tools are built into your organization, raster analysis tools and raster functions are available via ArcGIS Image for ArcGIS Online.
Credits are the currency used in ArcGIS Online. While most of what you do does not require credits, credits are consumed when you use analysis tools. The specific tool, tool options, and the number of features involved in the analysis directly influence the number of credits used.
While many analysis tools you use consume very few credits, when working with large numbers of features, or when batch geocoding or enriching layers, the credits consumed can add up. Here’s some tips on how to manage and economize analysis tool credit consumption.
Govern analysis tool access
Savvy administrators will govern access to analysis tools and other functions within an organization by assigning the appropriate user type, role, and privileges to members. In general, the licensing requirements for spatial analysis are:
- Creator or GIS Professional user type
- Publisher, Facilitator, or Administrator role, or an equivalent custom role
While the above roles and types enable most tools, some tools require additional privileges. To learn more about the credits consumed and licensing requirements for specific tools, view the tool Help documentation. Each tool has sections covering credits and licensing requirements.
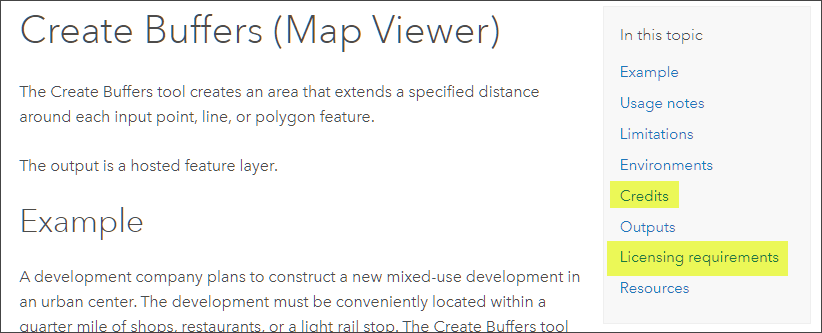
For example, viewing the Help for Create Buffers you can discover the credits and licensing requirements (which are the same as listed above). Generate Travel Areas consumes credits plus has additional licensing requirements (Network Analysis privilege). Zonal Statistics consumes credits plus has additional licensing requirements (ArcGIS Image for ArcGIS Online).
Configure credit consumption
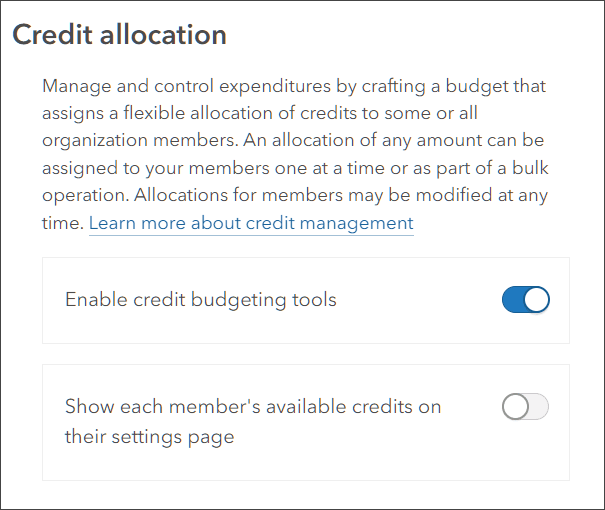
Administrators can also configure credit consumption for members. While not limited to analysis tools, these limits apply to members using them. Credit budgeting applies to transaction-based services and tools, such as geoenrichment, publishing, and spatial analysis.
Click the Settings tab for your organization, and in the Credits section enable credit budgeting tools.
Use Analysis settings for the web map
At the bottom of the Analysis pane you will see Analysis settings for the web map. When you set analysis environment settings in the web map, any new tool or function that is opened will inherit the map level environment settings.
In the General environments section you can specify the processing extent. Full extent is the default, you can set this to Display extent or other options to reduce the number of features that will be processed, thereby reducing the credits consumed to run the tool.
Crediting settings can be found under General environments and Raster environments (available with ArcGIS Image for ArcGIS Online).

These settings are only visible if credit budgeting is enabled in the ArcGIS organization. For more information, see Update the analysis settings for a web map.
Use display extent
By default, the analysis is applied to all features in the layer (full extent). You can zoom to your primary area of interest and use the display extent setting in the Environment settings to reduce the number of features processed during analysis, which reduces the credits consumed.
For example, shown below an analysis with summary statistics was configured for a layer with many thousands of features. By zooming in to a specific area of interest and using the display extent to limit the number of features processed, the credits were reduced significantly.

The environments set for a tool or function will override the same setting for the web map. These settings will only be used until the tool or function is closed, and will not be saved if the tool or function is opened again. If you reopen a tool or function from History, it will repopulate with the environments that were used when it was previously run. For more information, see Update the environment settings for a tool or function.
Look before you Run
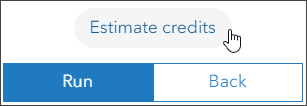
You can preview the credits that will be consumed prior to running an analysis. Set all the desired tool options and prior to clicking Run, click Estimate credits to preview the credits that will be used with the current settings.
Use filter expressions
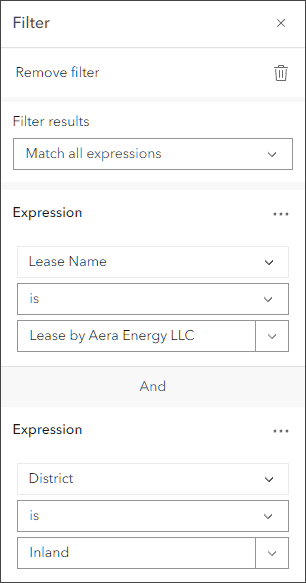
You can apply filters to limit the features considered during analysis to only those that match. Apply one or more filter expressions to the layer to focus only on those features you want, reducing the features (and credits consumed) for analysis.
Consider tool options
Some tool options will increase credit consumption. For example, if you choose lots of enrichment variables, the number of credits consumed will increase. Also, the measurement type (e.g., line distance vs. driving distance) if available in the tool will affect the number of credits used. Set the tool options, then estimate credits to ensure you’re using credits wisely.
More information
For more information, see the following help topics:
- Understand credits (Help)
- Configure credits (Help)
- Perform analysis (Help)
- Understanding and managing ArcGIS Online credits (Blog)

Commenting is not enabled for this article.