This blog article was originally published on November 19, 2020, and has been updated. The last previous update was April 10, 2023.
ArcGIS Instant Apps are template applications that you can configure easily, no coding required. Featuring both an express and full setup mode, they help you publish apps quickly to support a variety of workflows and users. Instant Apps are the fastest and easiest way to go from a map to a shareable app.
About this tutorial
In this tutorial, you will create a simple application that features a swipe tool using Media Map, one of the ArcGIS Instant Apps. You can view the completed Media Map app and follow along by using the New York City Yesterday and Today web map.
About Media Map
Media Map is intended for anyone that wants to display an interactive map with basic tools and map navigation. It’s a compact, simple, and useful configurable app choice, and these features also make it ideal for embedding in web pages or other apps.
Swipe is a popular tool that lets viewers interact with map layers to see differences, or changes, or to do visual analysis. Grab the swipe handle and move it back and forth to view what’s underneath a layer, or to compare one or more layers. Media Map’s swipe tool is available in full setup mode, and can be configured to swipe horizontally or vertically.
Configure a Media Map app with swipe
A map is the centerpiece of any app. Best practices are important for the complete app experience. Apply basic map craft such as configuring effective pop-ups, using scale dependencies, and more for best results. For details, see Web maps.
For this example we are using a simple map with a single layer with bookmarks. Follow these steps to configure Media Map with a swipe tool.
Step 1 – Open the New York City Yesterday and Today map item and sign in to your account.
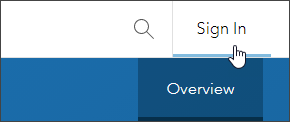
Open the map to view the historic New York City 1836 layer from the David Rumsey collection overlaying the Streets (Night) basemap. You can use this map, or save a copy of the map as your own and share it.
Step 2 – Once signed in, from the map item page click Create Web App.
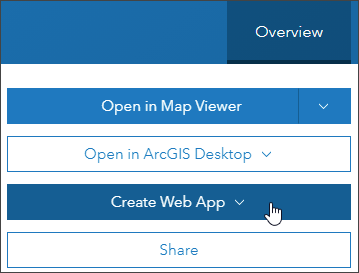
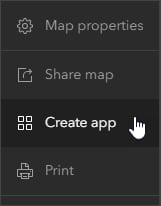
You can also open the map in Map Viewer, then click Create app in the Contents (dark) toolbar.
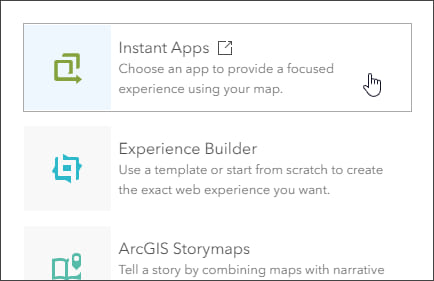
Step 3 – Choose Instant Apps.
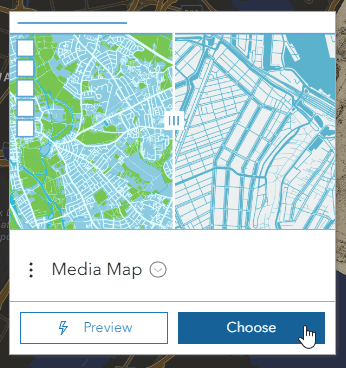
Step 4 – Locate Media Map and click Choose. You can also click Preview to see what your map looks like in the app’s default configuration.
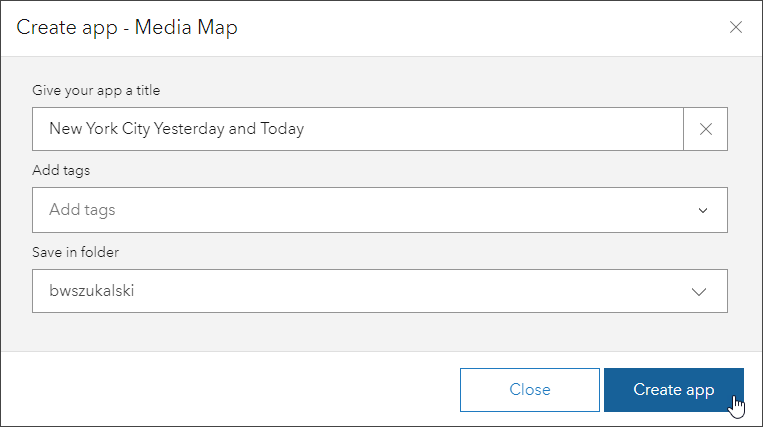
Step 5 – Enter an app title, and optionally add tags and specify a folder location. Click Create app when finished.
Step 6 – Media Map opens in express mode, offering the minimum set of essential choices that you need to consider to configure and publish a well-functioning app.
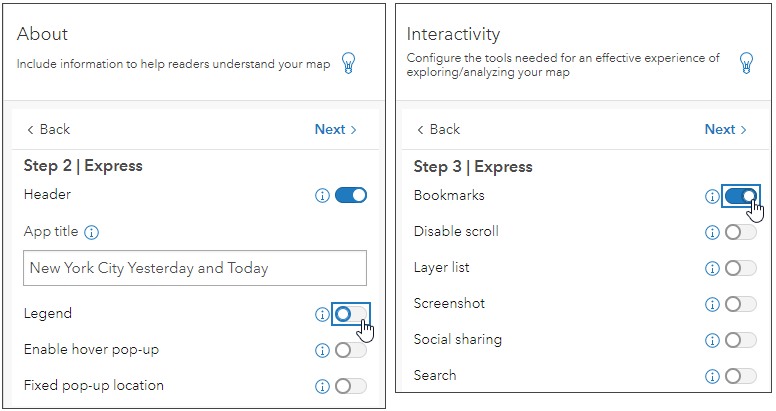
Since the map does not have a legend but does have bookmarks, start by configuring the app to omit the default legend tool and add a bookmark tool.
a – In express Step 2, toggle off the legend tool. Click Next to continue to Step 3.
b – In express Step 3, toggle the bookmarks tool on.
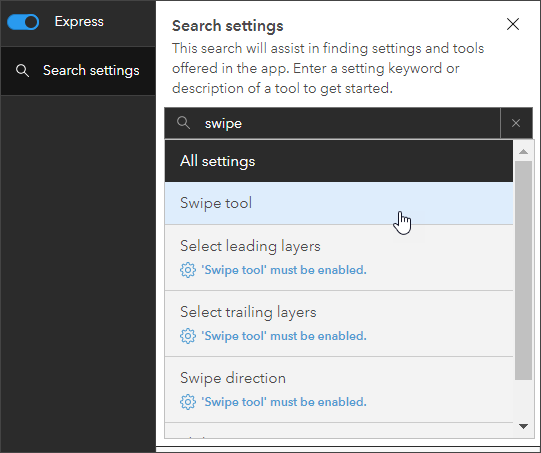
Step 7 – Enable the swipe tool.
To find the swipe tool, click Search settings in the configuration panel and enter “swipe”, then choose Swipe tool.
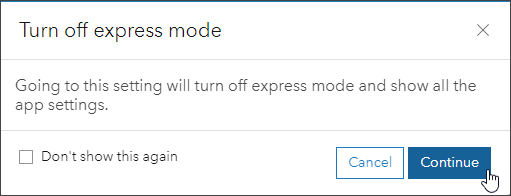
Step 8 – The swipe tool is available in full setup mode. Click Continue to acknowledge that you want to turn off express mode and enter full setup.
For more information, see Express and full setup modes.
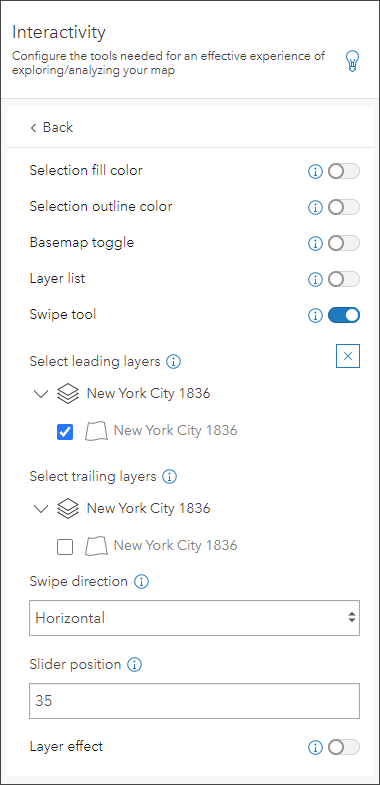
Step 9 – In the Interactivity panel, toggle the Swipe tool on and then select the leading and trailing layers as shown below. Layer effects should be toggled off.
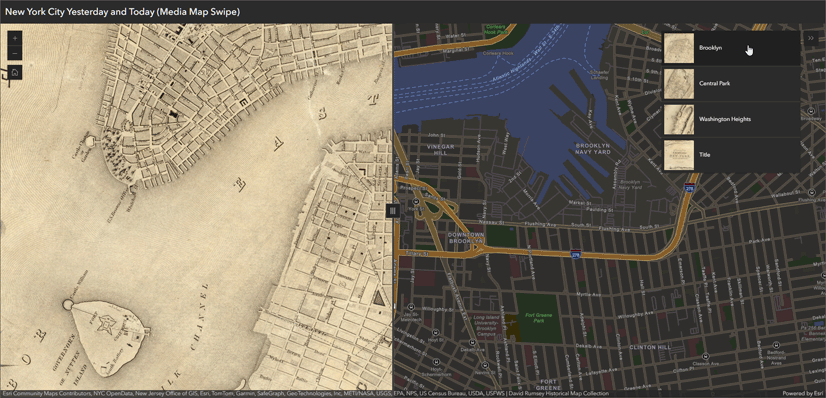
Step 10 – Click Publish when finished. Confirm when prompted, adjust the sharing level as desired, then click Launch to view the configured Media Map. Note the bookmarks tool in the upper right of the app.
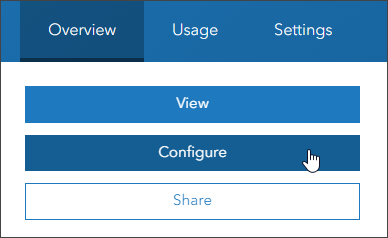
A new Instant App item has been created. As a best practice, add a summary, description, and make other optional changes as desired. You can go back and configure the application at any time by going to the item overview page and clicking Configure.
Doing more with swipe
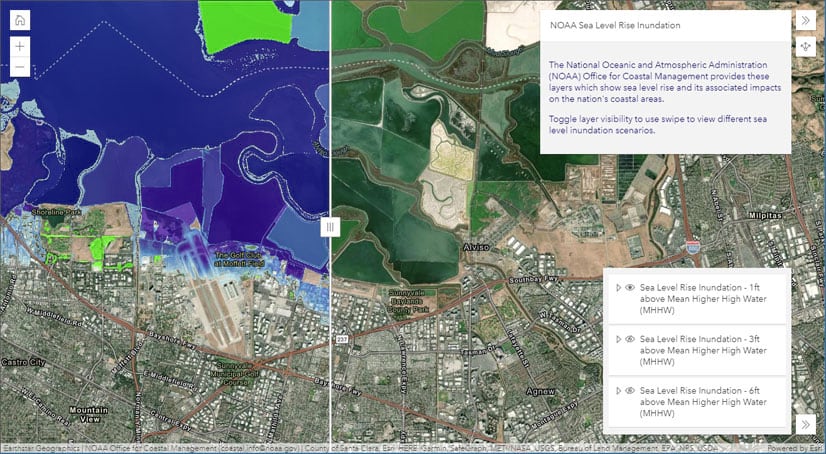
There’s a lot more you can do using Media Map and swipe. The NOAA Sea Level Rise example shown below uses three different swipe layers and includes a layer list to toggle layer visibility, an introduction panel, plus fullscreen, bookmarks, and home buttons. View the map configured in the Media Map app.
More information
For more information, see:
- ArcGIS Instant Apps overview
- Media Map item overview
- Apps you can use to swipe or compare (Blog)
- Try ArcGIS Instant Apps (Tutorial)

Article Discussion: