There is an undeniable charm to a map hand painted onto paper. The texture of the fibers, the irregular splaying of pigment. The handsomely imprecise lines drawn by a human hand. You just want to feel its weight, trace your finger over interesting places, roll it up, and take it with you.
We map makers draw and paint in pixels much of the time. But just because we’re working in a digital medium doesn’t mean we have to suppress curiosity and experimentation or neglect the thrill of making a mark and following up on a hunch.
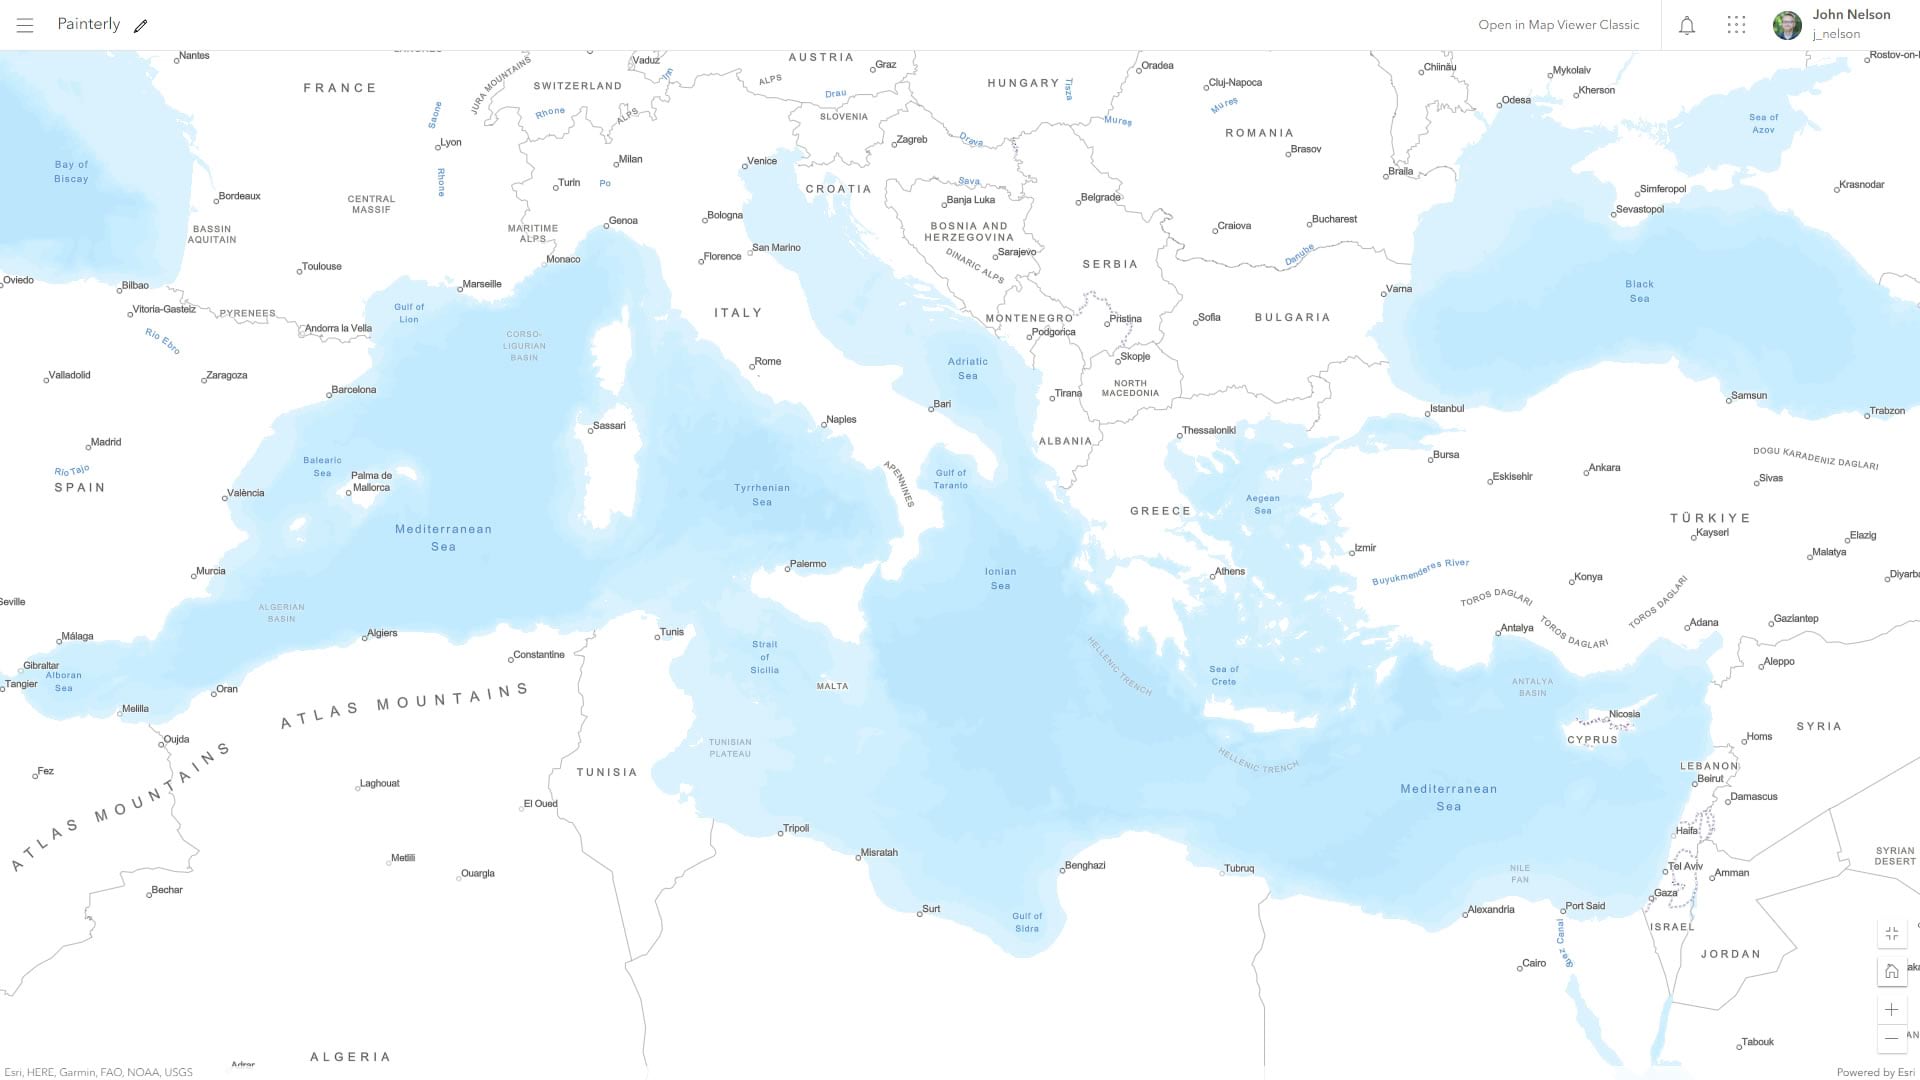
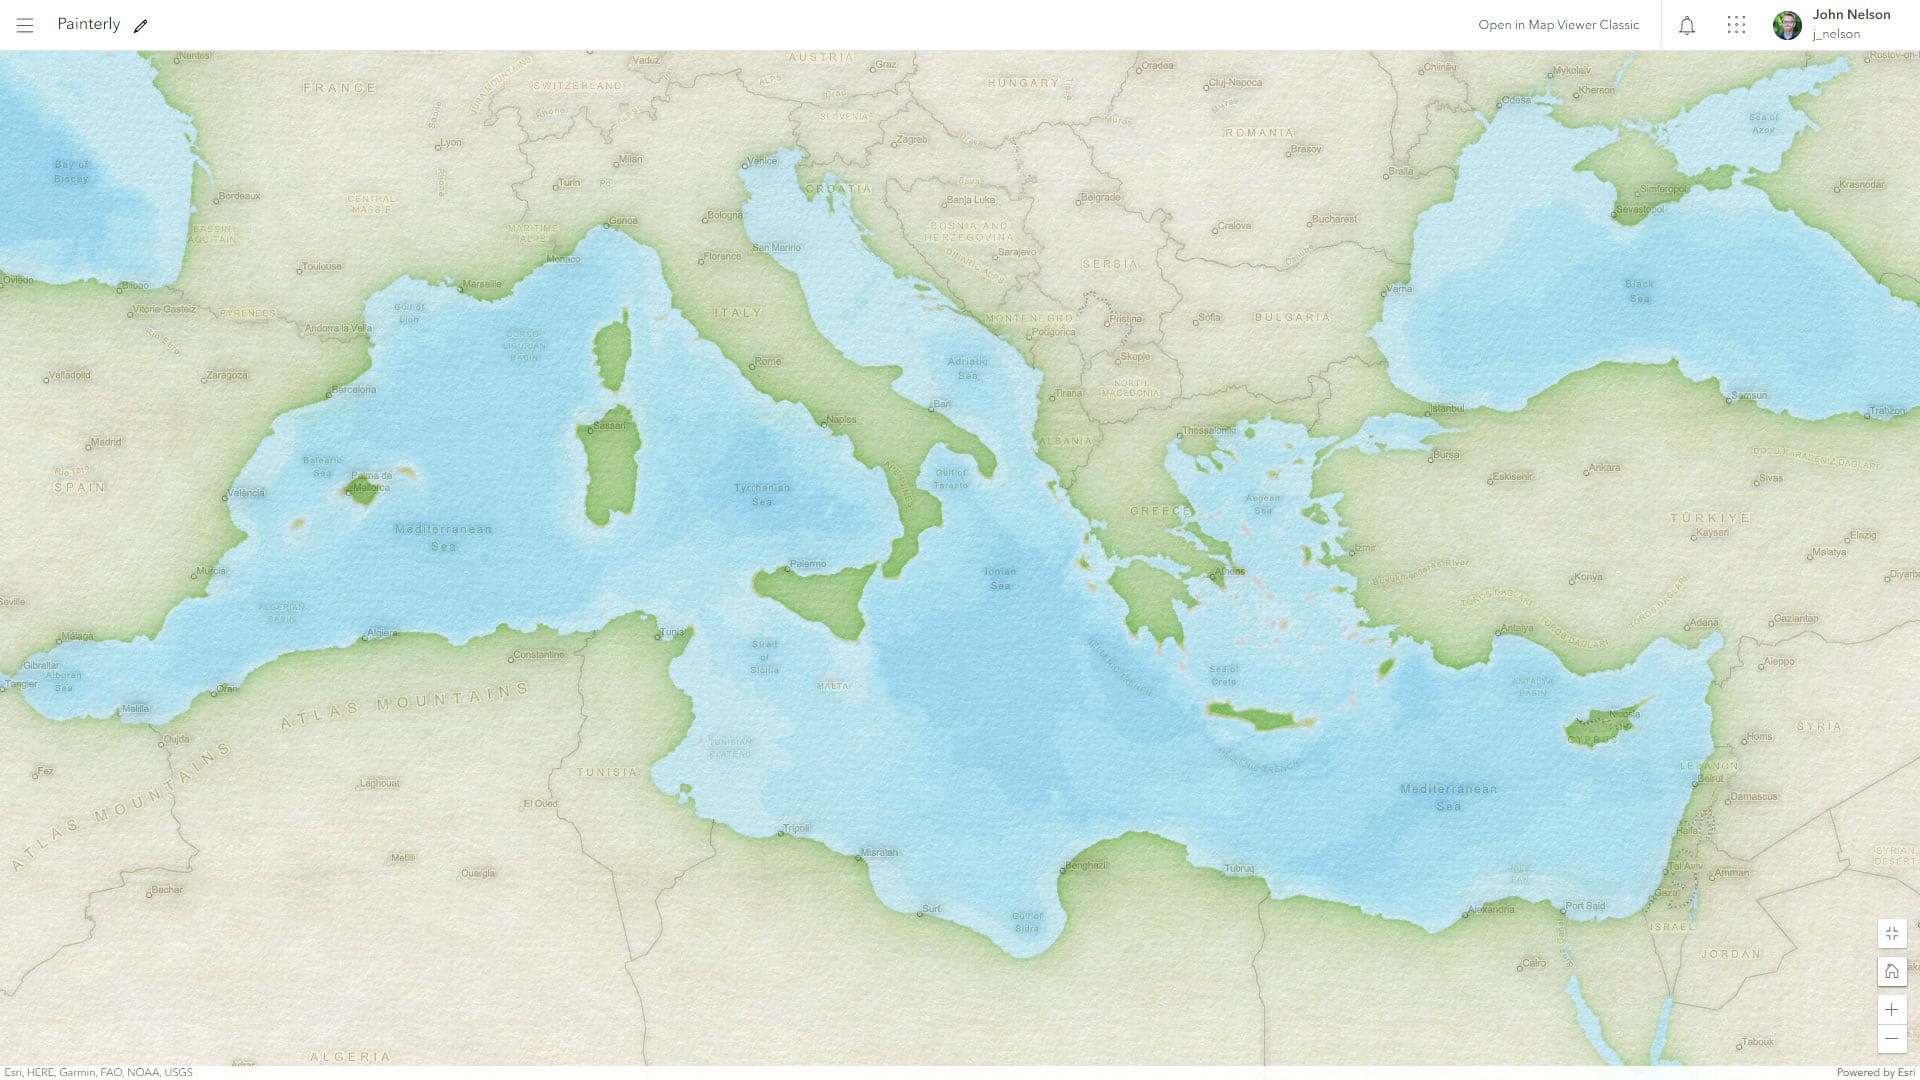
Here’s how you can take a handful of layers from Living Atlas, brew up some visual effects, and create this painterly basemap, ready for all manner of adventure.
…
Here is the recipe for adding and styling layers within the basemap…
PAPER TEXTURE
•Add Watercolor Paper Texture from Living Atlas
•Remove the original basemap layers
•Add Parchment Texture from Living Atlas
-Blend mode of Color Burn
WATER & LAND
•Add Bathymetry Light layer from Living Atlas
-Drag under Watercolor Paper
-Bloom effect 0.6, 0.2, 0
-Hue rotate effect 270
-Brightness & Contrast effect 62, 300
-Rename to “Land”
•Add Bathymetry Light layer again from Living Atlas
-Drag under Watercolor Paper and over Land
-Blur effect 1.5
-Brightness & Contrast effect 80, 175
-Rename to “Water”
LABELS
•Add World Terrain Reference (local language) from Living Atlas
-Drag to reference layers
-Blend mode of Multiply
-Transparency 50%
-Bloom effect 0.2, 0, 0
-Grayscale effect 100
-Sepia effect 33
•Add World Terrain Reference (local language) from Living Atlas
-Drag up to reference layers, above first reference layer
-Blend mode of Multiply
-Transparency 75%
-Bloom effect 1.8, 0, 0
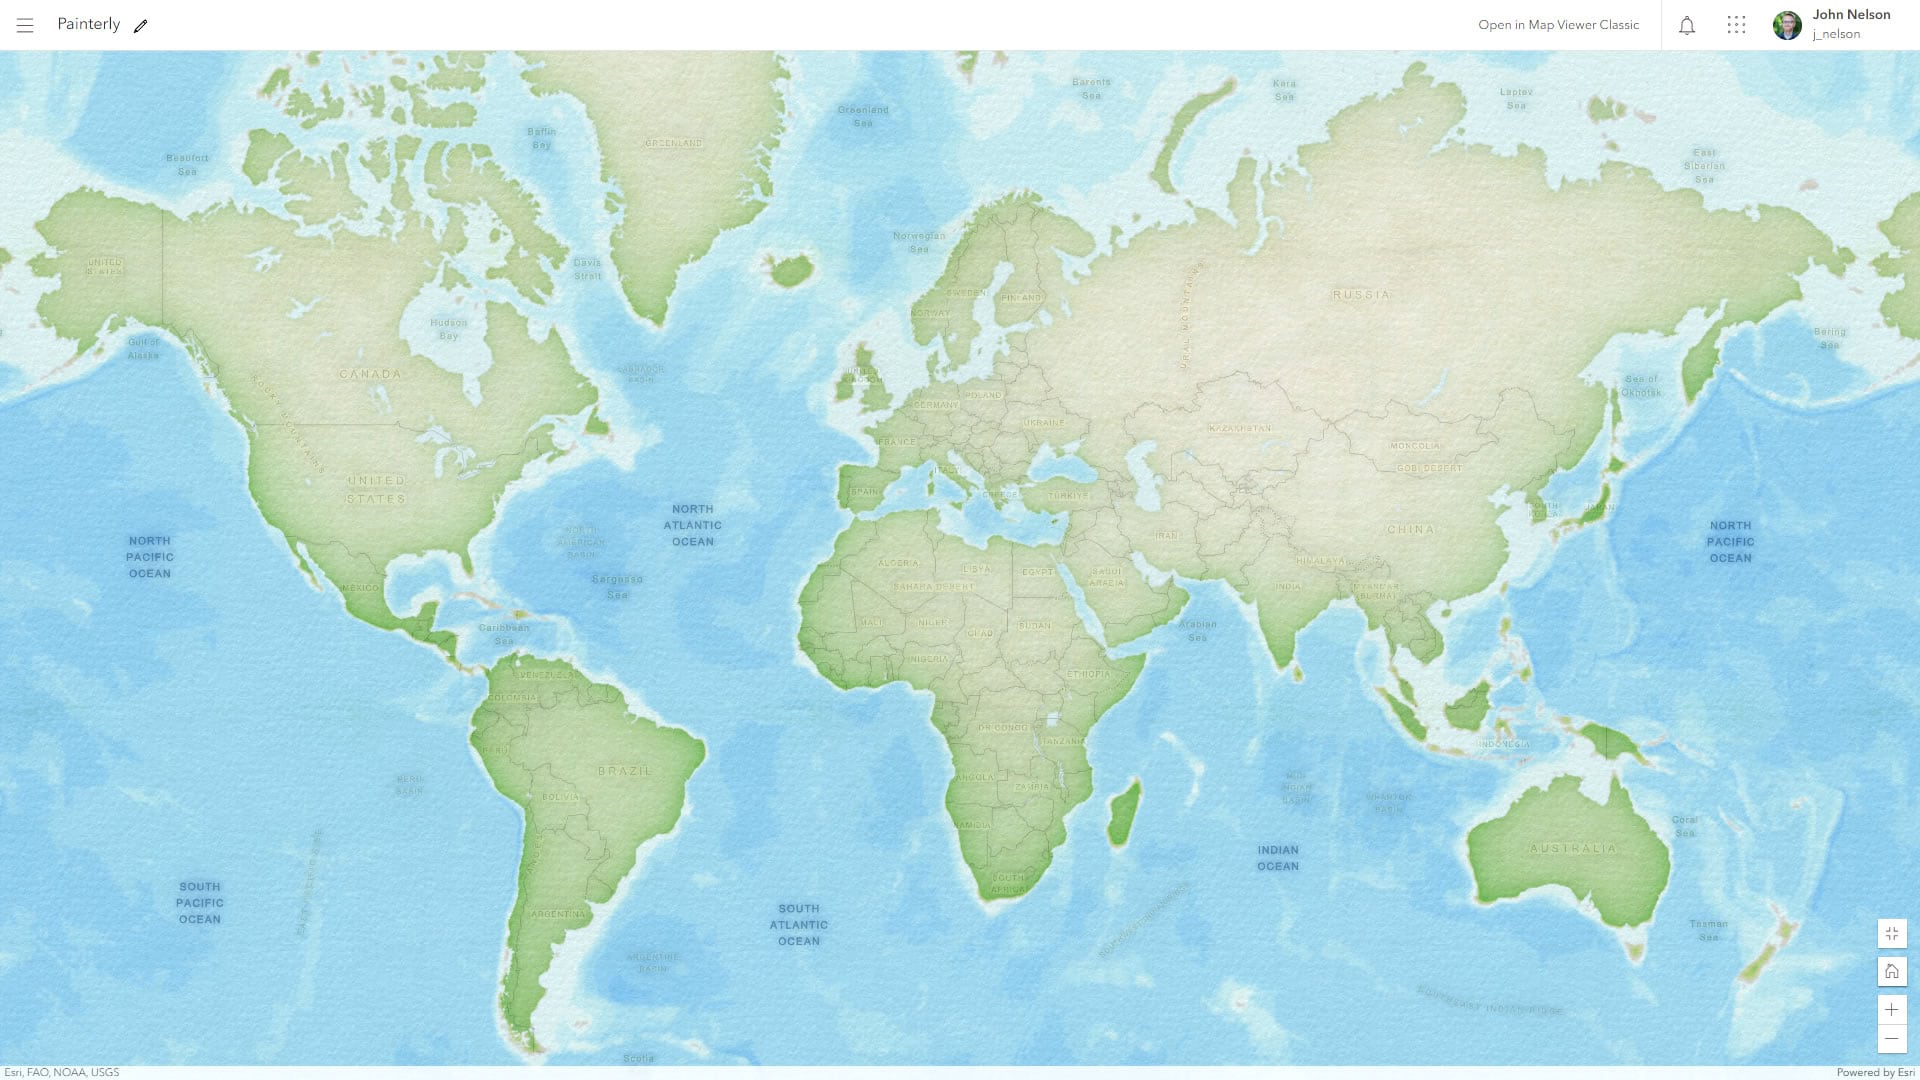
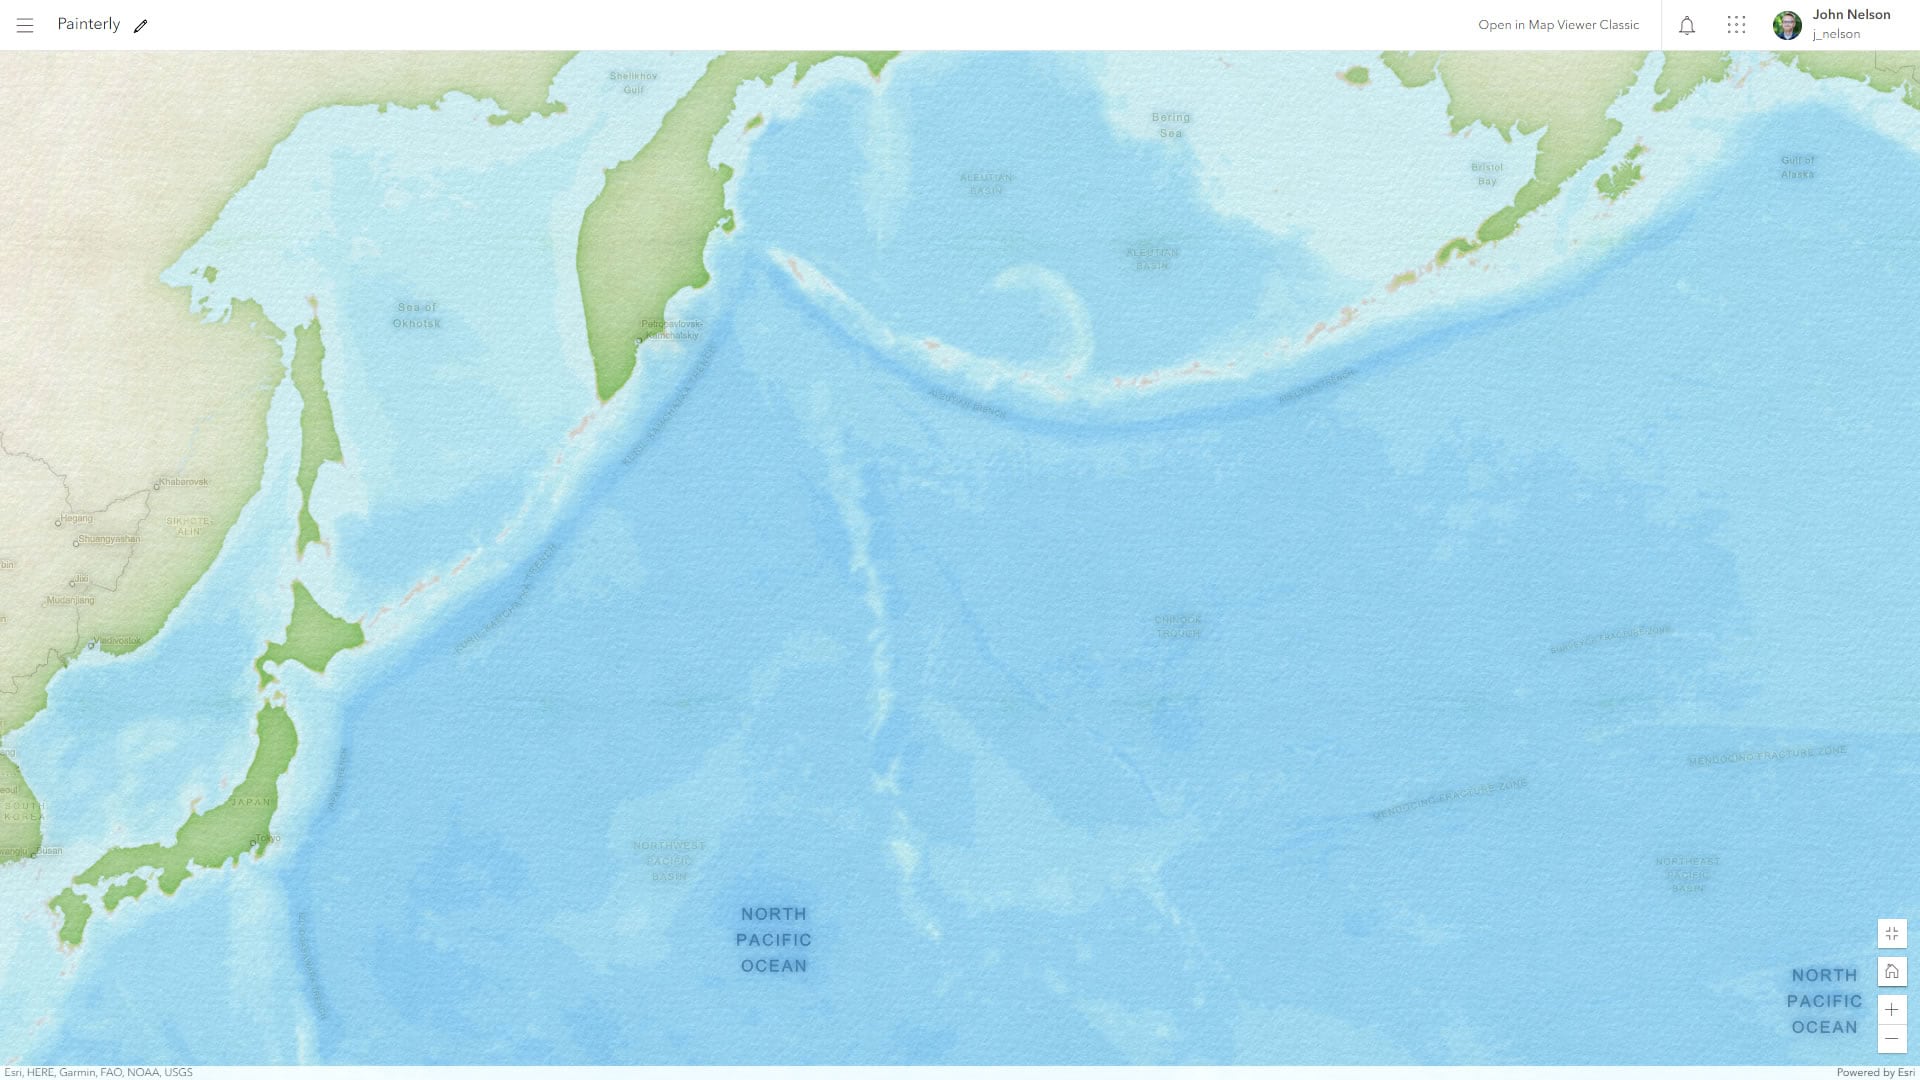
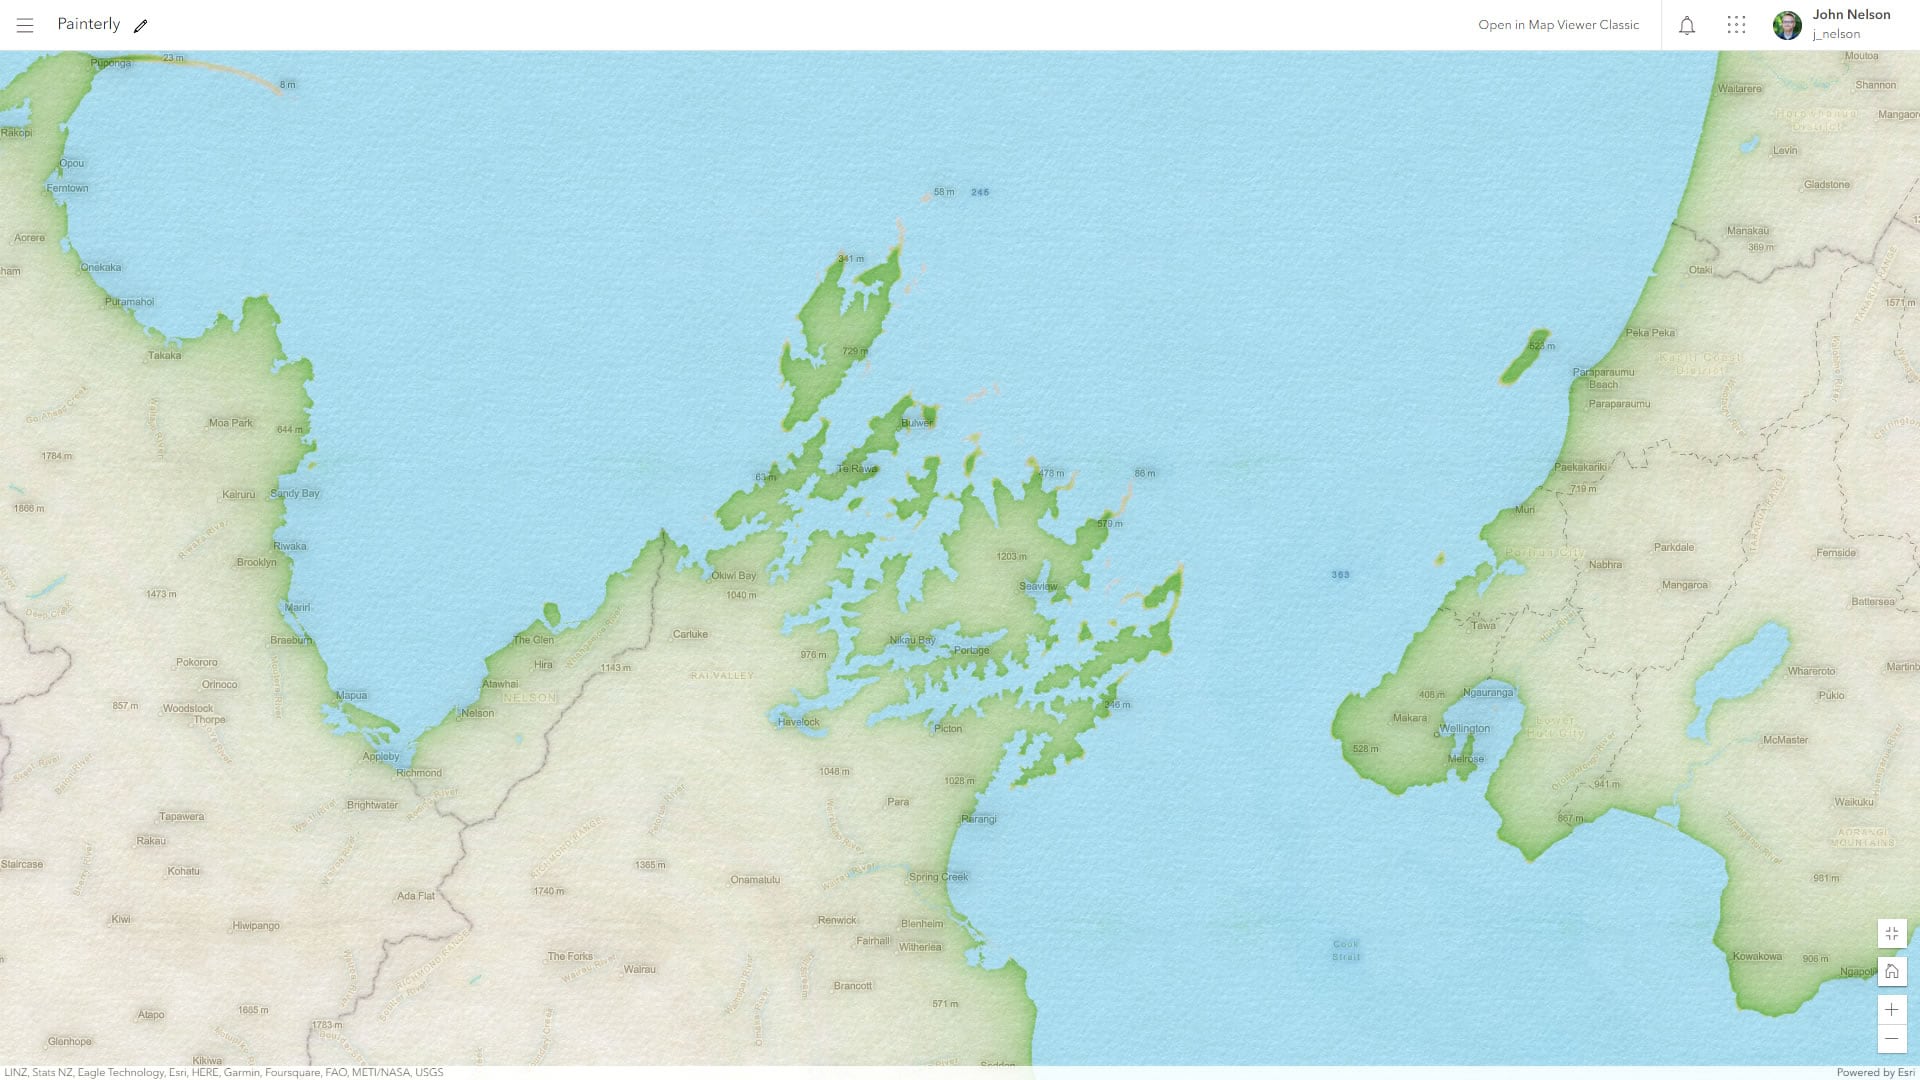
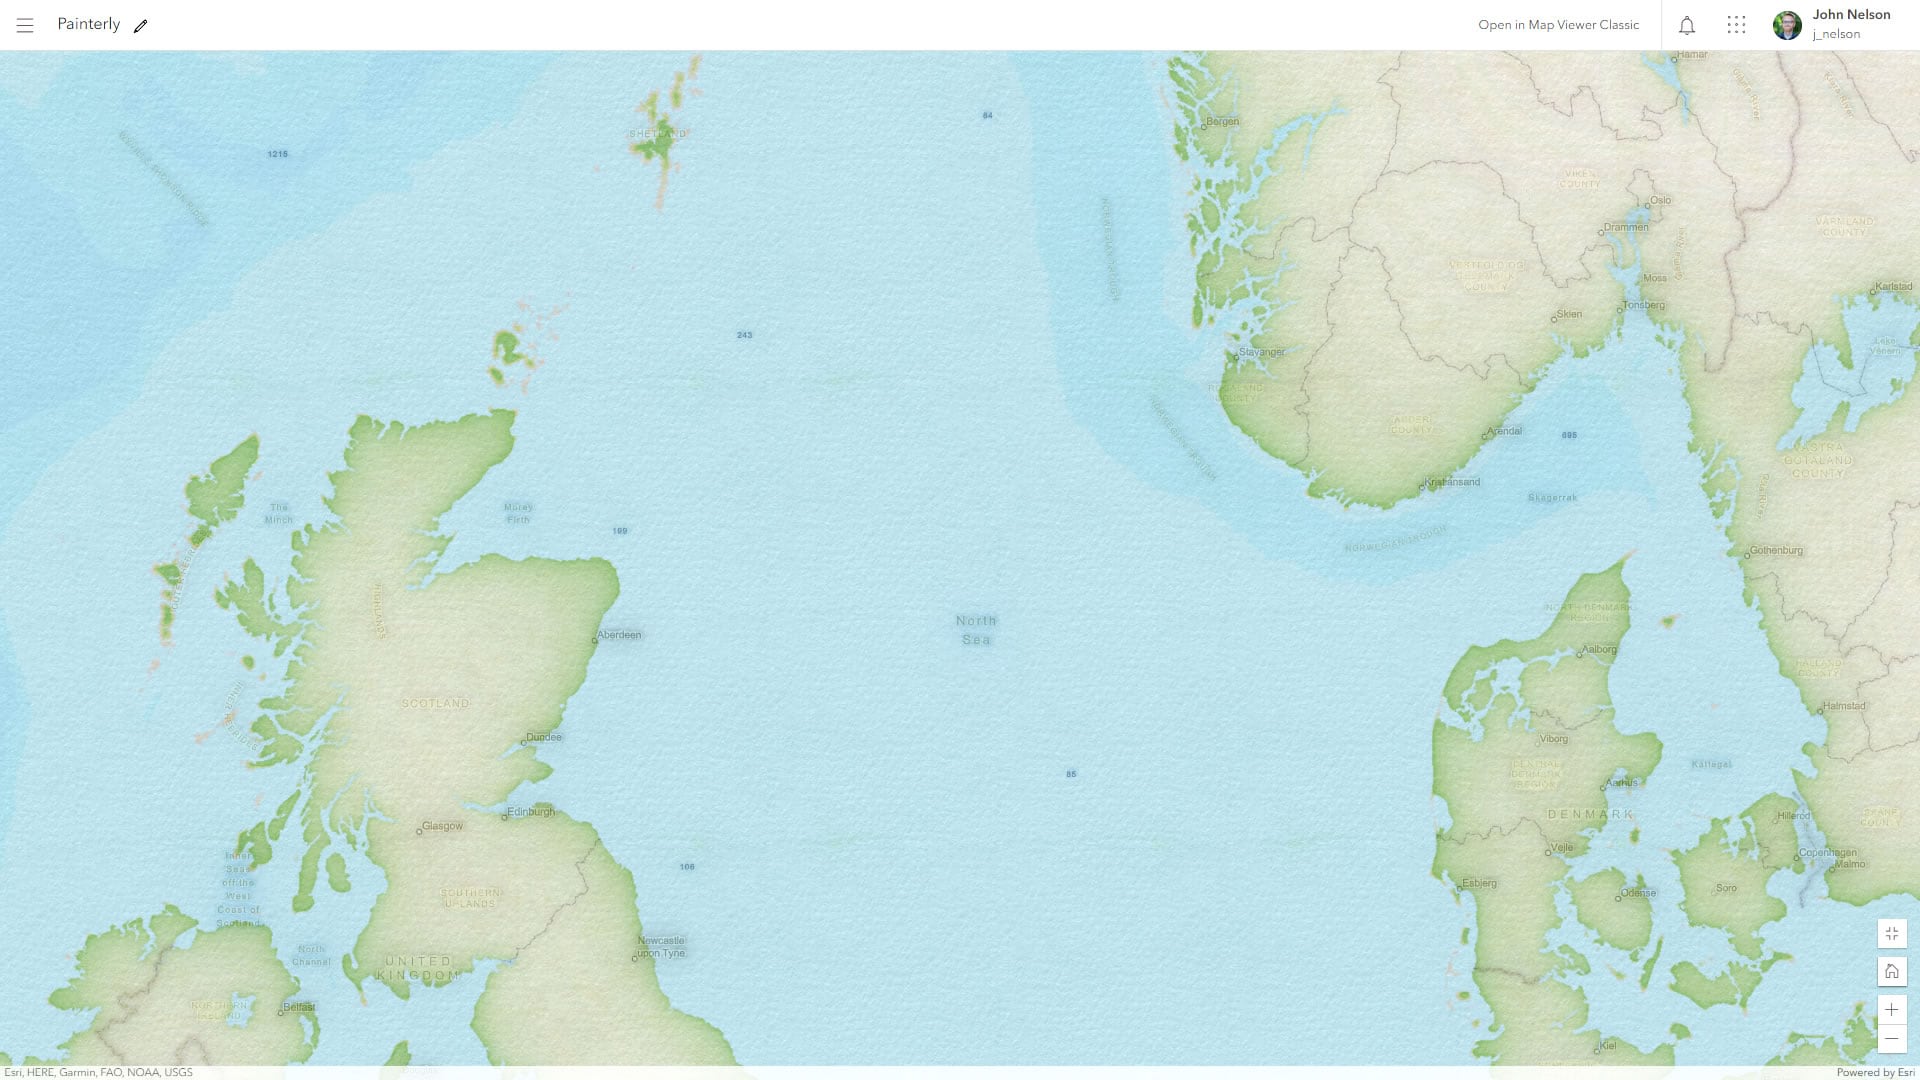
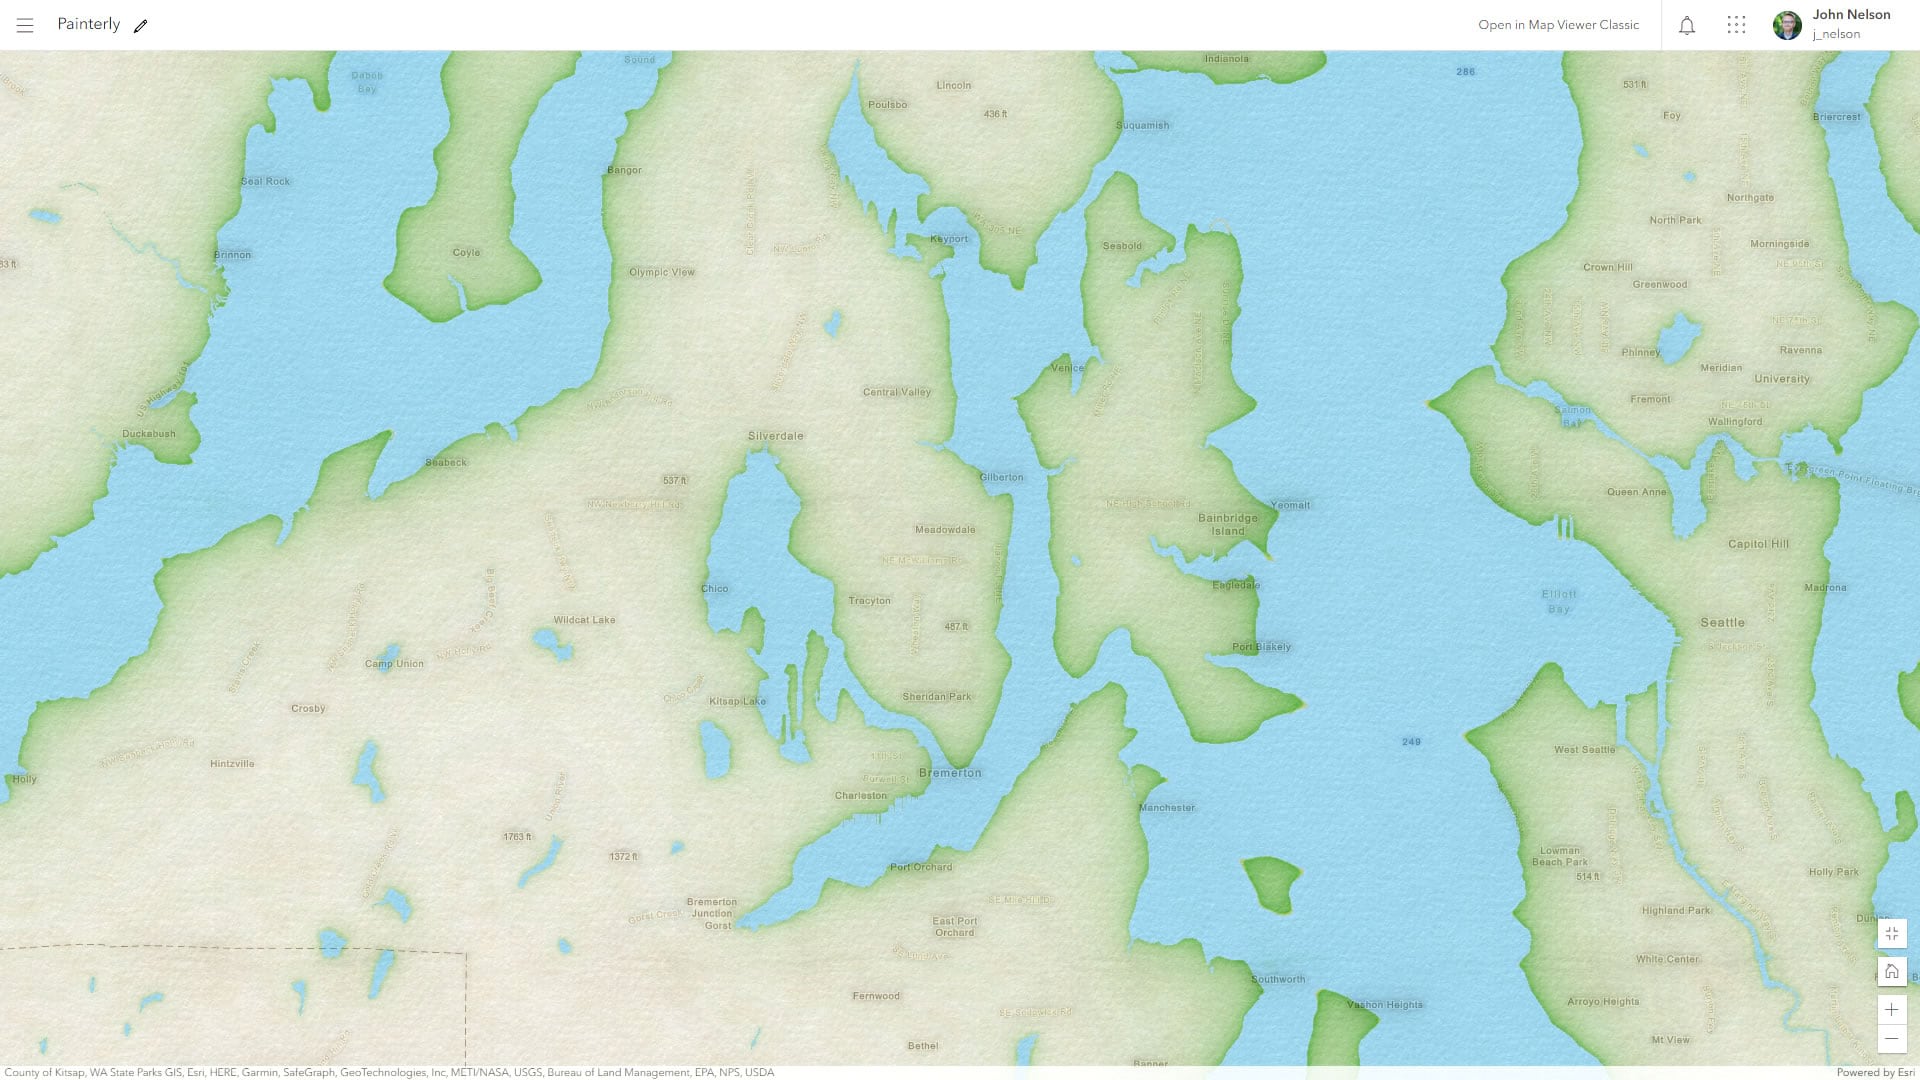
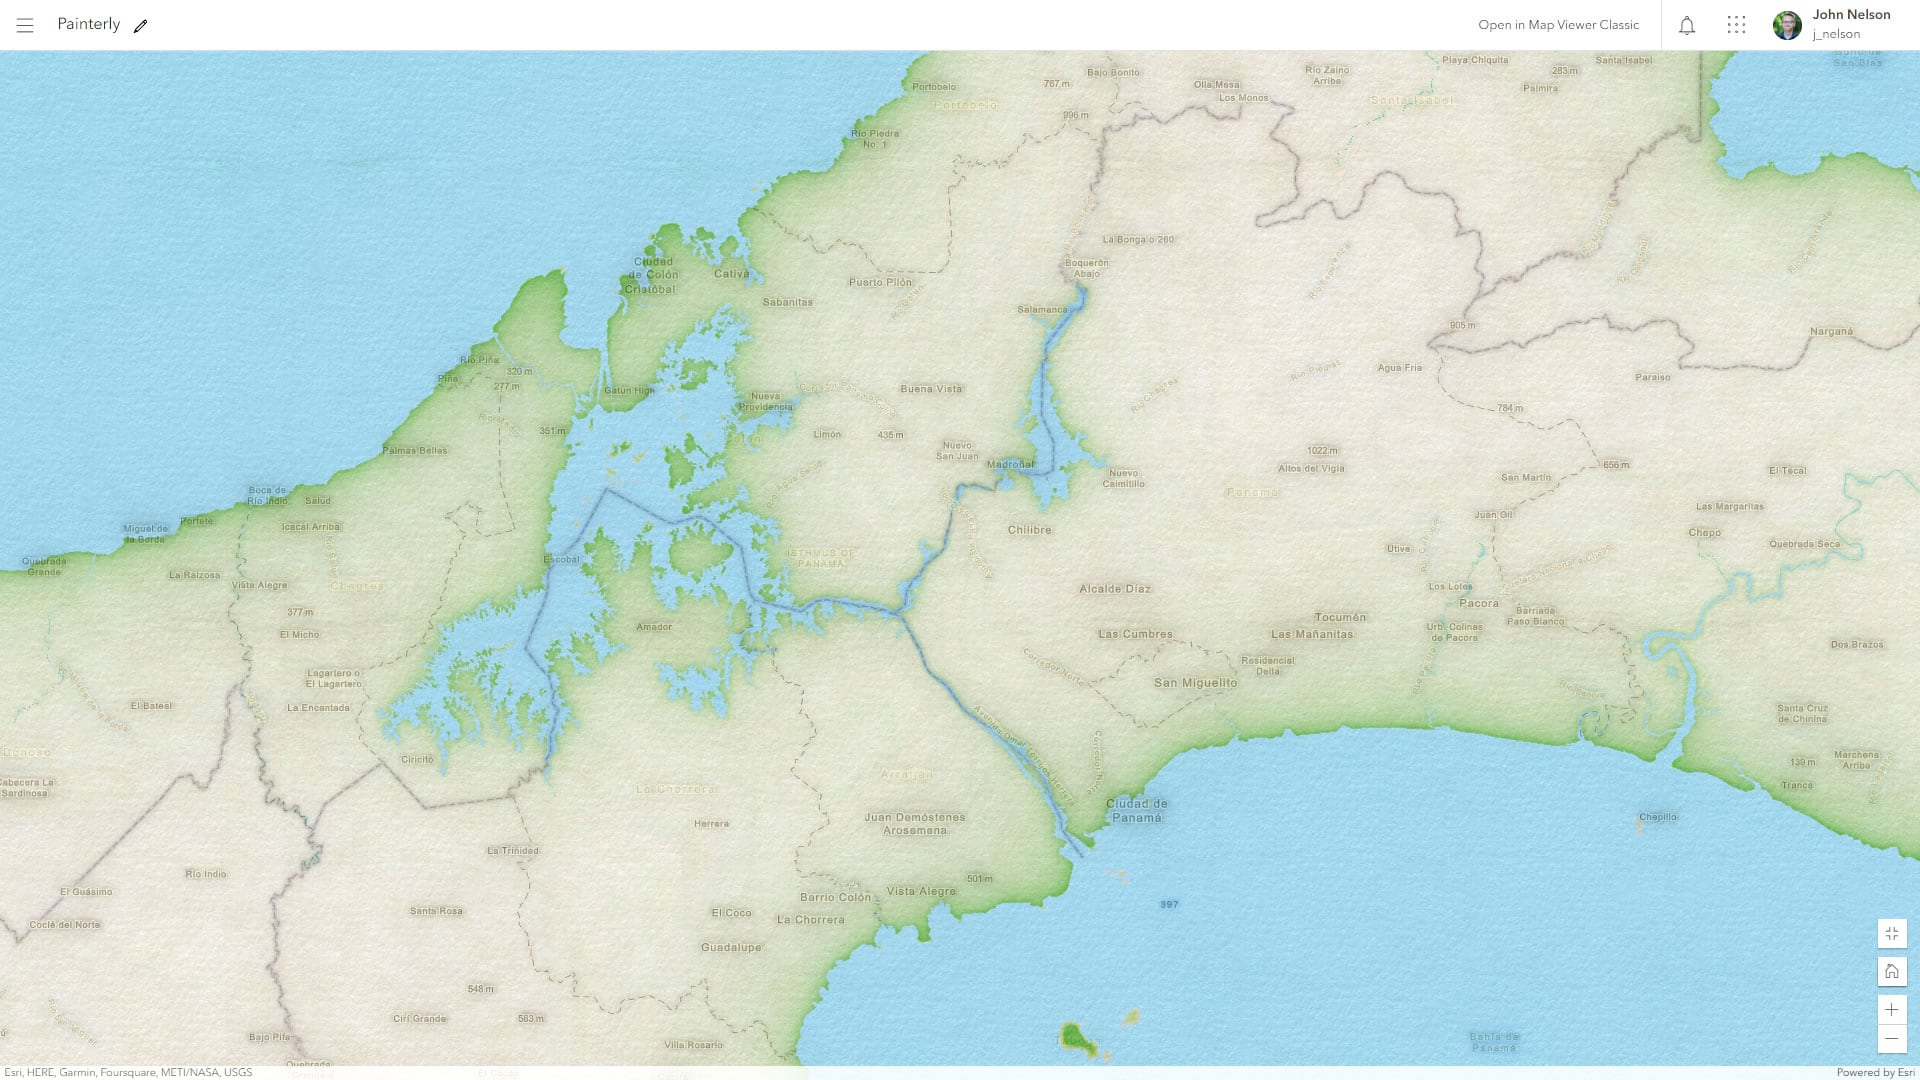
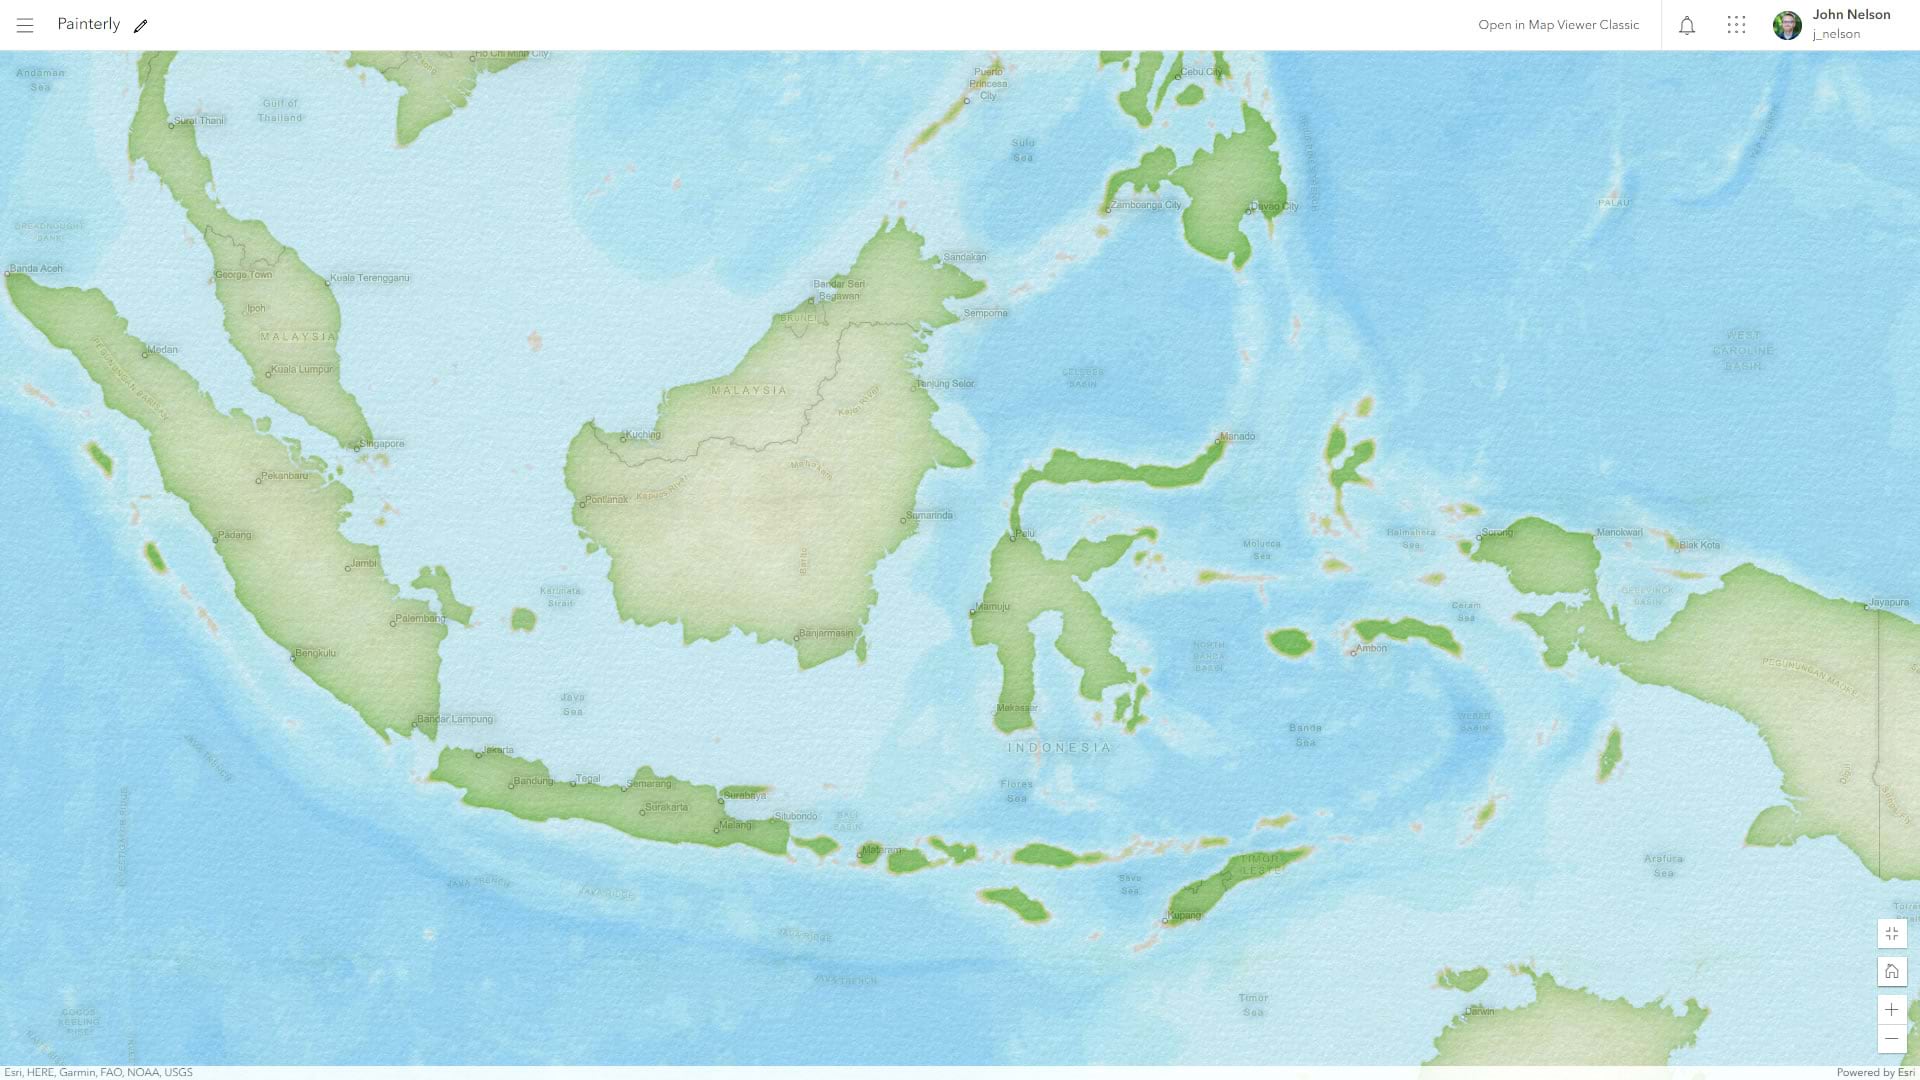

Play with the Painterly map, here. Use it, modify it, reverse engineer it. Have at it!
Happy painting! Love, John

Article Discussion: