Note: This blog article covers the classic Esri Story Maps which are in mature support and scheduled to be retired in late 2025. Story authors are strongly encouraged to use the new ArcGIS StoryMaps to create stories.
For more information about transitioning to the new StoryMaps, see ArcGIS StoryMaps resources. For more information about the transition from classic Esri Story Maps to the new ArcGIS StoryMaps, see Esri Story Maps: Now in mature support.

Story Maps let you combine maps with text, images, and multimedia content, making it easy to leverage geography to tell your story. You can view lots of examples from Esri and the Story Maps user community at the Story Maps Gallery.
Many story maps are intended for standalone use in a browser, but they can also be embedded in a website or blog. Embedding any story map is easy, follow these steps to learn how.
*
Embed your Story Map
Story Maps can be embedded using an iFrame tag, but the needed HTML is automatically generated for you, so you don’t even need to know what an iFrame is.
Step 1: Sign in to Story Maps
Go to the story maps website at storymaps.arcgis.com and sign in to your account. Look for Sign In at the top right of the page.

Step 2: After you sign in, click My Stories.

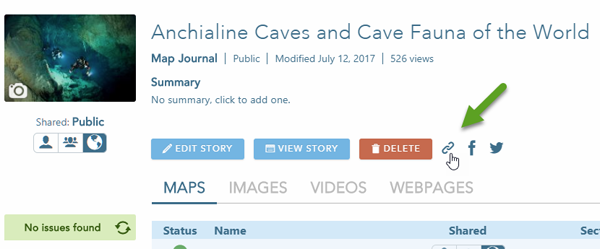
Step 3: Click the title of the story map you want to embed, then click the share link.
Click the title to check your story. When you do, you will see the link button (shown below with the green arrow).
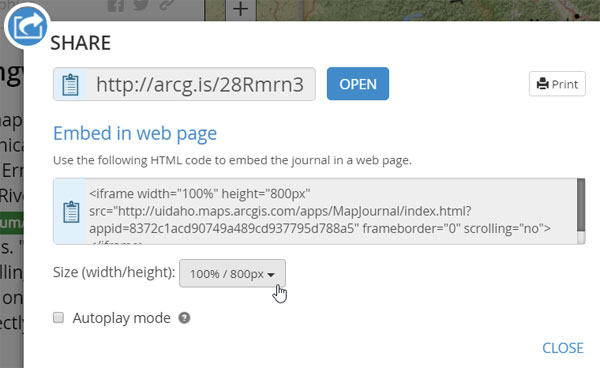
Step 5: Copy the embed HTML.
Once you click the share link, you’ll see several options to share your story. Choose the desired size and copy the HTML. You can also preview what your HTML will look like with your story map by clicking Preview Your Embed.
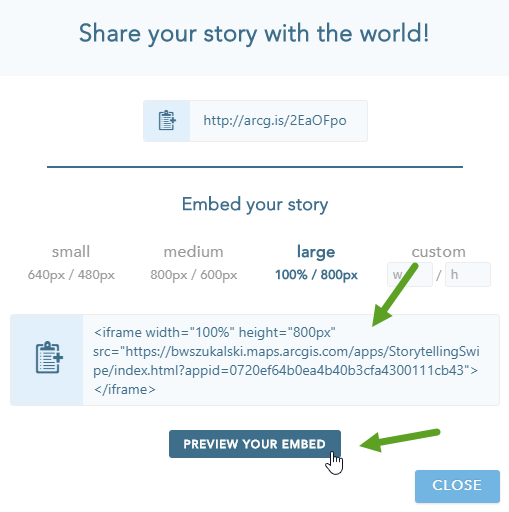
Step 6: Add the HTML from Step 5 to your website or blog. Just copy and paste the HTML that’s been generated in your page or post where you would like it to appear.
*
Embed any public Story Map
You can embed any publicly shared story map that includes the share link (an option for the story map author). If a share link is available, do the following.
Step 1: Click the share link.
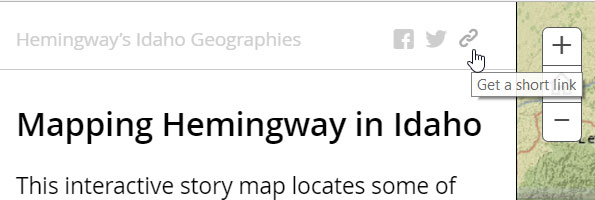
Step 2: Choose the desired options, then copy and paste the embed code into your website or blog.
Tip: Whenever embedding a story map into your website or blog, it’s best if you own the story map. Otherwise, there’s no guarantee that the story map will remain available, or be unchanged.
*
Tips and Considerations
For best results, here’s a few things to keep in mind when embedding story maps.
*
Tip1: Minimize the UI when embedding
When embedding a story map, the header may not be needed, since the title, subtitle, and links will likely be handled within the hosting website or blog. To eliminate the unneeded UI elements, add &embed to the end of the story map URL.
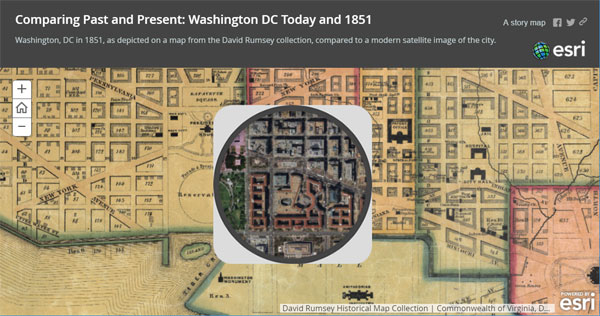
Below is a Story Map Swipe and Spyglass showing the normal appearance with a header. The URL is:
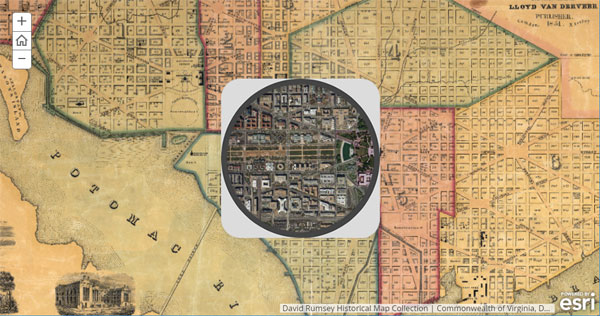
When &embed is added to the end of the URL, the header is minimized, omitting the title, subtitle, logo, and links. Note the addition of &embed to the URL shown above.
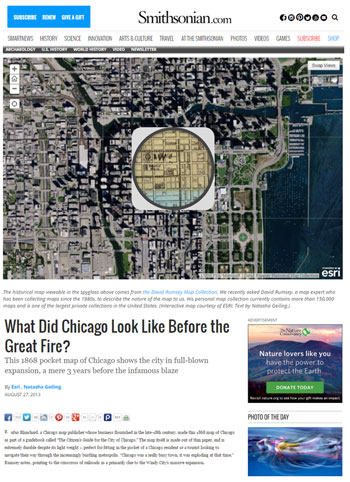
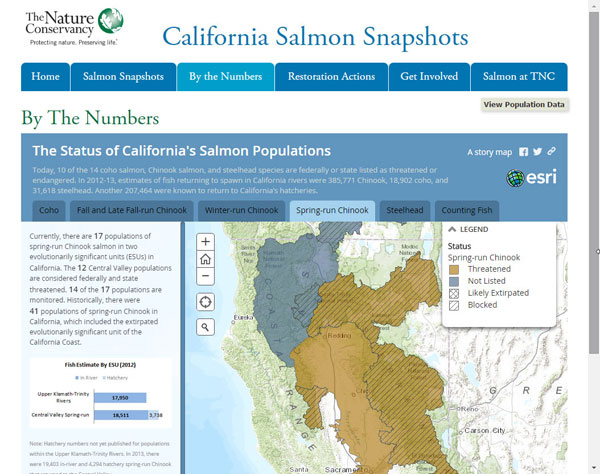
The example below shows a Story Map Swipe and Spyglass embedded in a website with the header minimized via the use of &embed.
*
Tip 2: Consider the available space
Story maps are responsive, so they will fit the allotted space within your website or blog, with elements moving and adjusting to fit any form factor. Open any story map in a browser and adjust the window size to see what happens. Or use the Preview Your Embed button to see what your story map will look like given the width and height you’ve chosen.
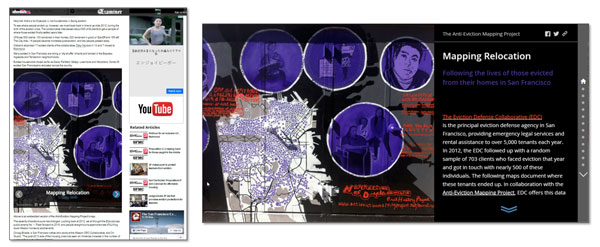
Below is a comparison of an embedded Map Journal (left) which displays in responsive layout mode because of the dimensional constraints of the web page. On the right the Map Journal appears in normal layout mode.
Considerations:
In general, it’s best to only embed when the space allows for the normal layout to appear. You can also consider a link, instead of embedding, when a normal layout is not possible.
Some templates will work better than others when placed into websites or blogs with constrained space. Adjust your page accordingly to provide the best results, or choose templates that look best within your specific dimensions.
For your mobile-friendly view, consider replacing the live app with a screenshot or link that opens the story in another tab.
*
Tip 3: Add a View Larger link
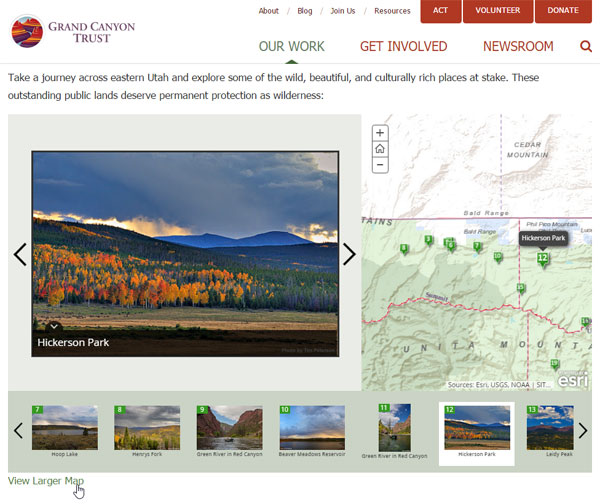
Especially when your web page or blog doesn’t provide a lot of real estate for your story map, it’s a good idea to provide an opportunity to open your story map full size. Below is an example of an embedded Story Map Tour (with the header minimized) that includes a “View Larger” link in the lower left, under the story map.
You can accomplish this by adding a link to open the story map in a new browser window or tab, the HTML is shown below:
[sourcecode language=”html” gutter=”false”]
<a href=”http://storymaps.esri.com/stories/2015/atlas-for-a-changing-planet/”
target=”_blank”>View Larger Story Map</a>
[/sourcecode]
The use of target=”_blank” ensures the story map is opened in a new browser window or tab.
This may be especially useful for your mobile-friendly view, where replacing the live app with a screenshot or link that opens the story in another tab may provide a better experience.
*
Tip 4: Scheme with color
You can easily change the default color scheme of your story map using options available in the story map builder, or by modifying the source if you’re hosting your own. For a more aesthetic web page, modify the story map color scheme to match or complement your web page color scheme.
*
In Summary
Embedding your story maps in websites or blogs offers additional ways to leverage your work, and tell your story. With a little bit of thought and a dash of webcraft, your story maps can be effectively embedded and shared to reach a larger audience, and can enhance your sites by adding interactive stories.
*
View examples
Visit the Story Maps Gallery of embedded story maps to view more examples.
If you are working with the newer ArcGIS StoryMaps, see:
This post was originally published on February 4, 2013, and has been updated.

Commenting is not enabled for this article.