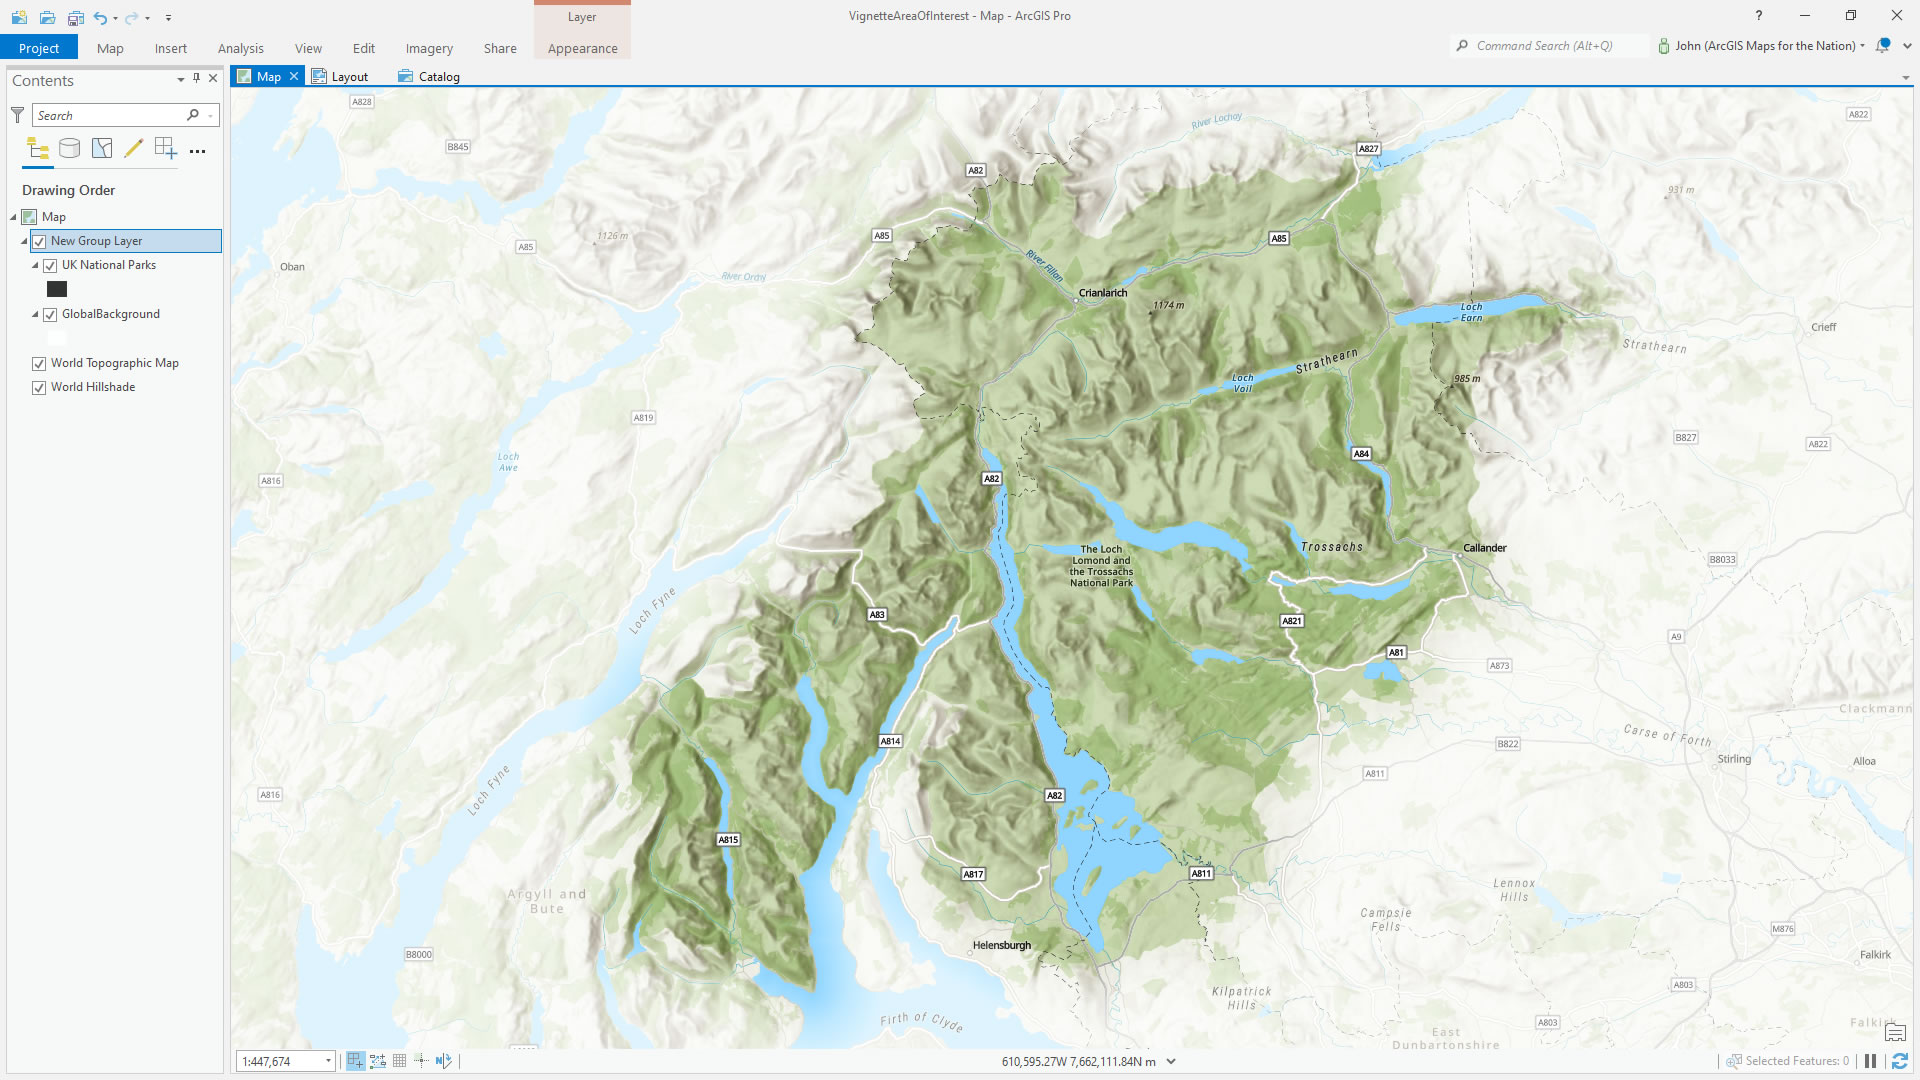
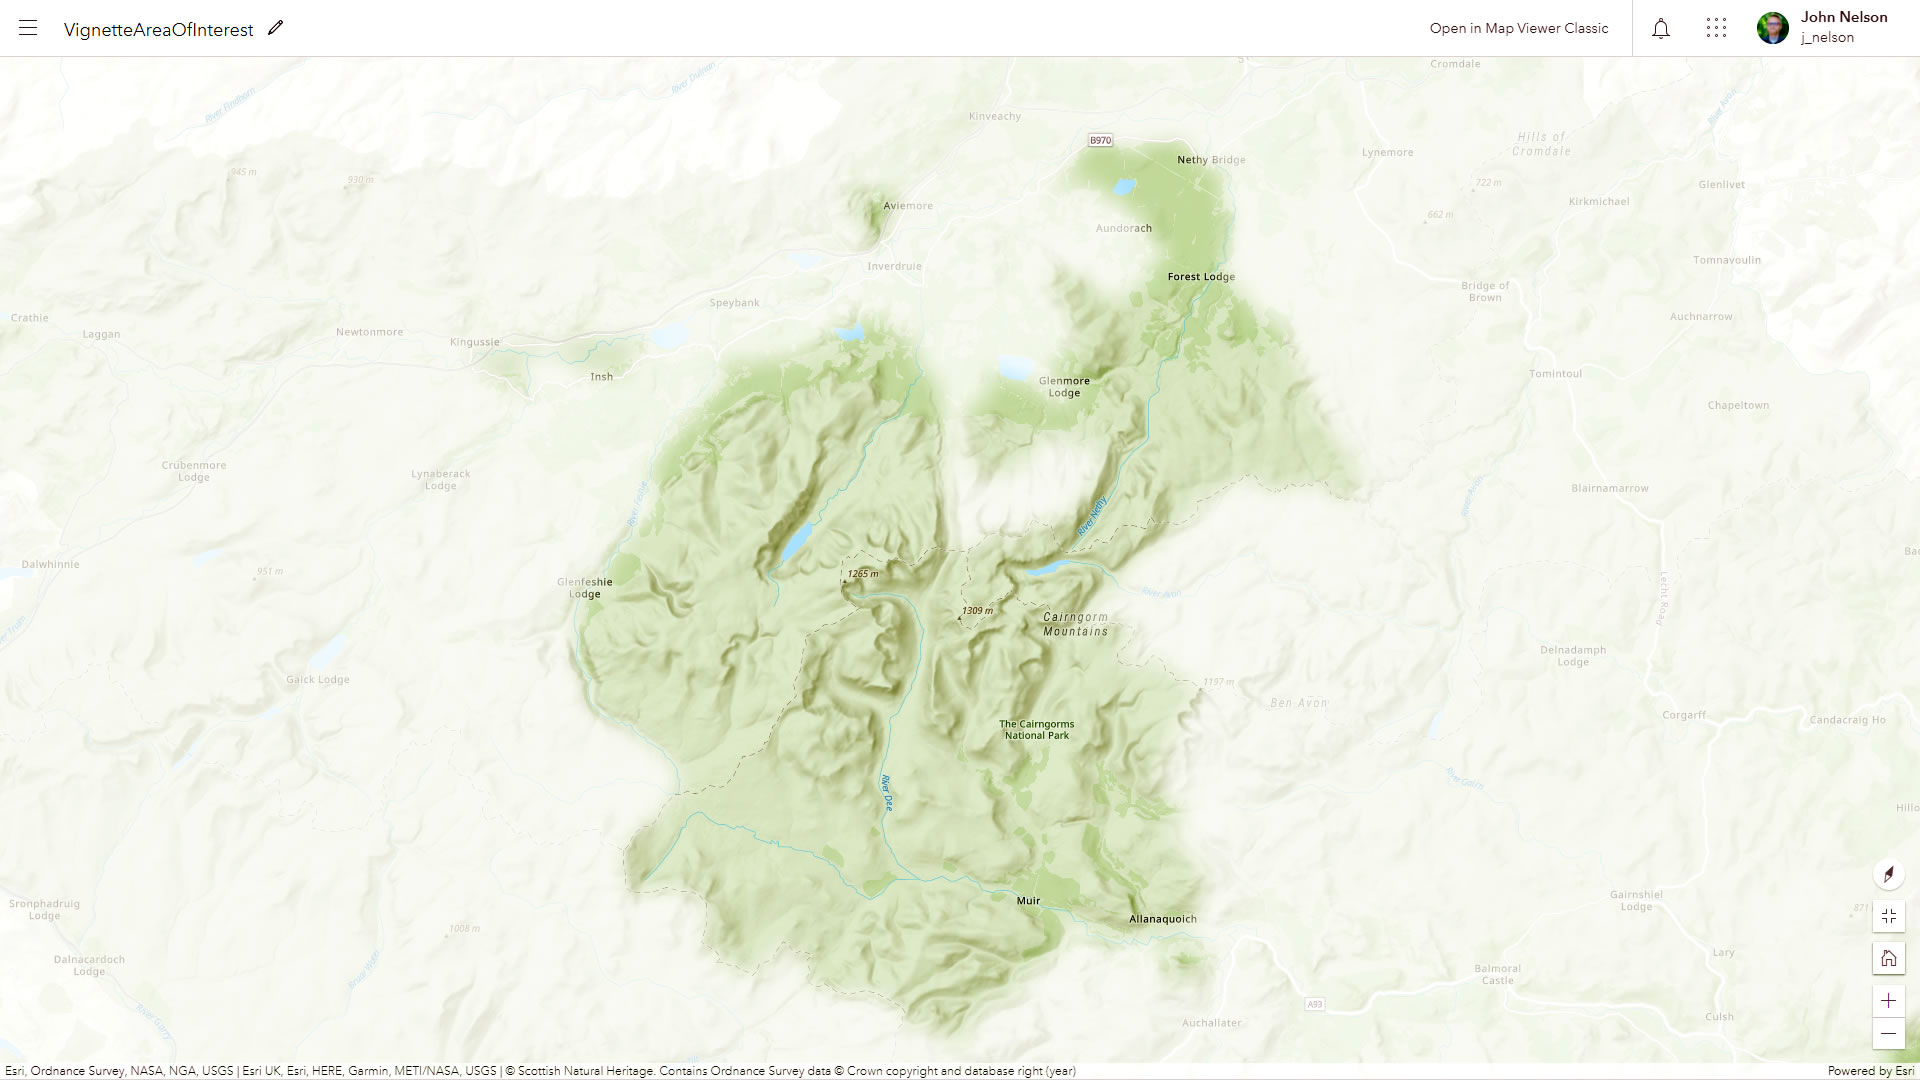
Sometimes you just, like, want to feather a soft vignette edge around your map’s area of interest. They are really helpful for focusing visual attention to your map’s area of interest, they conveniently push back areas of the map where you might want photos or charts, and they just look frosty and delicious. Here’s how you can hack a vignette effect in ArcGIS Pro and ArcGIS Online, using your area of interest, the fearless “global background layer” from Living Atlas, and a blend mode.
You will do this.
0:00 Oh my goodness, did I actually use a vignette in my intro about vignettes? Yes. Did I use up the cleverest bit of this video in the first five seconds? Yes.
0:18 Vignetting in ArcGIS Pro…
0:38 Give the area of interest polygon a black fill.
0:42 Give the area of interest a really thick gradient stroke, black in the inside to white on the outside.
1:06 Add the multi-talented Global Background layer from Living Atlas and make it white.
1:26 Group these layers, and give the group a blend mode named “Screen.” Alternatively, you can try “Soft Light.”
1:47 Optionally, play with the gradient stroke symbol to give the area a little more breathing room.
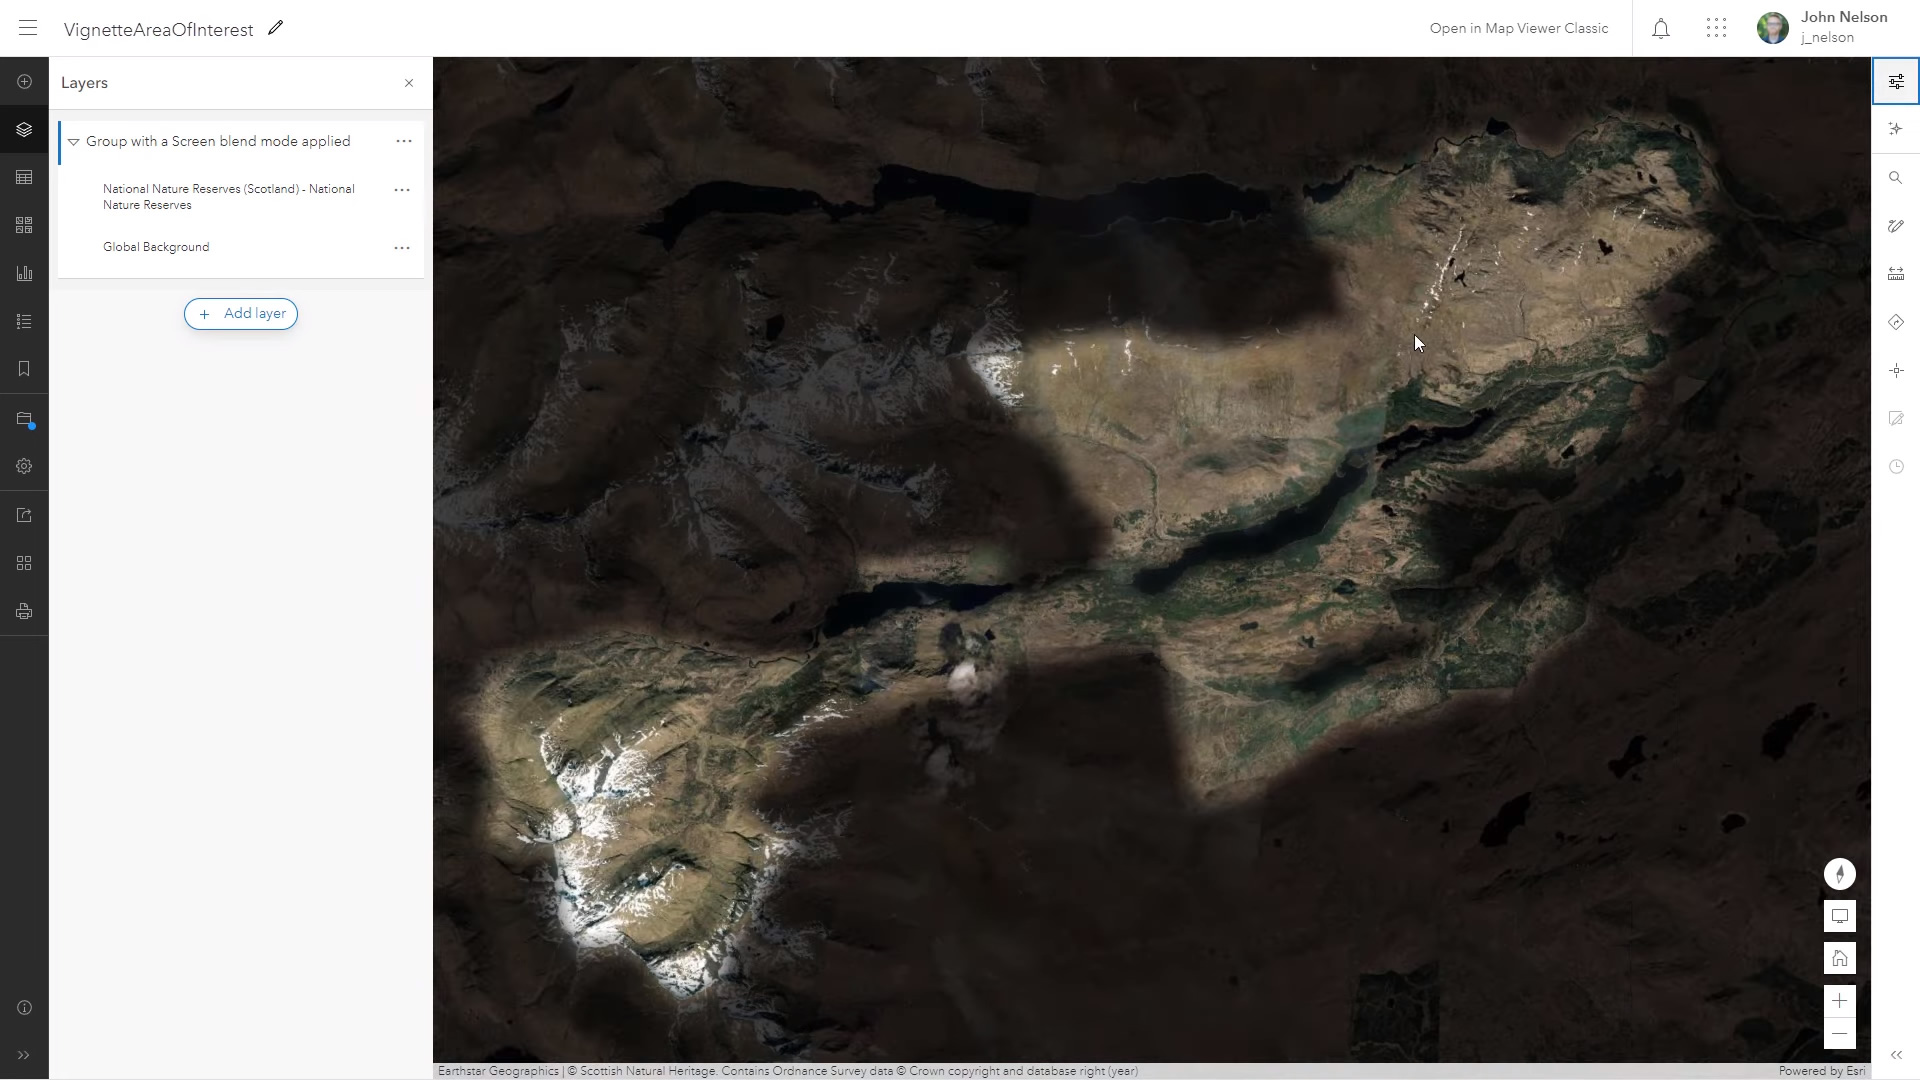
2:31 Vignetting in ArcGIS Online
2:38 Black area of interest layer.
2:44 White Global Background layer.
2:48 Group the layers, and apply the “Screen” blend mode.
3:22 Apply a “Blur” effect to soften the edges.
3:50 How to have a black vignette instead of white vignette?
4:04 Make the Global Background layer black.
4:08 Make the area of interest layer white.
4:25 Change the group’s blend mode to “Multiply.”
5:02 Do deeeep-diving with Tommy Fauvell in his video series on vignettes, including how to tile them up.
Well friends, there you go! That’s how to do quick and easy feathered-edge vignette effects for your map’s area of interest. Here is my ArcGIS Online map, if you want to take a closer look or reverse-engineer it, or riff with it.


Happy mapping! John

Article Discussion: