Introduction
Combining detailed infrastructure design data (BIM) with geographic context allows project stakeholders to collaborate on centralized, authoritative data and make informed decisions throughout project phases. Integrations, combining GIS with BIM information, help address the complex demands of built projects, in which environmental and infrastructural factors are increasingly interconnected.
An automated workflow can remove bulky and time-consuming chores from the pipeline and allow you to focus on the things that will positively impact your team.
Before you begin
- Ensure that the model(s) are already georeferenced.
- Sign in to an ArcGIS Online or ArcGIS Enterprise organization.
What you need
- The ArcGIS Notebook included with this post.
- ArcGIS Pro 3.4 or later.
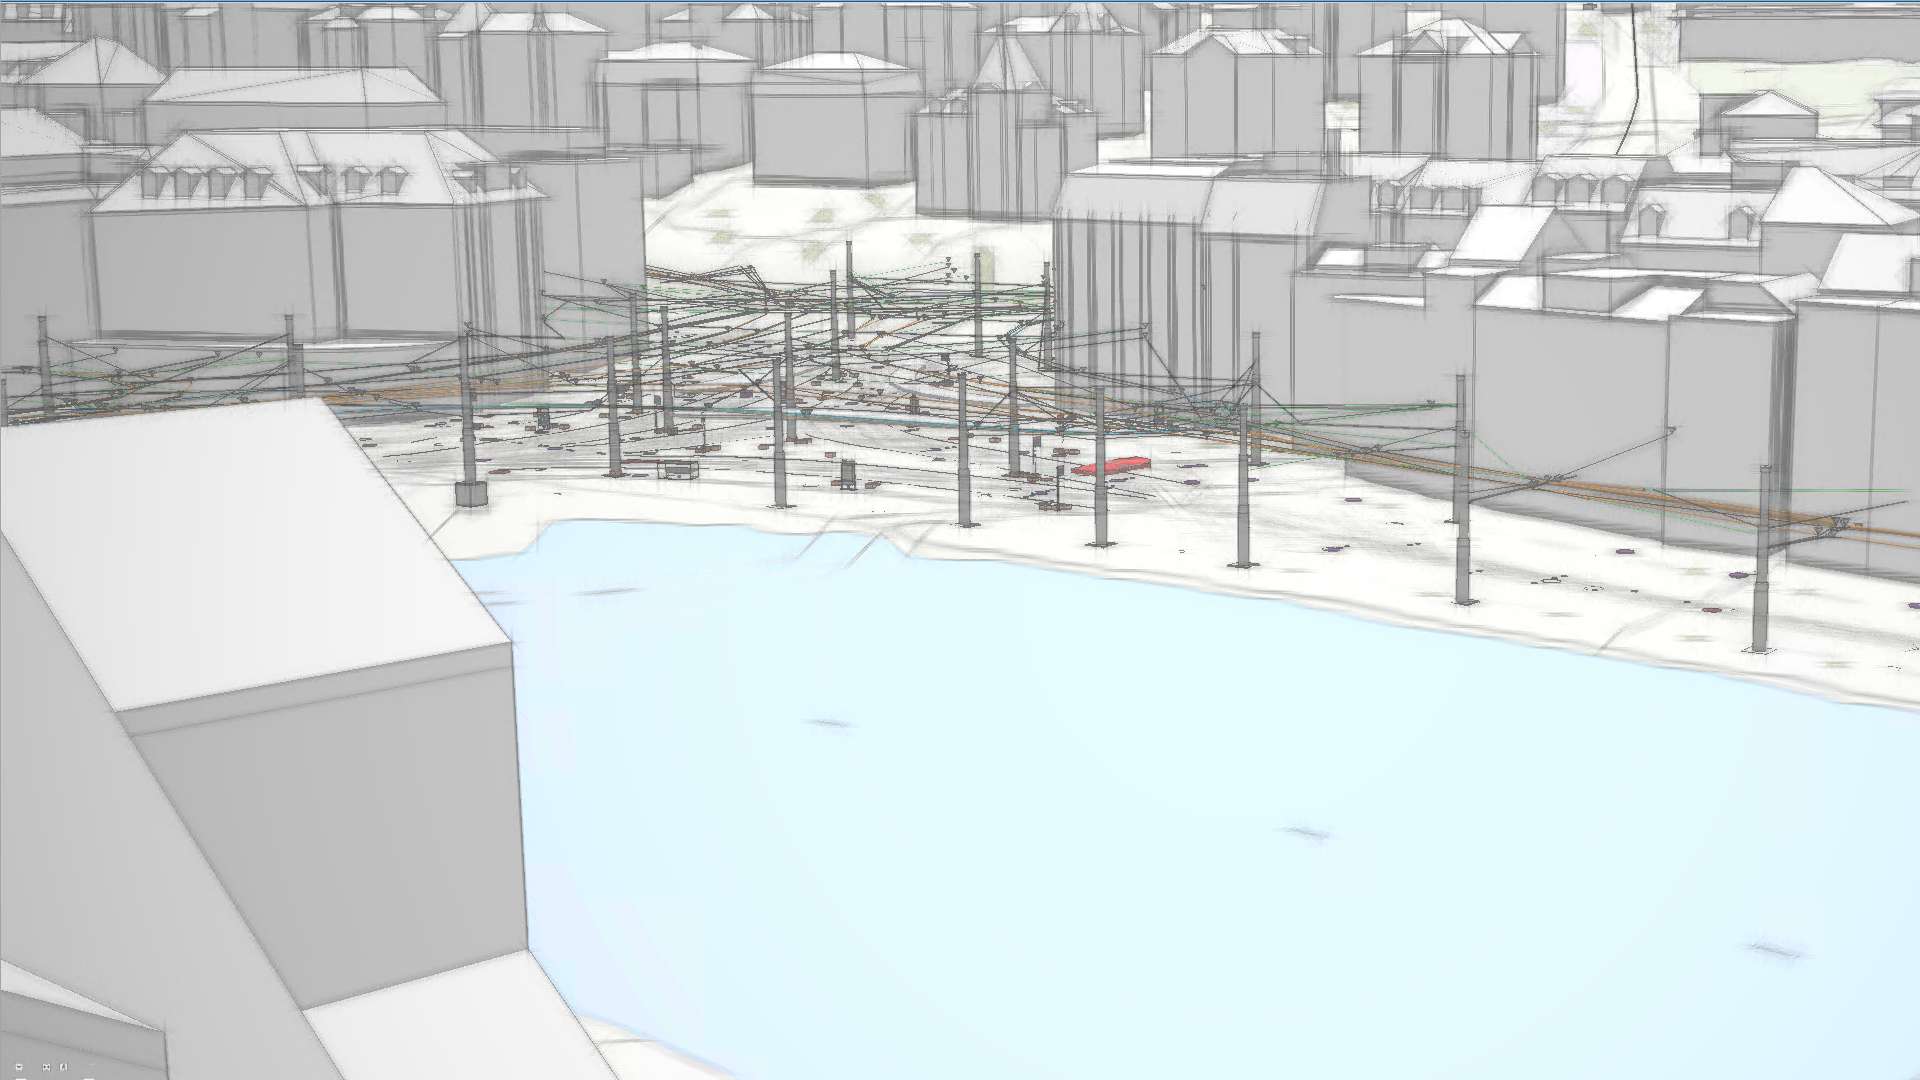
This example imagines that stakeholders would like to see the development of a building project at different stages (30 percent, 60 percent, 90 percent and 100 percent) in a web scene.
The graph below gives an overview of the general process needed to automate the creation of Scene Layers – building scene layers (hosted) in ArcGIS Online.

Stage 1: Upload the 30 percent phase
First, you will upload the model representing the 30 percent phase of the development. This project is made up of multiple digital models (piping, structural, electrical, architectural, etc.) that represent the whole structure.
Additional details on working with multiple digital models as a single building layer can be found at Combine multiple digital models into a single building scene layer
Steps 1 and 2 are optional if one of the following applies:
- Your building/structure is represented by one single digital model or
- You want to publish each digital model individually or
- You don’t require editing the geometry and/or attributes using ArcGIS Pro
Upload manually
- Convert the digital models into a single dataset with the BIM File to Geodatabase tool.
- Create a building layer from the dataset with the Make Building Layer tool.
- Save to layer (from the building layer) with the Save To Layer File tool.
- Create a building scene layer from the layer with the Create Building Scene Layer Content tool.
- Validate the scene layer package (.slpk) with the Validate the scene layer tool. (This step is optional, but is recommended.)
- Share the scene layer package (.slpk) with the Share Package tool.
This is an overview of the code. The provided ArcGIS Notebook contains further details and explanations of the code. You can easily run it in ArcGIS Pro, allowing you to move through the code one step at a time.
Code example
### Import Packages
import arcpy
import os
import ast
import time

### Define Variables
# The BIM file or files that will be converted to geodatabase feature classes.
# This could be Revit or IFC or both formats
bim_file_location = r'C:\TEMP\Automation_Blog\Automation_Sample\Revit\HUT_DA_60.rvt'

# The full path to the location of an existing ArcGIS Pro Project
project_path = r"C:\TEMP\Automation_Blog\Automation_Sample\GDB"

# The geodatabase where the output feature dataset will be created.
# This must be an existing geodatabase in the provided project.
gdb_name = "DigitalModel_ProjectA_Del_60.gdb"

# The spatial reference of the output feature dataset.
# The default will be the spatial reference defined
# by the projection file of the BIM File Workspace (IFC or Revit)
input_spatial_reference = "NAD_1983_2011_StatePlane_Maine_East_FIPS_1801_Ft_US"

# The building dataset name.
# The name will be use also for the name of the
# building scene layer package and published layer.
dataset_name = "Part_60"

# Desired coordinate system
ouput_coordinate_system =  "GCS_WGS_1984"

# Transformation used between the coordinate systems
intended_transformation = "WGS_1984_(ITRF08)_To_NAD_1983_2011"
feature_dataset_path = os.path.join(project_path, gdb_name, dataset_name)

if arcpy.Exists(os.path.join(feature_dataset_path)):
    arcpy.Delete_management(feature_dataset_path)

### Export the BIM file Workspace into a Feature Dataset
arcpy.conversion.BIMFileToGeodatabase(
    in_bim_file_workspace = bim_file_location,
    out_gdb_path = os.path.join(project_path, gdb_name),
    out_dataset_name = dataset_name,
    spatial_reference = input_spatial_reference,
    include_floorplan = "EXCLUDE_FLOORPLAN"
)


### Create Temporary Building Layer from the Feature Dataset
temporary_layer = arcpy.management.MakeBuildingLayer(
    in_feature_dataset = feature_dataset_path,
    out_layer= f"{dataset_name}_Layer"
)

slpk_path = os.path.join(project_path, f"{dataset_name}.slpk")
print(f"Creating output at {slpk_path}")


### Create a Building Scene Layer Package
arcpy.management.CreateBuildingSceneLayerPackage(
    in_dataset = temporary_layer,
    out_slpk = slpk_path,
    out_coor_system = ouput_coordinate_system,
    transform_method = intended_transformation,
    texture_optimization = "DESKTOP",
    target_cloud_connection = None
)

### Share the Package as a Building Scene Layer (hosted)
results = arcpy.management.SharePackage(
    in_package = slpk_path,
    username = "",
    password = "",
    summary = "BIM Project Example",
    tags = "3D, building scene layer",
    credits = "",
    public = "MYGROUPS",
    groups = None,
    organization = "MYORGANIZATION",
    publish_web_layer = "TRUE",
    portal_folder = "Delete"
)

if results and results["out_results"] == "true":
    print(f"Successfully uploaded {slpk_path}\n")
    publish_results = ast.literal_eval(results["publish_results"])
    serviceItemId = publish_results["publishResult"]["serviceItemId"]
    print(f"Service Item ID: {serviceItemId}")
else:
    print(f"Error while attempting to upload {slpk_path}\n")
Stage 2: Update with the next development phase
In order to keep stakeholders updated on the project progress, you will update the information they have access to. In this stage, you are going to start working on updating/replacing the previous version with an updated version of the project, allowing stakeholders to see the most updated version of project.
Additionally, since the stakeholders have invested significant time in creating their project (and potentially the application used to view it), you will ensure that the replacement process maintains the existing Item ID. This will help the user reduce manual work when a new version of the building scene layer is added to the web scene.
Manually
- Convert the digital models into a single dataset with the BIM File to Geodatabase tool.
- Create a building layer from the dataset with the Make Building Layer tool.
- Save to layer (from the building layer) with the Save To Layer File tool.
- Create building scene layer from the layer with the Create Building Scene Layer Content tool.
- Share the scene layer package (.slpk) with the Share Package tool.
- Replace the original building scene layer with the updated one using the Replace Web Layer tool.
This is an overview of the code. The provided ArcGIS Notebook contains further details and explanations of the code. You can easily run it in ArcGIS Pro, allowing you to move through the code one step at a time.
Code Example
## Replace the prior version of the Building Scene Layer

### Define Variables
# The web layer that will be replaced.
currentItemId = "YOURCURRENTITEMID"

### Replace Web Layer
results = arcpy.server.ReplaceWebLayer(
    target_layer = currentItemId,
    archive_layer_name = f"{dataset_name}_archive_{time.strftime('%Y%m%d')}",
    update_layer = serviceItemId,
    replace_item_info = "REPLACE",
    create_new_item = "TRUE"
)

print(f"Successfully replaced web layer at {results[0]}.")
The new version of the building scene layer will inherit the same Item ID and the same name as the original layer created in Stage 1, keeping the scene up to date.
In a real-world scenario you would follow the same Stage 2 workflow as your project progresses and the information becomes available for the 90 percent and 100 percent levels of completion.
Summary
After following these steps, you can now automate the sharing of building scene layers to ArcGIS Online, minimizing production time with the most up-to-date project data required by the stakeholder.
Download the ArcGIS Notebook
Download the Sample Data


Article Discussion: