Ah, it’s that time of year when we geographers pour ourselves a steaming mug of hot coffee and place a stroopwafel over it until the caramel is nice and gooey and take the hand of other nearby geographers and sing O Denneboom together.
Say, what’s with all the Dutch references? Oh, that’s because this year I’ve teamed up with polymath Ruben Bruijning, of Esri Netherlands, to bring you a…drumroll…3D printed globe ornament! This is a lithophane of Earth:

A lithophane is a backlit 3D object that glows brighter or dimmer depending on how thick the material is. Areas where the ornament is thin, the light more readily shines through, so it appears light. Thicker areas let less light through, so they appear darker. It’s a 3D negative. Conveniently, this is just this sort of reverse-geographic thinking that I like to indulge in, and invite of anyone trying to get a sense for the amazing texture of our planet.
Would you like to print your own lithophane globe ornament? They look so fun! And tactile and intriguing and magical and geographic.
We turn this…

Into this…

Which, when you stuff some lights into it, looks like this…

Some resources
Here’s an ArcGIS Pro project with the map layout used for this globe. We used the beautiful TopoBathy terrain and bathymetry image service from Living Atlas, and simplified borders from Project Linework. Feel free to customize!

Here’s the resulting map image, ready for the turn-me-into-a-lithophane-sphere app.
Here’s a link to an online lithophane globe maker. This site wraps the 2D map image into a 3D model. The settings are already configured but feel free to play around. This site is not affiliated with Esri and there are others like it if you feel like perusing your options.

Here’s the resulting 3D printer STL file of the globe. For the print settings, choose an infill of 100% with no supports.

Here are two STL file options for the cap –the top piece that snaps into the hole at the top of the globe, through which you can string your lights. Choose this STL file for LED lights and this STL file for incandescent lights (a bit thicker). For the print settings, choose and infill of 20% and no supports.


Advice for customizing the map
If you are feeling dangerous and would like to customize the map, here are some bits of advice:
- Text does not well survive the printing process. We recommend no labels or if you are typographically inclined, few, large, simple labels.
- Fine details are likely lost. Design your map with general features. Not sure what works? Blur your vision and stand back. If it still looks decent, you are headed in the right direction.
- Contrast is key. The higher your map’s the contrast, the better it is likely to look as a lithophane.
But I don’t have a 3D printer!
You don’t have a 3D printer? That’s ok, hardly anyone does! I don’t, but my friend Ruben does. You might have a 3D-printing friend you can reach out to, or you might have access to a 3D printer at your local library, college, or maker space. These machines aren’t household items, but maybe you can identify a resource in your community and spread the infectious joy of geography to an unsuspecting populace. If not, here are previous paper-craft globe ornament projects from yesteryear that may be more accessible:
- 2018 Geodesic Globe
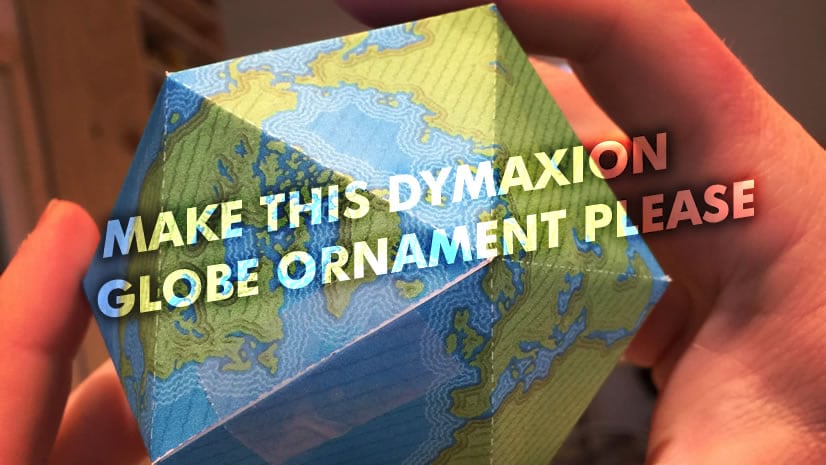
- 2019 Dymaxion Globe
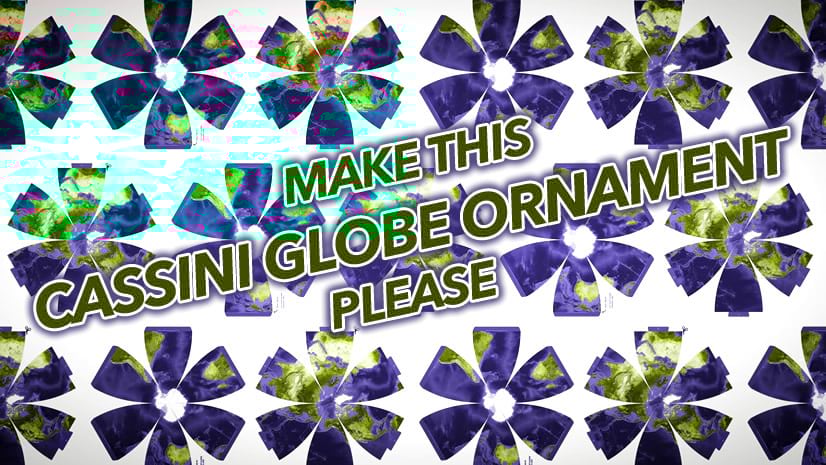
- 2020 Cassini Globe
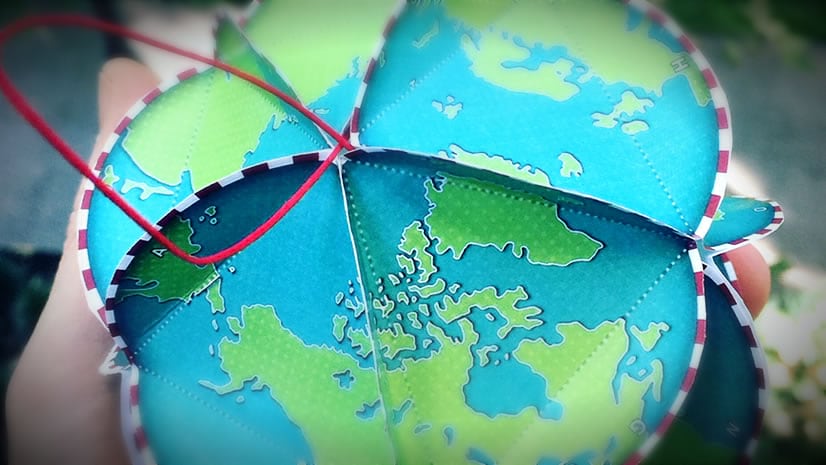
- 2021 Butterfly Globe
- 2022 Hemisphere Globe
Enjoy the process of making…and making friends. If you do print a lithophane globe ornament (or any of these previous years’ globes) we would love to see it! Please share photos of your good work wherever you like and tag Esri. We can’t wait to see what you make!

Article Discussion: