
ArcGIS Hub Premium enables organizations, like local non-profits, governments, or schools, that want to share a project or update with their community can start an initiative to create a site and to organize content and teams to share web maps, apps, datasets, and more with the public. They can also invite stakeholders within the community to help out by contributing their own content and assisting in outreach campaigns.
In this guide, we’ll take a look at the following:
- Starting an initiative
- Adding content, including surveys and new apps
- Building a core team
- Creating a call to action
- Sending messages to your followers
Before you get started
Initiatives and their engagement features require a license to ArcGIS Hub premium. If you don’t have ArcGIS Hub premium yet, you can get started with ArcGIS Hub basic.
To create initiatives, you will need to be an administrator or have an ArcGIS Online administrator will need to assign you a custom role based on the Publisher role with the following administrative privileges:
- The Create with update capabilities (Groups) privilege enables you to create a core team. The update capability means that anyone who’s a member of the group (core team members) can update any item shared to the group.
- The Assign Members (Groups) privilege enables you to add members directly to the core team without sending an invitation to their email. This is useful for people who already use Hub. After being added by the team, core team members can check their notifications next to user profile to find out what team or teams they’ve been added to.
- The Make groups available to public (Sharing) privilege enables you to create events.
See Initiative basics for more information.
Start an initiative
An initiative is From a series of events highlighting upcoming youth activities in a local park, to a community engagement campaign around an upcoming long-range plan, ArcGIS Hub can support your team in sharing your message with the right audience.
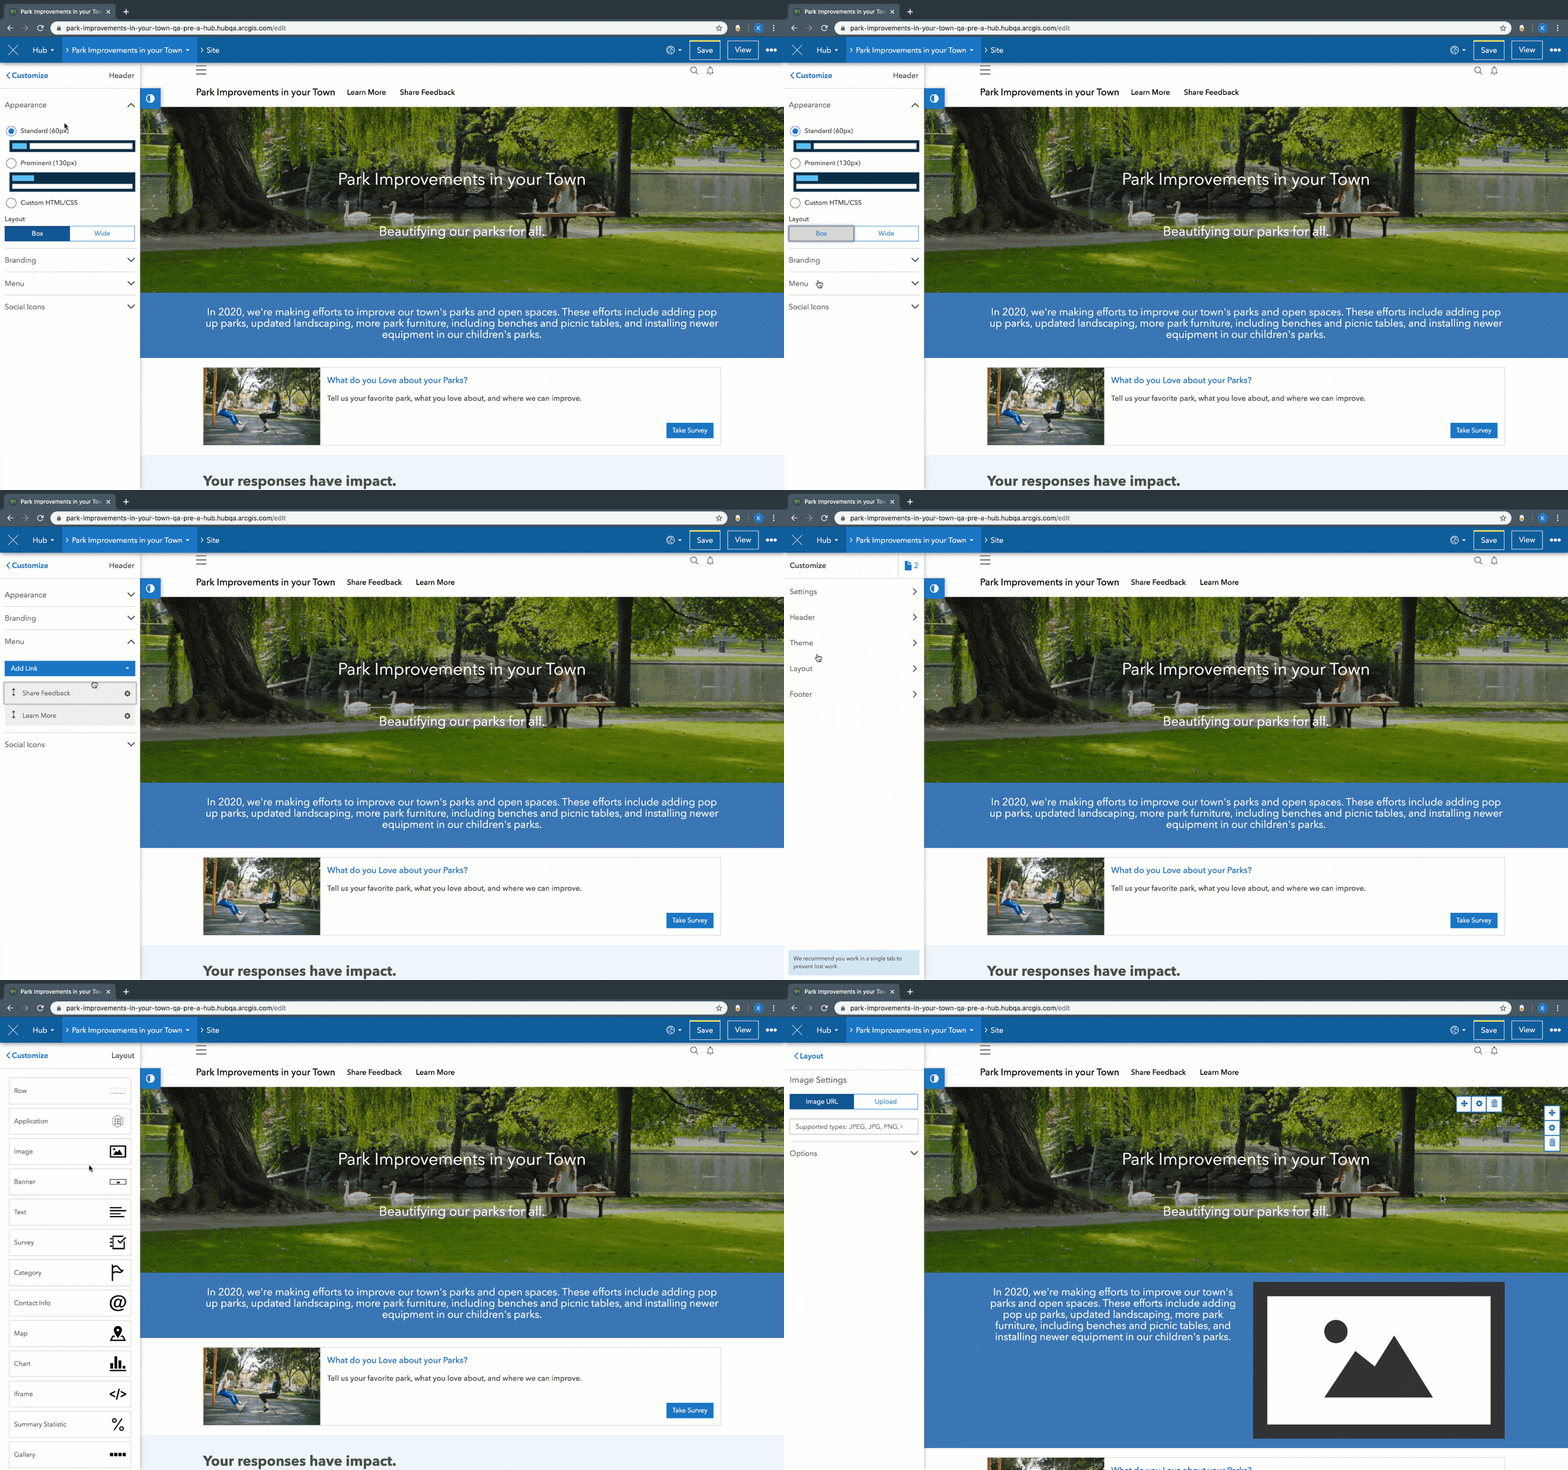
To try it out, take the new Get Started with ArcGIS Hub Premium learn lesson.
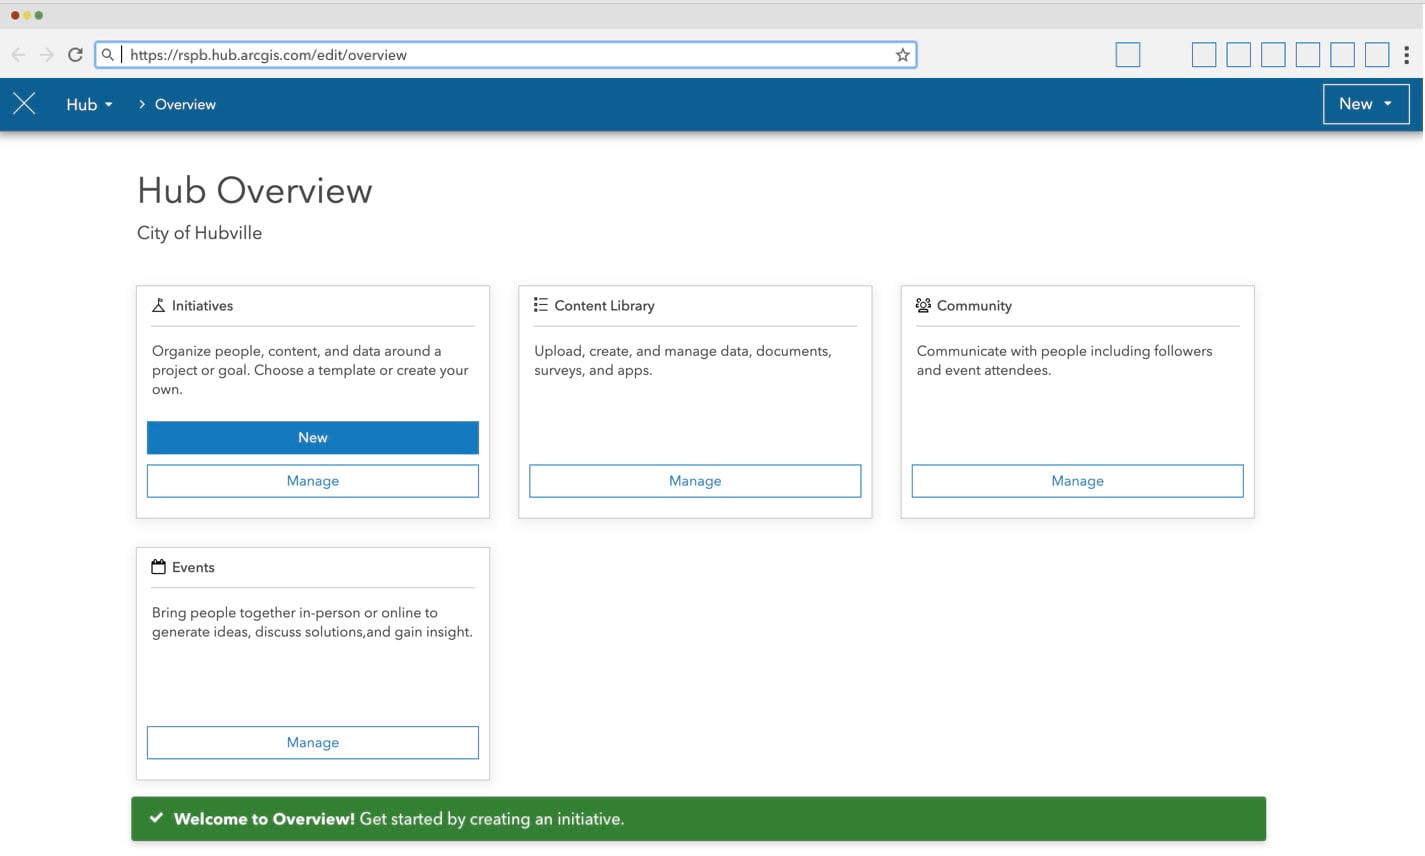
Or, if you your organization already has a license to ArcGIS Hub premium, you can sign in to ArcGIS Hub to access the Overview page. Then, click New on the Initiative card to get started.
Inventory your resources
Next, make a list of the content you have and the things you think you’ll need to successfully convey your message. Will it be useful for people to see charts and metrics, such as data related to proposed developments? Or, do you need a way to generate feedback on something, like a sense of place survey to gauge the impacts of a new streetscape project?
As part of every initiative you create, you can add events, share surveys, and add content to power your initiative’s search results and to use when designing the layout of your sites and pages.
For steps on how to get started, see the following posts:
Build your first team
Don’t worry if you’re not sure what you want to share yet or if you don’t have all your content prepared. You can work collaboratively with colleagues and stakeholders outside of your organization by adding people to your initiative’s core team. Together, you can organize content, including data, web maps, surveys, events, and story maps, as part of your initiative’s content library. Core team members can even help out by adding details for their respective team’s or organization’s events and by editing the layout of a site with updated content.

The initiative’s core team is your opportunity to reach out to people, including students, local officials, non-profits, community advocates, healthcare providers, and volunteers, so that they can represent their community. With the ability to message each other, invite other members to the team, send targeted surveys, and connect with initiative followers, core team members can provide knowledge and insight and empower other people to take part in the processes and decisions that shape the places around them.
For more information, see Get started with teams.
Create a call to action
Using a call to action, your core team can prompt visitors to your site to create a community account. This account enables any member of the public to “follow” an initiative for updates, sign up to attend events, receive emails from the team, and create and save their own web maps and story maps using public data.
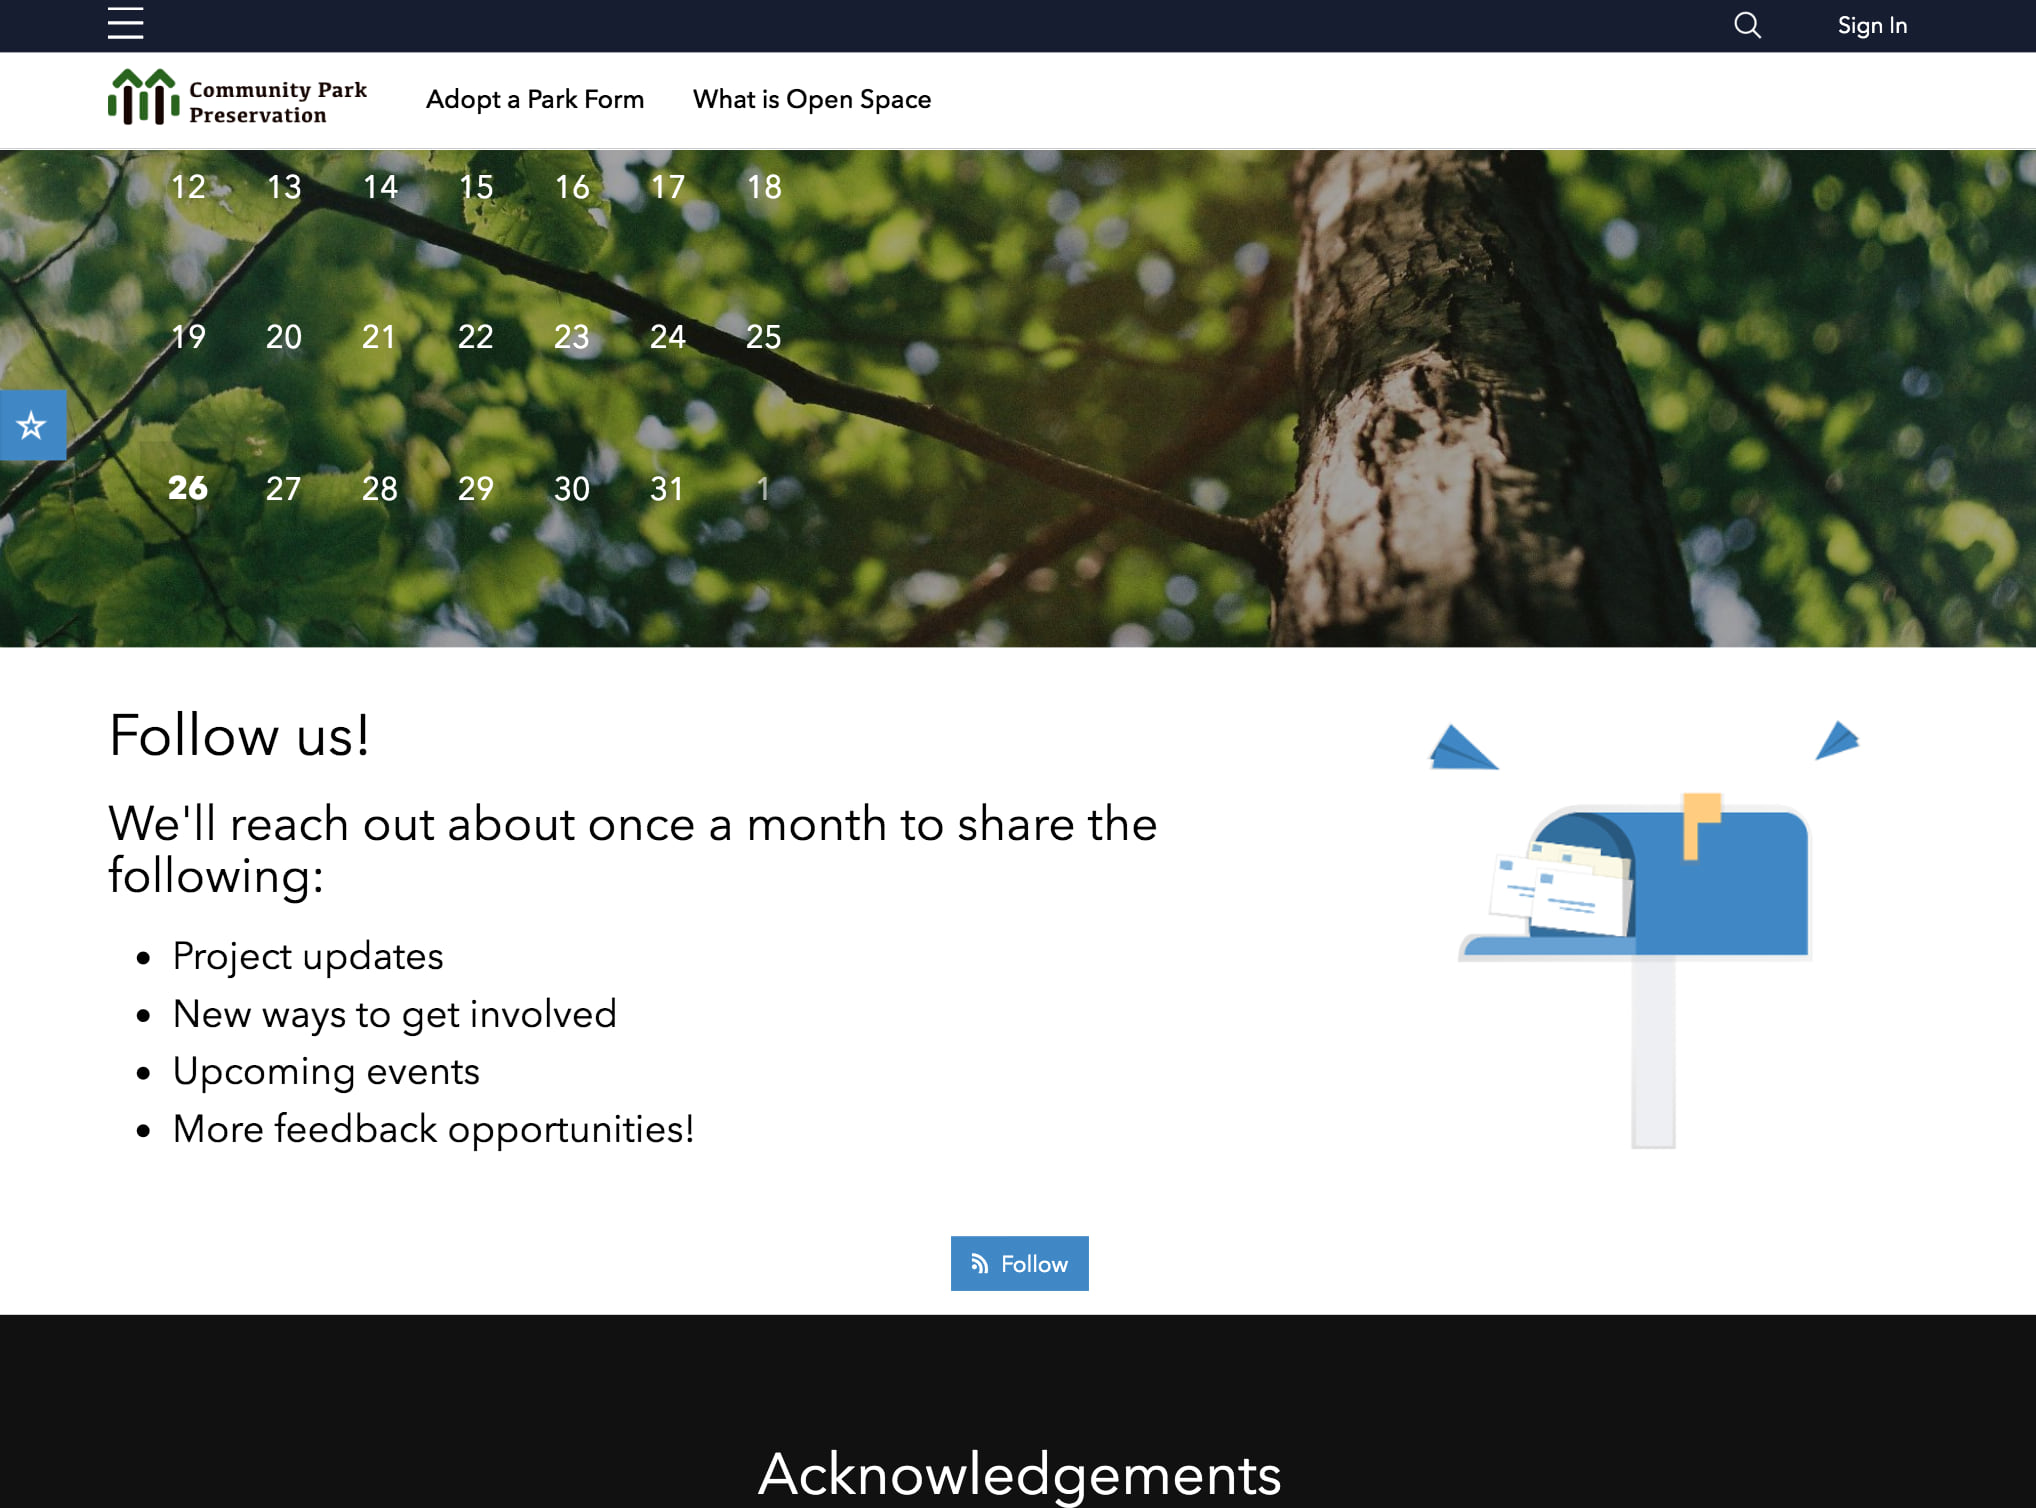
When configuring a call-to-action for your initiative, consider what kind of messages you plan on sending your followers. Maybe you want to send monthly emails with status updates. You might also want to follow-up from a meeting with a survey. You can also reach out to individual followers to coordinate data contributions, answer questions, etc. Whatever it is you plan on sharing, the Follow Initiative card lets you configure your call-to-action with your own phrasing (i.e. Learn More, Sign Up, Volunteer, Tell Us More, Get Involved).
To create one for your initiative, follow these steps.
Set the visibility of the followers group (and add the “follow” star to your site)
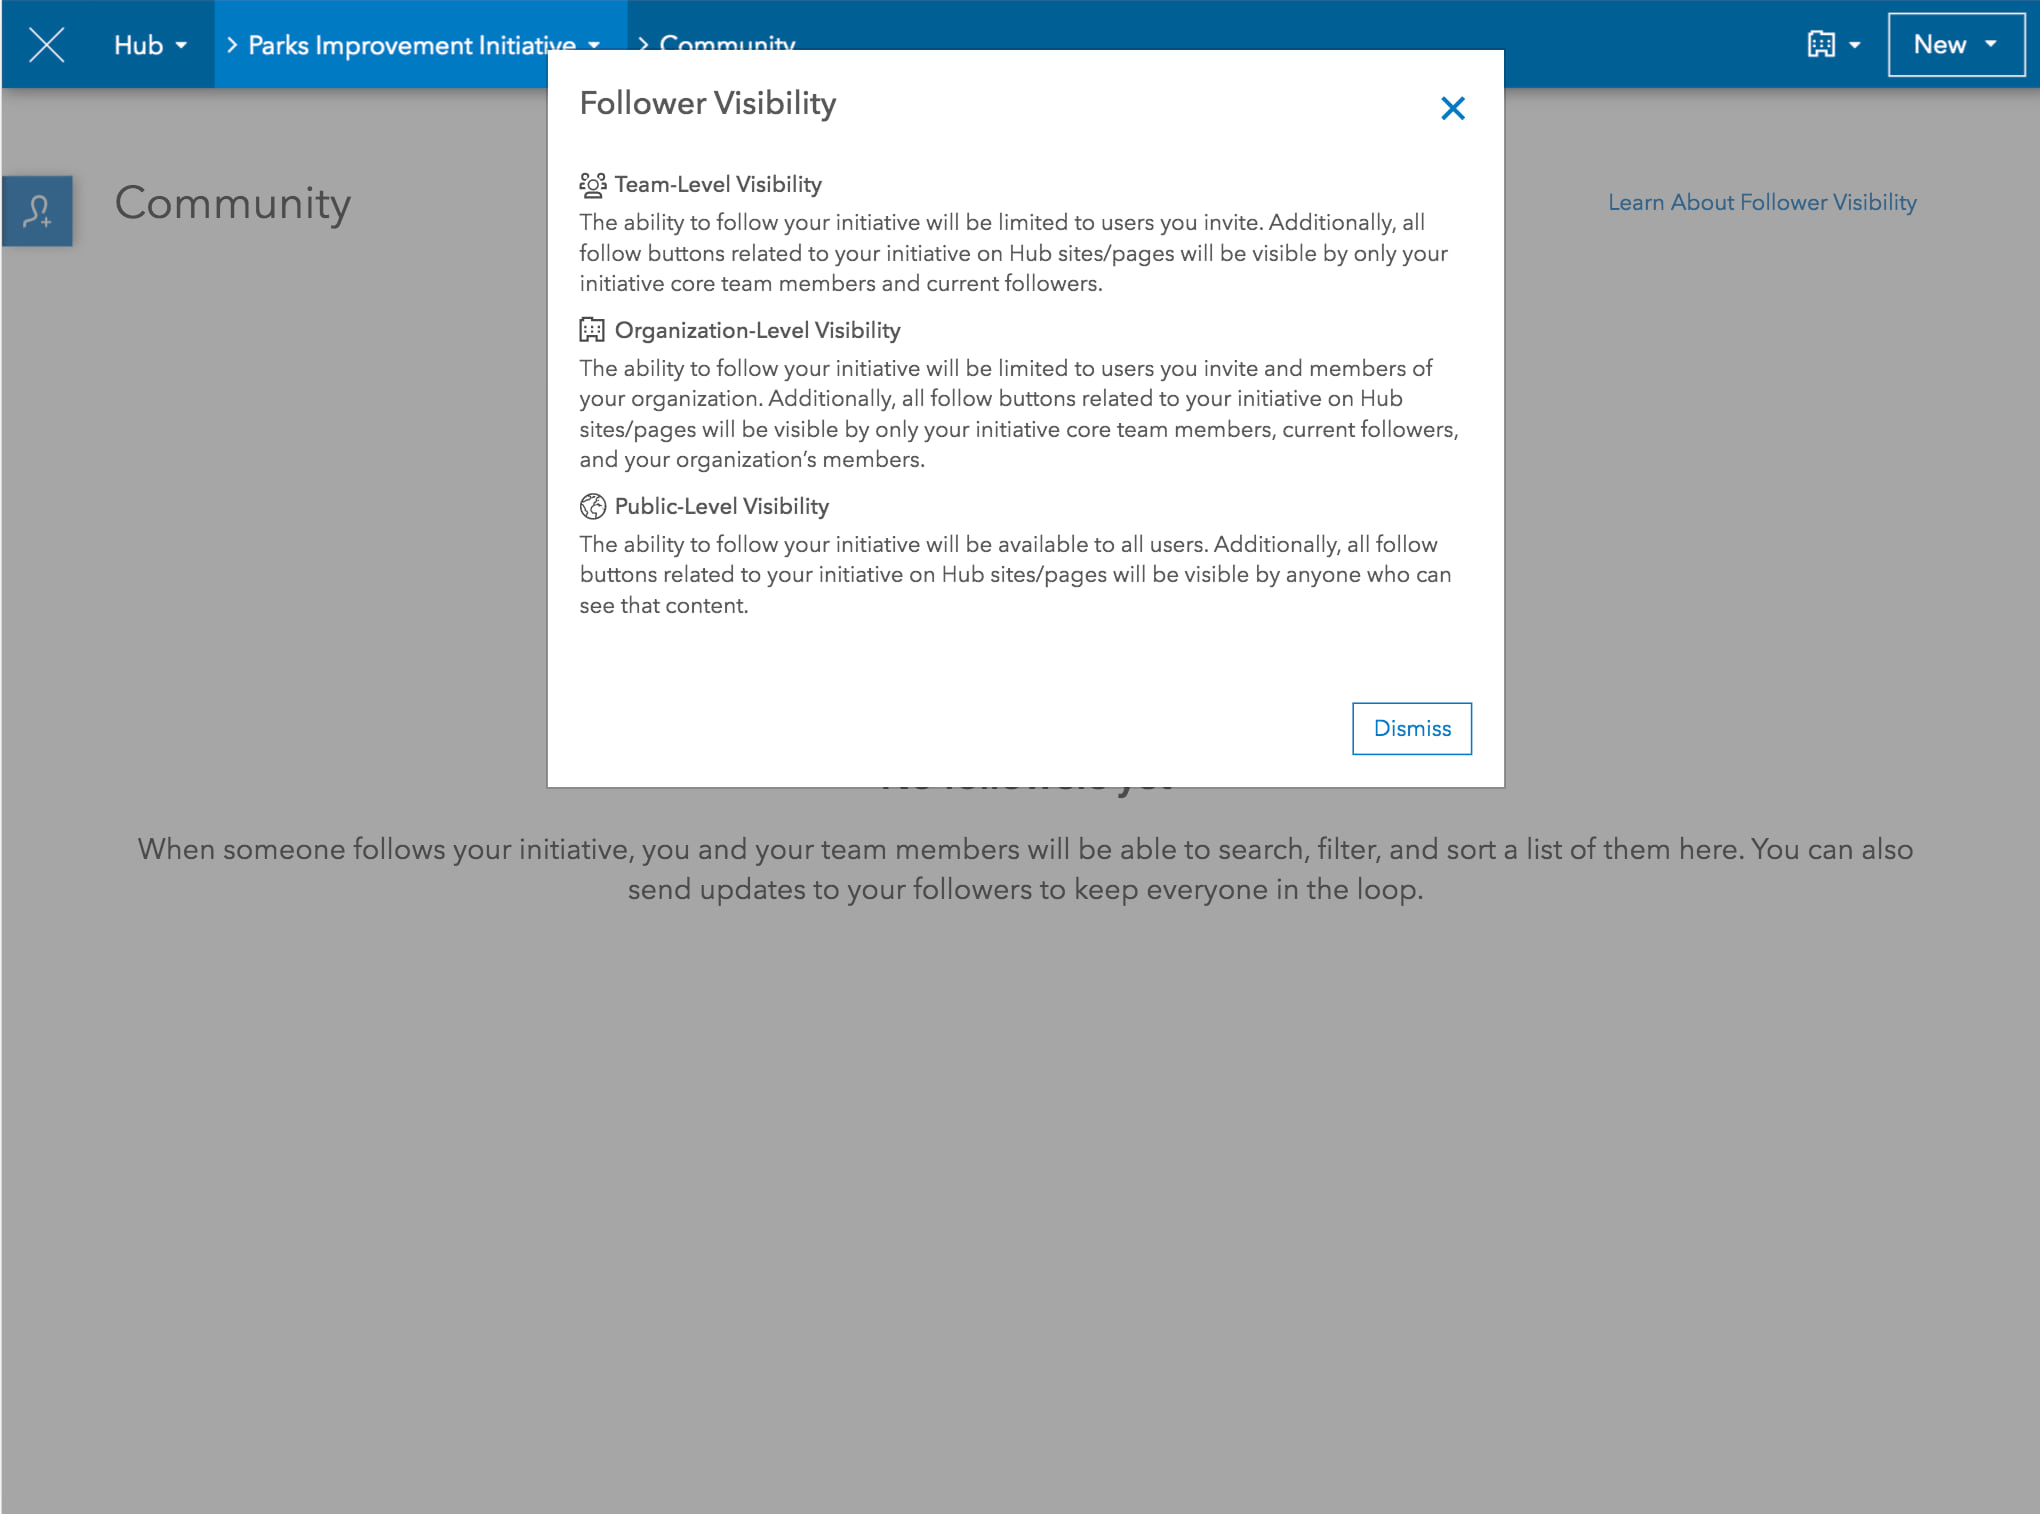
To make your call to action visible to the public, you must adjust the visibility of the initiative’s followers group. This group works behind the scenes to create a list of followers so that you know who signed up to “follow” your initiative. By default, it is shared with members of your organization, but you can change it by following these steps:
- Open the initiative in edit mode.
- In the second dropdown menu, click Community.
- Click the visibility dropdown menu in the top right corner of the edit navigation bar.
- Choose Public.
Send your first message
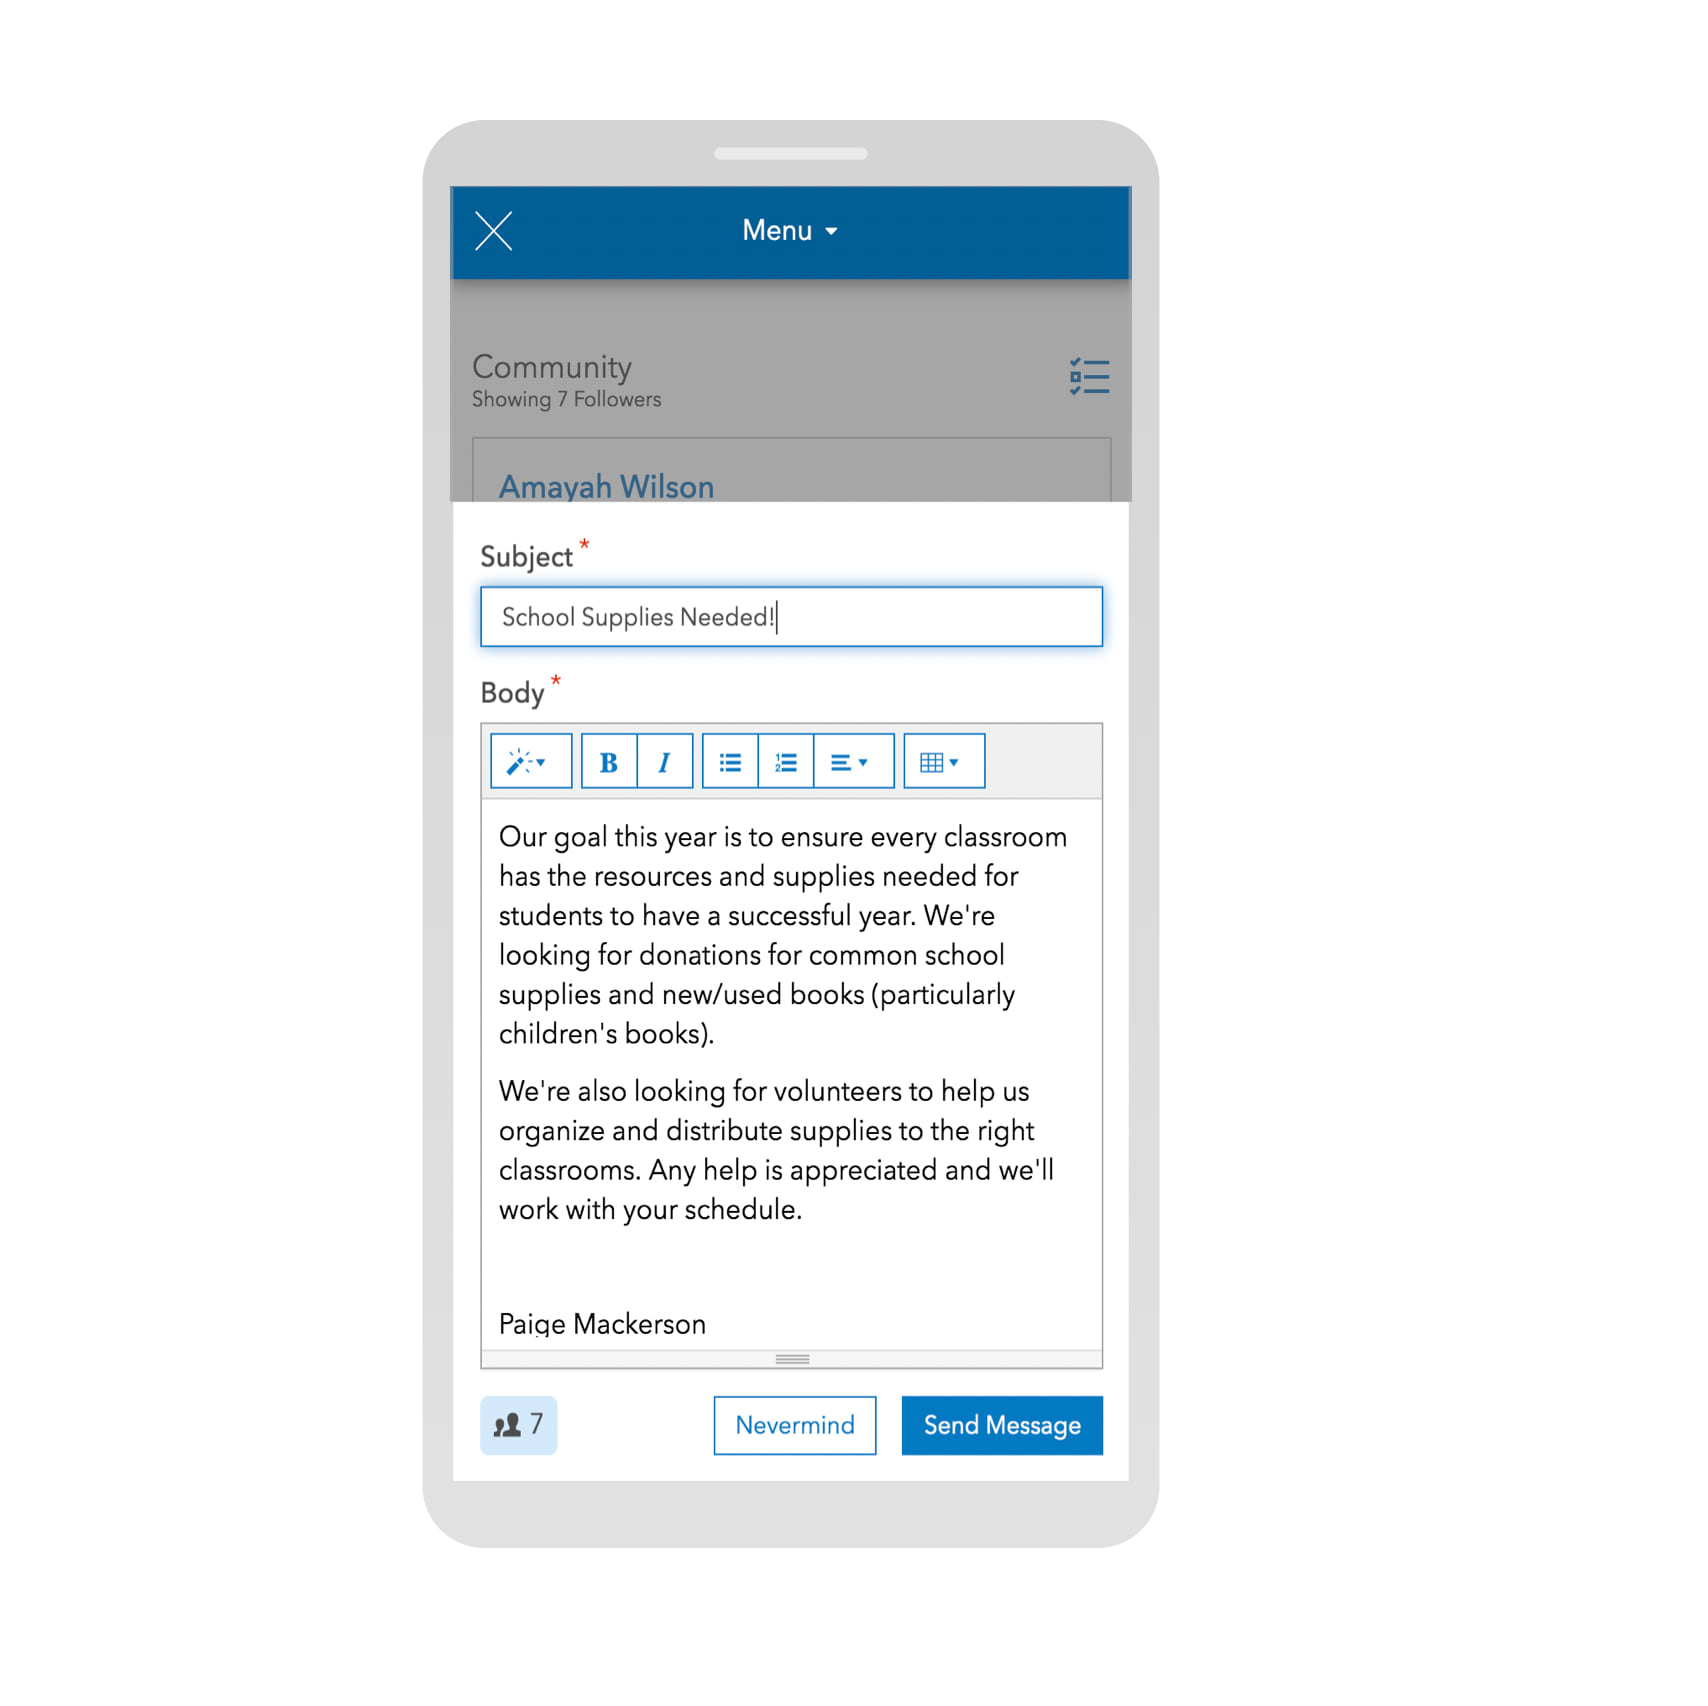
When you’re ready to send a message, open your initiative, click the initiative dropdown menu, and choose Community to a view a list of followers.
Next, compose your email with whatever message you want to share.
- Welcome people who’ve recently joined by saying hi to the people at the top of your list filtered by Date Joined.
- Add a link to a survey to request feedback or to get more information. For example, an initiative to encourage school supply donations could include a survey to find out more about when people are interested about volunteering.
- Include a follow-up to a survey to let people know how their input impacted the initiative. Don’t forget about the summary statistic card, too. This is a quick way to share key metrics about your initiative right on your site.
- Send monthly updates to keep people in-the-know on an initiative’s status.
And, don’t forget the subject line! Subject lines are best when they’re short, sweet, and to the point.
Not ready to start a messaging campaign, yet? Set the visibility of your followers group to Core Team. Only core team members will be able to see the “follow” star appear on your site.
Next steps
When you’re ready to share your initiative out there by sharing the link for your initiative site on social media. Know someone who might be interested in your initiative? Invite them to join your Hub community and follow your initiative.
If you’re new to ArcGIS Hub, try ArcGIS HubBasic to get started with sites. Premium features, events management and initiatives templates require additional licensing.
For product updates and tips and tricks, sign up for our e-newsletter. We’re also looking for feedback. Join the Hub User Lab to tell us what you think and to learn more about what’s coming!
This post was originally published on September 23, 2019, and has been updated.


Article Discussion: