Content management is a big part of building your Hub. Making sure your datasets, documents, maps, and apps show up to your community the way you want them to takes work. Some might even say too much work. Ever since Hub’s early days as ArcGIS Open Data, the relatively simple task of adding content to your initiative required that you create a group, add your content, share your content to the group, and add the group to your site, all before you got to the fun part of actually building your site. All in all, adding content to Hub has always required at least three steps too many, which is why we’re happy to announce all that’s changing. Starting today, you’ll begin to see more features focused specifically on content management, with the larger aim of reducing the amount of work it takes to create quality content on your initiatives and sites.

Add Existing Content
Earlier in the fall, we announced the Content Library as the new place to manage all of your Hub content. With this week’s release you can now add existing content within your ArcGIS Online organization directly to your Initiatives and Sites. Here’s how to try it out:
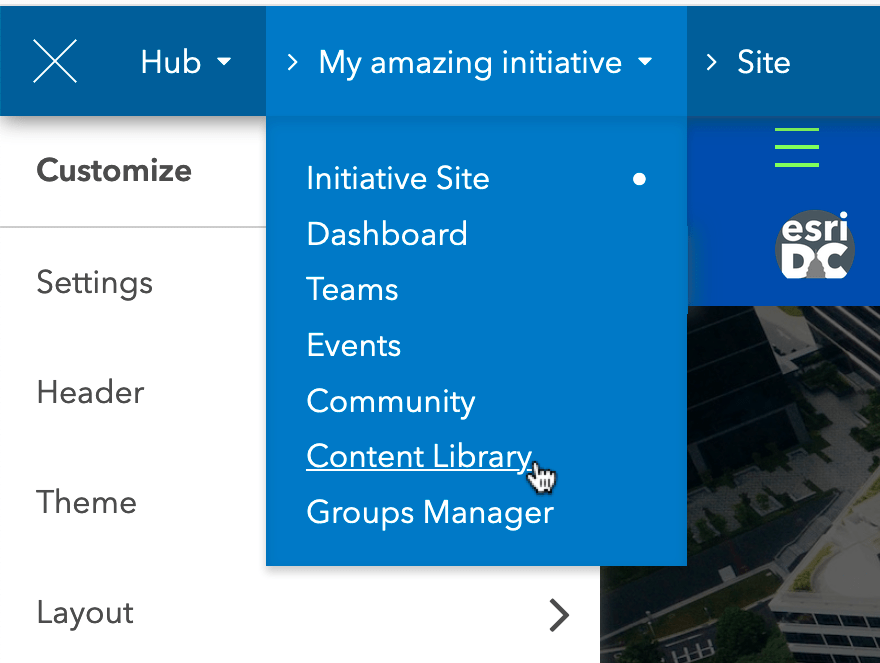
1. Access your Initiative/Site Content Library
First, make sure you’re logged in and on the Hub Overview. From there, open your initiative and from your initiative dropdown click Content Library.

2. Click Add Existing Content 
Once you’re in the Content Library, click Add Existing Content , which will open an item picker for all content in your ArcGIS Online organization.
3. Select and add your content
From the Add Existing Content item picker you can select as much content as you’d like, using the search box and content filters to help you find what you’re looking for. Once you’re happy with your selections, hit Add and we’ll take it from there.

4. Share with your community
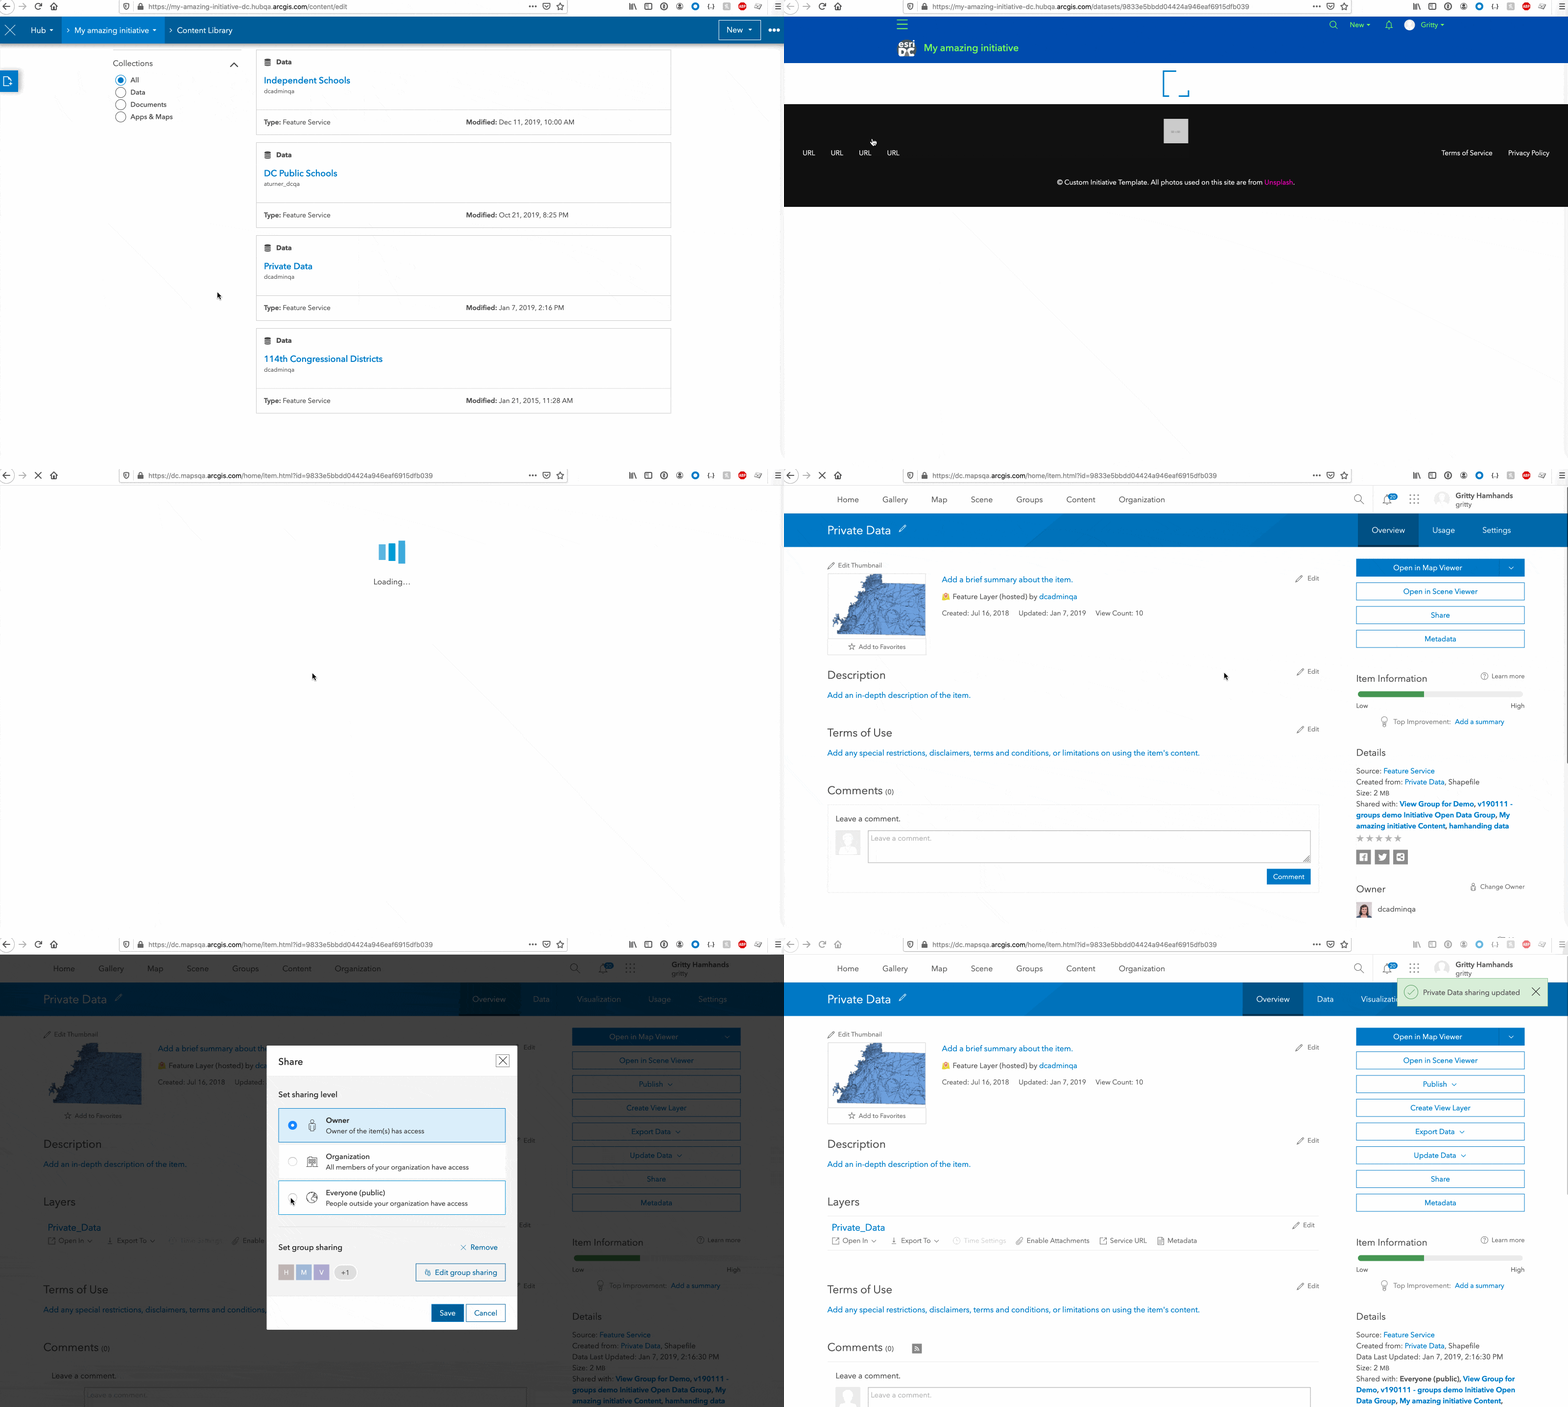
Once your content is in your Content Library you can set sharing to make sure it’s accessible to your defined community. We’re adding sharing controls in the coming weeks, but for now click the Edit Pencil on your content’s page to set your item’s sharing in ArcGIS Online.

What’s next
- Add content hosted elsewhere: add feature services, documents, and other URLs
- Upload content: add data and documents from your desktop to your initiative, including geocoding for spatially data, hosted in ArcGIS Online
- Metadata editing: make changes to your titles, tags, sharing, and more right from your content page
Commenting is not enabled for this article.