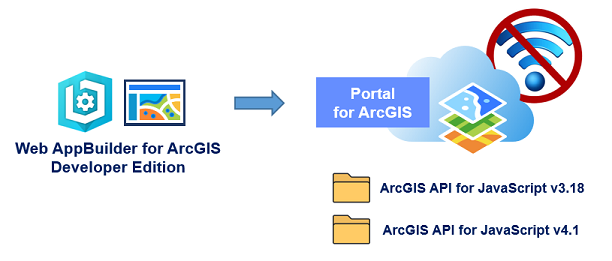
This blog post was contributed by Craig Cleveland, a Solution Engineer on the National Government Team in the Esri Washington, DC office.
Most users that would like to deploy Web AppBuilder for ArcGIS Developer Edition with Portal for ArcGIS can follow the Get Started directions and be up and running almost immediately. However, some customers using Portal for ArcGIS operate in a completely disconnected environment (without access to the Internet), and for these users a few quick adjustments to the deployment workflow are required before they can get started.
A prerequisite for successfully deploying Web AppBuilder Developer Edition v2.2 in a disconnected Portal environment is to deploy a copy of v3.18 of the ArcGIS API for JavaScript. This technical support article outlines how to accomplish this if you’re not already familiar with the process. (Although the article references v3.16 of the ArcGIS API for JavaScript, the process is identical for v3.18.) The article also explains how to configure the ArcGIS API for JavaScript for use with ArcGIS Server, but that process is not necessary for this use case.
 Once you have enabled a local instance of the ArcGIS API for JavaScript library, the following steps outline the modifications that need to be made to Web AppBuilder:
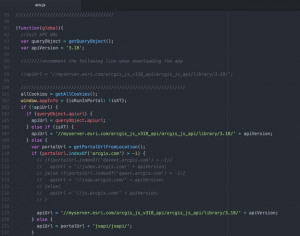
1. Browse to the unzipped location of Web AppBuilder Developer Edition and navigate to the clientstemapp directory. Open the env.js file in a text editor (e.g. Notepad++) and modify the apiUrl variables on lines 98, 107 and 119 to point to your local ArcGIS API for JavaScript v3.18 deployment. Once completed, save and close the file. The following are examples of what the references look like before and after the modifications have been made.
Before: apiUrl = ‘//js.arcgis.com/’
After: apiUrl = ‘//myserver.esri.com/arcgis_js_v318_api/arcgis_js_api/library/3.18/’
Note: the URL to your instance of the ArcGIS API for JavaScript may vary depending on if you’ve chosen to deploy it as outlined in the technical support article, or if you’ve made additional adjustments as desired.
2. The next change is to update the URL of the Geometry Service in your config.json file. In the same directory noted above (clientstemapp) open the config.json file in a text editor and modify the “geometryService” value to point to a local ArcGIS Server URL.
Before: “geometryService” = ‘http://tasks.arcgisonline.com/ArcGIS/rest/services/Geometry/GeometryServer’
After: “geometryService” = ‘http://myserver.esri.com/server/rest/services/Utilities/Geometry/GeometryServer
To use the 3D capabilities of Web AppBuilder Developer Edition you’ll need to repeat this process once more in an additional location. FYI: The 3D capabilities in Web AppBuilder utilize version 4.1 of the ArcGIS API for JavaScript.
3. Browse to the unzipped location of Web AppBuilder Developer Edition and navigate to the clientstemapp3D directory. Open the env.js file in a text editor and modify the apiUrl variables on lines 96, 105 and 116 to point to your local ArcGIS API for JavaScript v4.1 deployment. Once completed, save and close the file. The following are examples of what the references look like before and after the modifications have been made.
Before: apiUrl = ‘//js.arcgis.com/’
After: apiUrl = ‘ //myserver.esri.com/arcgis_js_v41_api/arcgis_js_api/library/4.1/’
Note2: please keep in mind that the URL to your instance of the ArcGIS API for JavaScript may vary depending on how you’ve chosen to deploy it.
4. The final change is to update the URL of the Geometry Service in your config.json file. In the same directory noted in step 3 (clientstemapp3D) open the config.json file in a text editor and modify the “geometryService” value to point to a local ArcGIS Server URL.
Before: “geometryService” = ‘http://tasks.arcgisonline.com/ArcGIS/rest/services/Geometry/GeometryServer’
After: “geometryService” = ‘http://myserver.esri.com/server/rest/services/Utilities/Geometry/GeometryServer’
At this point you’ve made all the necessary changes to utilize the Web AppBuilder for ArcGIS Developer Edition v2.2 in a disconnected Portal environment. Follow the Get Started directions from here and you should be up and running in no time!


Commenting is not enabled for this article.