ArcGIS Experience Builder is a highly configurable solution for building compelling web apps without writing code. Choose a template and create an immersive web experience by including web maps, apps, pages, interconnected widgets, and both 2D and 3D data through a flexible drag-and-drop interface.
About Express mode
Express mode in ArcGIS Experience Builder is designed to make app building easy, enabling you to quickly and efficiently make engaging apps. Choose from a variety of templates to begin creating a new app, then follow the streamlined workflow to complete your experience.
You can add and configure additional widgets in each layout template, select different themes, and preview apps in desktop and mobile views prior to publishing. You can move an experience from Express mode to Full mode if you need more advanced features and layout settings.
Use Express mode to focus on essential functions and content when designing an experience. If you are familiar with ArcGIS Web AppBuilder, Express mode provides familiar template options and workflows for users newly migrating from Web AppBuilder to Experience Builder.
The general steps for using Express mode to create your app are as follows:
- Sign in and open Experience Builder
- Go to Express mode
- Choose a template
- Add widgets and configure
- Choose a theme
- Save and publish
See the sections below for more information on these steps.
Open Experience Builder
There are four ways you can open Experience Builder.
Start from scratch
1 – Go to experience.arcgis.com and sign in to your ArcGIS account.
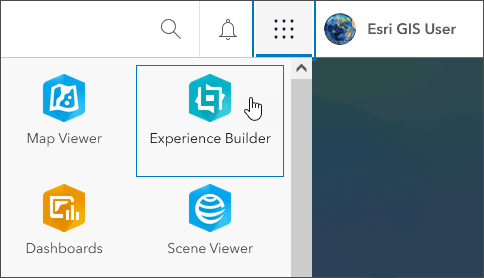
2 – Sign in to your organization and launch Experience Builder from the app launcher.
Start from a map
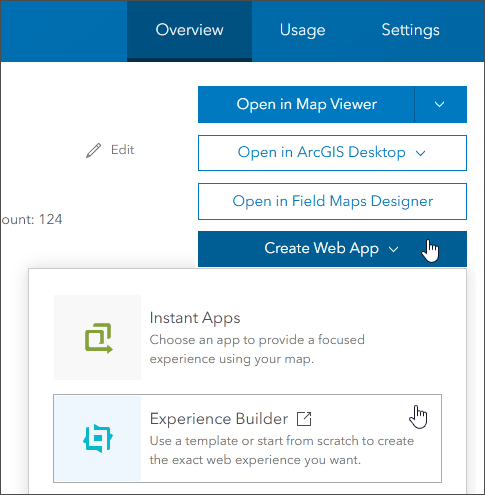
3 – From the map item Overview, click Create Web App, then choose Experience Builder.
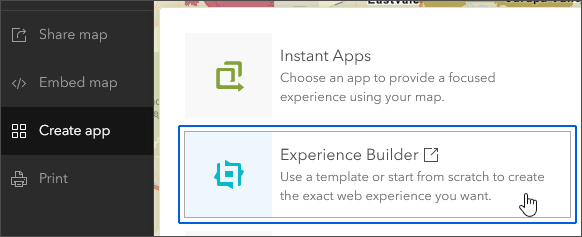
4 – Open Experience Builder from Map Viewer by clicking Create app on the Contents (dark) toolbar, then choosing Experience Builder.
Go to Express mode
Experience Builder has two modes for building apps: Express mode and Full mode. Express mode focuses on configuring the most essential features while Full mode provides access to all app editing features. Note that once you’ve begun editing an app in Full mode, you cannot go back to Express mode.
When you open Experience Builder, you should see the Express mode information window. If not, click the question icon next to the mode selector.
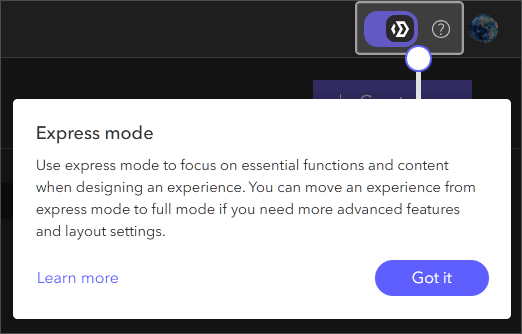
When using Experience Builder, the last mode you worked in is persisted the next time you open it. To change modes, click the mode selector in the upper right.

If you’ve opened Experience Builder from the website or App launcher, click Create new to begin.
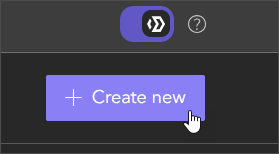
An empty map will appear in a template. You’ll need to configure a map for the Map widget later on.
If you opened Experience Builder from Map Viewer or a map item, the map you launched it from will automatically appear in the template.
Select a template
Express mode currently supports nine different templates, similar to ones you may have used in Web AppBuilder.
Tip: These same templates can be opened in Full mode by choosing the Web AppBuilder classic templates.
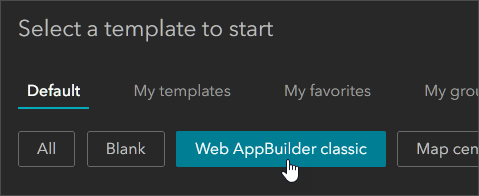
The Express mode templates appear on the left, click any of them to view the map within the template. Once you’ve chosen the template you want to use, click Create new app.
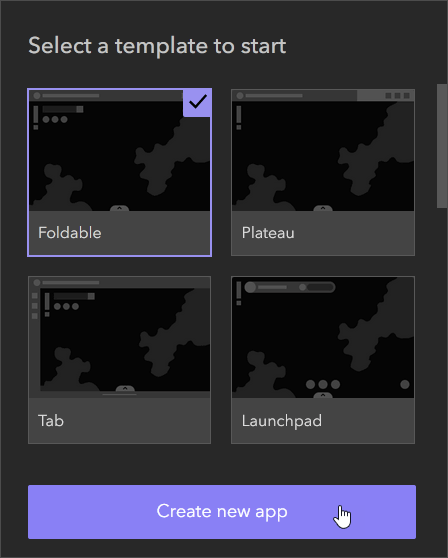
Select or change the map
If you started from scratch, you’ll need to add a map. If you started with a map, you can change the map by selecting a new one.
Click the map widget, then click Select map from the configuration panel on the right.
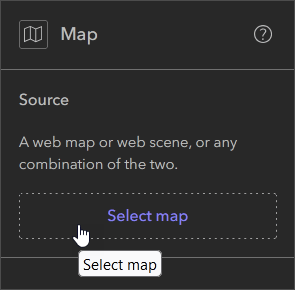
Use the Select data pane that opens to search for and add a new or different map. Once your map is selected, you can explore and apply other settings found in the Map widget configuration panel.
Configure and add widgets
Each app template uses widgets and has one or more containers for widgets. The containers are also widgets; Widget Controller widgets that can be configured to include other widgets. In the templates some controllers already have ready-to-use widgets, others are empty and intended to be used to add and configure new widgets.
For example, the default Foldable template has Legend, Map Layers, and Basemap widgets located in the controller in the upper right.

The Foldable template also has an empty controller located below the Search widget.
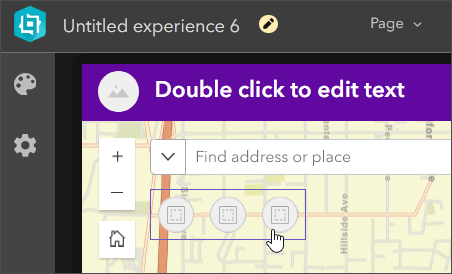
Configure an existing widget
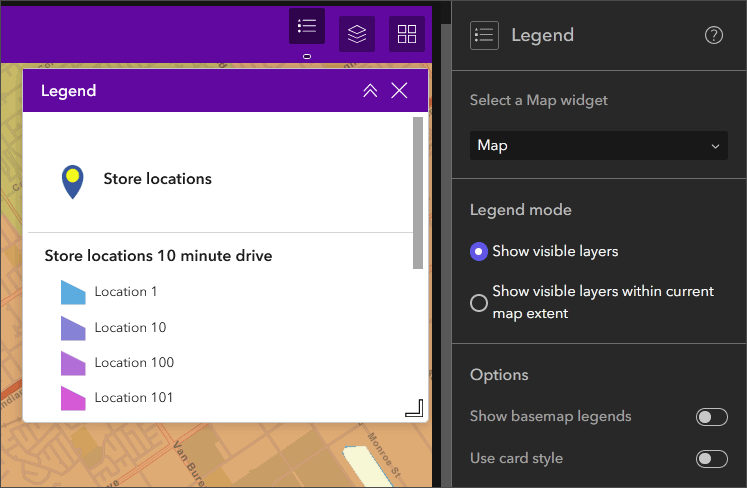
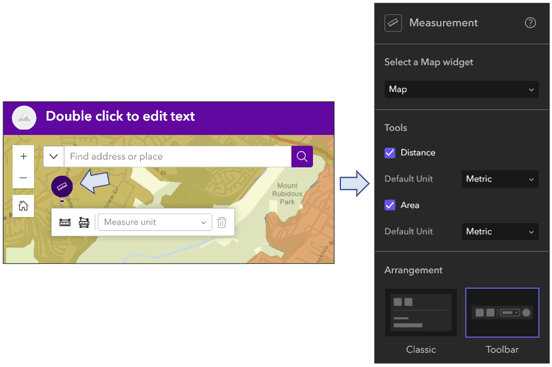
To change the settings for an existing widget, select it and adjust the settings in the widget configuration panel. Note that controllers can also be configured for appearance, arrangement, tooltips, and more.
Add a new widget
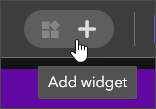
To add a widget, select a Widget Controller. Click Add widget (+), which appears at the top in the Builder toolbar.
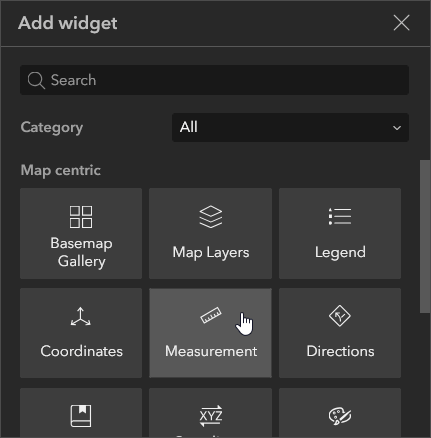
Click the widget you want to add from the Add widget gallery.
The newly added widget will appear in the controller. Select the widget to change its settings in the Configuration pane.
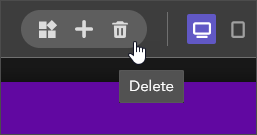
Delete a widget
To delete a widget, select it, then click Delete at the top in the Builder toolbar.
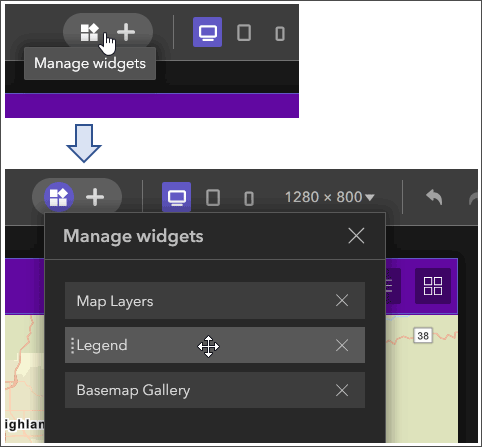
Arrange widgets
When you select a widget or a widget controller, Manage widgets becomes visible on the Builder toolbar. Click Manage widgets to display a list of widgets in the controller. You can drag and drop them to reorder, or drag and drop a widget onto another to create a group.
App title and logo
After configuring widgets, configure your app title and image if your template includes them. You can also remove the title and image if not wanted.

Choose a theme
Experience Builder offers a collection of themes to style your app. Open the Theme gallery to choose a theme to match your desired look and feel, or your organization’s color scheme.
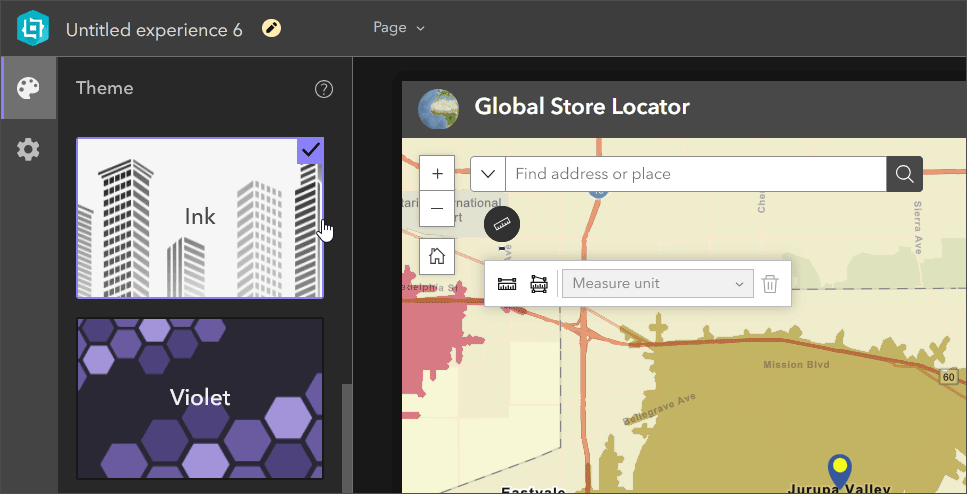
Click Customize at the bottom of the Theme gallery to change individual colors, fonts, and more.

Save and publish
When finished, save and publish your work. You can also preview your app prior to publishing it.

Doing more
The sections above cover all the essentials for using Express mode to create an app quickly an easily. But there’s lots of other things you can do, here’s a few to consider.
Preview your app on a specific device
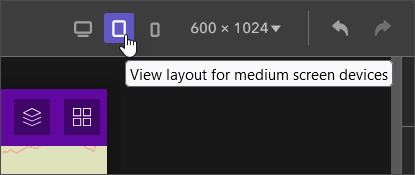
While Experience Builder apps are responsive, if you know the target users of your app will be using tablets or phones, you can preview the app on those devices. Click the Preview options on the Builder toolbar to see how your app will appear.
You cannot do any device-specific editing while in Express mode, you can only edit the large screen. If you need to configure your app for a specific device, enter Full mode to do so.
Do more in Full mode
Express mode offers the easiest and quickest way to create an app. However, you can leverage Full mode to access all of the capabilities of Experience Builder. Click the options menu (…) and choose Switch to full mode to open your app in Full mode. Note that once you edit your app in Full mode, you cannot go back to Express mode.

More information
For more information, see the following:


Commenting is not enabled for this article.