In web GIS, the demand for managing a wide variety of 3D data is rapidly growing. The support for 3D models is especially important due to their widespread use across various industries. Thus far, scene layers have been the means to address this demand. However, this 3D object workflow requires all necessary data to be managed locally (as a multipatch feature class) and published as a web layer for visualization. While this method works well for static 3D content that doesn’t need frequent updates, it lacks flexibility; any data changes require the layer to be republished.
In June 2023, Esri introduced the 3D object layer. You can now:
- Host your 3D models in ArcGIS Online and ArcGIS Enterprise.
- Edit (add, update, delete) these 3D features directly on the web using Scene Viewer or custom web apps built with ArcGIS Maps SDK for JavaScript.
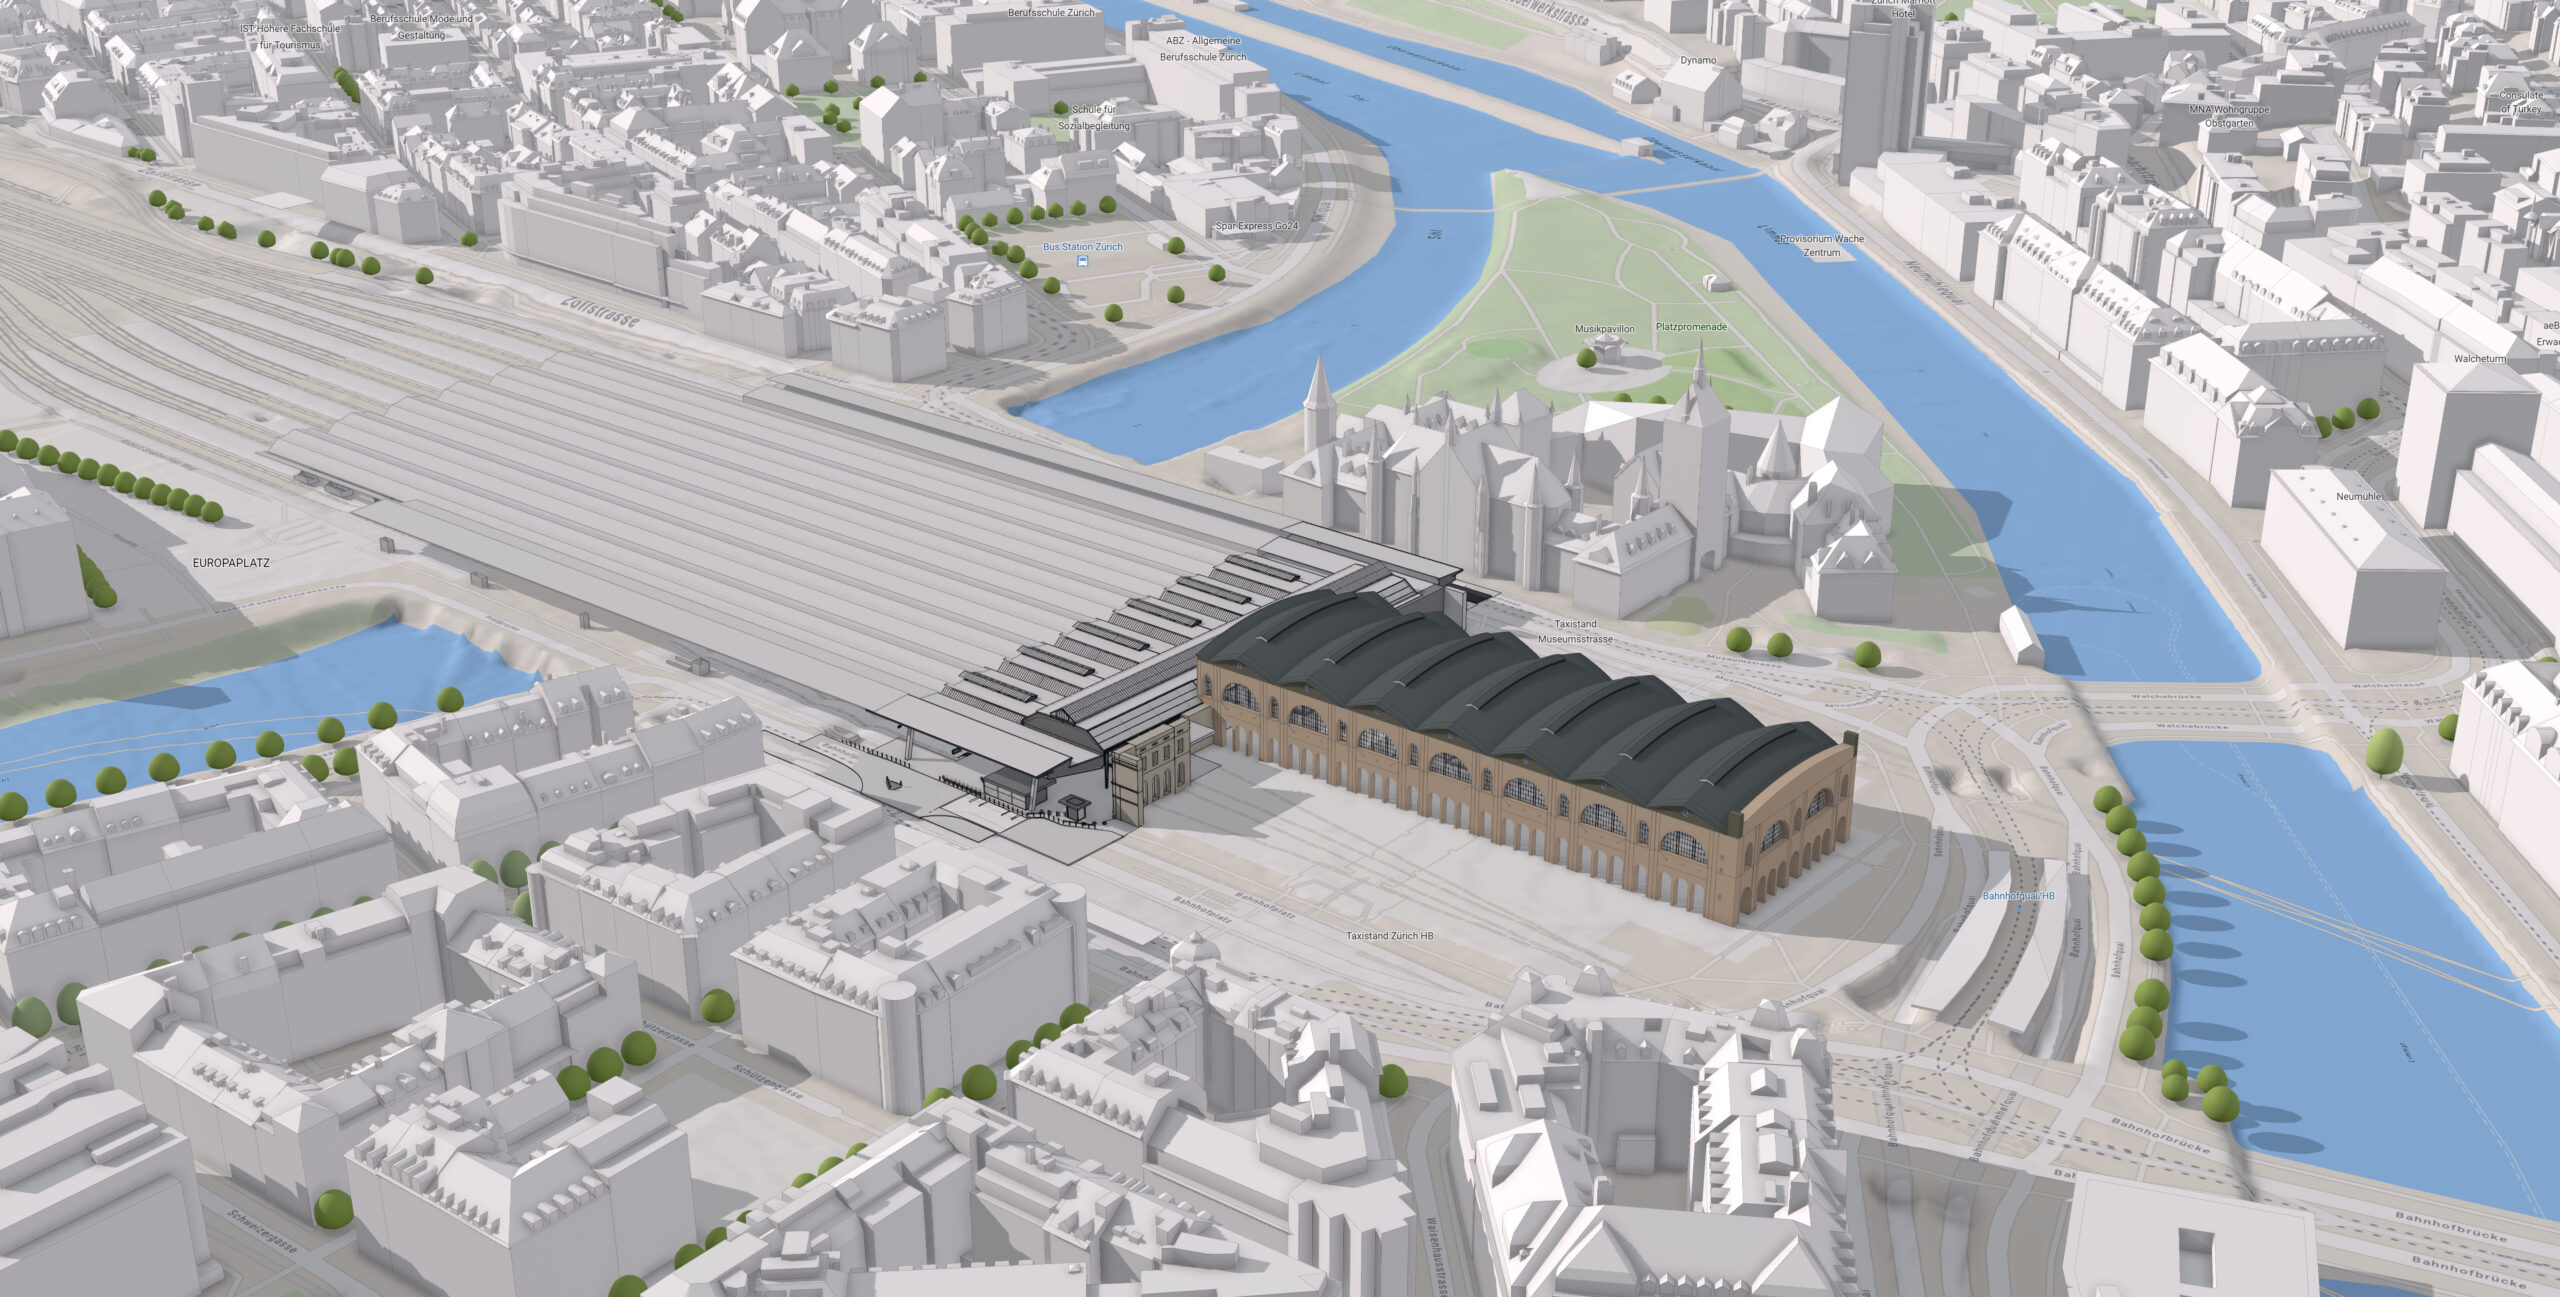
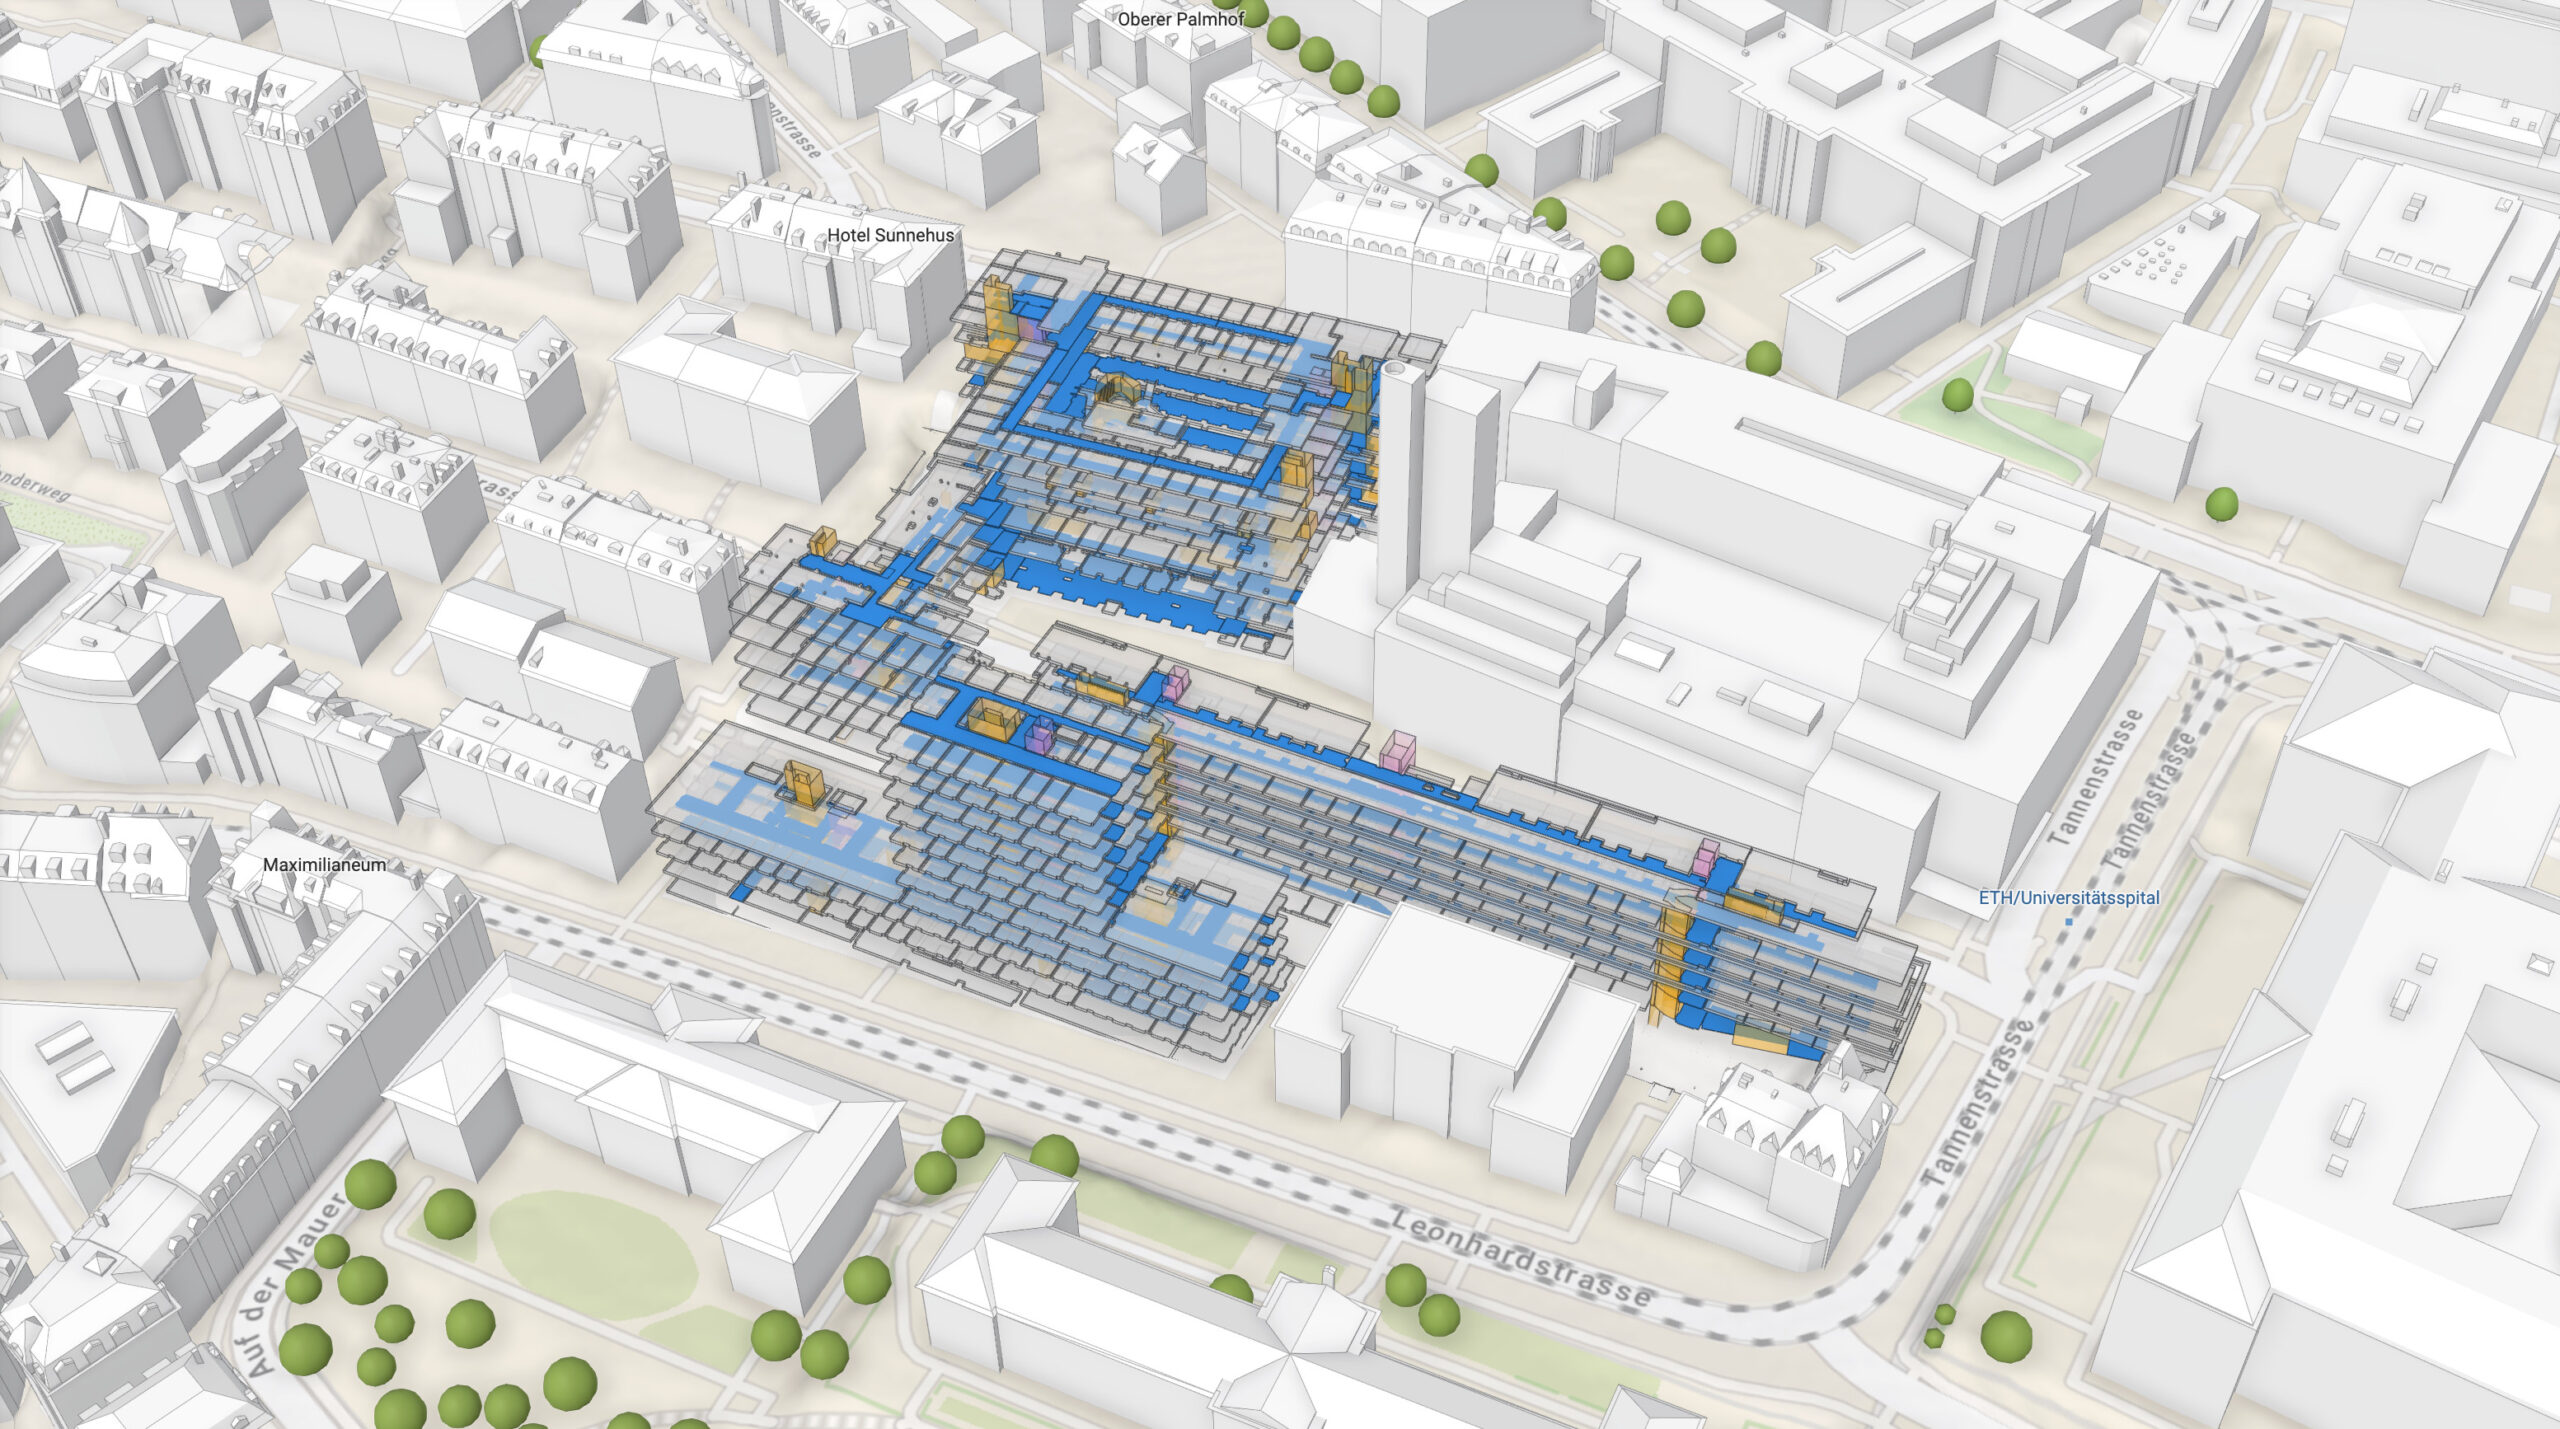
As a result, ArcGIS can function as a “system of record” for geolocated 3D objects such as buildings, building parts, street furniture, bridges, or underground structures.

You can upload models in various formats. Upon upload, your models are securely stored in the 3D object layer without loss and are accurately geolocated. Once you store a 3D model, you can easily update its position, orientation, scale, and other custom attributes without altering the source files.
This blog post aims to provide you with all the basics to get you started.
Below is a preview of the key areas we will be delving into:
The value of 3D object layers | Publishing | Sharing | Editing | Caching | Best practices
The value of 3D object layers
We believe there is significant potential for new applications across various industries:
- Architects, engineers, and urban planners can now georeference and evaluate their designs directly within a 3D context, leveraging the new 3D basemaps.
- Government agencies can further streamline and digitize the electronic submission process for building and planning documentation. They can also provide public access to downloadable 3D assets, enabling faster and more efficient workflows for their users.
- Archaeologists can create and update 3D models of excavation sites, preserving detailed records of their findings. Alternatively, historical sites can be virtually reconstructed, enhancing our understanding of civilizations and enriching educational practices.

Implementation overview
The capabilities of the 3D object layer are achieved by integrating a 3D object scene layer with a 3D object feature layer. The scene layer enables efficient display, while the associated feature layer serves as a database, enabling ad-hoc editing and querying. There may be a temporary performance impact during the editing process, as edited features are drawn from the feature layer rather than the optimized scene layer cache. The extent of this impact on your workflow will depend on the number and complexity of the edits. However, once editing is complete—or at regular intervals—you can rebuild your 3D object layer through a process known as caching, restoring it to its full efficiency.
Publishing a 3D object layer
Now that we have some background, let’s explore how to create and publish a 3D object layer. For publishing, you can use either ArcGIS Online or ArcGIS Pro 3.2 or newer versions. ArcGIS Online provides a more streamlined workflow for publishing an empty layer. However, since this feature is newly available, it currently only supports publishing in the geographic coordinate system WGS 1984 spatial reference. Since our example uses a projected coordinate system, we will set up our project and publish our layer using ArcGIS Pro.
Setting up your project in ArcGIS Pro
Choosing the appropriate spatial reference for a GIS project is crucial. To ensure compatibility of the 3D object layer with your project, you should publish it using the same spatial reference.
To visualize your data on the globe, use a Global Scene and make sure your 3D object layer is published using the WGS 1984 coordinate system. To work in a projected coordinate system (PCS) suitable for your geographic area, use a Local Scene. Ensure that your data (including basemaps and layers) and your 3D object layer are published in that PCS. This setup ensures maximum accuracy in georeferencing your 3D content.
While Web Mercator is a commonly used PCS for visualizing web GIS content, it introduces significant distortions and scale variations. We do not recommend using it in a local scene (projected) or as a spatial reference for publishing 3D object layers.
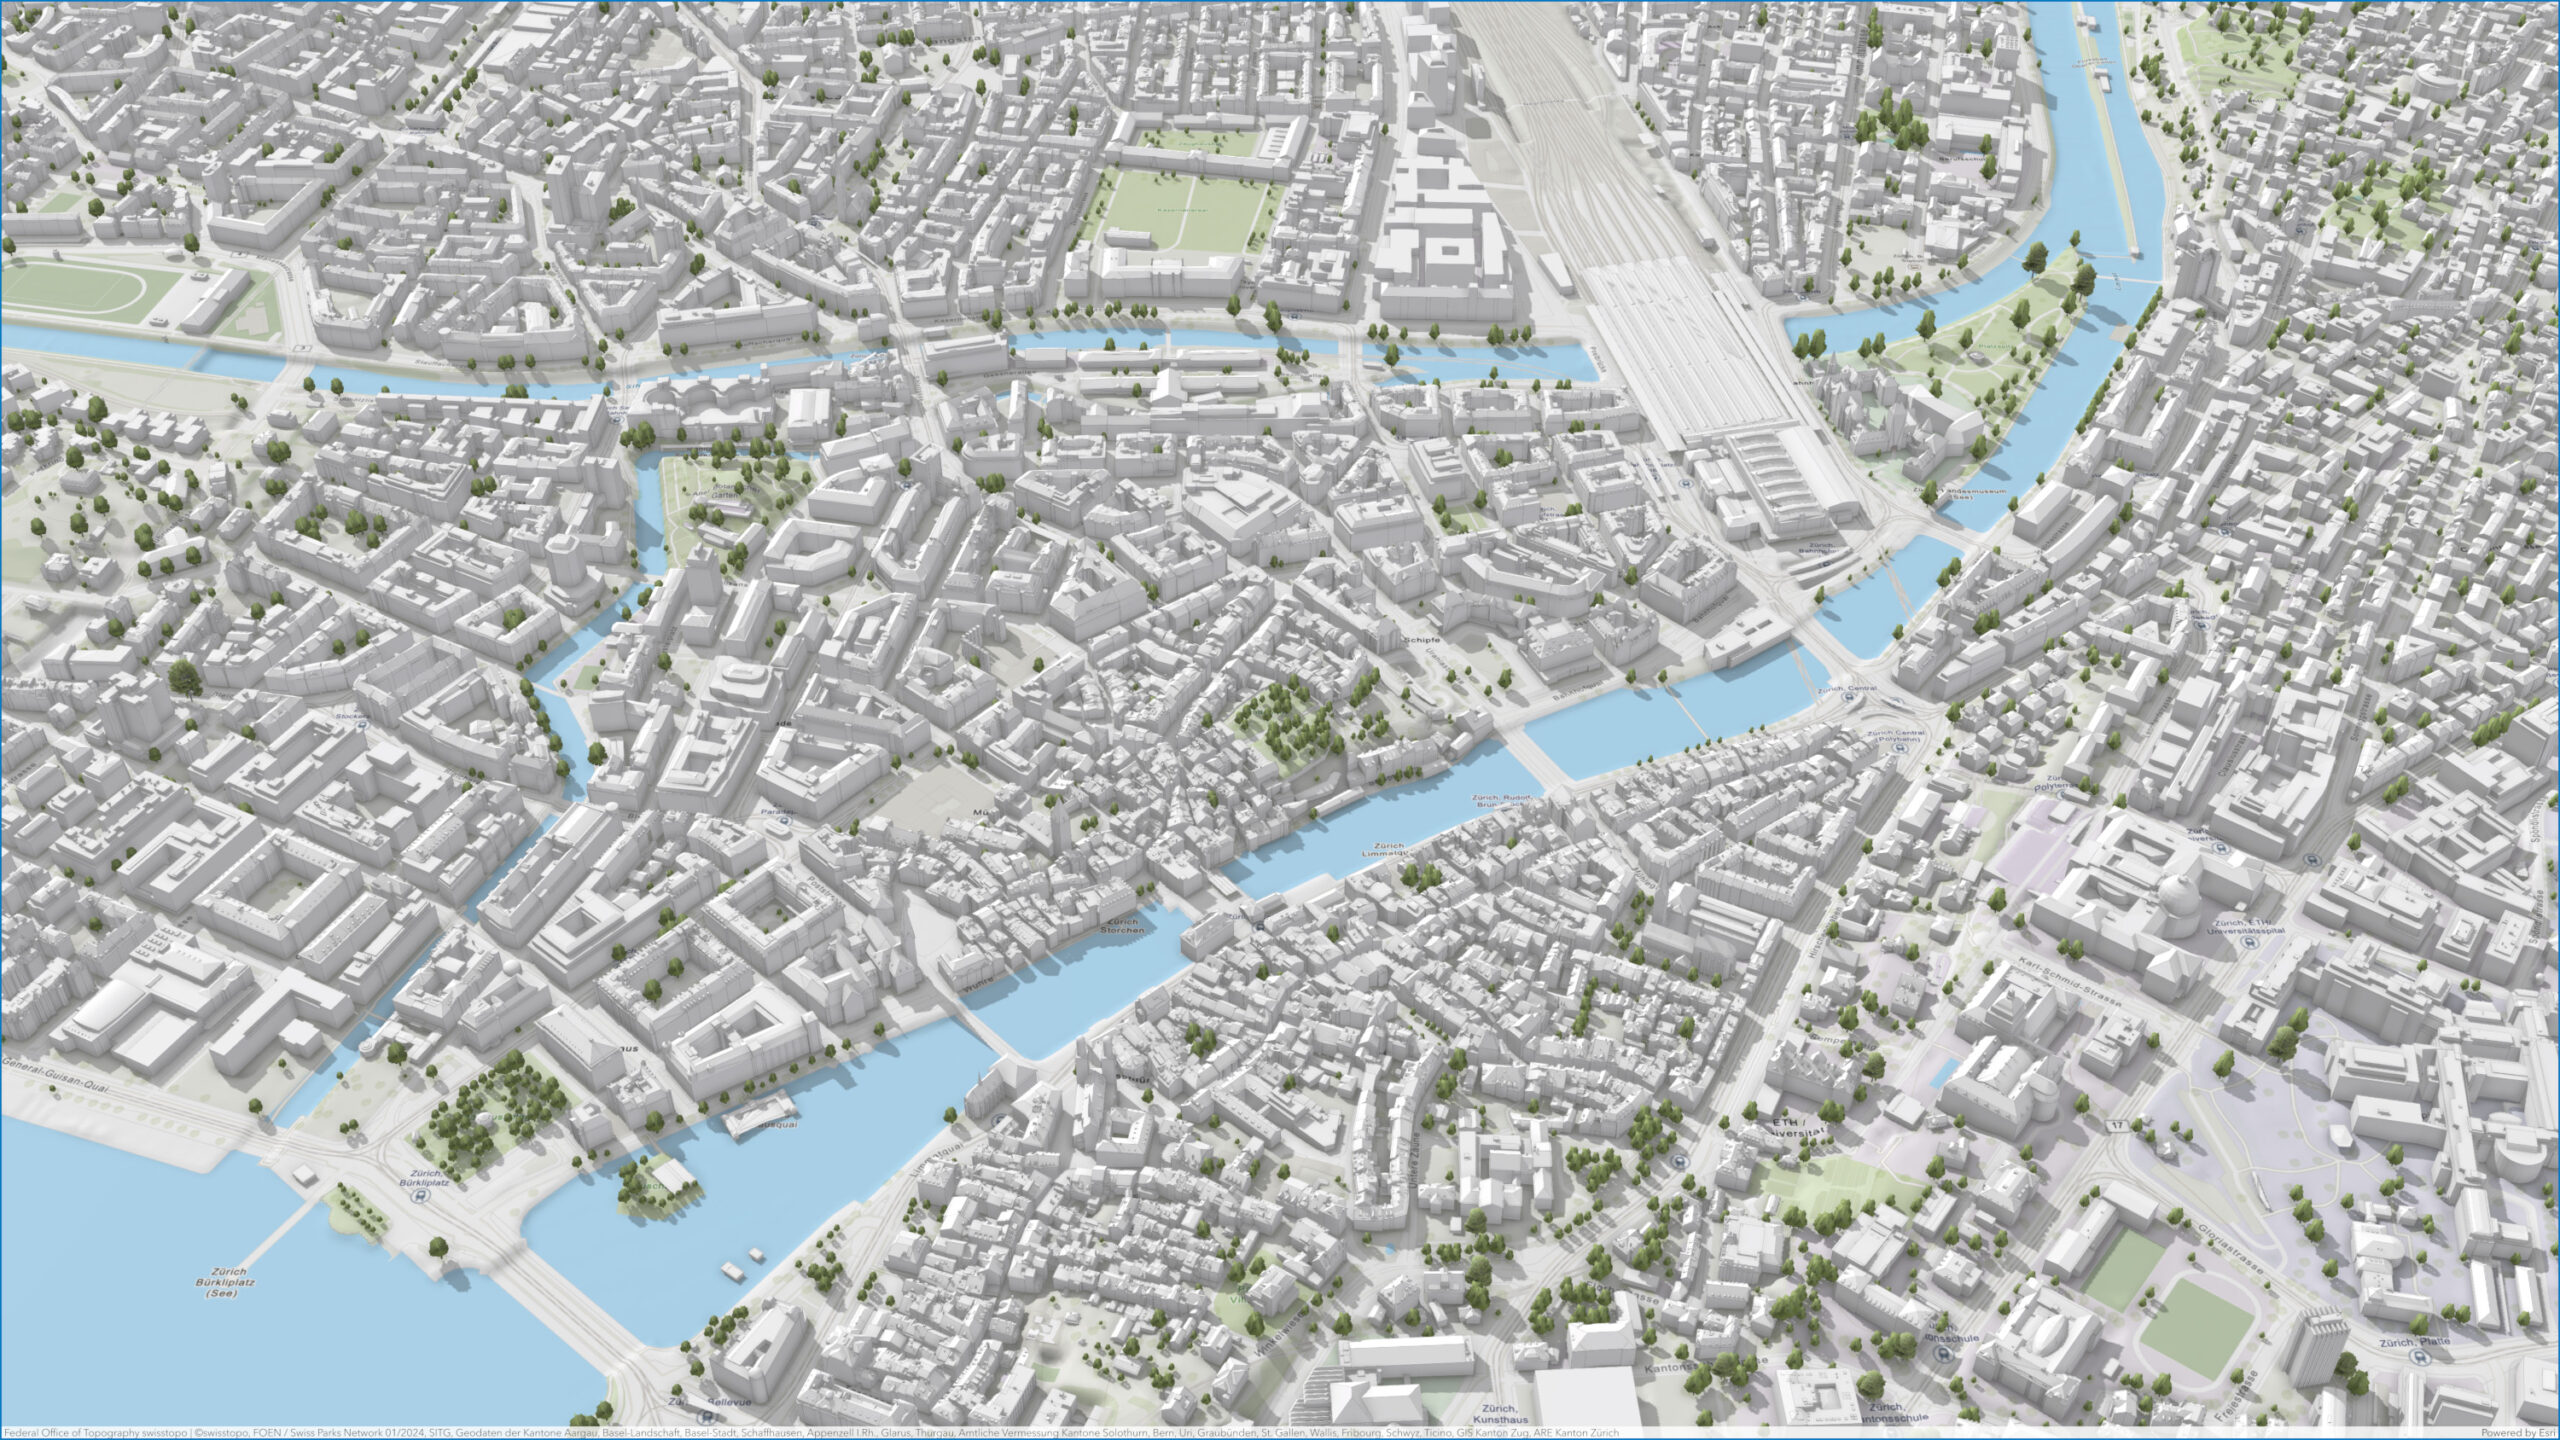
This blog post uses LV95, the PCS used in Switzerland, as an example. The workflow ensures maximal precision in georeferencing 3D models in Switzerland. All necessary layers, including basemaps, elevation layers, and 3D building objects, are publicly available in LV95, allowing you to follow along.
As a next step, you need to publish a 3D object layer that will host your 3D models.
If you do not have layer publishing permissions but still want to test 3D object layers, we recommend checking out the SceneLayer Upload 3D Models and ApplyEdits sample from the ArcGIS Maps SDK for JavaScript documentation. This sample allows you to upload, georeference, and edit a 3D model from your file system.
When sharing a 3D object layer with other people, you need to think about two key questions:
- Who should be able to perform edits (add, update, and delete models)?
- Who should be able to view the layer and its edits?
To define your sharing setup, you have two tools at your disposal: The layer’s sharing settings and the option to enable or disable editing. Different sharing scenarios require different combinations of these two settings. Let’s dive in and explore what you need to know.
Understanding sharing settings
Each layer has three default sharing options: Owner, Organization, and Everyone (public). When you publish a layer, you are its owner. Administrators in your organization have owner-type permissions on all items. For that reason, we will count them as owners too. In ArcGIS Pro, you set the default sharing options in the first step of “Publishing a 3D object layer.” In ArcGIS Online, clicking on the item’s sharing button opens a Share dialog where you can set the default sharing level and group sharing. Publishing a 3D object layer creates two items—a 3D object scene layer and a 3D object feature Layer. The sharing options for both layers must match.
Group sharing
In the ArcGIS ecosystem, groups provide a flexible way to broaden users’ access to resources inside and outside your organization. By using group sharing, you can extend access beyond the default levels of Owner, Organization, and Public. For instance, if your default sharing level is Owner and you share a layer with a group of four members (excluding the owner), all five members will have access to the layer.
The first step of “Publishing a 3D object” in ArcGIS Pro covers group sharing. In ArcGIS Online, within the Share dialog, you can click Edit group sharing under “Set group sharing,” select the groups you wish to grant access to, and then click Apply. Check the following article to learn more about creating groups in ArcGIS Online.
Understanding enabling/disabling layer editing
Editing on the 3D object layer must be enabled once to activate its capabilities. After this initial activation, you can disable editing, restricting edits to only the owner(s).
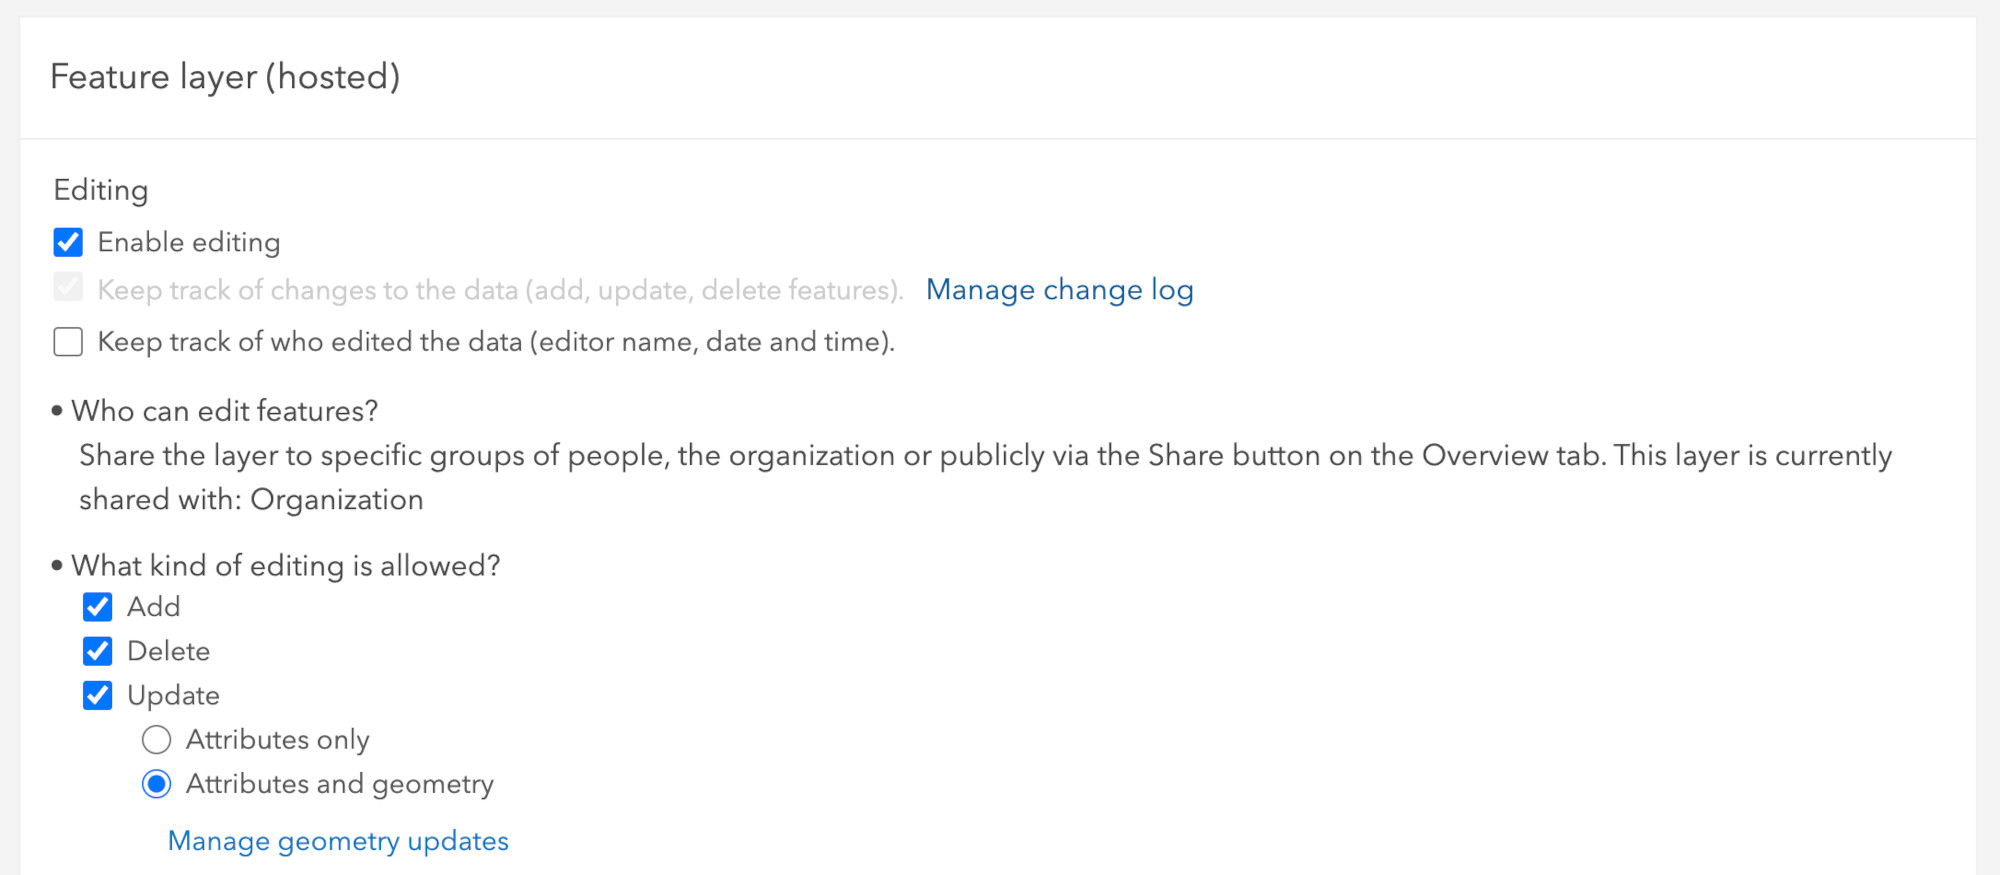
In ArcGIS Pro, you enable editing by checking the Enable editing option in the first step of “Publishing a 3D object layer.” You can verify this in the ArcGIS Portal after publishing. Open the item page for the associated feature layer, click the Settings tab, and scroll down to the “Feature Layer (hosted)” section. Ensure that the options for Enable editing and Keep track of changes to the data (add, update, delete features) are checked, along with the options for Add, Delete, Update, and Attributes and geometry. If you forgot to enable editing in ArcGIS Pro, check all the above options and click Save to confirm the changes.
To disable editing (after it has been enabled), simply uncheck Enable editing on the same page and click Save. Note that creating an empty 3D object layer in ArcGIS Online automatically activates editing capabilities.

Sharing scenarios
Combining sharing settings and enabling/disabling editing enables many layer-sharing scenarios. To implement the following scenarios, we assume you have initially enabled layer editing. If you are following along, choose one of the sharing scenarios offered below and implement it.
Editing 3D models in Scene Viewer
Now that our 3D object layer is ready and sharing levels are sorted out, we can proceed to upload some 3D models. Scene Viewer allows a simple, out-of-the-box setup, which is a great place to start with 3D object layer editing.
Prerequisites
Since our example features a local scene with an LV95 spatial reference, we utilize the LV95 Swiss Topographic (with Contours and Hillshade) layer as a basemap. The LV95 Swiss Terrain 3D serves as the ground layer, while the Swissbuildings 3D LOD2 lv95 layer represents the 3D buildings. You can access this example scene at the following link. If you wish to follow along using this scene, you should publish your 3D object layer using LV95 spatial reference. Otherwise, ensure your layer is published in the same spatial reference as the rest of your project.

Using the previously mentioned LV95 items requires an ArcGIS Online organizational subscription or an ArcGIS Developer account but does not consume credits.
Steps to upload and place the model
Now, you should open the web scene, add the 3D object layer, and upload a 3D model.
Tools for accurate model placement
To enhance your editing experience, click on Settings at the top of the editor. This will reveal tooltips and snapping options. If you wish to place or update your models using numerical coordinates, toggle on Enable tooltips. To be able to place your models precisely on corners, edges, or surfaces of other features, toggle on Enable snapping. Additionally, make sure to activate Geometry guides and Feature to feature options. In the “Snapping layers” collapsible panel underneath, select the layers to which your features will snap.
Snapping
If snapping is activated and the relevant snapping layers are enabled, your model will automatically align with the corners, edges, or surfaces of nearby features during placement. You will notice orange lines indicating the alignment.
Tooltips
To utilize tooltips while placing your model, press the Tab. A modal will appear next to the cursor with five editable fields: X, Y, Z, Orientation, and Scale, along with three lock widgets for the axes. You can now manually input the values in these fields. To leave this mode, press Esc on your keyboard.
Manipulating the stored model
We have successfully geolocated the model and added it to the layer. If you decide to change the model’s position, rotation, or scale at a later stage or remove it entirely, you can easily do this using the editor widget. As we have mentioned in the beginning, performing any of these operations (add, update, delete) in any supported client does not require republishing the 3D object layer.
Supported 3D formats
Currently, you can upload and persistently store your 3D models in the following formats:
COLLADA (.dae), Autodesk Filmbox (.fbx), Autodesk Drawing (.dwg), Industry Foundation Classes (.ifc), Universal Scene Description (.usdc, .usdz), Wavefront (.obj), GL Transmission Format (.glTF), and Binary GL Transmission Format (.glb) files.
Model units and file sizes
- If the intrinsic unit of the 3D model is not specified when loaded into a global scene, it will be interpreted as a meter (1 unit = 1 meter). Conversely, if the model is loaded into a local scene, the assumed unit corresponds to the unit of the projected coordinate system.
- Per specification, glTF models (.glb and .glTF) will always be interpreted as modeled in meters. To learn about their support in web 3D workflows, refer to the following article.
- We expect uploaded models, including textures, to be up to 100Mb in size for reasonable display and editing performance.
When using the editor widget, you might notice differences in texture quality during the editing process. Specifically, when a model is selected in the editor widget, the texture will match the exported model. However, once the editing is completed and before the layer is cached, the texture quality may be reduced to improve performance. This behavior is expected and will persist until the edits are cached.
Caching 3D object layers
Editing 3D object layers involves a two-phase workflow involving feature editing and caching.
Editing the 3D object layer temporarily affects display and loading performance. This impact varies depending on the complexity of the models and the number of edits. The more edits you make, without rebuilding the scene layer cache, the more the scene performance will be impacted, as all new or updated models will displayed in full detail. Uploading more objects to the 3D object layer in one session will increase the time required to optimize them for performance in the subsequent phase.
Once editing is complete, a process known as caching is used to rebuild the 3D object layer with all the changes made during the editing phase. This, in turn, restores the optimal loading and display performance, even with numerous newly added 3D features. Keep in mind that caching is a computationally intensive server-side operation. Its usage incurs costs measured in credits. The more data needs to be cached, the more credits the operation will require.
Best practices
It is difficult to provide a one-size-fits-all strategy for effectively balancing editing and caching. This challenge arises from the wide range of possible scenarios involving model sizes/complexity, the number of models, and the number of editors and edits they make. Therefore, the most effective approach is to learn through experience by adhering to the following best practices.
Optimize models and textures
3D models are created for different purposes. Some will be appropriate for your use case, while others might cause issues.
The most common issues involve the complexity of the model’s geometry and the size of its textures. High geometric complexity can lead to visualization problems, especially when automatic Level of Detail (LoD) simplification reaches its optimization limits. Large textures can also be an issue as they will take up much of your valuable storage space and slow down uploads and downloads.
In scenarios where you are working with a limited number of 3D models and have powerful client-side hardware, optimization may not be necessary, even for overly complex models. In case a need for optimization arises, consider the following steps:
Simplify geometry
Use your preferred 3D modeling software to reduce the complexity of exported geometry. For instance, in Blender, you can un-subdivide the mesh or utilize the “limited dissolve” feature to eliminate unnecessary vertices and edges separating flat regions. If exporting an IFC model from Revit, adjust the tessellation level in the “Level of Detail” tab, which will simplify some Revit elements like elbows, floors, railings, pipe fittings, etc. Depending on your needs, choose between extra low, low, or medium level of detail.
Reduce texture size
Large textures are among the most common contributors to large model file sizes. Consider downscaling your textures if they contain details that do not contribute to your visualization.
Selective exporting
If you are exporting purely for visualization, consider including only the layers relevant to your visualization. This typically involves removing some interior walls, furniture and fixtures, construction details, plumbing, electrical and HVAC components, site utilities, and other elements that do not contribute to the visualization.
Plan your edits, test, and iterate
Group your edits logically to minimize the number of cache rebuilds. If you notice significant performance degradation after adding a certain number of models, consider concluding the editing session and caching the changes made to the layer before starting again. Document your findings (including the number and average complexity of models added before impact degradation), and use this knowledge to refine your editing and caching strategy. This can help maintain performance and reduce the frequency of performance degradation during the editing phase.
Regularly rebuild the cache
If the project requires ad-hoc editing over time, schedule regular cache rebuilds to integrate changes and restore the scene layer to its full efficiency. This helps maintain optimal performance, especially after significant editing sessions.
Educate Your Team
Ensure that all team members involved in editing scene layers understand these best practices. Consistently applying these guidelines will help maintain performance and efficiency across the board.
What’s next?
This was the first blog post in a blog post series on 3D object layers. In it, you learned about the utility and potential of this innovative feature. You also familiarized yourself with the publishing process and examined various sharing options. Additionally, you learned how to use Scene Viewer to upload, georeference models, and cache changes effectively in ArcGIS Online. This blog also lays the foundation for upcoming posts covering more advanced topics.
In the next blog post, you will learn how to use ArcGIS Maps SDK for JavaScript for 3D model editing workflows. The foundational functionality will be covered first, and then you will delve into the details of the layer implementation. This will enable you to implement custom 3D object layer editing workflows tailored to your needs. Stay tuned for a deeper exploration of these advanced concepts, which will enhance your understanding and utilization of 3D object layers.

Commenting is not enabled for this article.