Why satellite?
Satellites are constantly orbiting around the Earth, ready to capture imagery in regular epochs, enabling large-scale monitoring of areas anywhere on our planet. Such imagery is currently being used in a variety of applications, spanning from disaster assessment and land use mapping to defense and civil infrastructure.
Let’s select the application field of natural disasters as an example. Natural disasters, such as large magnitude earthquakes, floods, landslides, are extreme phenomena across the planet, and are increasingly occurring. After such an event, deploying people on the ground to assess the impact is often unfeasible due to limited accessibility or remoteness of the area – or even unsafe. Fortunately, our ability to observe, monitor, and even predict and respond fast in such events is continuously evolving. Satellite imagery and the Reality Mapping products potentially derived from them are a fundamental tool in emergency and disaster response. Moreover, imagery data can help with the identification of hazard zones and support prediction of such phenomena as well as action taking during the crises. Imagery products have been commonly used so far, but what about adding a third dimension to them? ArcGIS Reality for ArcGIS Pro makes this possible.
Reality Mapping allows users to unlock endless possibilities for exploring the Earth’s surface with a variety of sensors, as products can be derived from drone, aerial or satellite imagery. If you haven’t already, check out our previous blog “Stuttgart 3D – Creating Foundational Content for an Even Smarter City” which uses aerial imagery.
With satellite images, ArcGIS Reality for ArcGIS Pro offers solutions for generating Digital Surface Models (DSMs) and Meshes. Since the release of ArcGIS Pro 3.3, we have also introduced True Ortho generation from such imagery. True Orthos are a valuable product for mapping, and monitoring, giving a bird’s-eye view perspective and facilitating pixel-wise accurate 2D view of the world.
The democratization of satellite data has significantly increased in the last years. For decades, satellite imagery has been studied on a contextual level by extracting information based on pixel values. The advancement of algorithms and the increase of computational power has now also enabled geometric computations from multiple satellite views of the same area. Evidently, the generation of 2D and 3D products from satellite data can be complemented with its traditional airborne counterpart.
Ingredients and best practices for generating quality results from satellite imagery
Satellites by many well-known sensor manufacturers such as Airbus, Maxar, BlackSky, etc., periodically monitor the Earth’s surface. Vendors offer on-demand data by tasking satellites to acquire images over an area of interest. This allows users to customize the data capture based on their needs, and minimize the relative differences across the images for optimal results. Some sensors even offer the option to collect stereo pairs or triplets of images simultaneously.
Besides tasking, another option is accessing the vendor’s archives and selecting the most appropriate available images for generating high quality results. To do this, let’s explore the imagery requirements to ensure high quality results with Reality for Pro. They can be summarized as follows:
- Use primary/standard, unprocessed imagery up to 4 channels, accompanied with respective RPCs (Rational Polynomial Coefficients) as input.
- Ensure the entire area of interest is covered by our imagery and has sufficient redundancy.
- Choose the best available resolution, tailored to your needs.
- Select imagery with minimal radiometric and time differences (up to 1-3 years recommended).
- Make sure images include no areas covered by clouds.
- Use masks for water body areas.
- Opt for sun elevation angle values above 60 degrees to minimize shadows in your results.
- Select both nadir-like (1-5 degrees) and more oblique images (up to 20-25 degrees) to ensure crisp quality and avoid occlusions and data gaps.
Now, we will review each of the above requirements and our recommended practices for optimal results.
Image Product Type
Reality Mapping supports unprocessed imagery data along with their accompanying RPC information. Although vendors typically can provide also already orthorectified or projected imagery as a product, this type of processed imagery is not appropriate for ArcGIS Reality for ArcGIS Pro. Users should instead opt for primary / standard imagery. GeoTiff format (8 or 16 bit) is recommended, although other formats are also supported. Reality Mapping can work with both Multispectral (with 3 or even 4 bands) and Panchromatic images. However, if both image types are available, a Pansharpened product can be generated. Additionally, besides mono-scenes, vendors often provide the option to purchase stereo or tri-stereo images. If these are available for our area of interest, they can be used for Reality Mapping.
Overlap and redundancy
A fundamental requirement for a successful Reality Mapping reconstruction is to reassure proper coverage of the area of interest and adequate overlap across the images. Photogrammetric reconstruction relies on the geometric principle that a point in 3D space must be visible in several images from different viewing perspectives to be reconstructed. The absolute minimum requirement is two images, but more are always recommended. In other words, redundant images of the same area are required and capturing the scene from varying viewpoints. Tailoring this principle to satellite data and considering the typical archived data availability, it is advisable to have at least 5-10 images with high overlap. Certainly, having more images reduces the likelihood of information gaps. The recommended overlap between them must be as high as possible. Ideally, the area of interest should be fully covered by each image.
Resolution
The quality of the results is directly related to the resolution of the input data. Therefore, based on the requirements of each application, the input resolution should be selected accordingly. Typically, modern commercial sensors from several vendors have a resolution of 30-50cm.
Acquisition Time
With the available satellite constellations, locations on the Earth’s surface are visited regularly and the respective imagery can be found in the vendor’s archives. However, it often takes months to revisit the same area and chances are high that the area has been through changes in between two consecutive captures (e.g., due to ongoing construction sites, landscape changes, natural disasters, seasonal effects). For optimal results, the time range for data acquisition should be as narrow as possible, ideally between 1-3 years. This is to minimize significant scene changes, unless the project specifically requires data for change detection purposes, such as in the aftermath of a natural disaster. Additionally, to reduce the impact of seasonal effects, it is advisable to select images from the same season of the year to mitigate drastic changes like variations in tree canopy appearance, especially in regions where such changes are more pronounced and frequent.
Cloud coverage
Another factor to consider while selecting the input images is cloud coverage. Ideally, cloud coverage should be minimal or close to zero to avoid information gaps or noise in our results.
Water body management
Water areas (such as seas, lakes, rivers, etc.), especially the large ones, play a crucial role in output quality and processing times. Their continuous motion combined with the changing reflection conditions can introduce noise in the results. However, we offer a solution: by using 3D polygons that assign an elevation value to these water areas (“Waterbody Features” in Reality for Pro), we can enhance performance and eliminate potential noise.
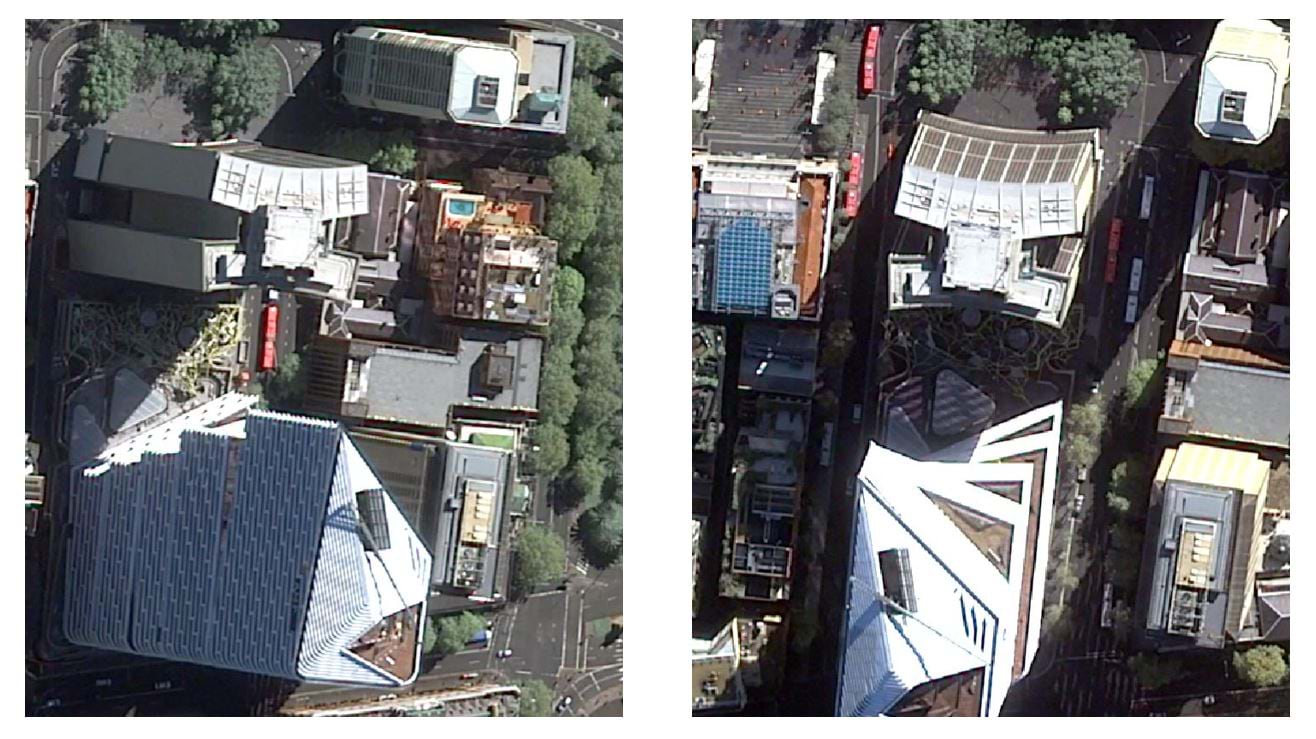
Viewing angle
To maximize accuracy, data completeness, and generate overall visually appealing results, it is essential to select an appropriate combination of incidence/off-nadir angles between the images. By definition, the incidence/off-nadir angle is formed between the ground normal and the viewing direction, often referred to as the “look direction”. The lower the angle, the more “nadir” the image will be; on the other hand, images with more oblique look direction provide us with important information for, e.g., buildings facade reconstruction. Selecting the optimal combination of incidence angles can be a complicated issue. Generally speaking, we recommend a combination of several nadir-like (incidence angle below 5 degrees) and some oblique images (up to 20-25 degrees). That being said, extreme oblique views are not beneficial, as they are not optimally combined with the more nadir-like views in the photogrammetric workflow. It is important to carefully select imagery to cover all look directions whenever possible (e.g., all four facades of buildings) to prevent dark areas and information gaps.
Sun elevation angle
We recommend to use imagery with sun elevation angle of 60° or higher to reduced shadowed areas in the results.
For a comprehensive workflow of how to process satellite imagery, check out this Esri Learn article on processing data over San Diego with WorldView imagery from Maxar.
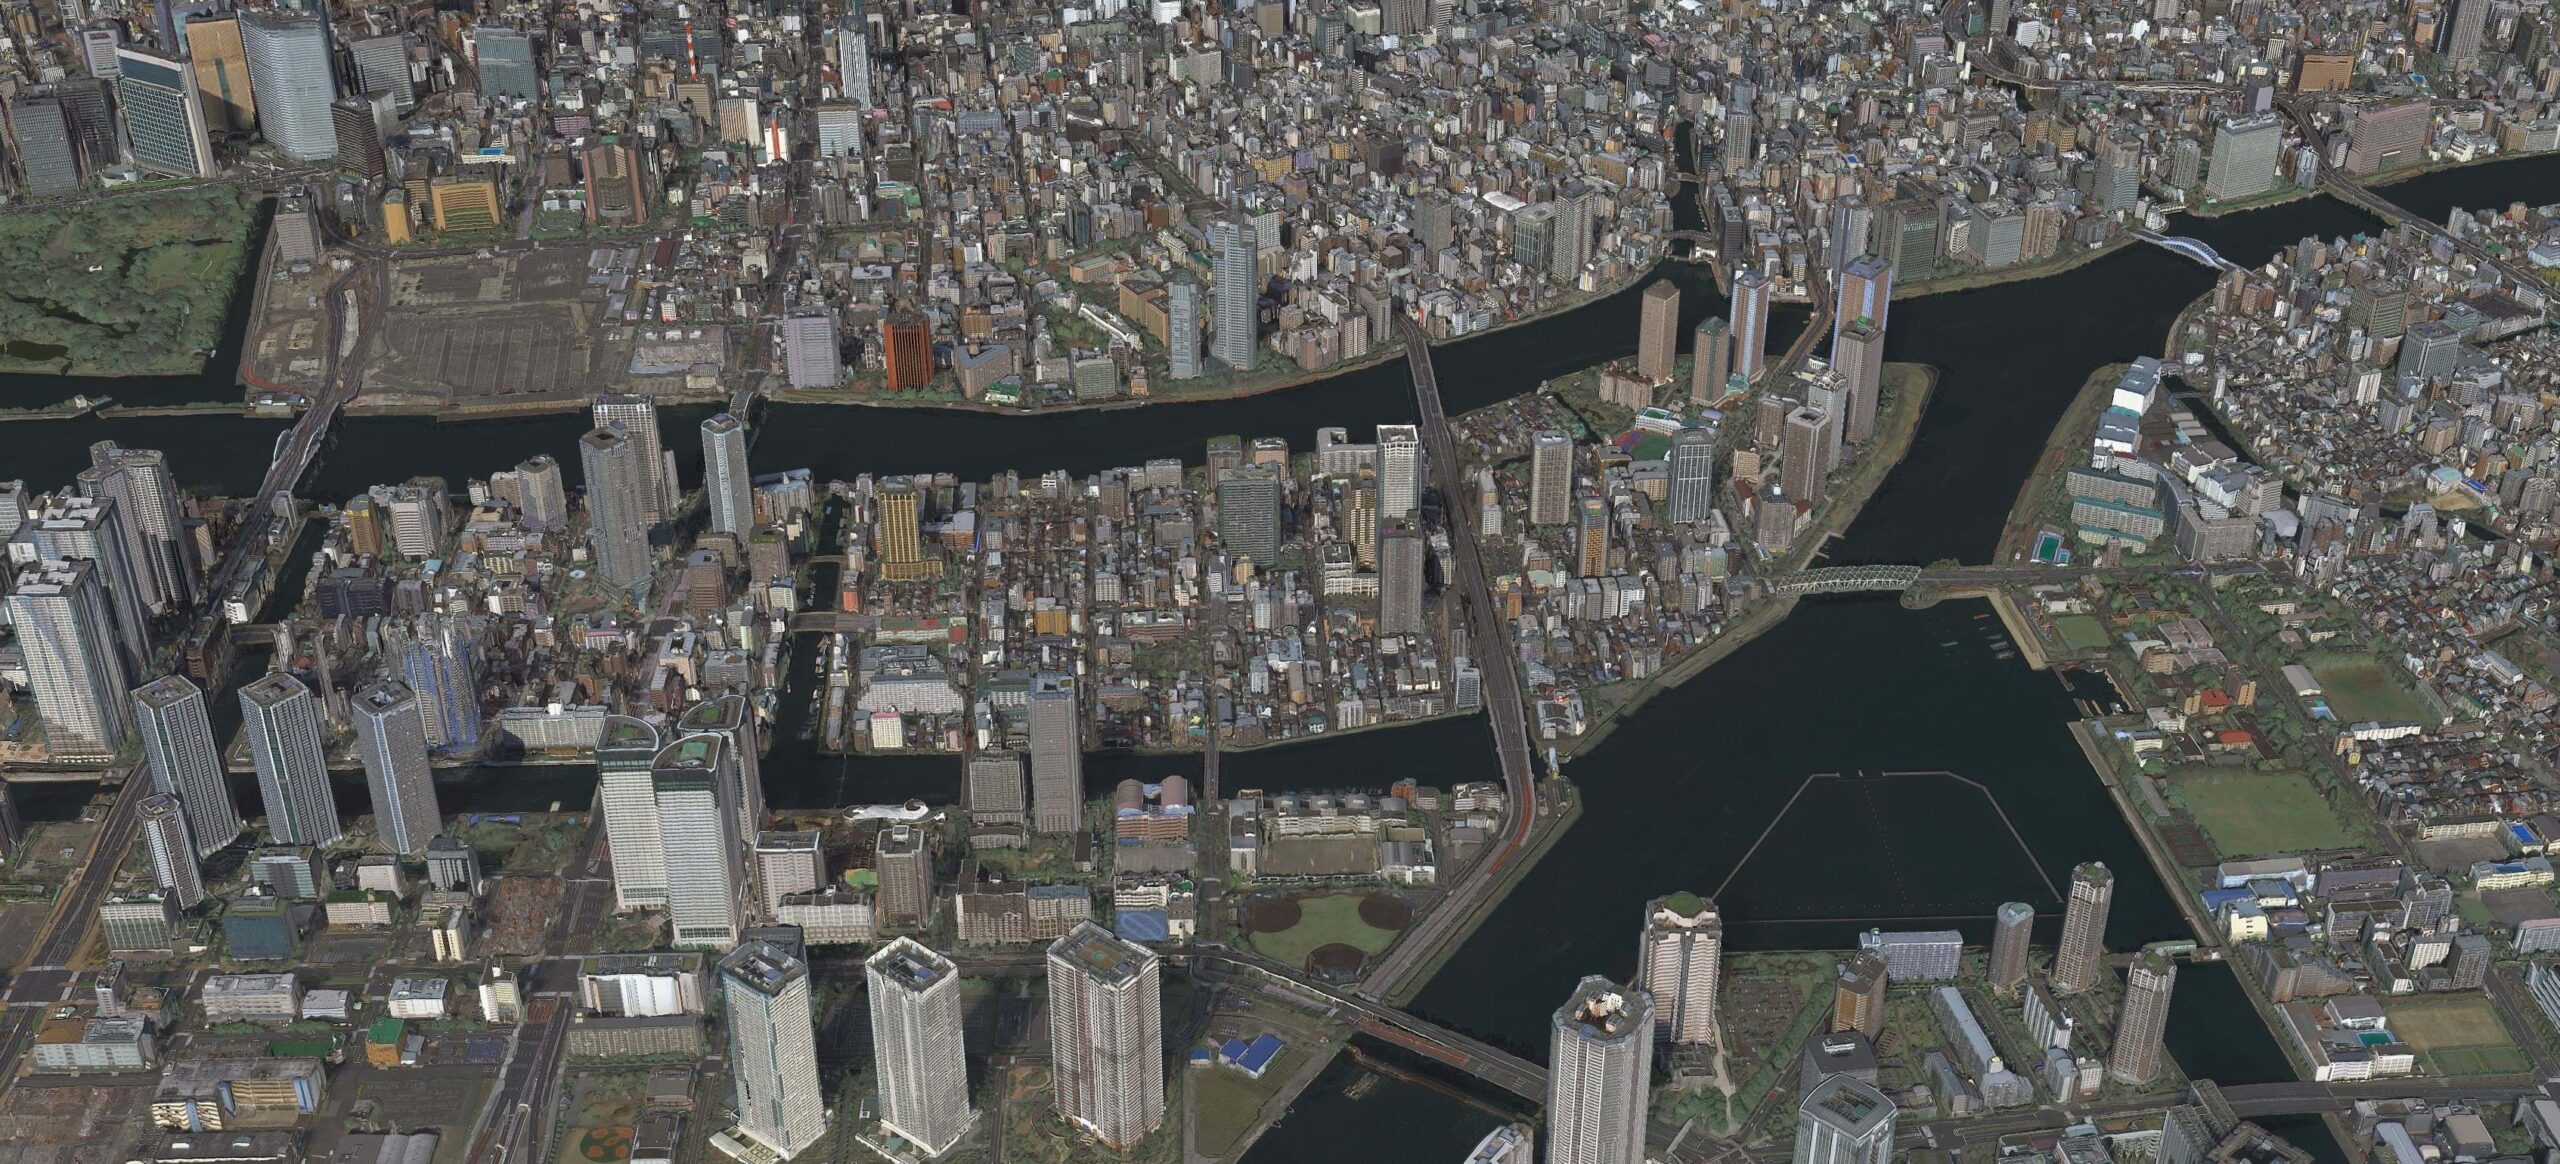
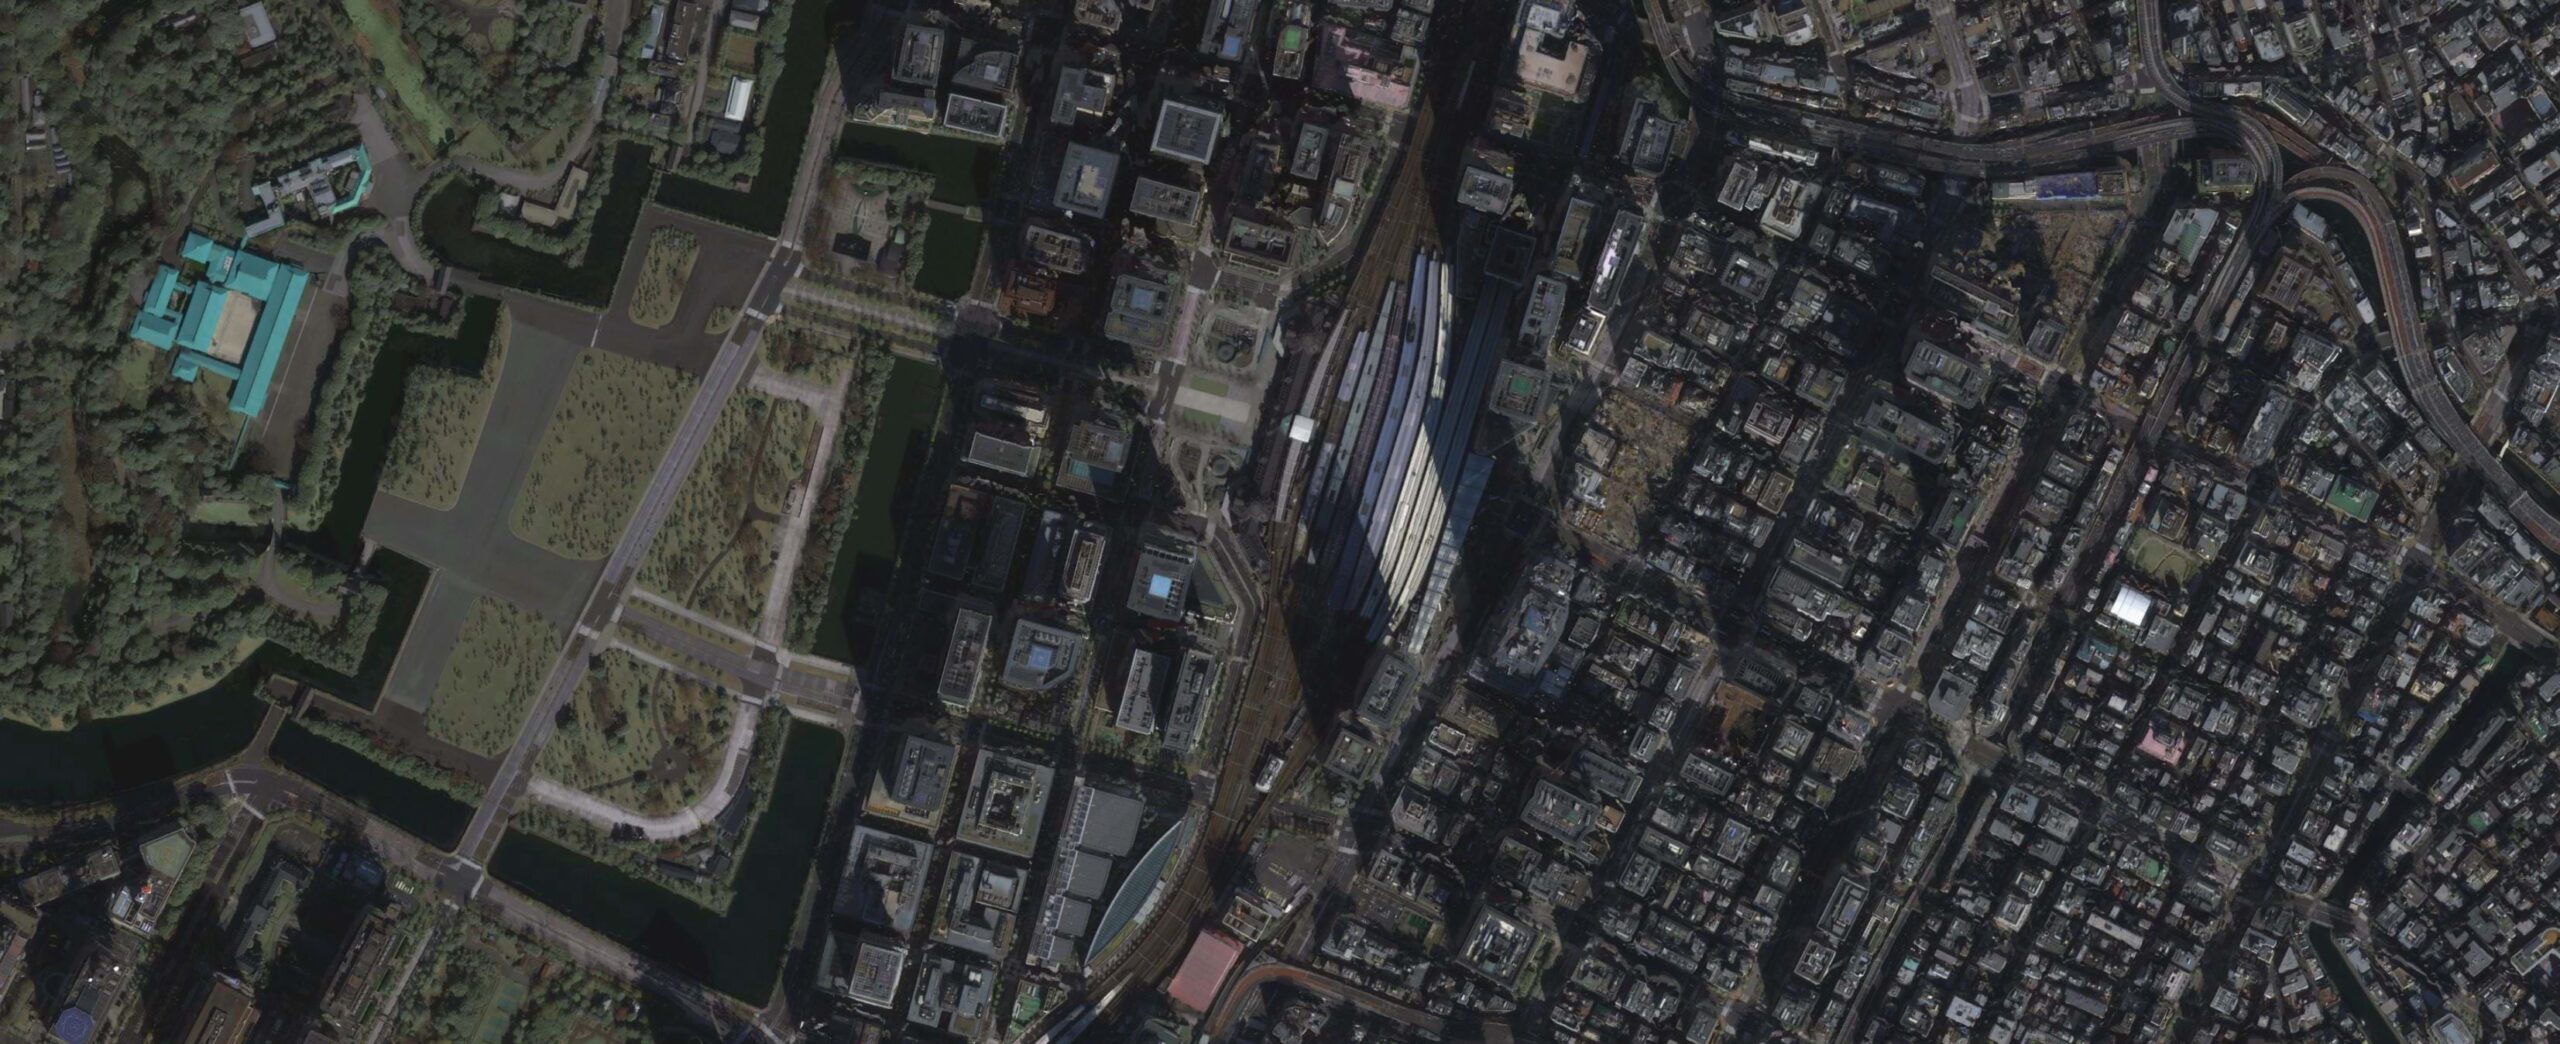
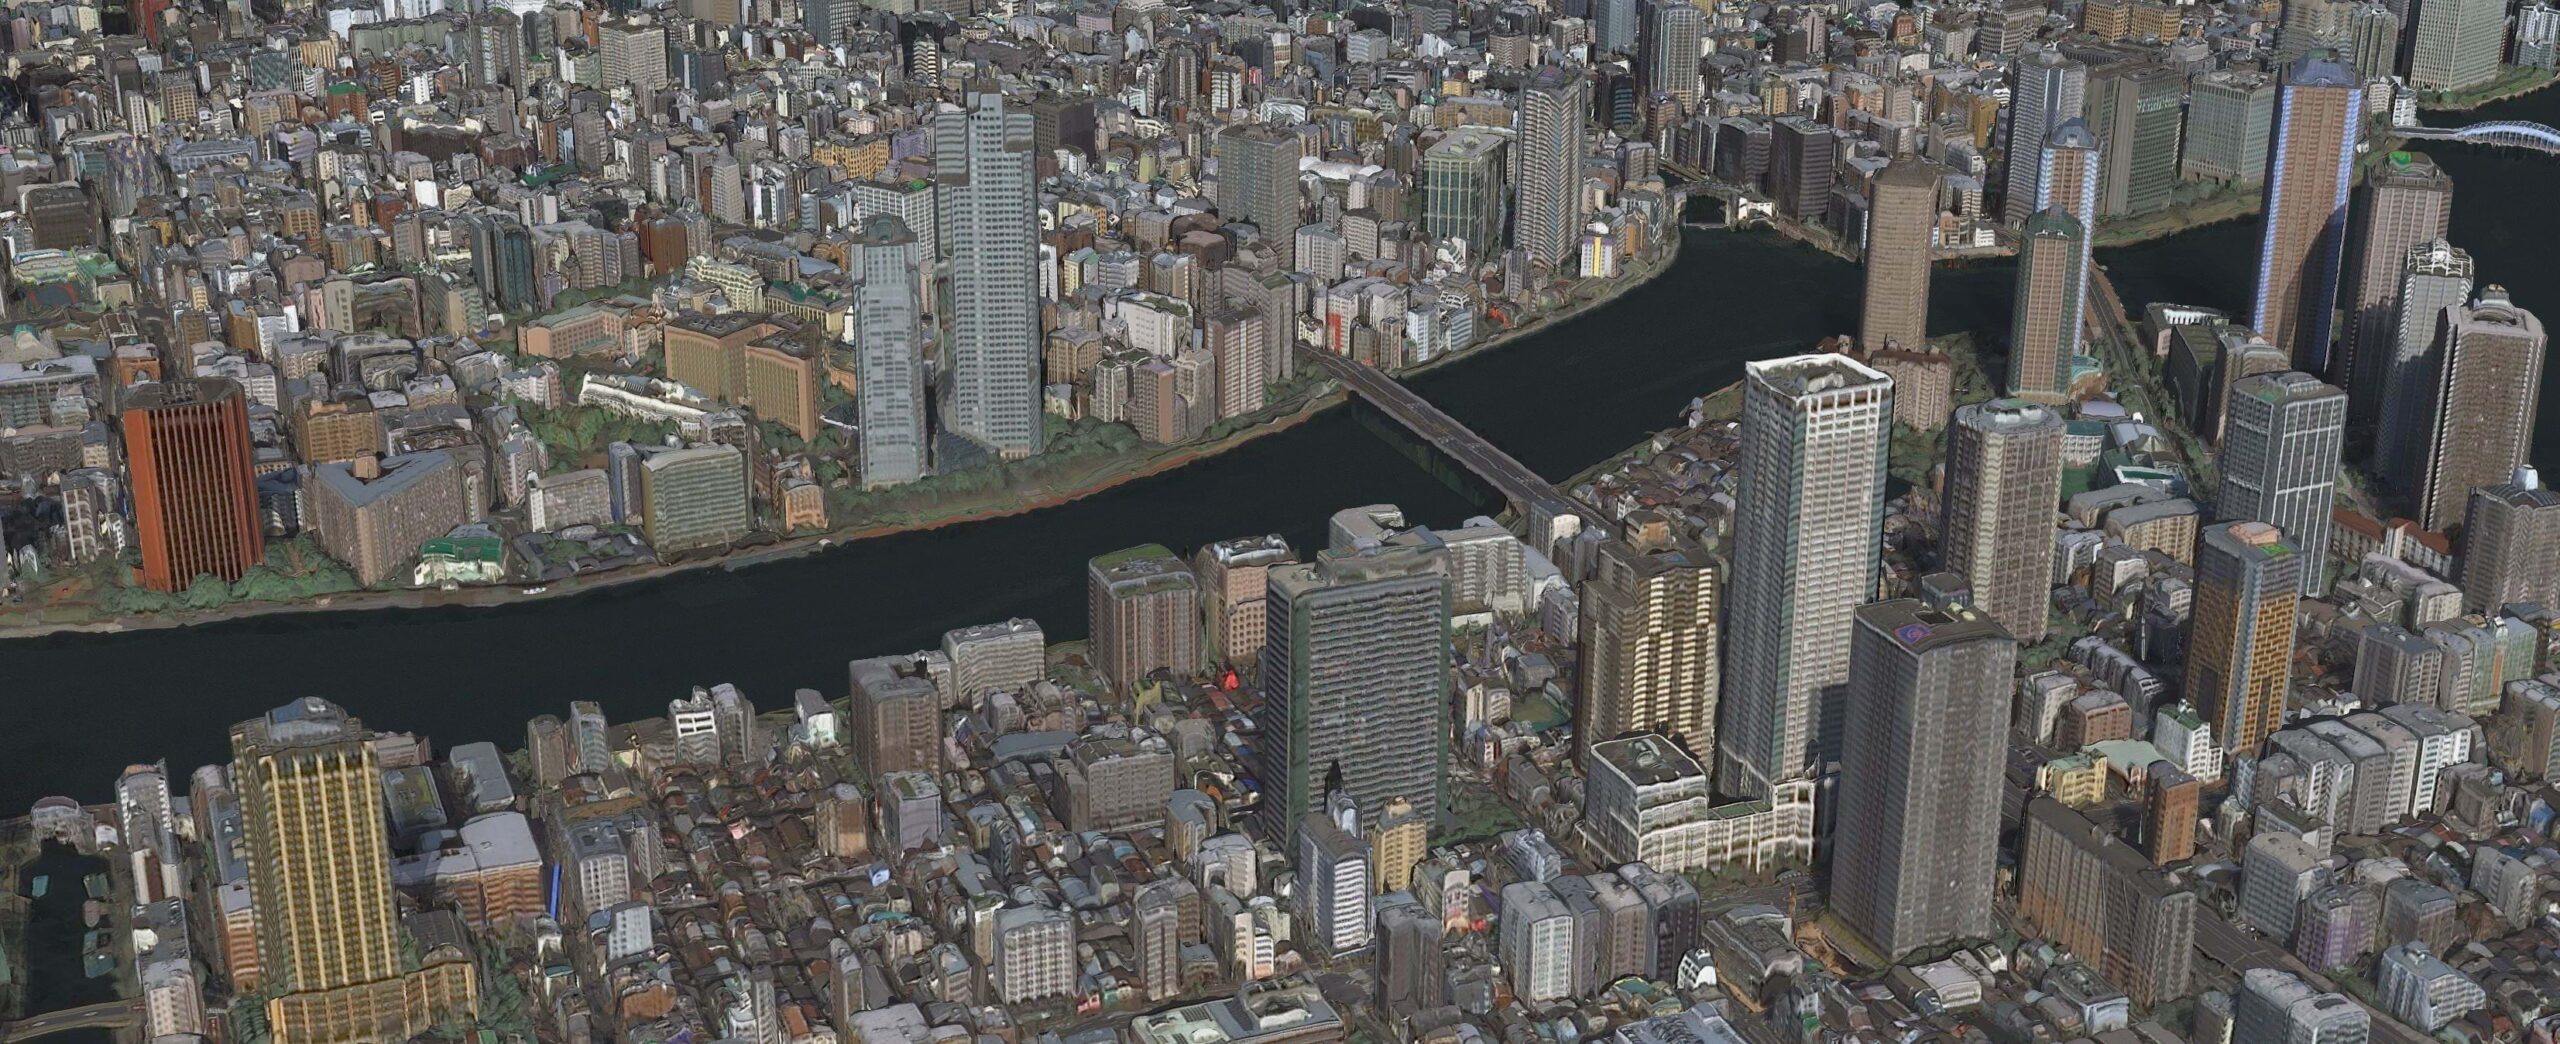
Tokyo
Let’s look at Tokyo’s Chuo City using the True Ortho and Mesh products! For this Reality Mapping process, we used 11 scenes with their respective RPCs. Data was captured by Airbus Pleiades Neo sensors between 2021 and 2023 and downloaded from the Airbus OneAtlas archive.
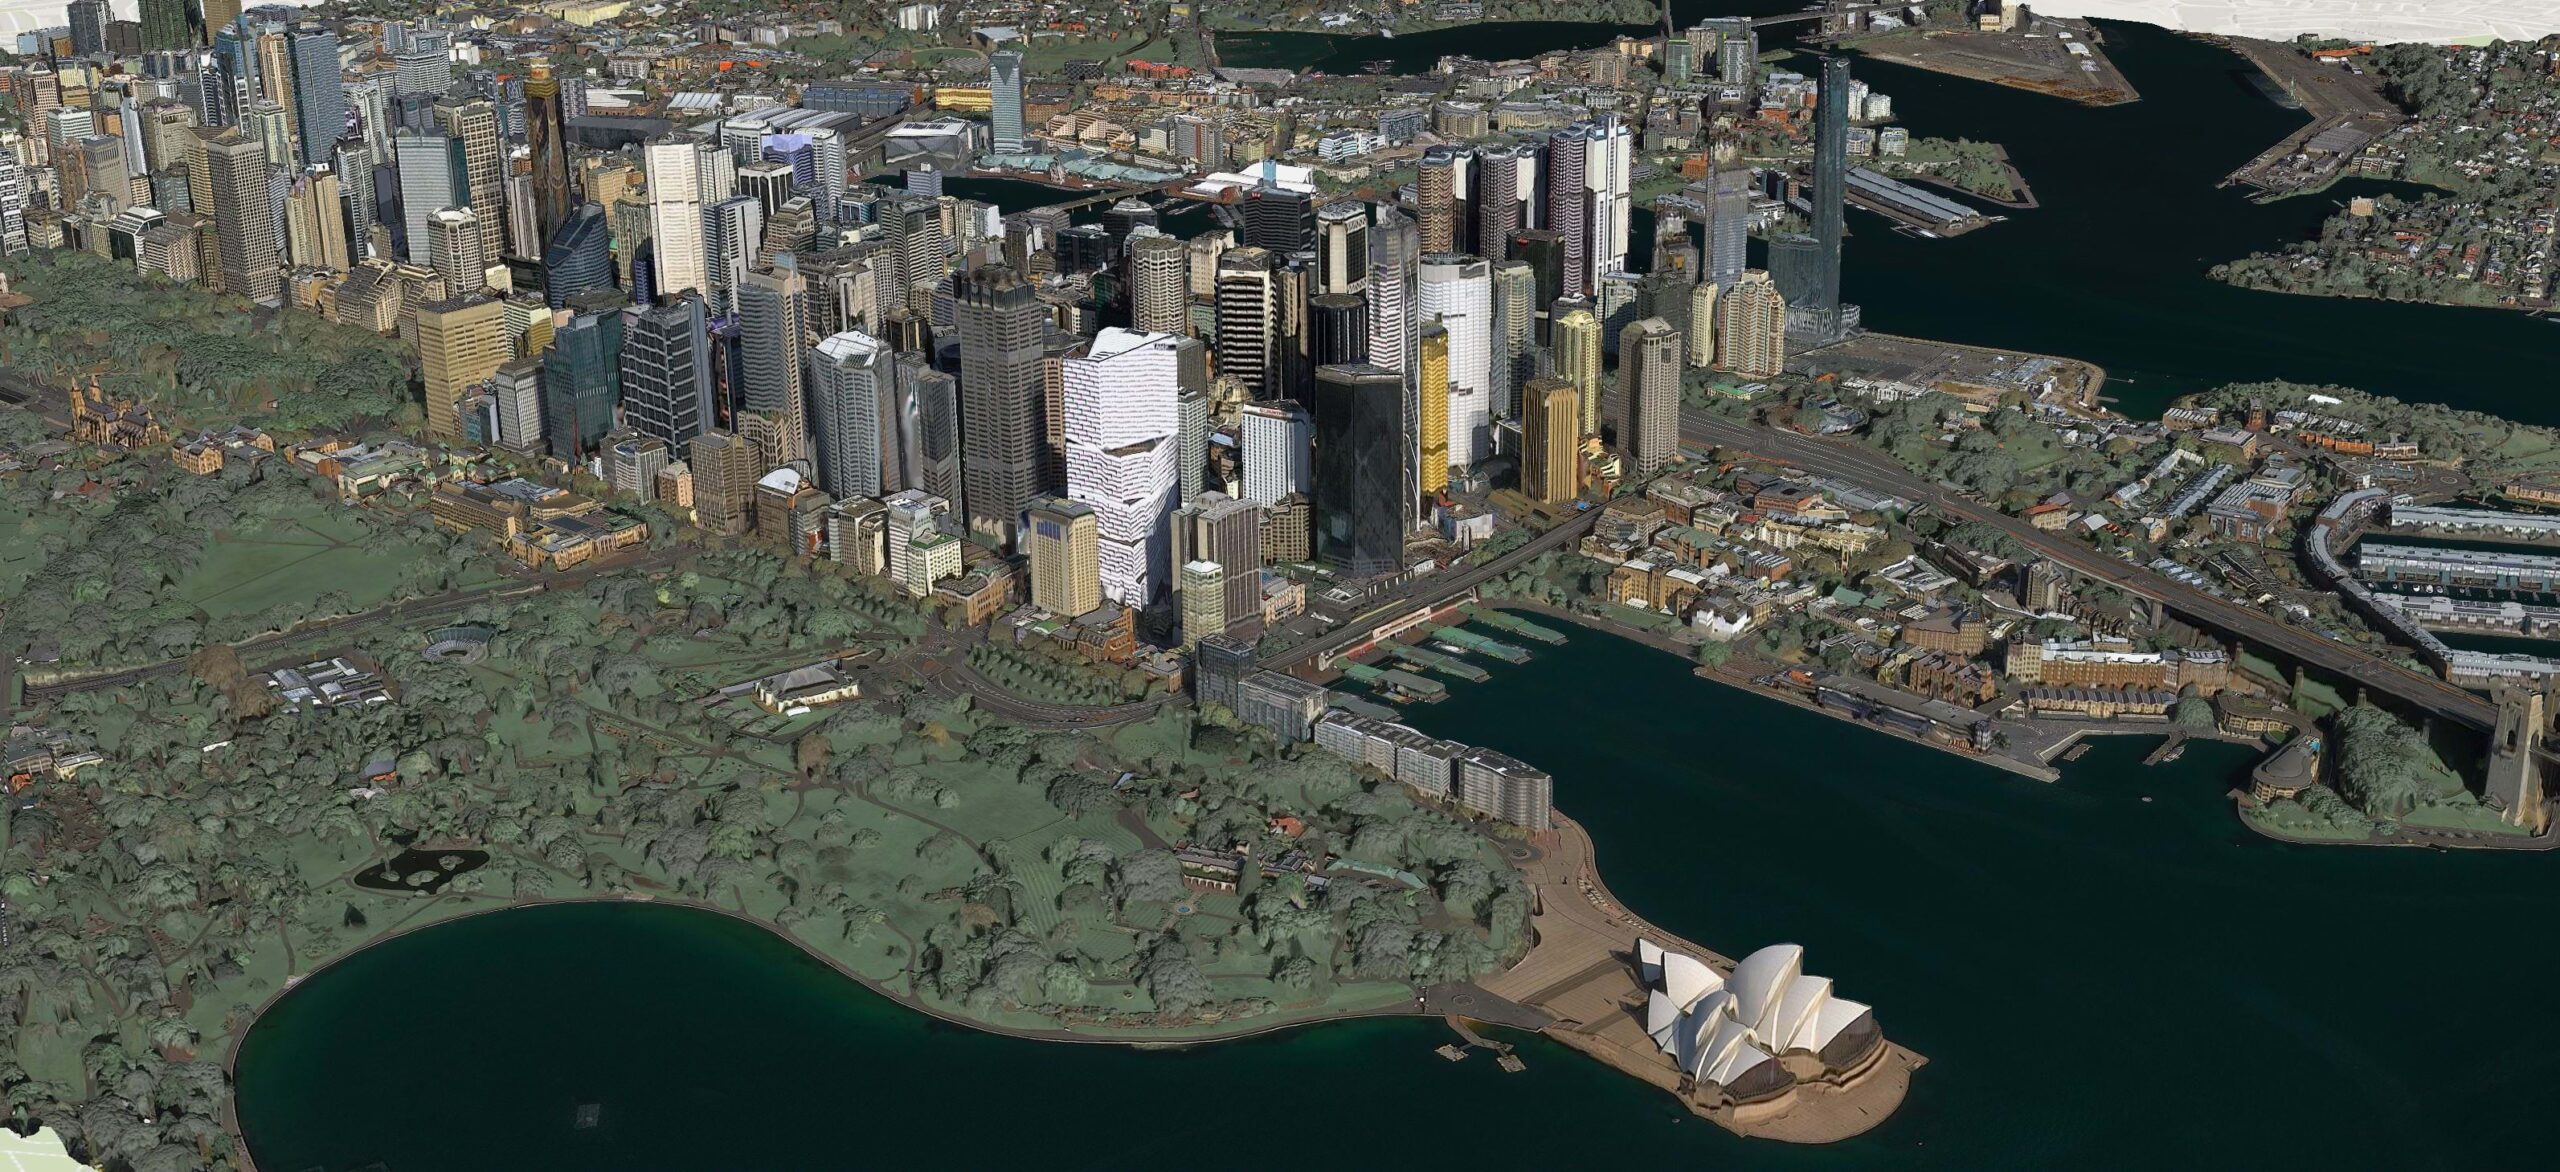
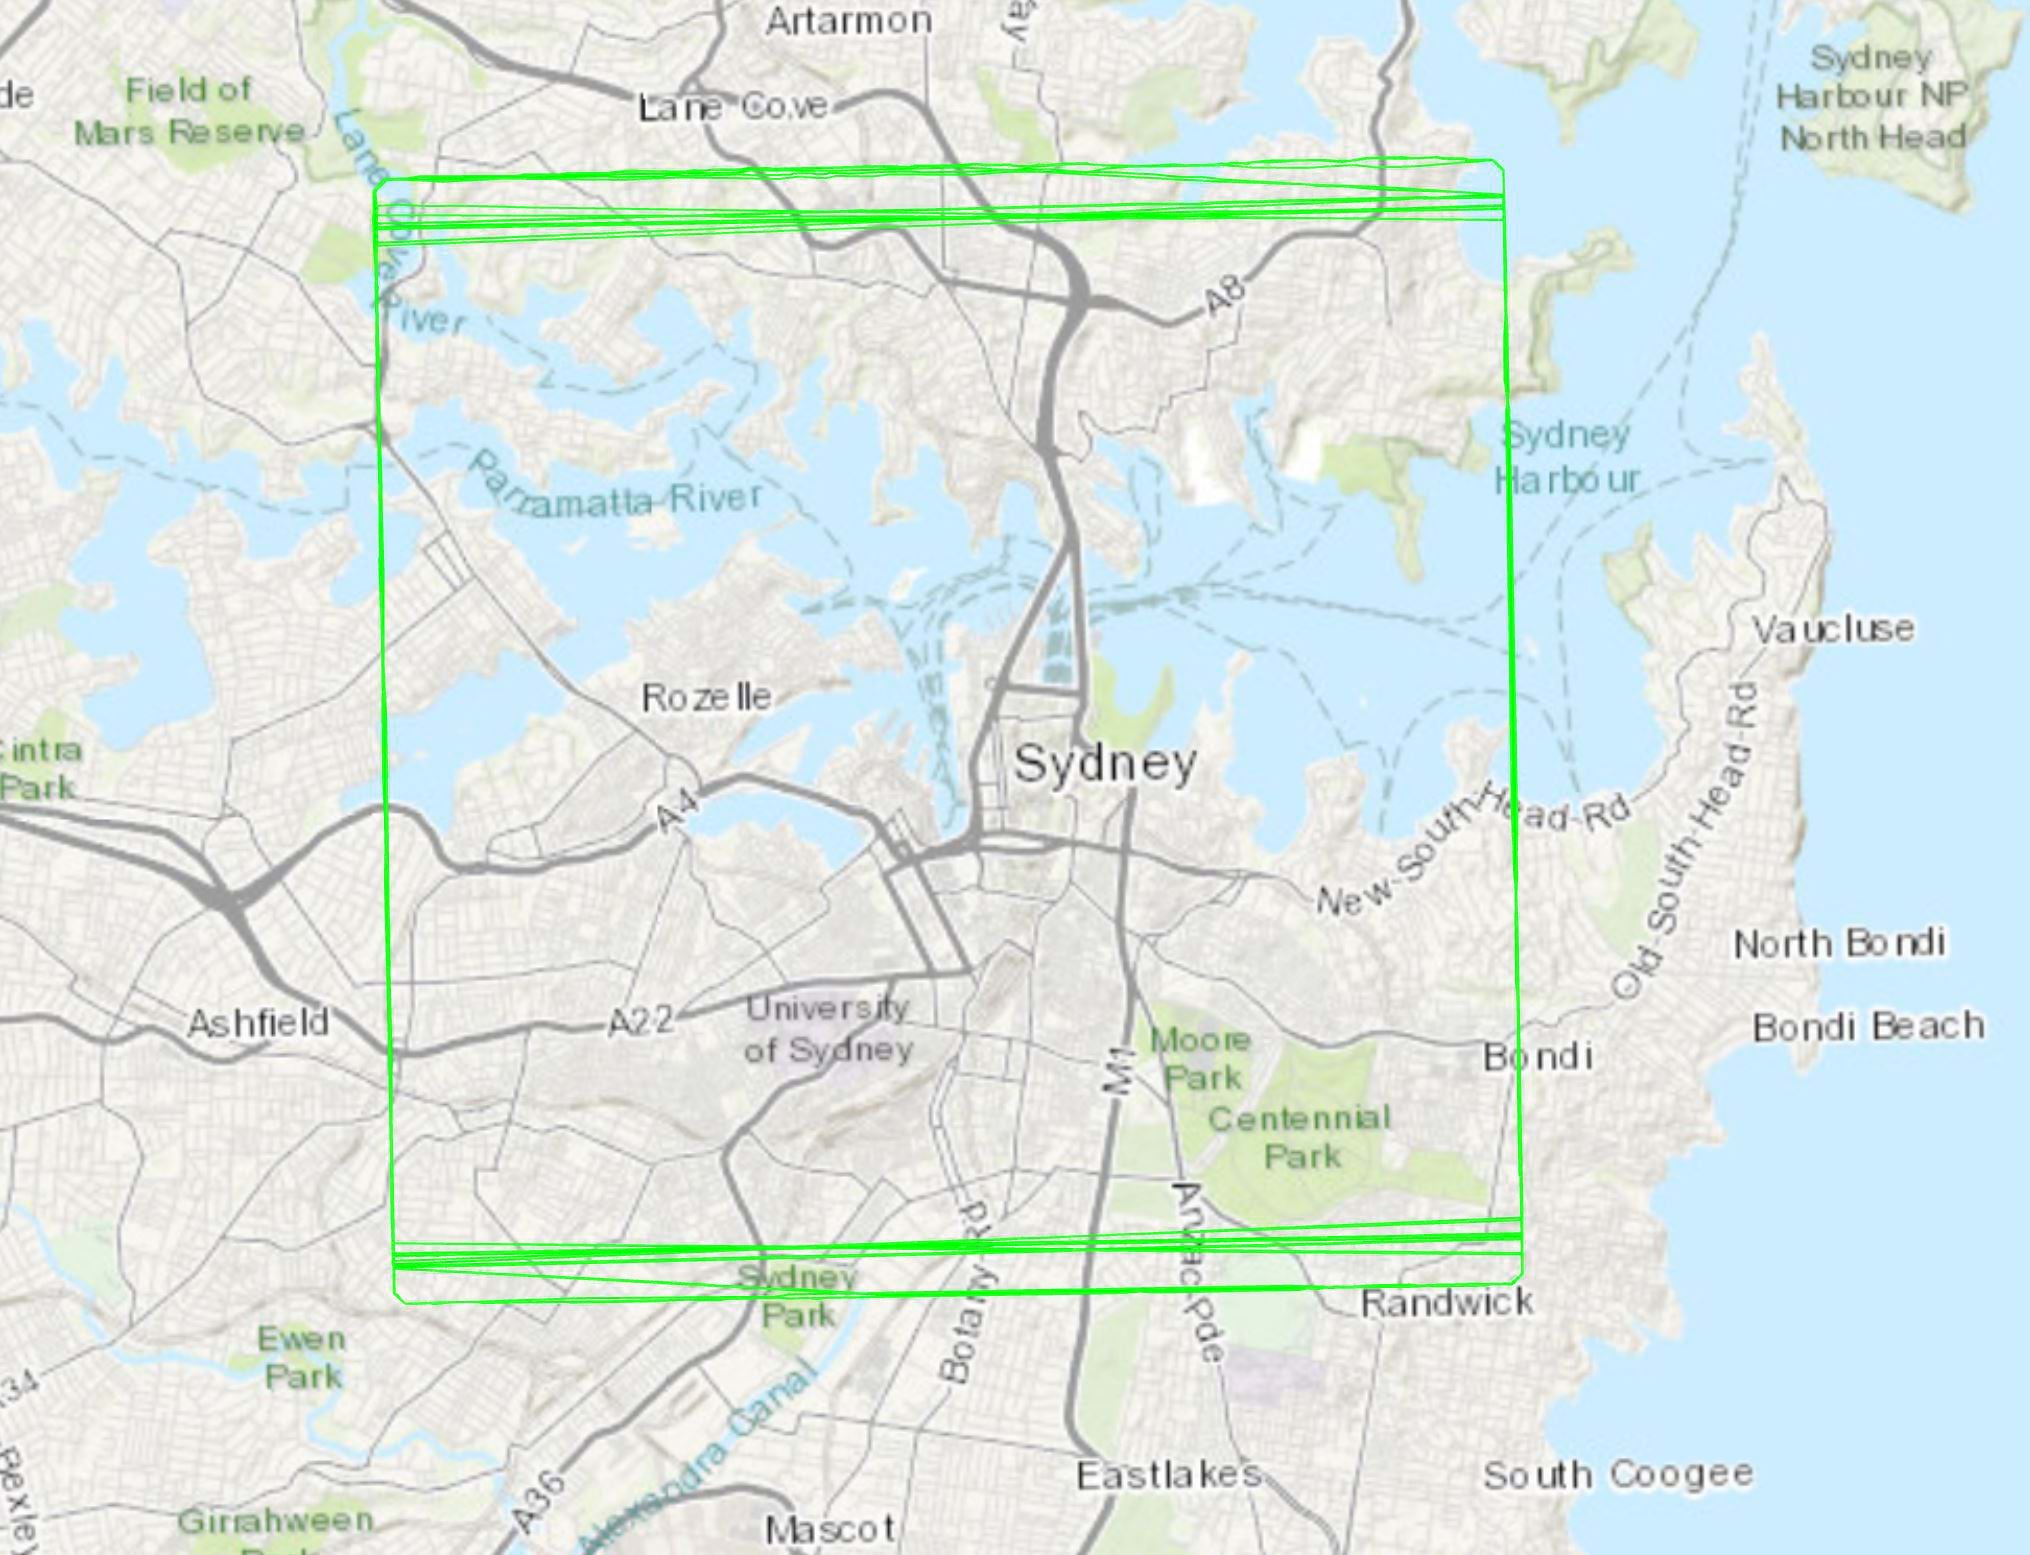
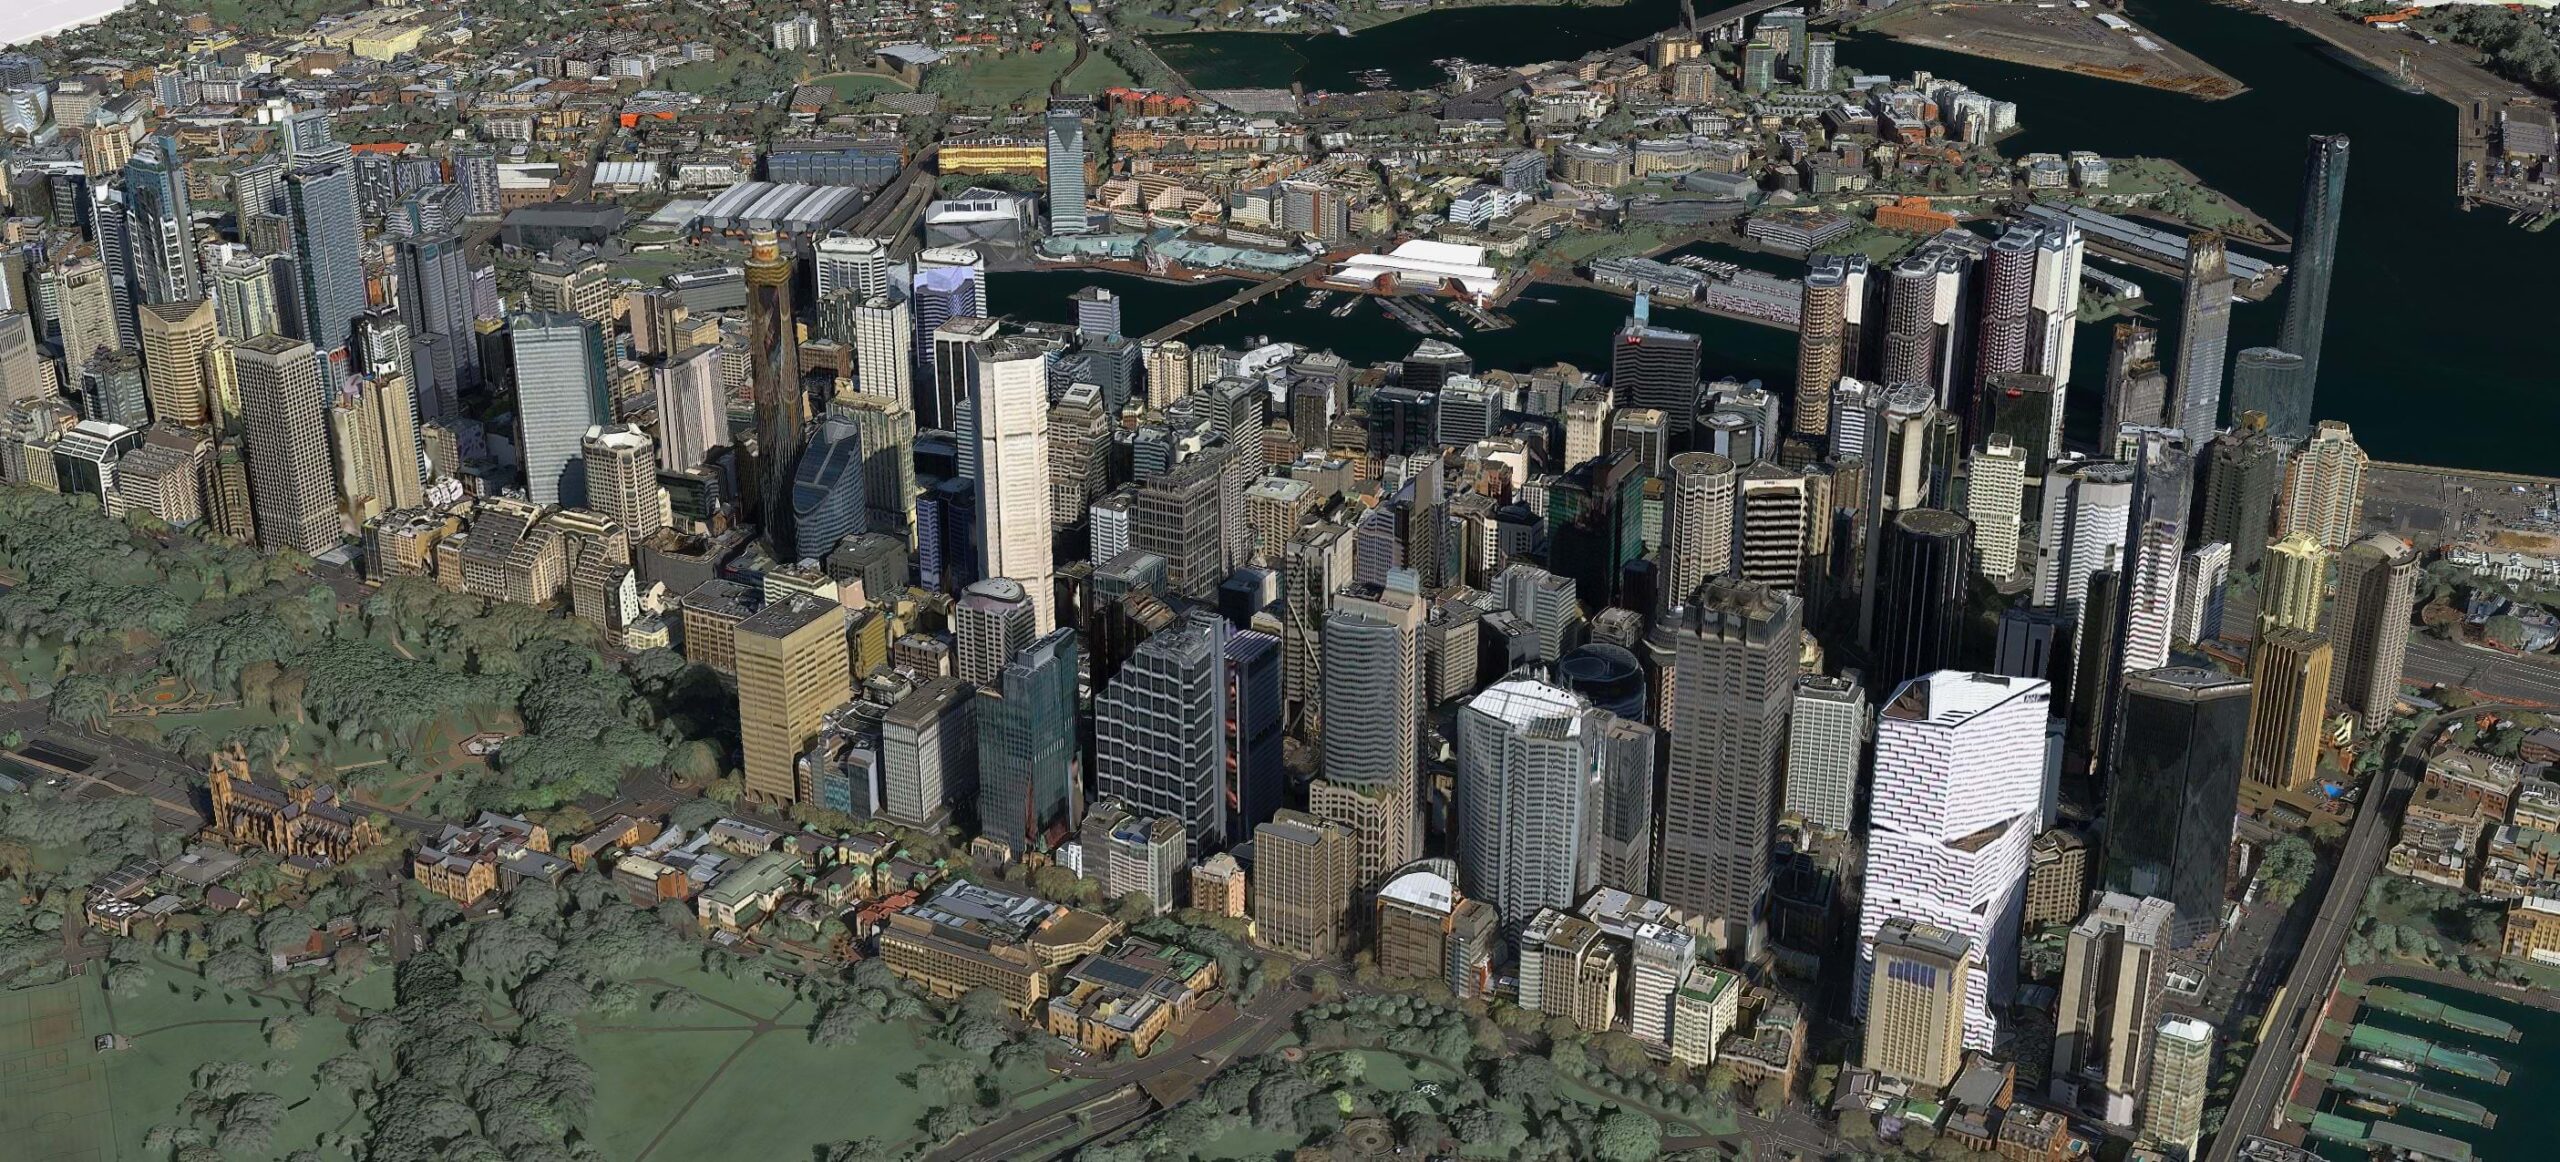
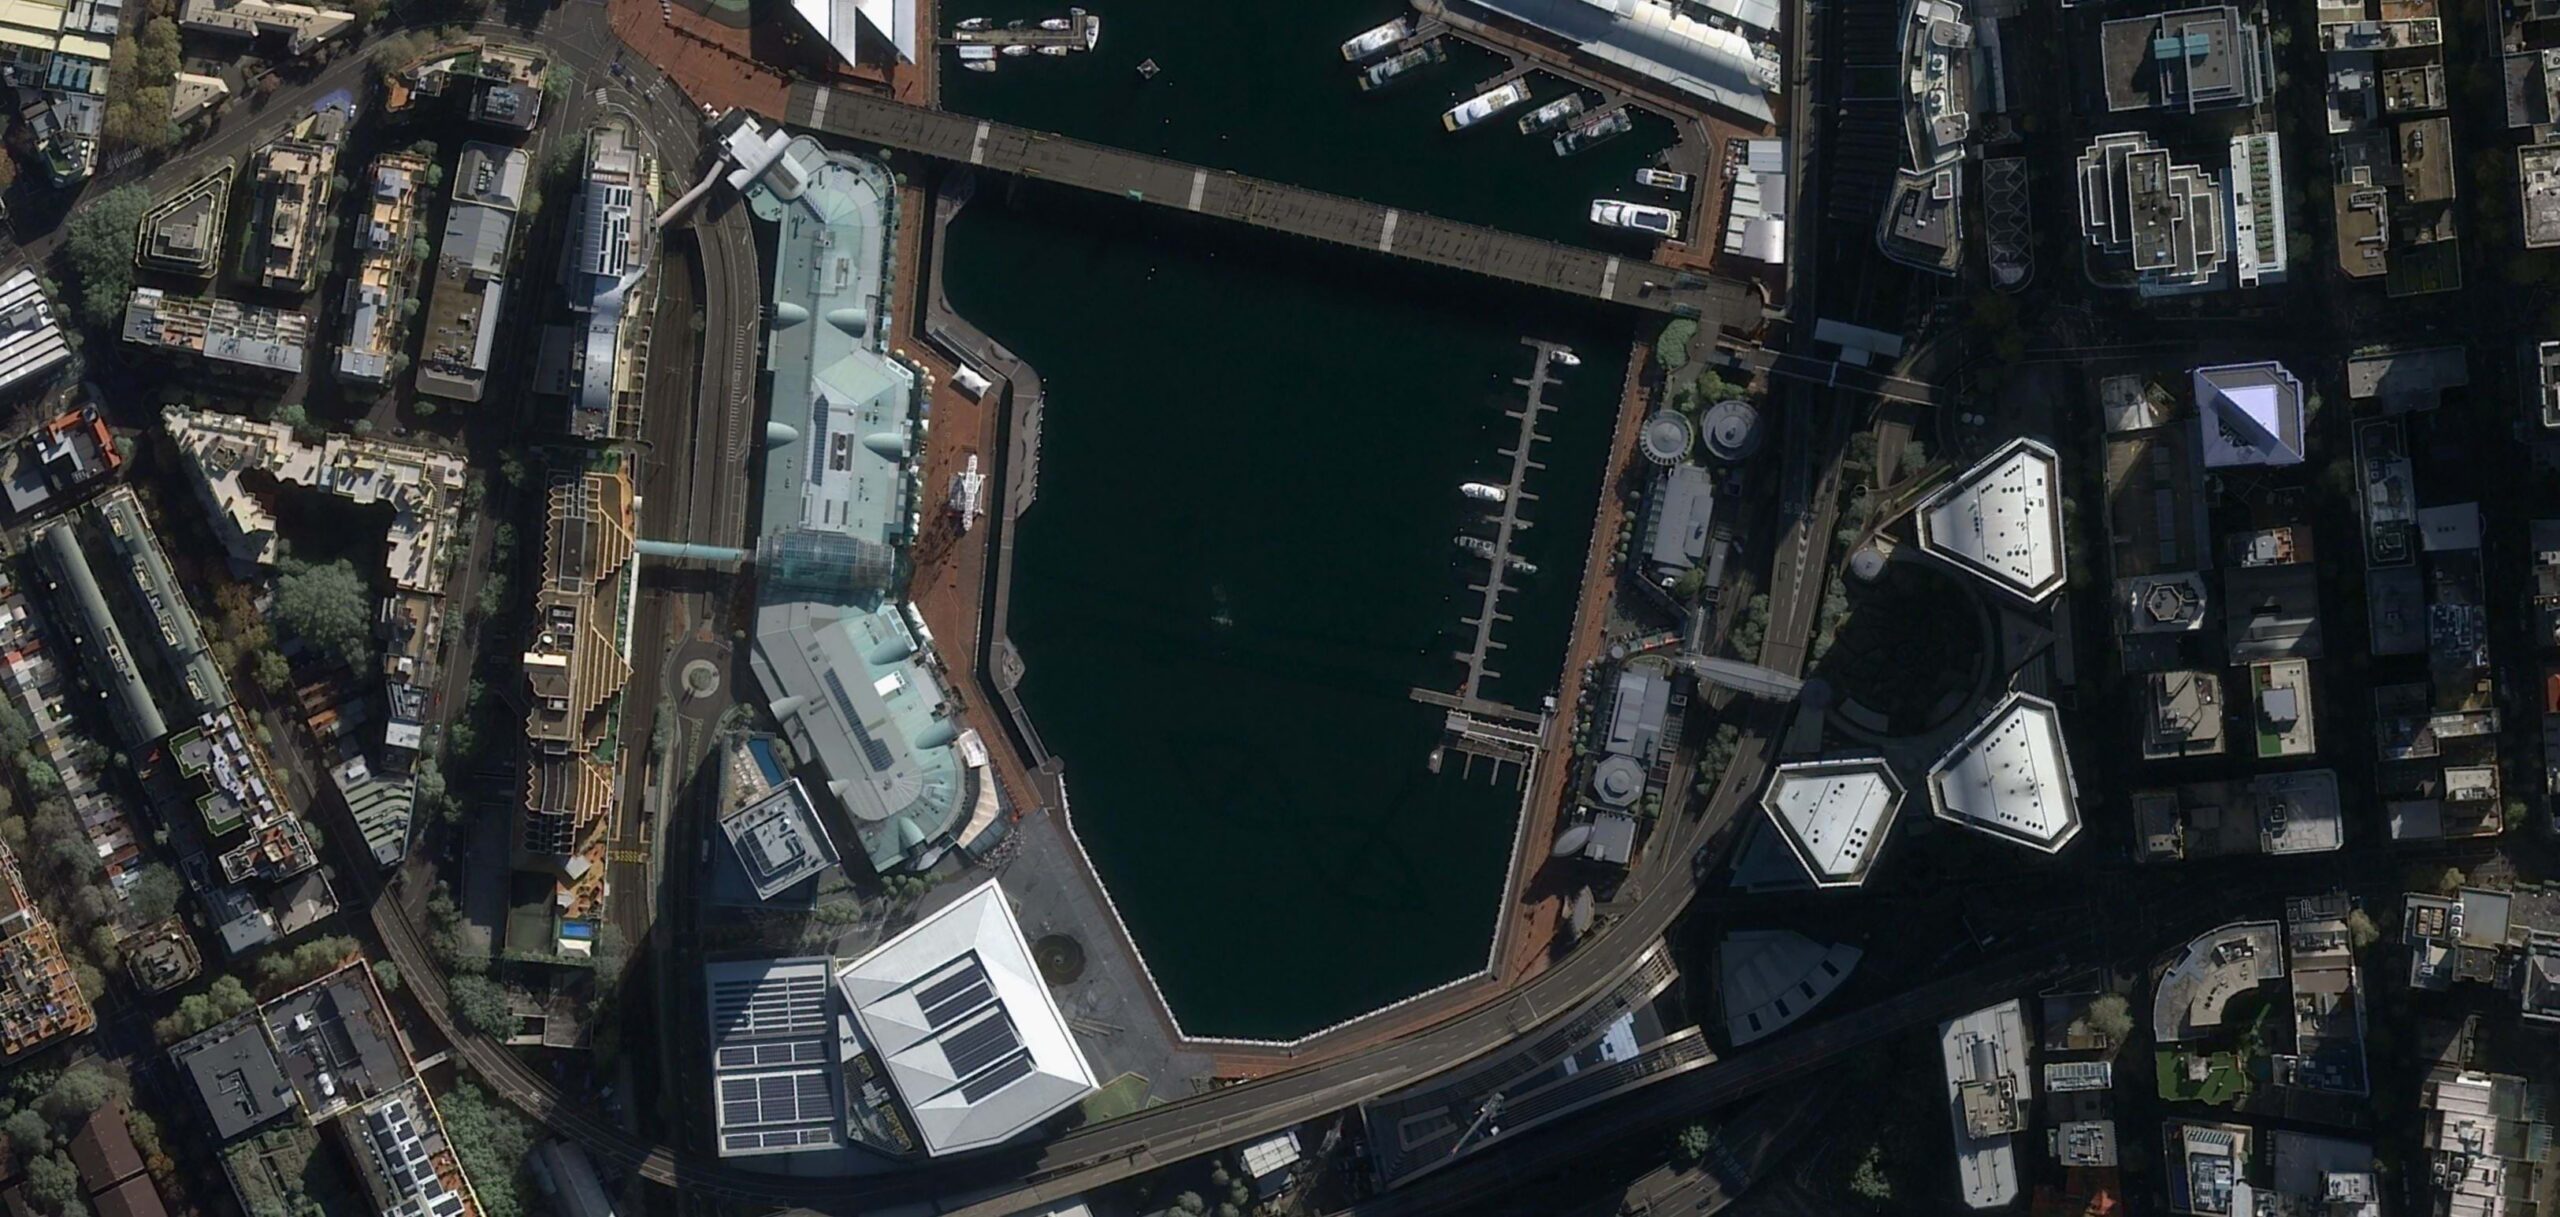
Sydney
This is Sydney’s Wynyard skyline! For these results, 15 Airbus Pleiades Neo scenes were used from spring 2022 and processed with ArcGIS Reality for ArcGIS Pro.
For more information on the Art of Possible with satellite and ArcGIS Reality for ArcGIS Pro, check out the following:


Article Discussion: