Elevate your pop-ups in ArcGIS Field Maps by integrating customizable buttons using the power of ArcGIS Arcade, HTML, and CSS. These languages allow you to transform your data into actionable buttons. This will not only improve the map experience for mobile workers, but also emphasize the significance of efficient communication and time management during fieldwork.
Picture yourself in the field, trying to remember the contact number of a property owner or a specific site manager. Alternatively, imagine having their contact information already available in your pop-up but needing to switch to your phone, email, or messaging app to type it in. It would be much more efficient to have a single button in your pop-up that automates this entire process.
This blog article will teach you how to enable field users to make calls, send emails, and perform more actions with a single tap.
.")
Step 1. To get started, open your map in Map Viewer and add an Arcade element to the feature layer’s pop-up. To learn more about the Arcade pop-up element, see the Pop-up element help topic or the Introducing Arcade pop-up content elements blog article.

This element allows for multiple Arcade expressions, as well as their implementation into HTML, in one code block.
Step 2. To edit the element, click the overflow menu and click Edit expression. Above the return statement, use Arcade to organize and format the code before you inject it into your HTML return for the button. Then, declare any global variables you want to use, such as a CSS styling variable for the icon’s size. A color variable could be included here too if you wanted the button color to cascade across multiple buttons. Setting these variables inline with the HTML return is possible; however, it’s recommended that you adjust them as variables, enhancing code reusability and readability.

Step 3. Now, use Arcade again to format and organize your button in an array and then in two dictionaries. Within the first button dictionary, in the array, add a “buttonConfig” property that will hold another dictionary of your button configuration properties with their respective values. These values will be the button icon, text, color, and href action. Other values could include button roundness, button text color, button size, and so on.
The array will hold the first dictionary containing your singular button and allow you to add more than one button later. The dictionaries will let the code be organized with properties and values.

In this example, you’ll create a button that links the email field of a fire hydrants feature layer to the recipient, notifying them of the completed inspection of a fire hydrant.
Step 4. Set the button color to red, button text to `<i>Email ${$feature.email}</i>`, and icon to a white email PNG saved in your ArcGIS Online organization. Remember to use backticks when implementing Arcade as a template literal within HTML. More information on template literals can be found in the template literal help topic.

Notice that the global variable “iconSizeCSS” was also added to the <img> tag for the icon’s size in the “iconURL” property. An alternative to an icon image can be UTF-8 html emojis! Now that the button’s styling and content have been configured, you’ll move on to set the button’s action using the href attribute on an <a> tag.
Adhering to the MDN documentation, the href attribute can send an email with this syntax: mailto:{emailaddress}?subject={}&body={}.
Step 5. Add the email address field into the email address syntax.
Step 6. Add a subject stating that the inspection was complete, while also specifying the hydrant’s ID.
Step 7. Finally, add a quick body message. Notice the UrlEncode() function within the subject and body syntax to encode any spaces and special characters.

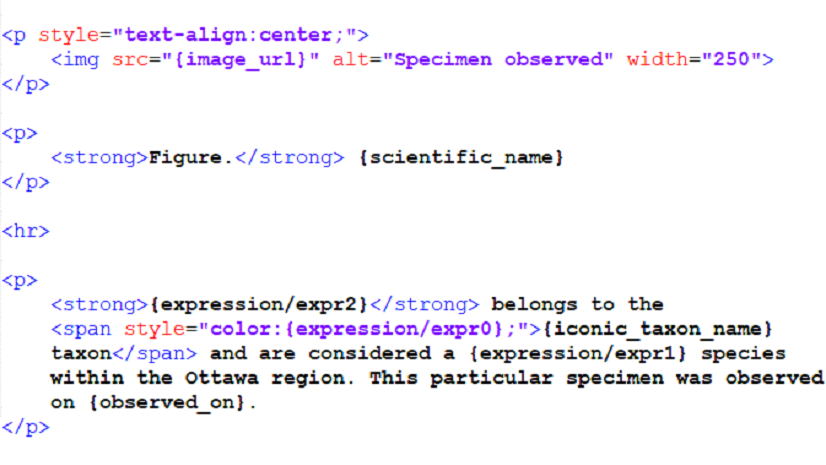
The button configuration is complete! Now, you must return these configuration values within HTML and inline CSS to visually render it within the pop-up. For this blog article, the following HTML, CSS, and Arcade can be used to render the button. You can view the exact code in this web map.
Keep in mind that this code must be kept within a single line, not multiline. The multiline image below is just for visual reference. Make sure to wrap the return with backticks and paste within the text value of the return object.

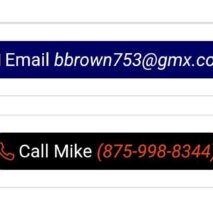
The email button should now render in the pop–up and open to your designated email app.
The same workflow can be used for opening a phone number! Switch out the mailto: syntax with the tel:{phonenumber} syntax within the hrefAction property.

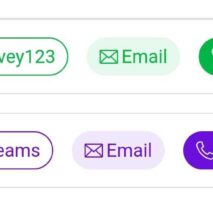
Outside of email and phone integrations, these buttons can link to external sites, such as ArcGIS Survey123, Microsoft Teams, and more. To learn how you can further integrate within ArcGIS mobile apps, check out the URL parameters documentation for Field Maps, QuickCapture, and Survey123.
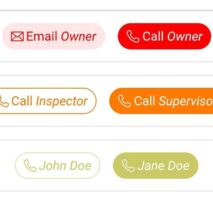
You can use the image gallery below for more inspiration. The essential component is the href action attribute; the design is up to you.
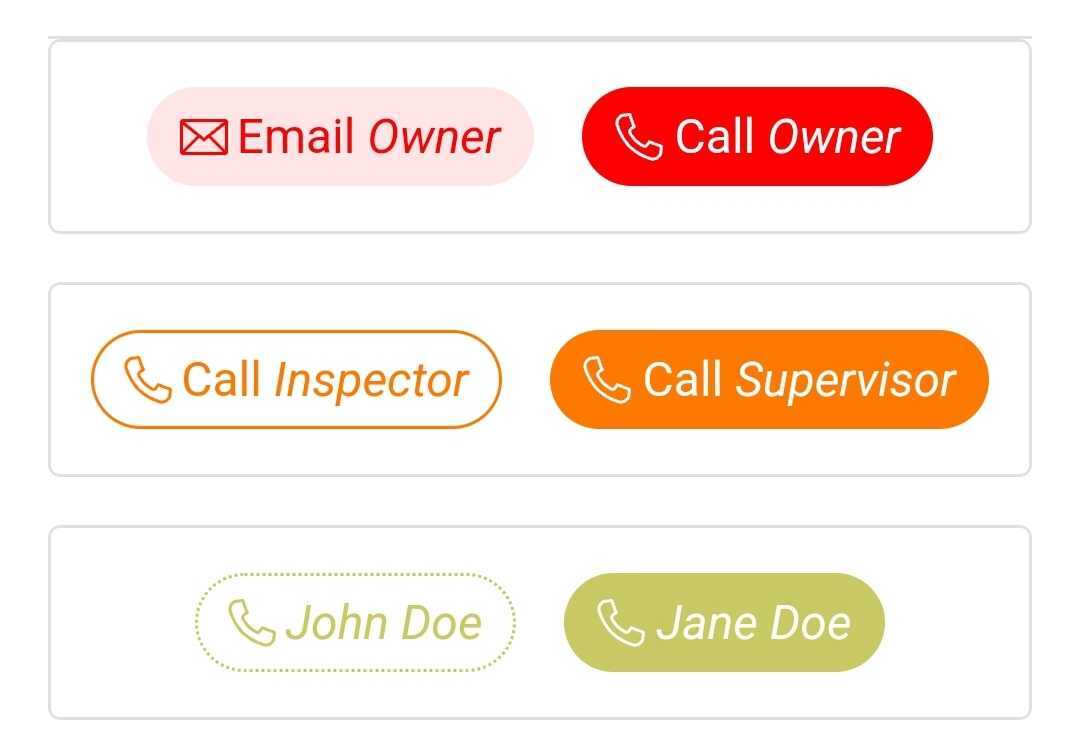

Article Discussion: