Esri now has vector tiles for World Hillshade, and for World Contours. These can be accessed directly through the Living Atlas and added to your map as separate layers in Map Viewer or ArcGIS Pro. Blends and effects then provide you with a slew of different ways to incorporate them into your design.
Using the Vector Tile Style Editor (VTSE), they are also editable, so you have the opportunity to adjust the way they look alongside other map features.
In fact, it goes a stage further. Both services can be merged directly into an existing vector tile map, giving you a more thorough way of incorporating them into your map hierarchy. Using the VTSE, you can then adjust the display order and specifications so that they are truly part of your base.
How it works
Our Vector Tile styles can be multi-sourced. Adding the hillshade and/or contour information to our Web Mercator basemaps is as easy as adding the URLs to the style’s header information. Here is the information from the ‘Outdoor Map’:
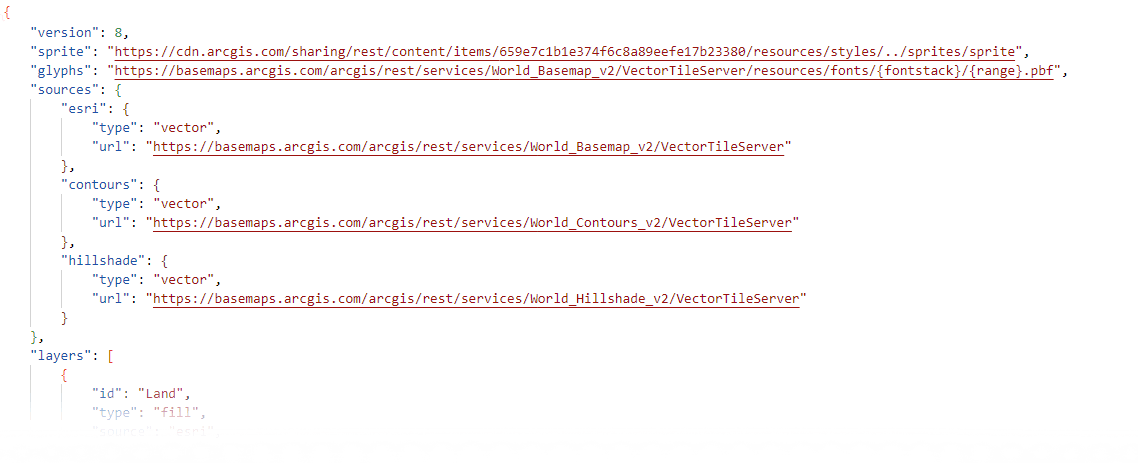
Once these services are established in the JSON, the feature layers can be positioned at any point – directly by adjusting the code, or by using the ‘Layers’ option in the VTSE.
That was Easy!
Of course there is a catch…
The JSON editor in the VTSE hides the header information, so you can’t add the URLs in there. We need to go ‘old school’ temporarily:
- Open the basemap you want to add to into ‘Map Viewer Classic’. In this example I’m using the Light Gray Base
- Make a copy of the layer (You may need to save your webmap temporarily and move the layer from the basemap before you can do this).
- Change the layer name to something suitable and save the copy.
- Open the ‘Details’ page for your new layer, and download the style
- Open the style into a code editor
- If you need to reformat the code, copy/paste it into ‘JSON Lint’ and hit ‘Validate’, then copy it back, and save.
- Carefully paste the code snippet for hillshade and/or contours into the header information, as above, then save. (You can validate your code again in JSONLint)
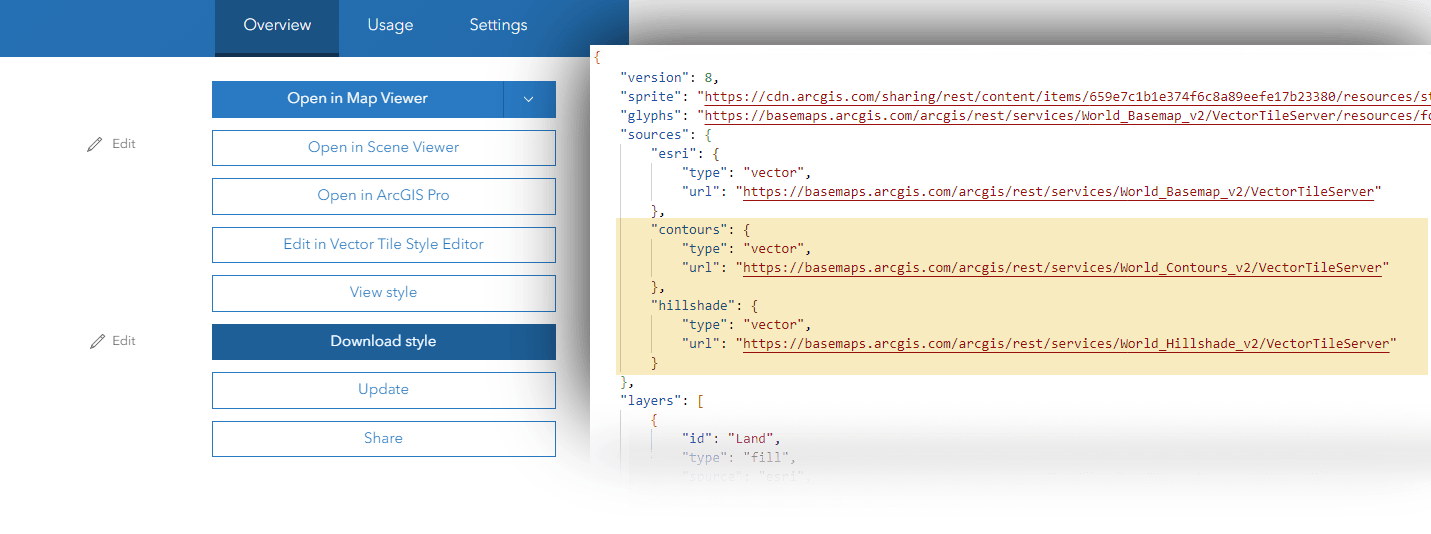
- Go back to the ‘Details’ page for your new layer, hit ‘Update’, and navigate to your saved code.
- Your new links should be established.
Where are they?
The contours and vector hillshade are now available to use in your map, but they are still not visible. The relevant code is not present yet.
- Open your new layer into the VTSE.
- In a separate VTSE session, search ‘+ New Style’ for ‘ Hillshade’ and/or ‘Contours’ to access the default stand-alone styles.
- Alternatively, open a map style that has hillshade and contour layers (such as the ‘World Topographic Map (with Contours and Hillshade)’ or ‘Outdoor Map’). Choose the style that gets you closest to where you want to be.
- Find the relevant code and copy it. You can search for it by source name (‘hillshade’ or ‘contours’).
- Confirm that the source name for your new layers matches that in the header.
- Paste it carefully into the code for your map wherever you think it is most suitable. Remember that the contours have labels that are usually in a different position within the code.
- Update the code, and you should find the Contours and Hillshade displaying in your map.
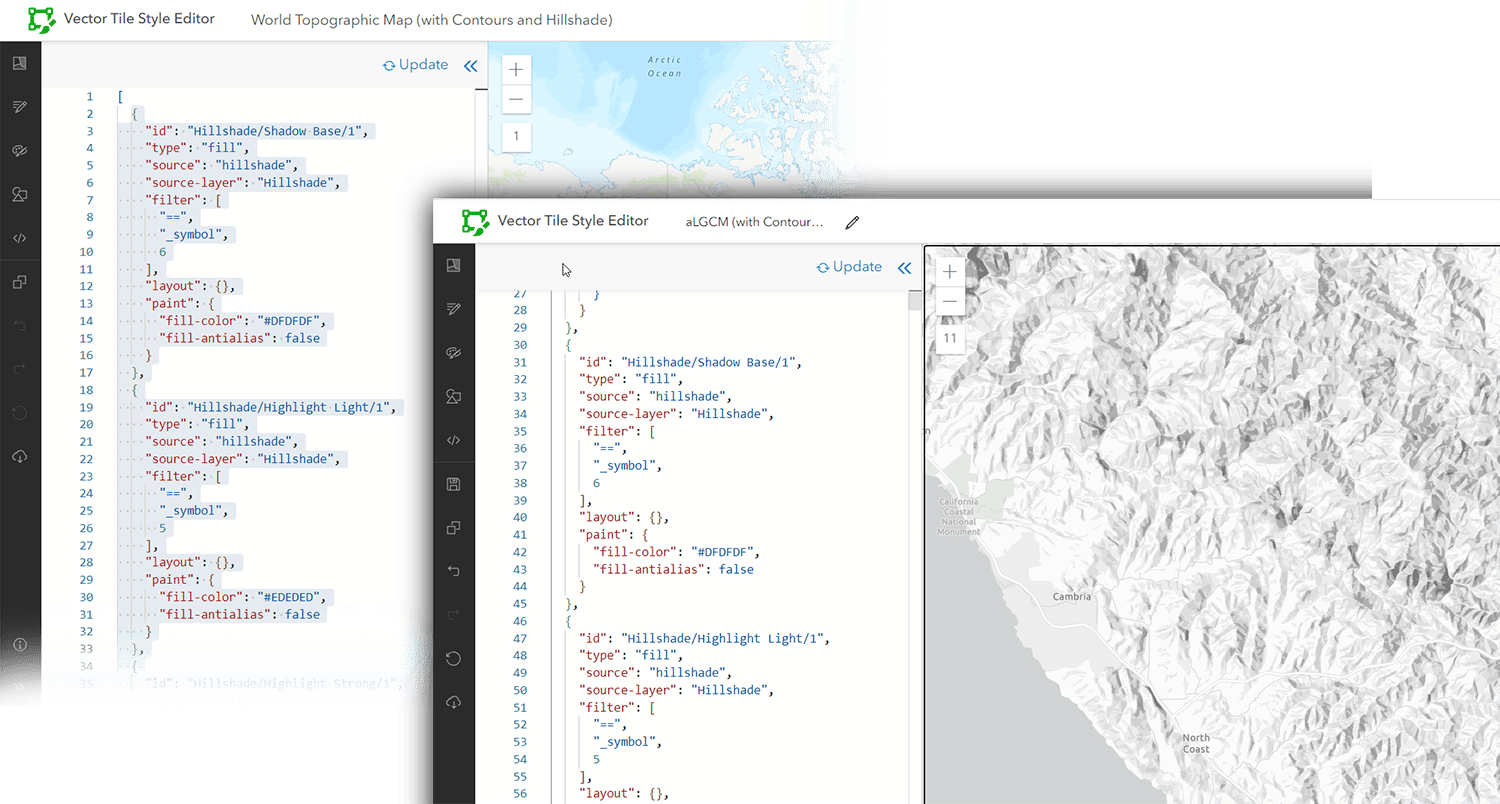
So, it can be done, but it involves 3 different apps and quite a few hoops to jump through. Here’s an alternative:
Adjusting an existing map
In this case we are going to start out with one of the basemaps that already features these services (Say the ‘World Topographic Map (with Contours and Hillshade’, or the ‘Outdoor Map’).
- Open one of these maps into the VTSE.
- Save a copy of the map with your preferred name.
- Go to ‘</>’ (Edit JSON) in the side panel.
- Carefully remove all of the code that does not relate to the Hillshade and Contours (assuming you want both services). A search for “source”: “esri” will help you to identify it. Leave the square brackets at either end of the code.
- Open your preferred basemap into another VTSE session.
- Carefully copy the code (minus the square brackets) into your new map, and update.
- Note that code is notoriously sensitive (an extra or a missing comma can be enough to throw it out). The style editor is very good at warning you when there is a problem, although you may need to hunt for the cause.
- Move the hillshade and contour layers into your preferred position. If you already know what that is, you may be able to import the new code in segments and distribute it around them.
Sprites
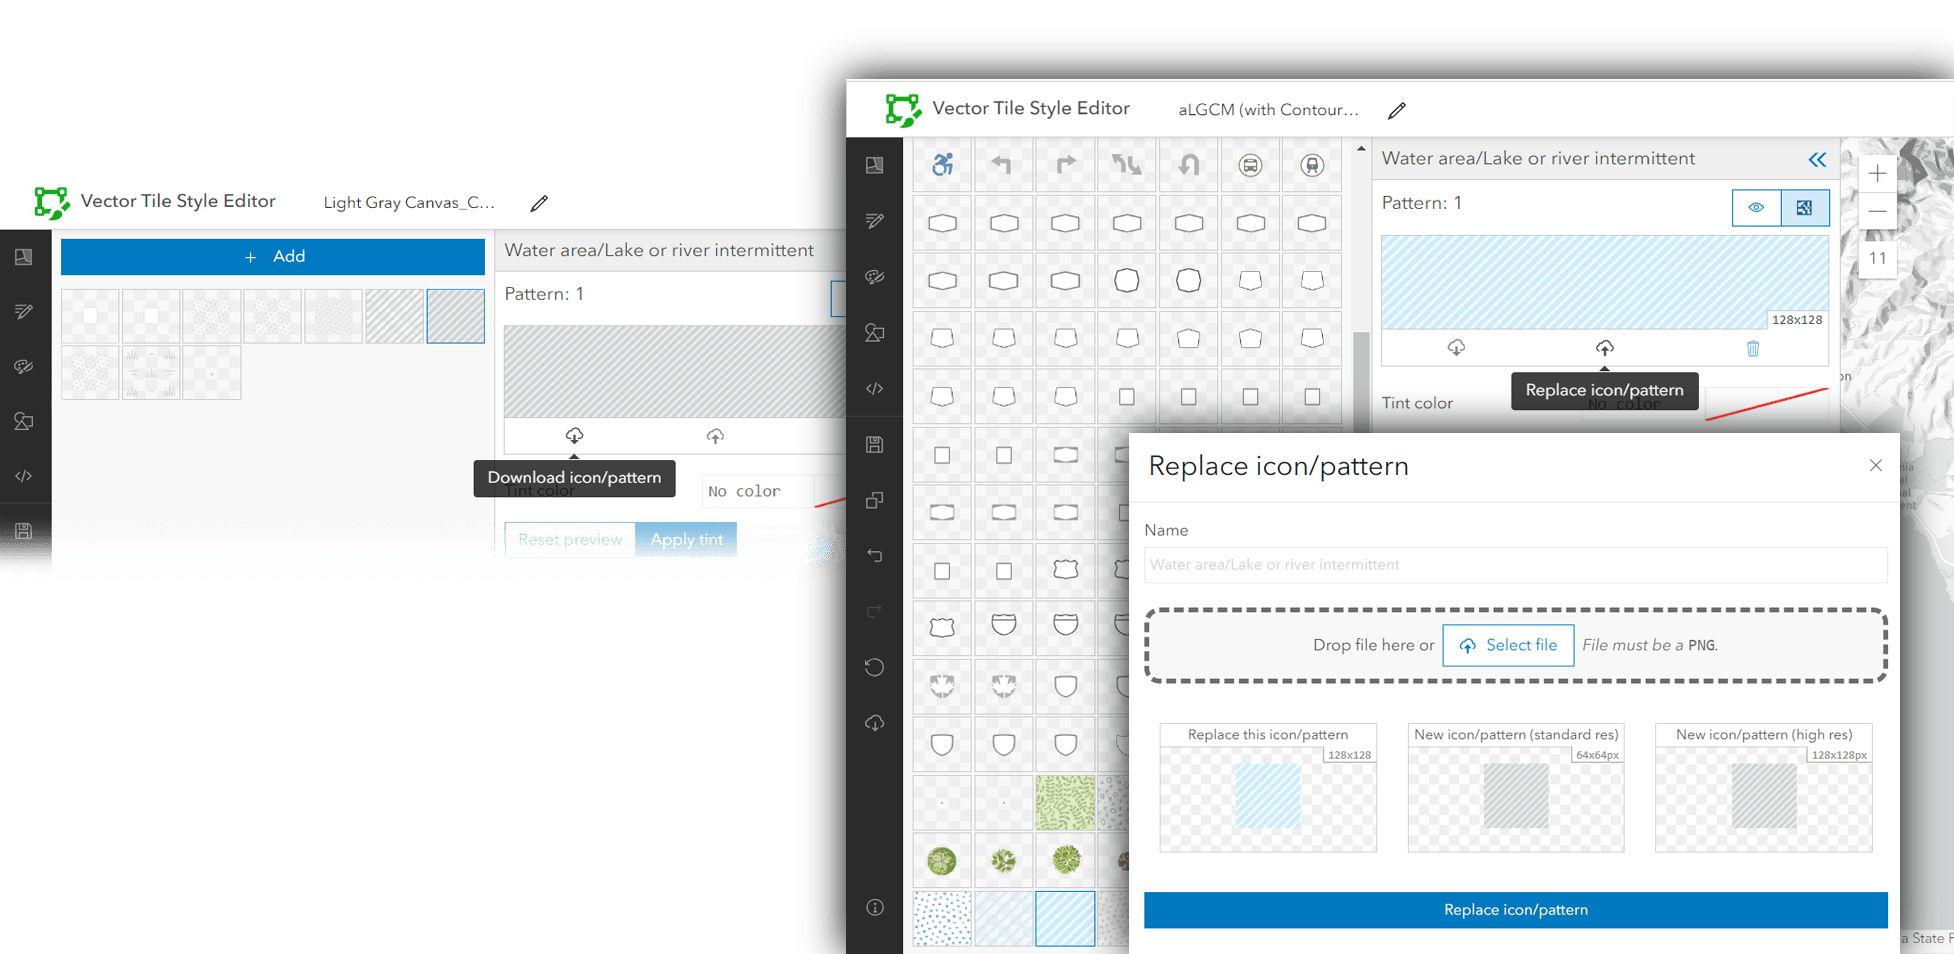
It’s possible that the icons, shields and patterns have changed (or disappeared) in your new map. This is because it is drawing on the sprites from the original design. You may have to replace these manually using the VTSE.
In your source basemap, go to the ‘Edit Icons and Patterns’ menu in the sidebar and select ‘download’ for your chosen symbol. Find the equivalent symbol in your new map and replace it with the download.
Adjusting Colors and Lines
Whichever way you put it together, you may be lucky and find that the hillshade and contours work well with your map. More likely, you will have to make some adjustments. In the VTSE Layers option, both features appear in the ‘Natural’ grouping.
Vector Contours
Take a quick look through the layer structure. It’s based mostly on scale ranges, and it’s not too difficult to figure out. Color, stroke value and label should be easy to adjust.
Vector Hillshade
This is a bit more complicated. Play around with color and opacity settings and watch carefully what happens to the map
It’s very subtle! You will need to spend some time experimenting with it to find out what works. Adjusting hue should be reasonably easy, but changing contrast and balance needs some concentration. In particular, the ‘base’ and ‘highlight’ layers may include a background tint that will affect the overall look of your map.
Remember that you may get the effect you want by adjusting other features rather than the hillshade’.
Other features
Regardless of any style changes you make to the new feature layers, their introduction may require some adjustments elsewhere in the style.
For example, hillshade tends to be placed at the bottom of the map hierarchy, and it may be blocked by polygon fills. Consider adding transparency/opacity to these fills, then darkening the color value to compensate. Alternatively, layer the hillshade above polygon fills, and make similar adjustments to that.
Summing up
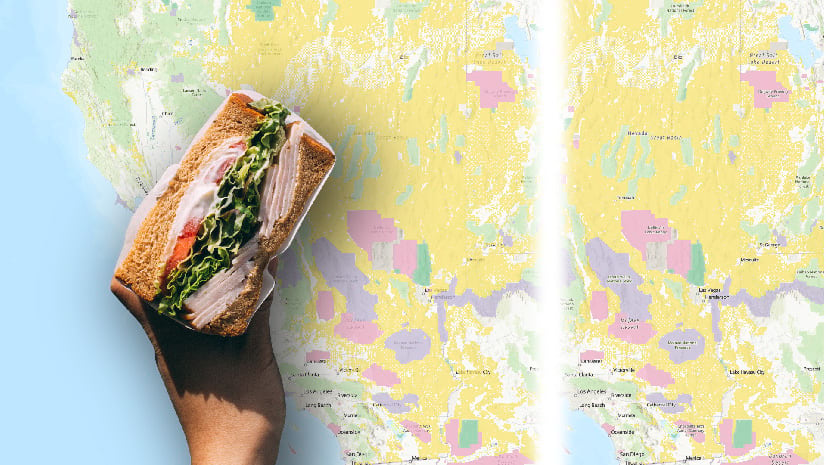
So, there are ways of inserting vector contours and hillshade services directly into your basemap, and adjusting them to improve the look. Neither is trouble-free, but the reward is a map/basemap that looks much more integrated than a series of separate map layers. Here are two examples:



Article Discussion: