ArcGIS Experience Builder enables you to deliver responsive web experiences without writing any code. You can create apps and/or pages that contain 2D and 3D maps, text, and media. Experiences can focus on one type of content or can combine and link many types of content to create a complete experience and destination for your audience.
To create an experience, simply drag, position, and configure widgets such as maps, images, text, and tools. You can add triggers and actions to make widgets work together, within a single app and across multiple pages. You can begin building an experience using an existing template, or can create one from scratch. You can also save your work as a new reusable template. ArcGIS Experience Builder is built into ArcGIS Online, so you can leverage all of your existing content.
For more information on the basics see:
This tutorial
This tutorial steps you through the creation of a mapcentric experience driven by bookmarks in a web map using the Ribbon template. You can view the completed experience and follow along using the Places to See in Washington D.C. web map. Sign in to your ArcGIS account and save the web map to use it in this tutorial.
Create the experience
You can use Experience Builder to build a variety of apps. Follow these steps to create a simple, bookmark-driven, mapcentric experience using the Ribbon template.
Step 1 — Sign in.
Go to experience.arcgis.com and sign in to your ArcGIS account, or sign in at your organization home and launch Experience Builder from the app launcher.
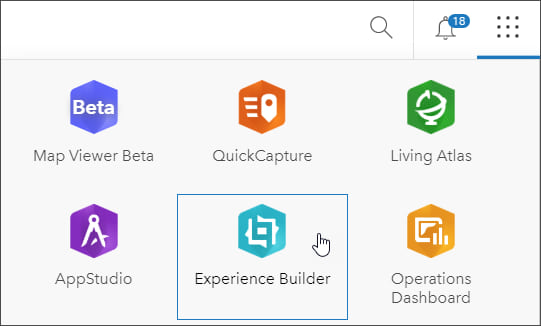
After signing in you will see a gallery where you will find experiences that you have created, have been shared with you, or are publicly available.
Step 2 — Click Create New.

This step advances you to the template gallery, where you can choose from available templates and begin creating a new experience.
Step 3 — Select a template.
The template gallery contains a variety of default templates, as well as templates that have been shared with you. To get more information about any template, hover over the thumbnail.
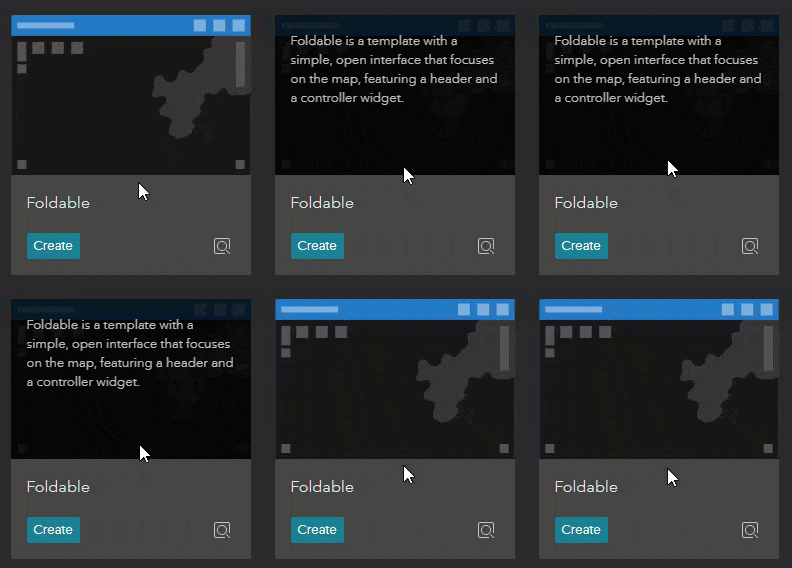
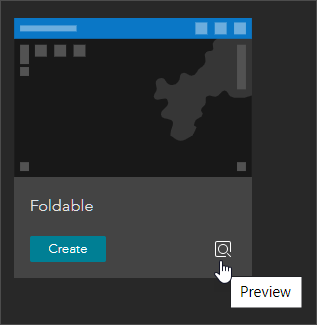
You can also preview the template.
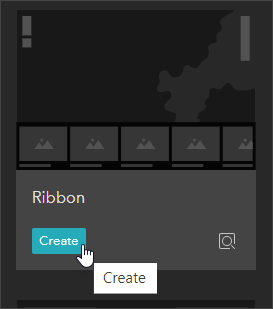
Locate the Ribbon template and click Create to begin.
Step 4 — Explore the template.
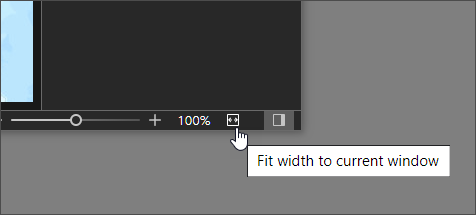
Ribbon is a basic template for a mapcentric experience using bookmarks as the primary form of navigation. It includes widgets for a map (including standard zoom tools) and bookmarks. If you can’t see all of the widgets, fit the app to the the current window.
In the panel on the left you will see the outline of the current page. Click the arrows to expand the view to show all of the widgets in the template. Click any widget, or select it in the outline, to view its current settings and make changes to the settings in the panel on the right.
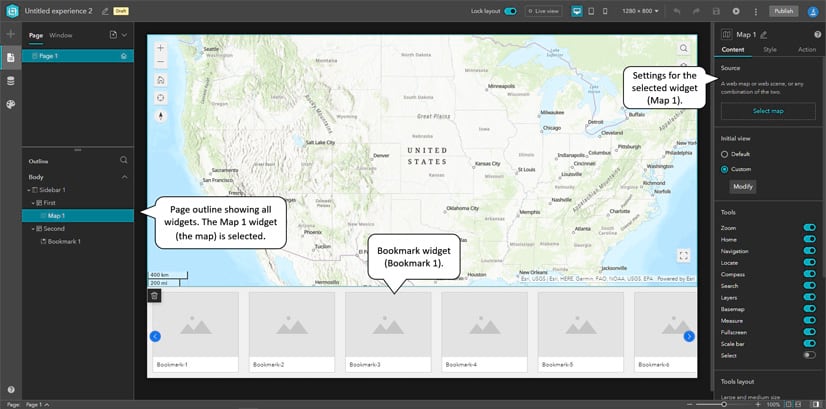
Additional tools in the header bar at the top of Experience Builder can be used to create the experience.
Lock layout prevents accidentally moving and removing some widgets. Live view lets you view and work with the app using its current settings. Additional tools let you preview the app on different size devices, and there are also undo/redo, save, and publish tools. Don’t forget to save your work from time to time.
In the steps that follow, each widget will be configured to create your experience.
Configure the Map widget
First you will connect to a map and add tools. You will do this by adding a map to the map widget, and adjusting settings to add a search tool, zoom tools, and a home button.
Step 1 — Select the Map widget to view its settings.
In the center of the builder you will see the Map widget with a placeholder map. Click the Map widget to select it, or select it from the outline panel, to display the current settings.
Step 2 — Set the map used by the map widget.
In the Content tab in the setting panel, click Select map.
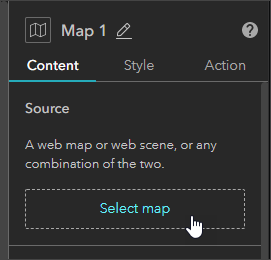
At the bottom of the Select data panel click Add new data. Note that you can also search, or filter for type.

Add data displays available maps. If you have saved the example map used in this tutorial, locate it and click to select it, or choose any map you have. The selected map will display a checkmark.
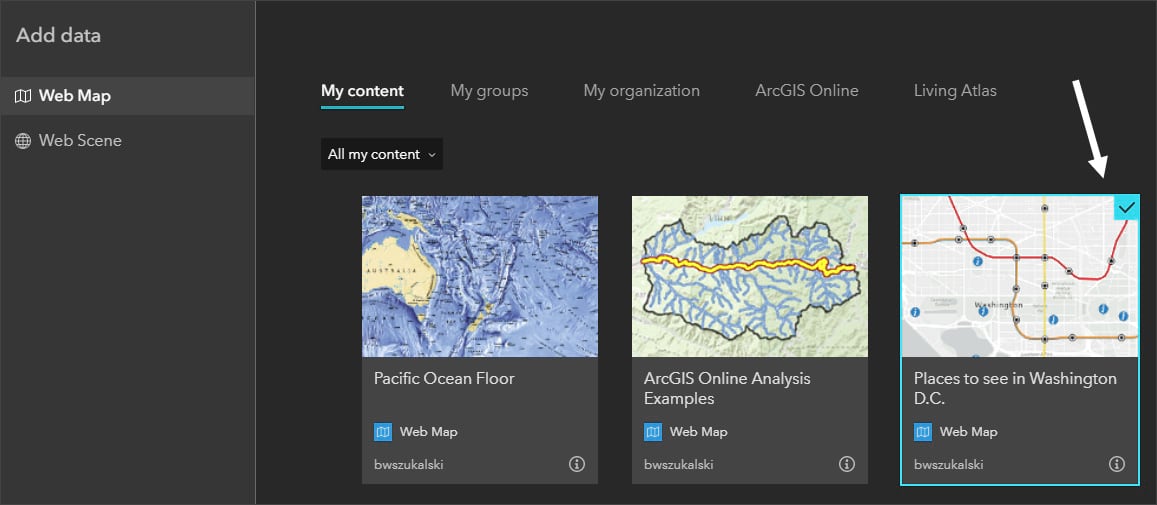
When finished, click Done in the lower right.

Click the map in the Select data panel. The settings panel for the map widget will update and the map will be displayed in the application. Set the Initial view to Default to open the map at its saved extent.
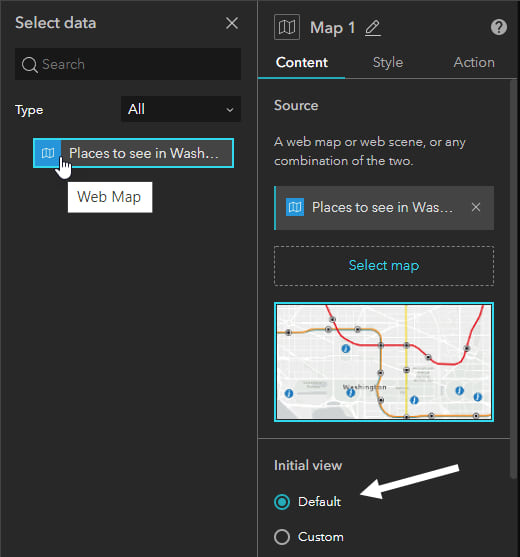
Step 3 — Review other settings.
Now that the map has been added to the widget, you can review and change other settings such as which tools appear, the tools layout, and others. Choose the settings you prefer, remember that you can toggle from Lock layout to Live view to preview your changes and experiment with them.
Below you will see the Tools section showing toggled zoom, home, navigation, and fullscreen buttons.
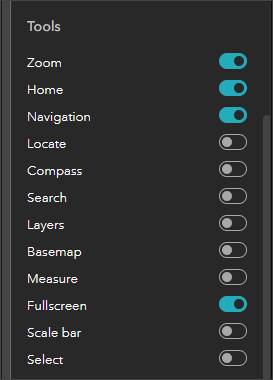
Configure the Ribbon widget
Next, you will configure the ribbon. The template contains a Bookmark widget at the bottom of the application, under the map, that can be used to display the bookmarks saved in the map. Follow the steps below to configure the widget.
Step 1 — Select the Bookmark widget to view its settings.
Click the Bookmark widget to select it, or select it from the outline panel, to display the current settings.
Step 2 — Remove the placeholder bookmarks.
By default, the widget has empty bookmarks that can be configured. However, the Places to See in Washington D.C. map already has bookmarks, so these placeholder bookmarks can be deleted.
To delete, click the trashcan to the right of the bookmark for each of them (8 in total).
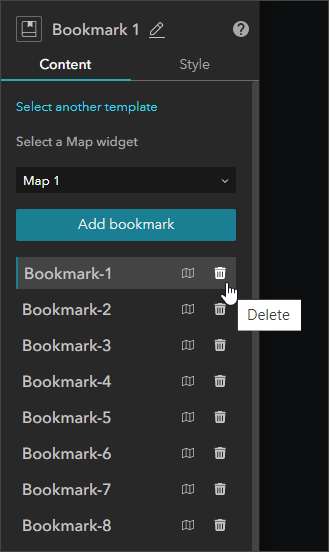
Step 3 — Configure the Bookmark widget to use the web map bookmarks.
At the bottom of the bookmark configuration panel, uncheck Allow to add bookmarks in widget and check Display bookmarks from web map.
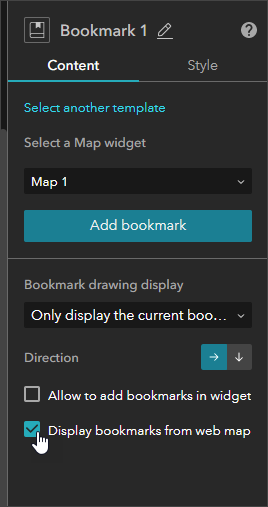
The web map bookmarks will display in the bookmark ribbon.
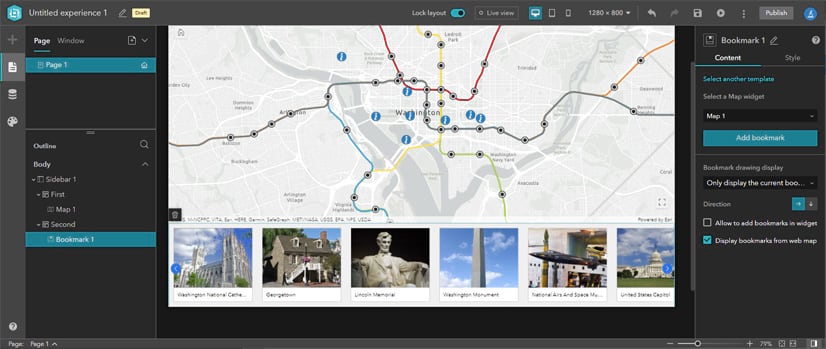
Use Live view to see how things work.
Finalize, save and publish
You can make additional adjustments, such as changing the background color of the bookmark ribbon. Experiment with other settings until satisfied. When finished, Save and Publish the experience.

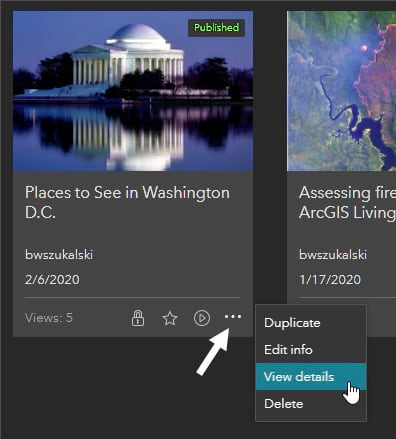
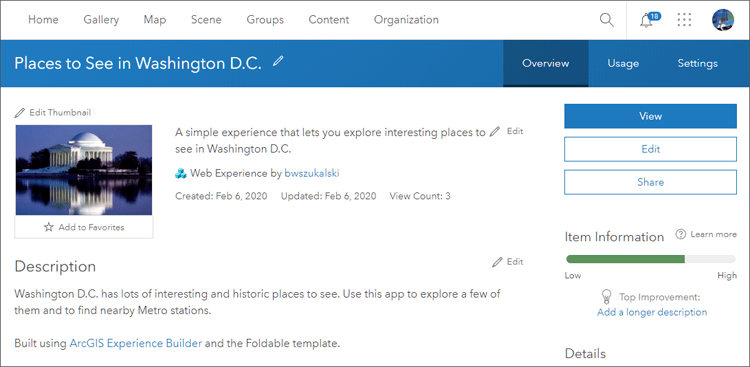
It’s a best practice to complete the item details for the experience by adding a summary, description, and thumbnail. You can edit the name, title, and thumbnail by clicking more options on the experience card, and selecting Edit info, or edit the item pages by clicking View details.
Shown below is the completed item page.
More information
For more information see

Commenting is not enabled for this article.