By Rajinder Nagi, Esri Cartographic Product Engineer
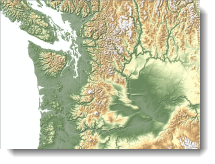
A common cartographic technique is to transparently overlay a colored raster, called a layer tint, over a grayscale raster, like a hillshade or a panchromatic aerial or satellite image. When you display a colored raster transparently over a grayscale raster, you lose the intensity of your colors and that it is harder to see the hillshade details.
In this blog entry, we explain how you can overlay colored rasters on grayscale rasters without losing detail in the graytones or intensity in the colors. The example here uses color ramps and Image Analysis functions. In a related blog entry, we demonstrate the same overlay method using colorramp files and mosaic dataset functions. No matter how you work with your rasters, this new overlay method will allow you to retain the detail and colors in the overlaid rasters.
In the example below, a layer tint with colors that relate to elevation values (figure 1) is overlaid on a gray hillshade of the land surface (figure 2).
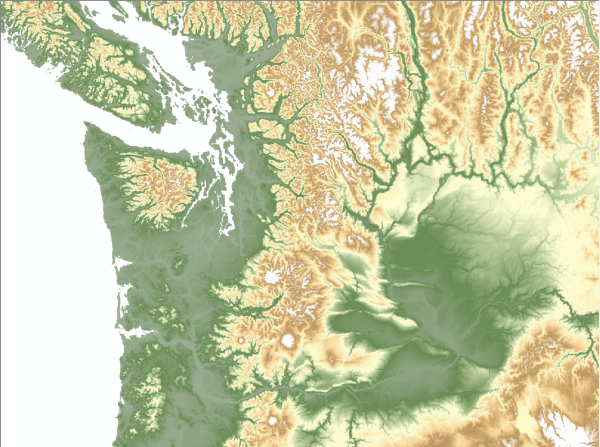
Figure 1. A layer tint of elevation
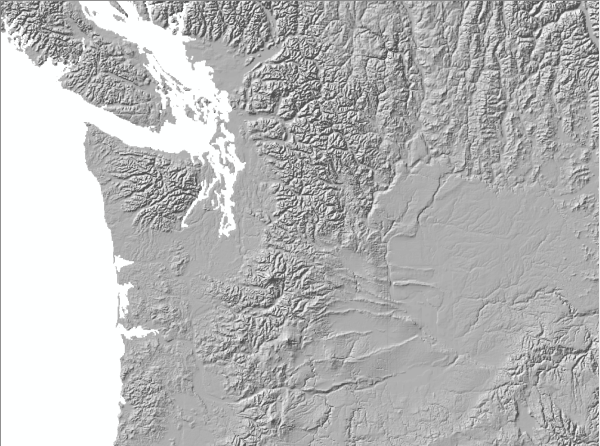
Figure 2. A grayscale hillshade
This results in a display that has a washed-out version of the layer tint and a less detailed version of the grayscale raster (figure 3).
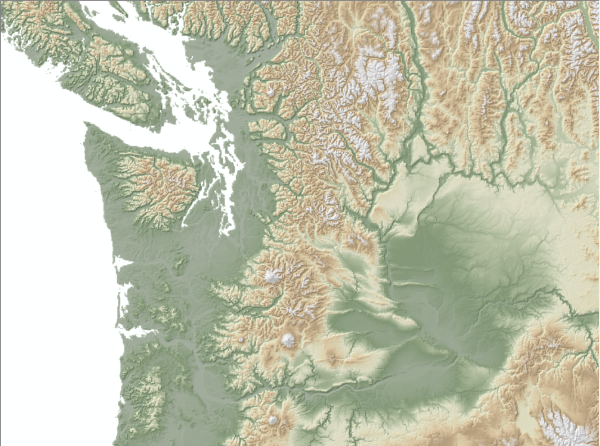
Figure 3. The result when the layer tint is shown with 40 percent transparency over the hillshade
In this blog post, we describe how to obtain the results in figure 4 by using a color ramp and Image Analyst functions to retain both the original colors and the grayscale detail in the input rasters.
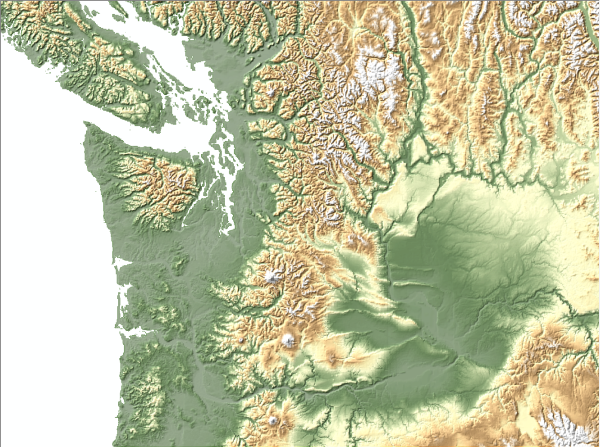
Figure 4. The result when image functions are used to control the display
At the core of this display method is a combination of pan-sharpening, contrast stretching, and gamma stretching functions. The pan-sharpening function uses a panchromatic and a multispectral (three-band RGB) raster as input. In the example here, the inputs are (1) a hillshade created from a DEM as the panchromatic raster and (2) a DEM with a color ramp that has been converted to a multispectral raster. The output from the pan-sharpening function is then used as input for the contrast and gamma stretching functions.
Since layer-tinted DEMs are not usually managed as three-band RGB rasters, a conversion is required. To do this, add the DEM to ArcMap, right-click the layer in the table of contents, and click Properties. On the Symbology tab, select the color ramp you want to use to display the data. Click OK to close the Layer Properties dialog box. Right-click the layer in the table of contents, click Data, and click Export Data. In the Export Raster Data dialog box, check Use Renderer and check Force RGB. Choose a location and input a name, then click Save. Choose to add the exported data to the map as a layer. The three-band RGB image will be added to the table of contents.
At this point, you can either follow the steps described in the previous article to add the raster to a mosaic dataset and render it, or you can use the instructions below if you want to use the Image Analysis tools instead of a mosaic dataset.
Define the functions for the raster datasets by following the steps below:
1. Add the grayscale hillshade and multispectral RGB layer tint rasters to ArcMap, if they have not already been added.
2. Open the Image Analysis window by clicking Windows on the top bar menu, then clicking Image Analysis.
3. In the top section of the Image Analysis window, select both the hillshade and RGB rasters using the Control key and clicking on each raster’s name to highlight it (figure 5).
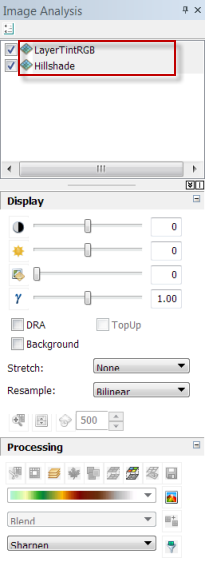
Figure 5. The Image Analysis window
4. Click the Pan-Sharpening tool in the Processing section of the Image Analysis window. This will create a new layer, which will be listed as the top layer in the Image Analysis window.
5. In the Image Analysis window, right-click the newly generated pan-sharpening layer and click Properties.
6. On the Functions tab, right-click the Pansharpening Function and click Properties.
7. On the General tab of the Raster Function Properties dialog box, change the Output Pixel Type to 8 Bit Unsigned.
8. On the Pan Sharpen tab, change the Method to Simple Mean.
9. Keep the rest of the defaults and click OK.
10. Right-click Pansharpening Function, click Insert, and click Stretch Function.
11. Change the Type to Minimum-Maximum.
12. Check the Use Gamma option.
13. In the Gamma section of the dialog box, change the Gamma value from 1.0 to 0.5 for each of the three bands.
14. In the Statistics section of the dialog box, type 5 as the Min and 215 as the Max value for each of the three bands. The final function chain will look like figure 6.
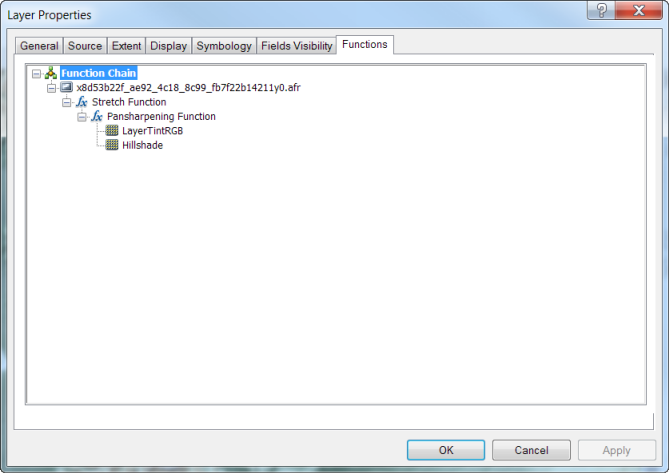
Figure 6. The final function chain
15. Click OK to check your results.
After checking the results, feel free to experiment with the gamma, minimum, and maximum values in the Stretch Function.
Creating your display by using the Image Analysis window instead of mosaic datasets results in a temporary raster. If you want to keep your results, export the layer that you added the functions to from ArcMap. To do this, right-click the layer in the table of contents and click Export Data. The data you save can now be added to an ArcMap session and will display with the final results.
If you want to try this out yourself, download this .zip file which contains a map package of the Washington elevation map used in this article.
Intrigued? Want to know technical details behind this method? Here is the full paper: Maintaining detail and color definition when integrating color and grayscale rasters using No Alteration of Grayscale or Intensity fusion method

Commenting is not enabled for this article.