
For many ArcGIS Online projects, you’ll need to create a data layer that you can maintain and use over time. To learn how to do this, first imagine that you need to organize a series of beach cleanup events on Panglao Island in the Philippines. Your goal is to create a map for your website so volunteers can see where the cleanups are happening. Later, you’ll use the layer to record attendance and plan new events.
If you only needed to create one map of beach locations, you could create a sketch layer more quickly than a feature layer. But because you plan to use this layer in future maps and because you need to store multiple attributes for the data, you’ll create a blank feature layer in your ArcGIS Online account. Specifically, you’ll create an empty feature layer in ArcGIS Online, define its fields, and add features to it for each beach on your list.
This exercise will require an ArcGIS organizational account with a Publisher, Facilitator, or Administrator role (see options for software access).
Step 1. Create a feature layer
- Sign in to your ArcGIS organizational account.
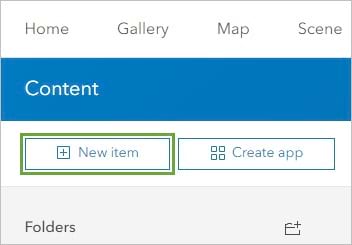
- On the ribbon, click the Content tab.
- Click the New item button.
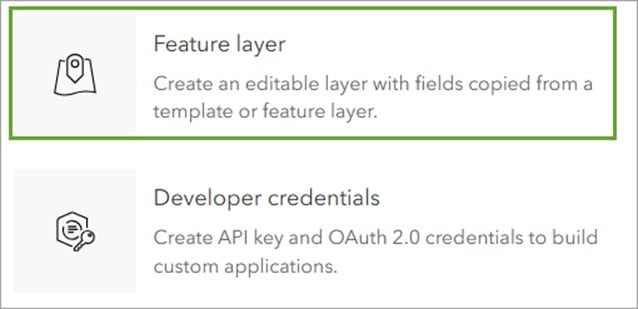
Although there are many item types and ways to add data in ArcGIS Online, for this map, a feature layer is the best option. This layer can contain one feature for each beach and be used to store attributes about beach names along with the event date and time. You can also edit the layer as information changes, and reuse it in other maps.
4. Click Feature layer.
There are several options for creating a feature layer. For this one, you’ll need something simple—one layer of points with only a few fields. It will be easiest for you to define this yourself rather than editing an existing layer or template.
5. Choose Define your own layer and click Next.
6. Under Specify name and type, replace “Layer_1” with “Beach Cleanups”. From the menu, make sure Point layer is selected.

Feature layers can have multiple sublayers, but only one point layer is needed for the beach cleanup map.
7. Click Next.
8. For Title, add your name or initials after “Beach Cleanups” (for example, “Beach Cleanups [Your Name]”). (Note that you cannot create two layers in an ArcGIS organization with the same name. Adding your name or initials to a layer name ensures that other people in your organization can also complete this tutorial. Once a layer has been created, you can rename it in the map to remove your name or initials. This will not affect the name of the underlying data layer.)
9. For Summary, enter “Locations of beach cleanup events on Panglao Island”.
10. Click Save.
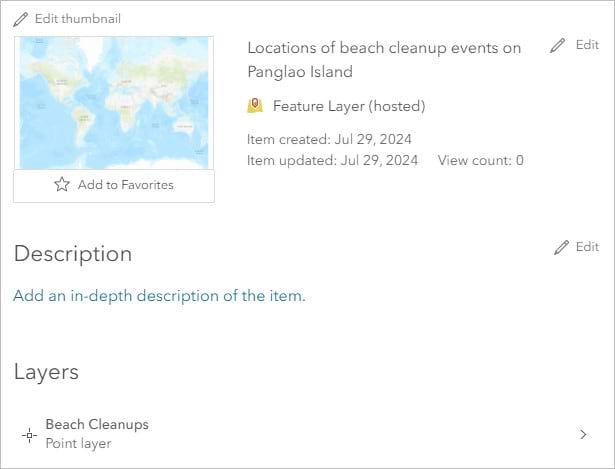
The item page for the new feature layer appears. The one sublayer—the point layer also named Beach Cleanups—is listed under the Layers section.
Step 2. Add fields
Now that you’ve created an empty layer, you’ll define fields to store attributes for the name of each beach and its cleanup date.
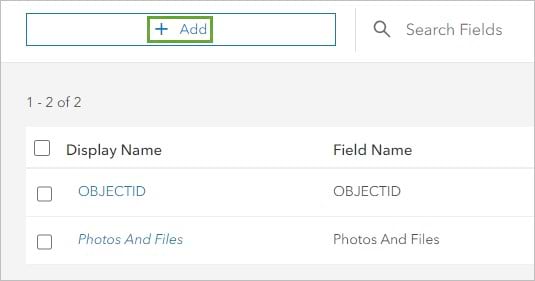
- On the ribbon, click the Data tab. Click the Fields button. The layer field OBJECTID allows you to uniquely identify each feature in the layer.
- Click the Add button.
3. In the Add Field window, for both Field Name and Display Name, type “Name”.
4. Ensure that Type is set to String. (String fields store text. The other types store numbers or dates.)

5. Click Add New Field. The Name field appears in the field list.
6. Click the Add button again.
7. In the Add Field window, set the following properties: For Field Name, type “Cleanup_Date”. For Display Name, type “Cleanup Date”. For Type, choose Date.
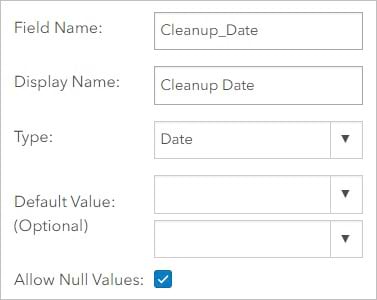
8. Click Add New Field.
You’ve added two fields to the feature layer. You can add more fields later, such as integer fields to record the number of volunteers who participated and the number of filled trash bags that were collected.
Step 3. Add features
Now you’re ready to edit the feature layer and add features to it.
- On the ribbon, click the Overview tab. Click Open in Map Viewer.
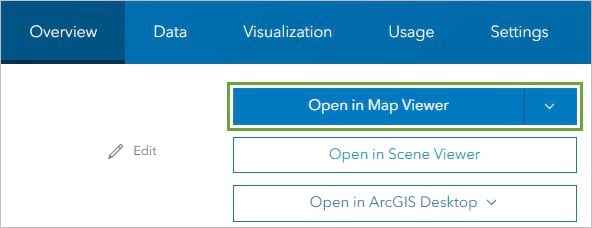
A map of the world appears. The Layers pane is open and contains the Beach Cleanups layer.
2. On the map navigation controls, click the Search button.
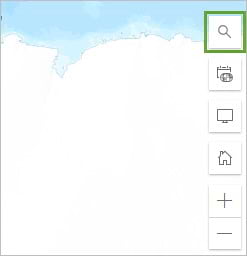
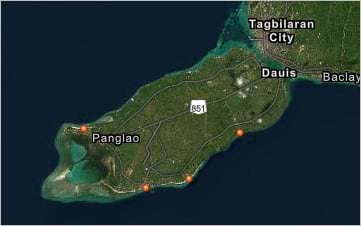
3. In the Search tool, type “Bolod, Panglao” and press Enter. The map zooms to Panglao Island in the Philippines. You’ll change the basemap to make it easier to identify the beaches.
4. On the Content (dark) toolbar, click the Basemap button.
5. In the Basemap pane, click Imagery Hybrid.
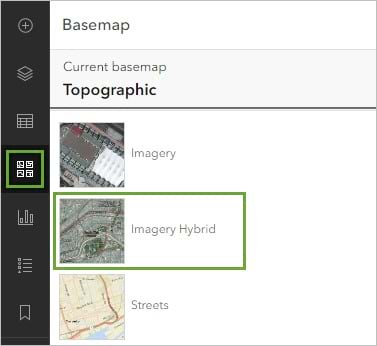
The beach becomes visible.
Next, you’ll use the editing tools to add features.
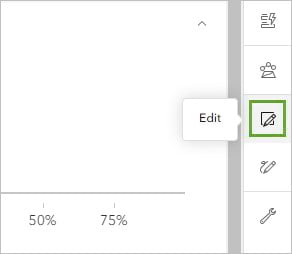
6. On the Settings (light) toolbar, click the Edit button.
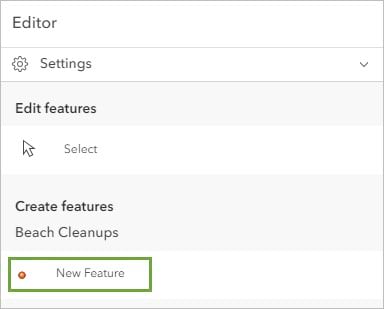
7. In the Editor pane, click New Feature.
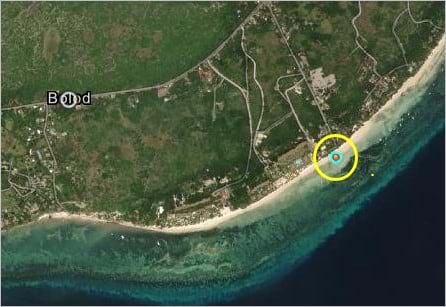
8. On the map, click the sandy beach to the southeast of the Bolod label.
A point appears on the map.
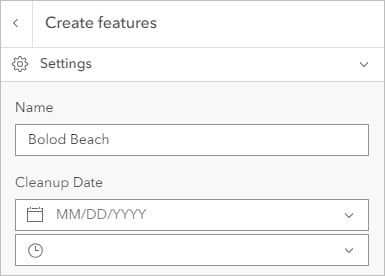
9. In the Create features pane, for Name, type “Bolod Beach”.
You’ll be able to choose the dates for each cleanup later. For now, you can leave the Cleanup Date field blank.
10. Click Create.
11. Search for the following locations and add Name features for the following beaches:
-
- Doljo, Panglao—add name: “Doljo Beach”
- Bikini Beach, Bohol—add name: “Bikini Beach”
- Alona Beach, Bohol—add name: “Alona Beach”
12. On the Settings toolbar, click the Edit button to close the Editor pane. It’s not necessary to save the layer or the map. Edits are automatically saved to the layer.
Step 4. Review the new data
You’ve now created a feature layer of beach cleanup locations on Panglao Island. Next, you’ll review your new data on the map and on its item page.
1. On the map, zoom out until you can see all the features.
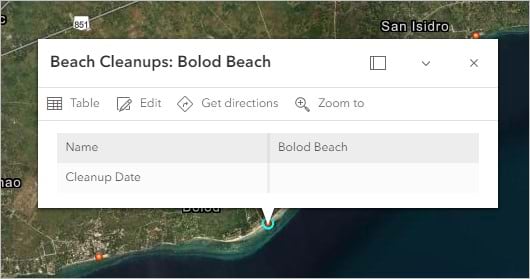
2. On the map, click one of the features. A pop-up appears showing the name of the beach. There’s an empty field for the cleanup date. You’ll define this later.
3. Close the pop-up. This returns you to the layer’s item page.
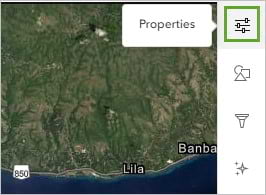
4. On the Settings toolbar, click the Properties button.
5. In the Properties pane, expand the Information section. Under Source layer, click Beach Cleanups.
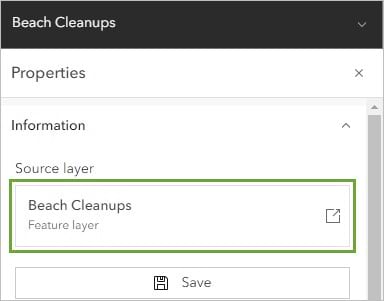
The item page reappears; it’s open to the page for the sublayer.
6. Click the Data tab.
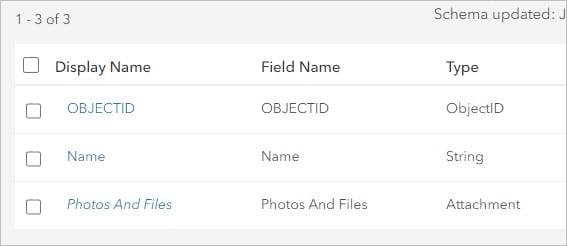
The data table appears, listing the beach features you created. The Cleanup Date column is empty.
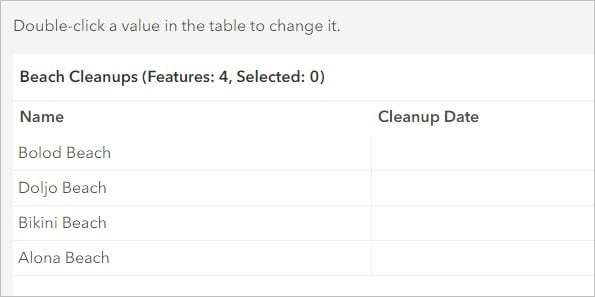
Once you’ve created a schedule for the beach cleanups, you can edit the dates here or in the map. You can add more fields now or after the beach cleanups have taken place.
To learn how to include images from the cleanup events, try the tutorial Show images in pop-ups.
