When using layers in ArcGIS Pro to map a particular area, you may come across a situation where one layer represents a much larger area than the others. When this happens, you may need to clip a layer to a smaller area to create a subset of the data.
As an example, imagine that you’re compiling data for a conservation analysis of Honduras. You have found a useful layer that represents terrestrial ecoregions, but the layer covers the entire world, while all of your other layers are restricted to Honduras.
For this tip, you’ll make a copy of the terrestrial ecoregions layer that’s clipped to Honduras. You’ll also add metadata so you can trace the clipped layer back to its source.
Step 1. Review the data
Start by reviewing the dataset to determine the best method for extracting the data you need.
Download the Ecoregions project package. A file named Ecoregions.ppkx is downloaded to your computer. A .ppkx file is an ArcGIS Pro project package. It may contain maps, data, and other files that you can open in ArcGIS Pro.
Now find the downloaded file on your computer. Double-click the file name to open it in ArcGIS Pro. If prompted, sign in with your ArcGIS account. (If you don’t have access to ArcGIS Pro or an ArcGIS organizational account, see options for software access.)
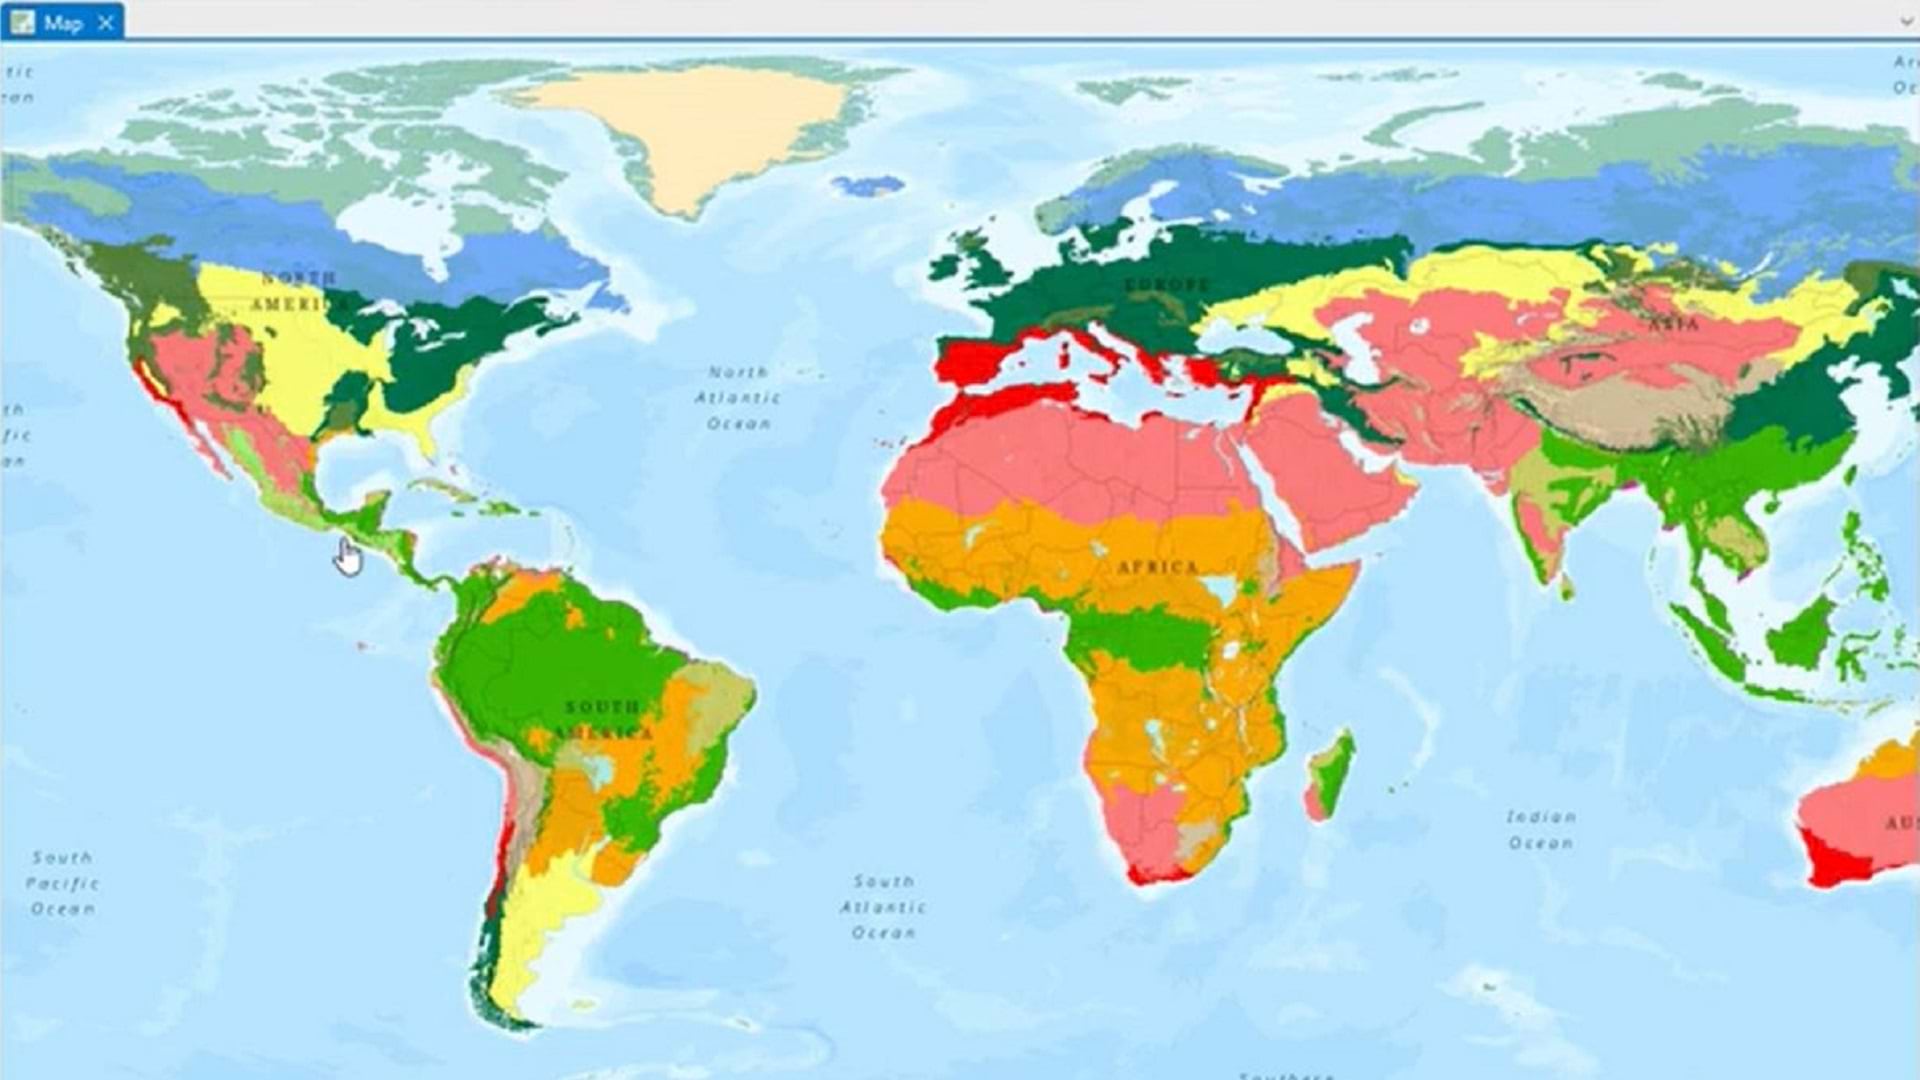
A map now appears, showing biomes and ecoregions for the entire world.
Zoom to Central America.

Since you only want to retain the ecoregions for Honduras, you’ll check if you can select or filter the data to Honduras.
Right-click anywhere on the map and click Select Features.

Click anywhere in Honduras, such as one of the orange areas in the northeast part of the country.

An ecoregion feature is now selected, but it extends beyond Honduras. This indicates that you won’t be able to select those features in Honduras without also selecting areas in neighboring countries. You will need to use the Clip tool instead.
Right-click anywhere on the map again and click Clear to clear the selection.
Step 2. Find a clipping layer
To clip the Ecoregions layer, you’ll first need a polygon feature representing Honduras. This data is available in ArcGIS Living Atlas of the World.
In the Catalog pane on the right, click the Portal tab, then the Living Atlas icon.

In the Search Living Atlas search bar, type or paste “World Countries” and press Enter.
In the search results, right-click the World Countries feature layer and choose Add To Current Map.

A new, peach-colored layer appears on the map. You’ll filter it to only show polygons for Honduras.
In the Contents pane on the left, right-click World_Countries and choose Properties.
In the Layer Properties window, click the Definition Query option, then New definition query.

Use the menus to construct the following query: Where ISO 3-Digit Code is equal to HND.

Click Apply, then OK.
The map redraws. The only peach-colored areas remaining are the mainland and islands of Honduras.

Step 3. Clip the Ecoregions layer
Now you’ll use the Clip geoprocessing tool to create a layer that contains only those parts of the Ecoregions layer that overlap with the World_Countries layer.
Above the ribbon (at the top of the window, near the middle, to the right of Ecosystems), click Command Search and type clip. In the search results, click Clip (Analysis Tools).

The Geoprocessing pane appears on the right.
In this pane, for Input Features or Dataset, choose Ecoregions from the pull-down menu. For Clip Features, choose World_Countries. (Only the features included in the definition query will contribute to the clip.) For Output Features or Dataset, type Ecoregions_Honduras. By default, the output layer is stored in the project’s geodatabase.

Click Run in the bottom right of the pane. When the tool completes running, a new layer is added to the map.
You’ll now remove the old layers, which are no longer needed.
In the Contents pane, right-click Ecoregions and click Remove. Do the same for the World_Countries layer.
The new layer contains ecoregions only in Honduras.

Close the Geoprocessing pane.
Step 4. Add metadata
Next, you’ll update the metadata for the new layer, so you won’t forget where the data originally came from.
In the Catalog pane, click the Project tab.
Click the expander next to Databases to expand this folder. Also expand ecoregions.gdb.

Right-click Ecoregions_Honduras and click Edit Metadata.
The Item Description window appears. The metadata of the original layer has been copied to the new one. You’ll edit it to indicate the changes that you made.
For Title, type or paste RESOLVE Ecoregions and Biomes for Honduras.

For Description (Abstract), type or copy and paste the following above the existing text:
This is a subset of the data found here: https://www.arcgis.com/home/item.html?id=37ea320eebb647c6838c23f72abae5ef. This layer contains ecoregions for Honduras only. The national border was defined by the layer found here: https://www.arcgis.com/home/item.html?id=ac80670eb213440ea5899bbf92a04998.
Next, you’ll save this information, as it’s important to have the metadata so you can properly attribute the data’s sources in any map or report that you create later.
On the ribbon, on the Metadata tab, in the Manage Metadata group, click Save.

Close the Item Description view by clicking the X to the right of the Ecoregions_Honduras tab.
On the Quick Access Toolbar in the upper left, click the Save button. (A message may appear warning that saving this project file with the current ArcGIS Pro version will prevent you from opening it again in an earlier version. If you see this message, click Yes to proceed.)

View this tutorial as a video and find more tutorials in the tutorial gallery.
