In pop-ups, color can help break up text and make content easier and more appealing to read. But you don’t need to be a coding expert to add a bit of flair to your pop-ups with HTML. Instead, you can insert small amounts of code to achieve finishing touches that aren’t possible otherwise. In this short tutorial, you’ll find step-by-step instructions and explanations that are suitable for all learners—even those who have never used HTML before.
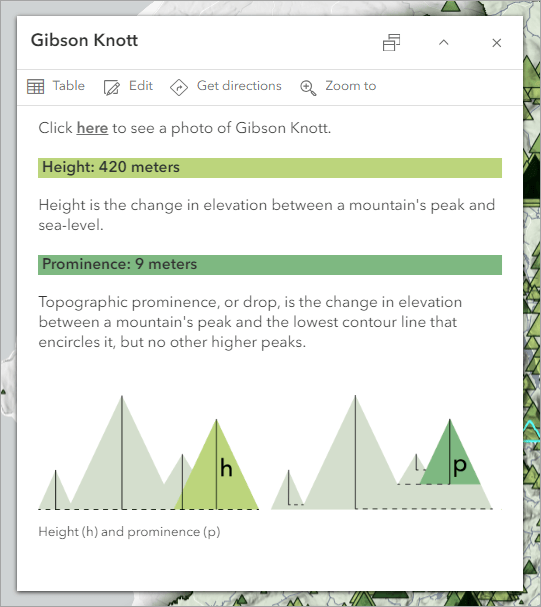
The example below uses HTML to add color highlighting to some text:

Here are the steps to make this formatting change using HTML.
Step 1. Open the HTML pop-ups web map in Map Viewer. This map shows the peaks of high-ground areas—also known as “fells”—of the Lake District in England. (You can learn how to make this map by reviewing our tutorial, Cartographic creations with web maps.)
If you want to save your work, you must sign in to ArcGIS Online. You can also complete the tutorial without saving your work.
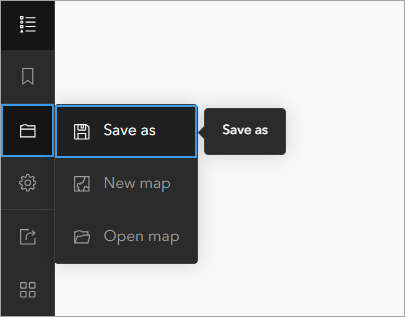
On the Contents (dark) toolbar, click the Save and open button, then click Save as.
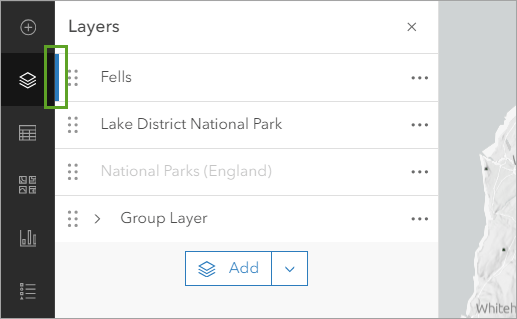
Step 2. On the Contents toolbar, click Layers. In the Layers pane, select the Fells layer. A blue bar appears next to the layer when it’s selected.
Step 3. On the Settings (light) toolbar, click Pop-ups.
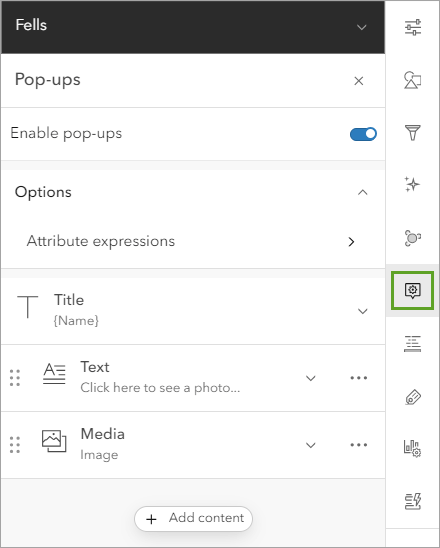
This opens a pop-up.

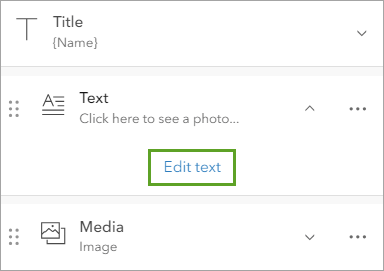
Step 4. Now we’ll use HTML to add color formatting to the pop-up. Click Text, then click Edit text.
Step 5. On the text editor toolbar, click Source. The text reappears, formatted as HTML.

The first three lines of text look like this:
<p>
Click <a href=“{expression/expr0}”><strong>here</strong></a> to see a photo of {Name}.
</p>
The <p> tag defines the start of a paragraph. The </p> tag defines the end of the paragraph.
The <a href=“…”> and </a> tags apply a hyperlink to the text between them. In this case, the hyperlink is {expression/expr0}, which is an Arcade expression defined elsewhere in the web map.
The <strong> and </strong> tags change the text between them to boldface. This code equates to a paragraph with the text “Click here to see a photo of {Name}.” The word here is changed to boldface and hyperlinked.
You won’t rewrite this coding; you’ll just insert some extra formatting.
Step 6. Find the second <p> tag, on the fourth line, just before <strong>Height: {Metres} meters</strong>.
This <p> tag indicates the start of a new paragraph. We’ll add inline Cascading Style Sheet (CSS) language to change the background color of this paragraph to green. (CSS is used to add styling to HTML. Typically, CSS is written in a separate file that the HTML file references, but it can also be added directly to the HTML code, as you are doing here. When it is added directly, it is called inline CSS.)
Add a space after the p and type the following: style=”background-color:#bad372;”.
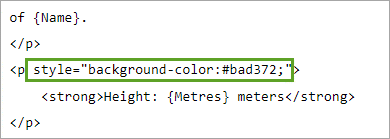
By adding the style=“” attribute to the <p> tag, you are saying that you want to format the paragraph with some kind of style. Specifically, you want to change the background-color property to #bad372, which is the hex code for a pale yellow-green color.
Step 7. On the text editor toolbar, click the Source button to return to the visual editor. The second line of text is now highlighted in green.

If the background color is missing, ensure that the code you added uses straight quotation marks instead of curly ones.
Step 8. Now we’ll change the background color of the Prominence paragraph heading.
Click the Source button again, then scroll down to find the <p> tag just before <strong>Prominence: {Drop_} meters</strong>.
Add a space after <p, then type the following (the same code that you added earlier, but with a different shade of green): style=“background-color:#76b57d;”.
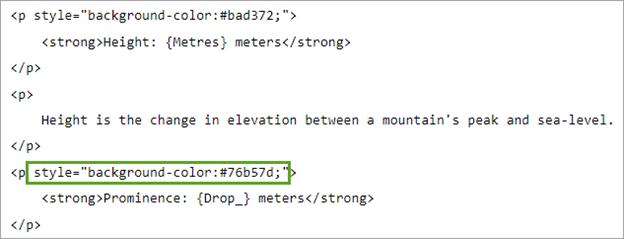
On the toolbar, click the Source button. The fourth line of text is now highlighted as well.
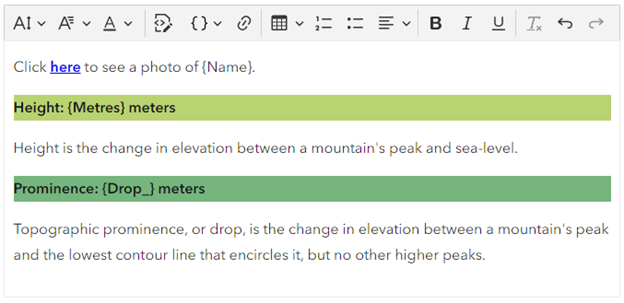
Step 9. Add one space before the word Height and another before the word Prominence to create a bit of a buffer with their backgrounds.
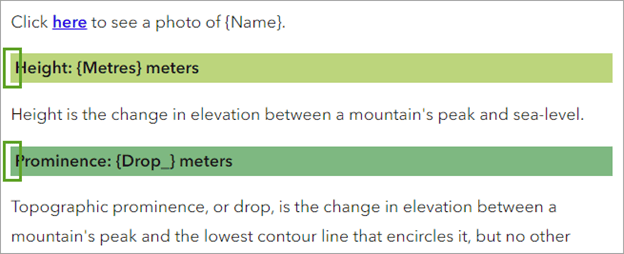
Click the Source button again. Note that a new bit of code has been inserted into those two places: . This is the code for a nonbreaking space.

You’re ready to commit your changes. However, the OK button is not available.
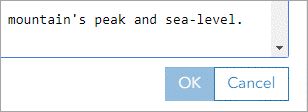
Switch out of the source view by clicking the Source button, then click OK. Save your work, if you wish.
The color background formatting is now visible on the pop-up. The two colors match the ones used in the diagram, making it easier for people to relate the text to the image.
In this example, we used one CSS property: background-color. There are many other HTML and CSS properties that can be used to enhance pop-ups. You can find them all on the W3Schools website, which is a great resource and reference for learning HTML and CSS.
You can do much more with HTML in pop-ups. See some great examples in the article “Authoring pop-ups using HTML source editing.”
Explore more tutorials at series Cartographic creations with web maps.

