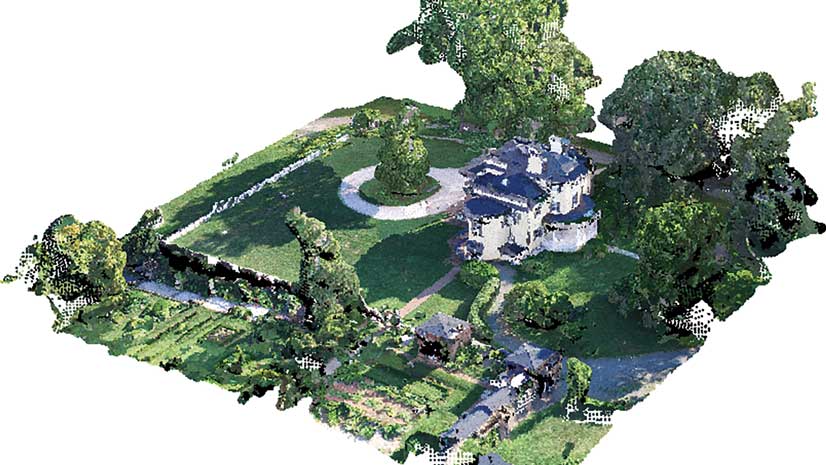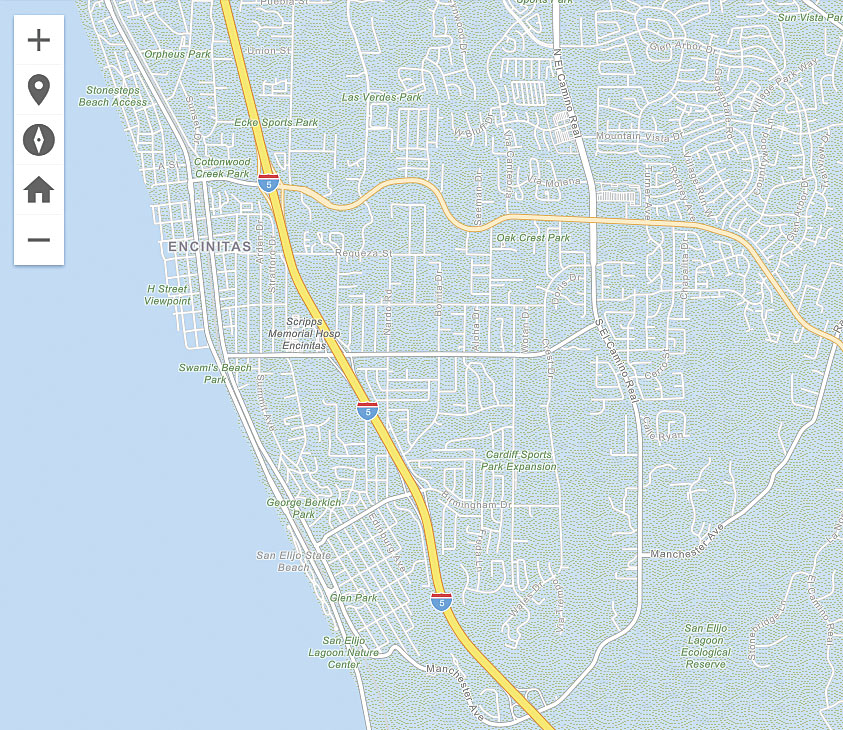
Since 2008, developers have used ArcGIS API for JavaScript to build powerful web mapping applications. With the release of version 4.0 of the API, you now have a completely new API that has been rearchitected so that you can visualize your data in 3D, easily integrate with your web GIS, and build a great user experience—all using a simple and consistent API.
Its clean design and cutting-edge capabilities bring forward the most useful aspects of the 3.x API but also enables you to build compelling web apps with 3D visualization. Not all the 2D capabilities of the 3.x API will be available with the initial release. For example, time-enabled layers and Open Geospatial Consortium, Inc. (OGC), layers and editing will be available in later releases of the 4.0 API. Esri will be rapidly evolving the new API so that it not only achieves parity in terms of features with the 3.x API but introduces new capabilities.
Here are six aspects of ArcGIS API 4.0 for JavaScript that you can use today to help you build better apps with less effort.
1 Make a 3D map as easily as a 2D map.
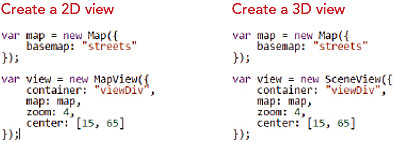
With the introduction of map views, developers can render a map with a 2D view or a 3D view (or both) with just a few lines of code. Working with a 3D view is much like working with a 2D view. For example, both views have a unified approach for working layers, renderers, tasks, geometry, symbology, pop-ups, and navigation, but 3D adds 3D-specific concepts such as environment (atmosphere and lighting) and the camera. Compare the code for creating a 2D view and a 3D view shown in Listing 1.
Many developers have adopted the pattern of authoring a web map in ArcGIS Online and Portal for ArcGIS and consuming it in an app. They create beautiful visualizations of their data, configure pop-ups, and set up bookmarks, then load the map into their app by simply referencing the web map’s ID. This is a huge time saver.
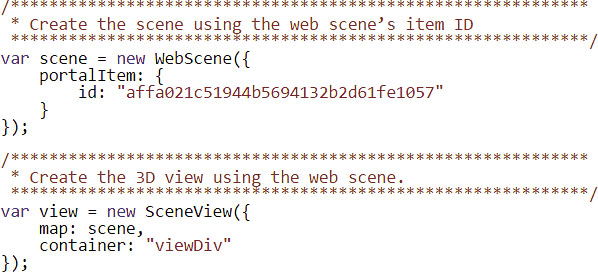
With the 4.0 API, you can follow the same pattern with 3D maps using web scenes. This is accomplished by styling your map in ArcGIS Online or Portal for ArcGIS, saving it as a web scene, and then loading it in your app using the web scene’s ID.
2 Author, manage, and mash up layers using layer items … all with minimal code.
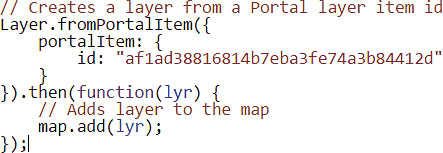
Layer items are similar to web maps in that they allow developers to set up initial extent, rendering, filtering, pop-ups, and other settings. In contrast to web maps, which consist of the entire map, layer items represent individual map layers. This allows you to choose the individual layers needed for each application. If you are developing in a team environment, others can also consume your layers, which are represented in a meaningful and consistent way. The 4.0 API lets you load layers by referencing the layer item’s ID. Listing 3 shows an example of how a layer can be loaded using the layer item.
Note: Not all 2D layer capabilities are supported in the initial 4.0 release.
3 Build a great user experience.
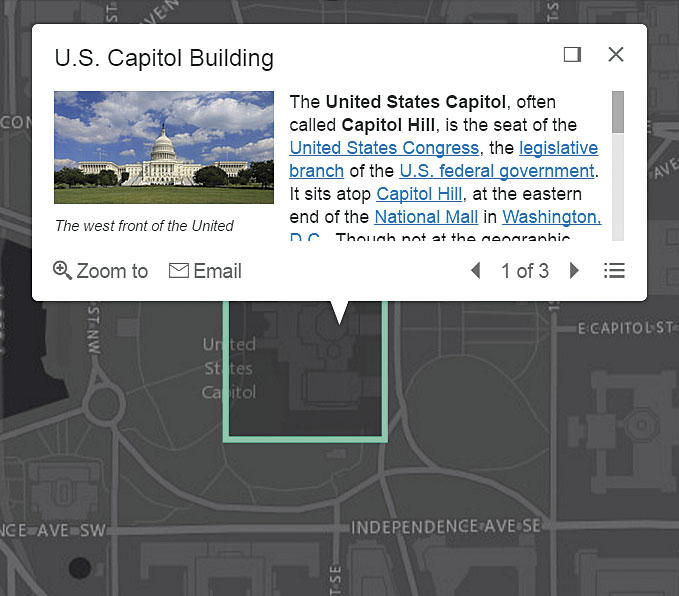
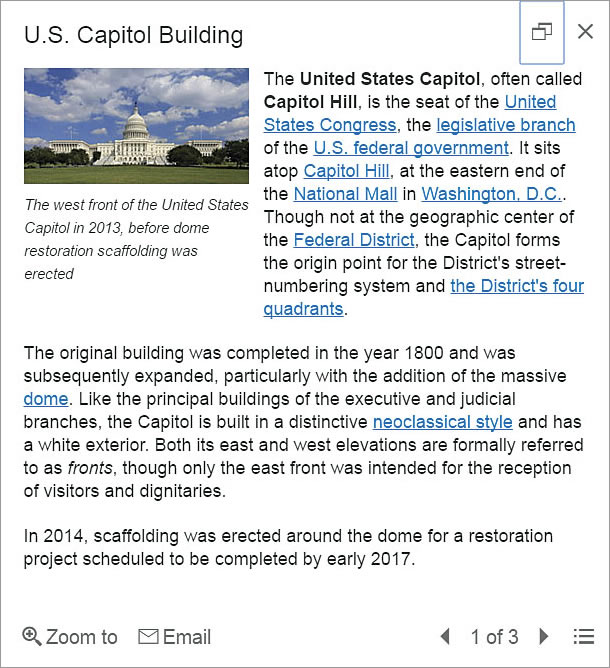
The API was designed to give you the tools to build an app that has a polished user interface and responsive design. Widgets, flexible UI placement, and control over the map view are a few of the capabilities in this new API that will help you build a user-friendly app suitable for any device.
Widgets are the UI building blocks. API widgets have been built from the ground up with a clean user experience adaptable for any screen resolution. Widgets can be easily placed in one of the corners as shown in Listing 4 or offset from the edge. Relative placement of UI elements helps accommodate multiple screen resolutions.

You can use API widgets as-is or style them using CSS to change specific aspects of the widget such as button color as shown in Listing 5.

Controlling the map view is important. If you need the map to fill only a portion of the screen so that a menu or other UI element occupies the rest of the space, you will want to keep a particular extent centered on the screen. Using view padding, you can make the map center or extent work off a subsection of the full view. As the screen size changes, your map will be centered relative to the location you specified.
4 Benefit from a simple and consistent API.
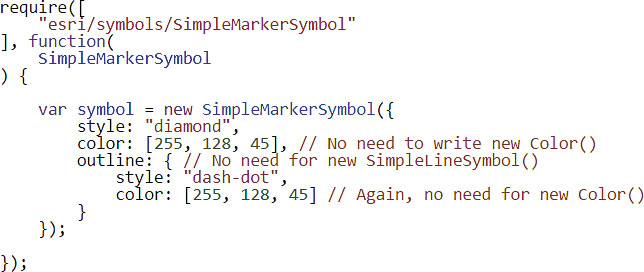
The 4.0 version of the API introduces an improved developer experience with a cleaner implementation. For example, working with properties is more straightforward. In the past, you often had to use methods to get or set property values. Only sometimes could you set property values directly. In the 4.0 version, you can consistently set all properties within the constructor or directly in the property itself. Because the API is more consistent in this way, the documentation can focus on describing the purpose of each property rather than on how to get and set it.
In the example in Listing 6, the SimpleMarkerSymbol’s properties are simply set in the constructor. The 4.0 API also introduces a new concept called autocasting, which takes the values passed in these properties and instantiates the typed objects internally within the API. The example illustrates how you don’t have to explicitly create a new SimpleLineSymbol for the SimpleMarkerSymbol’s outline. Thanks to autocasting, the require statement for the esri/symbols/SimpleLineSymbol module is not needed.
There is also a consistent approach for watching for property changes. In previous versions of the API, property changes were handled with events. Using the documentation, developers had to figure out which event to listen to determine when a particular property changed. With the 4.0 API, monitoring for property changes has become much easier because all properties can be watched via the .watch method (property, callback). The callback is called each time the property changes and allows you to work with the property’s new value, old value, and name along with the watched object. You only have to learn and remember the essential classes and properties to work with the API.
5 Have it your way with tooling.
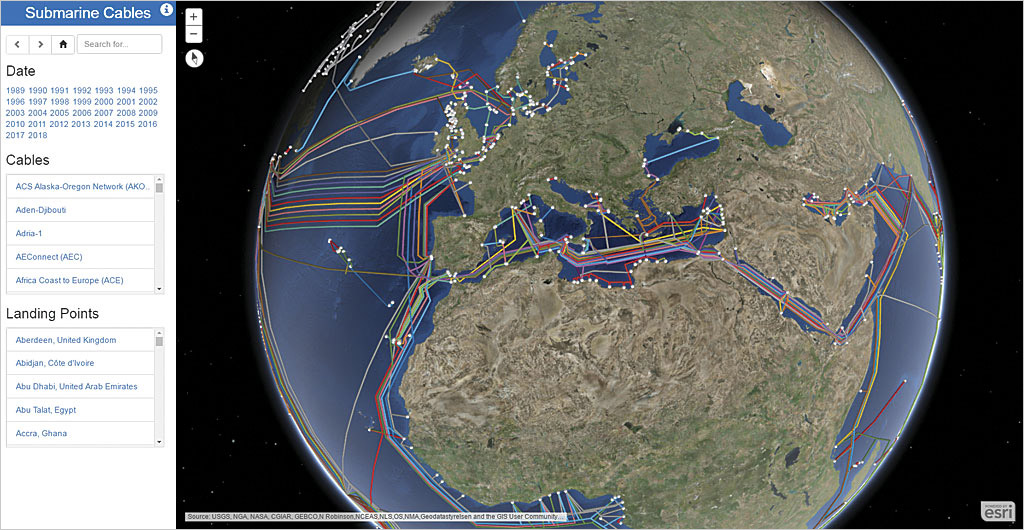
All widgets in this new version of ArcGIS API for JavaScript have been reengineered to enhance their extensibility and customization. Each widget’s presentation is now separate from its properties, methods, and data. You can use widgets as-is, style them with CSS, or completely customize the UI. While the API is built on Dojo, its widgets are not entirely dependent on Dojo’s Dijit framework. The separation of core logic and presentation lets you more easily create new widgets and repurpose existing widgets with any third-party framework such as Bootstrap, React, or jQuery.
When working on complex solutions—such as enterprise apps—you may want to integrate the JavaScript API into a third-party framework such as Ember. This can make code more maintainable and facilitate development when you are collaborating with other developers. Because 4.0 is a more consistent API, it is much easier for you to integrate it with other development frameworks.
6 Don’t do it all. Let configurable apps or Web AppBuilder for ArcGIS help.
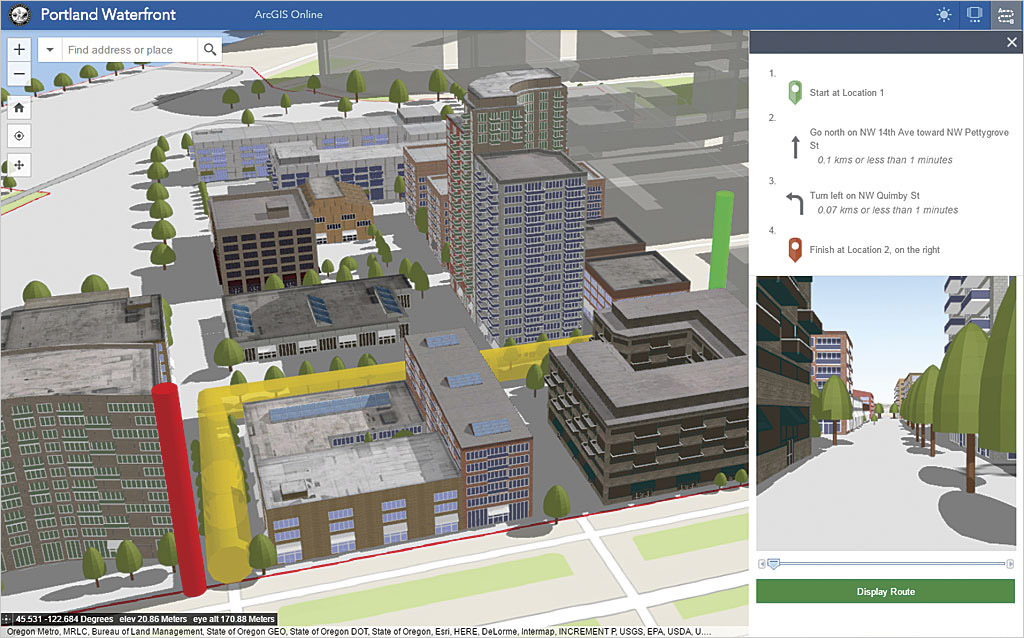
This API lets you use workflows that eliminate the need to code everything from scratch and help you get apps into your users’ hands faster. You can take advantage of a variety of configurable apps and Web AppBuilder for ArcGIS to increase your development productivity. Choose from a comprehensive set of configurable 2D and 3D apps in ArcGIS Online or Portal for ArcGIS to quickly create a focused app for performing a specific function such as parcel editing. Using Web AppBuilder for ArcGIS, you can create HTML/JavaScript apps—including 3D apps—with ready-to-use widgets and customizable themes that run on any device. You can also build custom widgets for Web AppBuilder for ArcGIS.
ArcGIS API 4.0 for JavaScript makes it easier for you to work more efficiently and provide polished and responsive apps that meet the needs of your users. Visit developers.arcgis.com/javascript to interact with samples, read the guide, and access the API reference.

