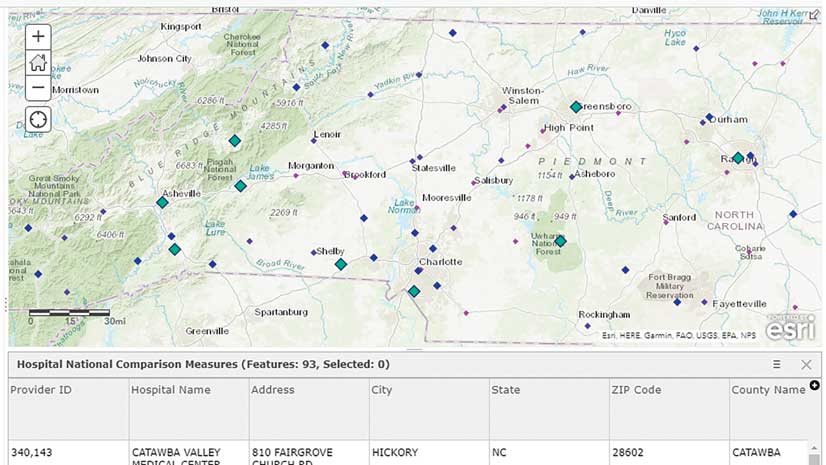
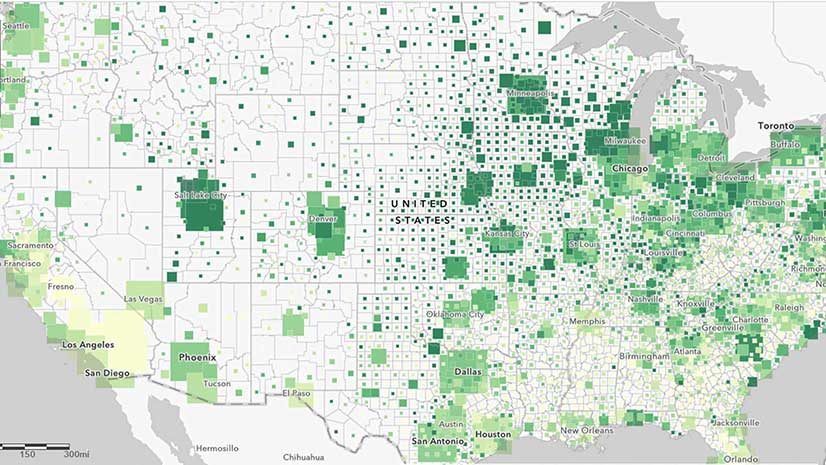
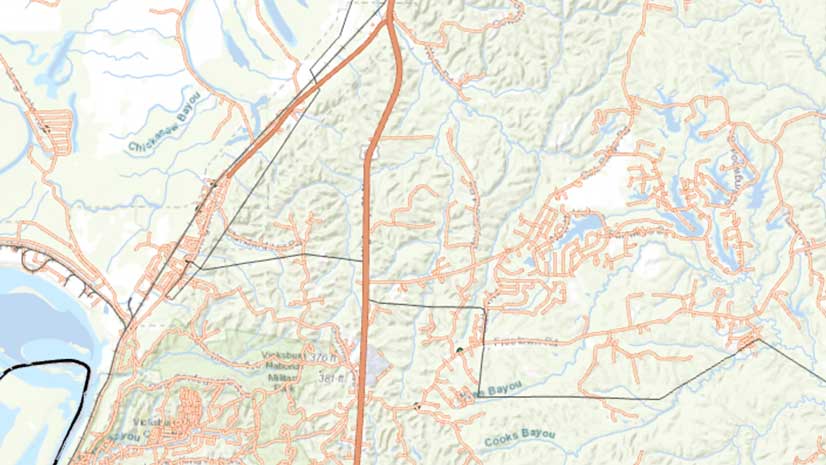
Although layer files are built based on connection to a specific dataset, by importing a layer file to another map and changing the data sources, they may be used to apply properties to other maps if those maps connect to data sources with attribute fields similar to the attribute fields used by the source layer.
In ArcMap, layer files are created by right-clicking a feature class in the table of contents. In ArcGIS Pro, creating layer files uses different processes for individual layer files and group layer files. [Note that layer files saved from ArcGIS Pro cannot be used in ArcMap.]
Saving a Map Layer as a Layer File
- In the Contents pane, select the layer that is symbolized as you desire and that you will save as a layer file.
- Click the Share tab, and in the Save As group, click Layer File. Alternatively, right-click the desired layer, and choose Sharing > Save As Layer File from the context menu.
- In the Save Layer(s) As LYRX File dialog box, type a name for the layer or accept the default name.
Optionally, browse to a different folder location. Click Save.
Saving a Group Layer as a Layer File
- Select the desired group layer, expand and make visible every layer in the group layer that will be the source for the layer file.
Click the Analysis tab, then click Tools. - In the Geoprocessing pane, type “layer file” in the search box to locate the Save To Layer File tool in Data Management tools.
- For Input Layer, navigate to the source group layer file and select it.
- For Output Layer, navigate to the location where you want to store the layer file.
Click Run. Click Save. - To test the layer file, create a new project. Add the layer file for the single layer or group layer, and repair any broken data links by linking to the data used for creating the original layer or group layer or to a data source that has a similar field attribute structure.


